Easy Grilled Eggplant Rolls with Bacon
Have you ever had that moment where a dish takes you straight back to grandma’s kitchen, or chirping mornings filled with the smell of something just baking? That’s exactly how I feel about these eggplant rolls. They’re simple, cozy, and honestly, kinda fancy-looking, without a single thing complicated about them. I always do this when I want something savory but still part of that “I-know-I-can-do-this-in-30-minutes” comfort zone. My kids ask for these all the time—especially when I make the filling extra cheesy—and I swear, they disappear in minutes at my house. Plus, they’re a total crowd-pleaser at dinner parties! I tested these with different cheeses and herbs, but honestly, a good fresh basil or a sprinkle of oregano just makes everything pop. They’re a little bit rustic, a little bit refined, and they always manage to impress everyone—even my skeptical in-laws. Trust me, once you try making these eggplant rolls, you’ll see what I mean. It’s like giving a vegetable a whole new personality. Let’s get into it!
What is an eggplant roll?
Think of eggplant rolls as a fancy little bundle where smoky, roasted eggplant meets a cheesy, herbaceous filling—kind of like a veggie sushi, but way more comforting. The name is pretty straightforward: thin slices of eggplant are roasted or grilled until tender, then stacked with a savory filling, rolled up like cinnamon buns, and often topped with a drizzle of sauce or a sprinkle of herbs. It’s essentially a decked-out stuffed veggie dish—great for vegetarians but totally satisfying for everyone. The name might bring to mind Italian antipasti or Mediterranean tapas, and honestly, that’s not far off. This dish has roots in Mediterranean and Middle Eastern cuisines, where eggplant is revered for its smoky flavor and versatility. But what makes it special is how adaptable it is—you can fill it with ricotta, feta, spinach, or even a bit of ground meat if you’re feeling adventurous. It’s a showstopper on any table and super forgiving, which means even kitchen newbies can nail it without breaking a sweat!
Why you’ll love this recipe?
What I love most about these eggplant rolls is how deeply satisfying they are, yet they feel light and… well, elegant. The flavor profile is rich but balanced—think sweet, smoky roasted eggplant combined with creamy cheese and fresh herbs. It’s one of those dishes that makes you smile with every bite because the flavors are so well-rounded and comforting. Plus, it’s dead easy to make, especially if you prep your ingredients ahead of time. I used to get daunted thinking I needed fancy equipment or complicated techniques, but nope, these rolls are just about patience and a good eye for roasting. And let’s talk budget—eggplants are cheap and often on sale, and a few simple pantry staples turn into something grand. The versatility? Endless! Serve them as a starter, a side, or even a light main if you’re feeling lazy. I especially love how customizable they are—switching up cheeses, herbs, or adding a bit of spice to surprise your taste buds. Honestly, this dish has become my go-to for feeding friends, lazy weekends, and even a quick dinner when I want something impressive without the fuss.
How do I make Eggplant Rolls?
Quick Overview
This recipe is all about layering flavors effortlessly. First, you slice and roast or grill the eggplant until it’s tender and slightly smoky. Then, you prepare a creamy filling with cheese, herbs, and maybe some spinach or sun-dried tomatoes. Once everything is cooled a bit, you spread the filling onto each slice, roll it up neatly, and bake it just long enough for the cheese to melt and flavors to meld. Finish with a drizzle of sauce or fresh herbs, and you’ve got yourself a dish that looks as good as it tastes. The best part? It’s quick, forgiving, and perfect for making ahead. Plus, the smell alone—roasted eggplant mingling with garlic and herbs—is enough to make everyone stop what they’re doing and gather around. This way of cooking makes it feel special but totally doable—even on crazy weeknights. I promise, once you master the rolling part, you’ll feel like a pro in no time.
Ingredients
For the Main Filling:
• 2 cups shredded mozzarella or feta (or a mix, depending on your preference), ideally fresh and high-quality
• 1 cup ricotta or cream cheese for extra creaminess
• 2 tablespoons chopped fresh basil or parsley
• 1 teaspoon dried oregano or thyme
• Salt and freshly ground black pepper to taste
• Optional: a handful of chopped sun-dried tomatoes or olives for a flavor boost
For the Eggplant:
• 2 large eggplants, sliced lengthwise about 1/4 inch thick
• Olive oil for brushing
• Salt for seasoning
• Optional: a pinch of smoked paprika for extra smoky flavor
For the Topping / Glaze:
• A simple tomato sauce or balsamic reduction
• Extra herbs for garnish
• A drizzle of good-quality olive oil or honey for finish
Step-by-Step Instructions
Step 1: Preheat & Prep Pan
Preheat your oven to 400°F (200°C). Line a baking sheet with parchment paper or lightly oil it. While the oven warms, prepare your eggplant slices. If you’re grilling, heat your grill to medium-high. Brush the eggplant slices with olive oil on both sides and sprinkle with a tiny pinch of salt—this helps them sweat out moisture and develop that beautiful caramelized flavor.
Step 2: Mix Dry Ingredients
In a bowl, blend your cheese, herbs, and seasoning. I always do this in advance because it’s a quick step, but it makes a big difference—flavors meld better when they sit for a few minutes. If using sun-dried tomatoes or olives, chop them finely and mix into the cheese for bursts of flavor.
Step 3: Mix Wet Ingredients
If you’re using ricotta or cream cheese, whisk it until smooth. I sometimes add a splash of lemon juice or a tiny bit of garlic powder here for extra zing. This makes spreading easier and adds dimension—trust me on this one.
Step 4: Combine
Lay your eggplant slices flat, and using a spoon or spatula, spread a heaping tablespoon of your cheese mixture onto each slice. Don’t overload—just enough to keep the roll together without spilling out. Carefully roll up the slices, seam side down, and place them on your prepared baking sheet. It’s OK if they’re not perfect—they still taste amazing.
Step 5: Prepare Filling
If you want a bit more richness, sprinkle extra cheese on top before baking. You could also add some shredded Parmesan or a light drizzle of olive oil for golden crust.
Step 6: Layer & Swirl
Once all the rolls are assembled, feel free to arrange them close together or with a little space, depending on how crispy or soft you like them. I like a little of the cheese melting over the edges—that crunch is irresistible.
Step 7: Bake
Pop your tray into the oven and bake for about 20-25 minutes, until the cheese bubbles and the eggplant gets a nice caramelized look. Keep an eye after 20—you want the cheese melty, not burnt. If your oven runs hot, you might want to check a little earlier.
Step 8: Cool & Glaze
Once out of the oven, let the rolls cool for five minutes—this helps everything set. Then, drizzle with your favorite sauce or balsamic glaze, add a sprinkle of herbs, and maybe a splash of good olive oil. This finishing touch really elevates the dish and makes it look just as tempting as it tastes.
Step 9: Slice & Serve
Use a sharp knife to slice through the rolls delicately—you want clean cuts that showcase the beautiful layers inside. Serve warm, preferably with an extra drizzle of sauce on the side, and watch as everyone digs in. I love pairing these with a crisp white wine or even a sparkling water infused with lemon. They look pretty plated, but truthfully, I usually just pile them on a big platter and let people help themselves—less fuss, more fun.
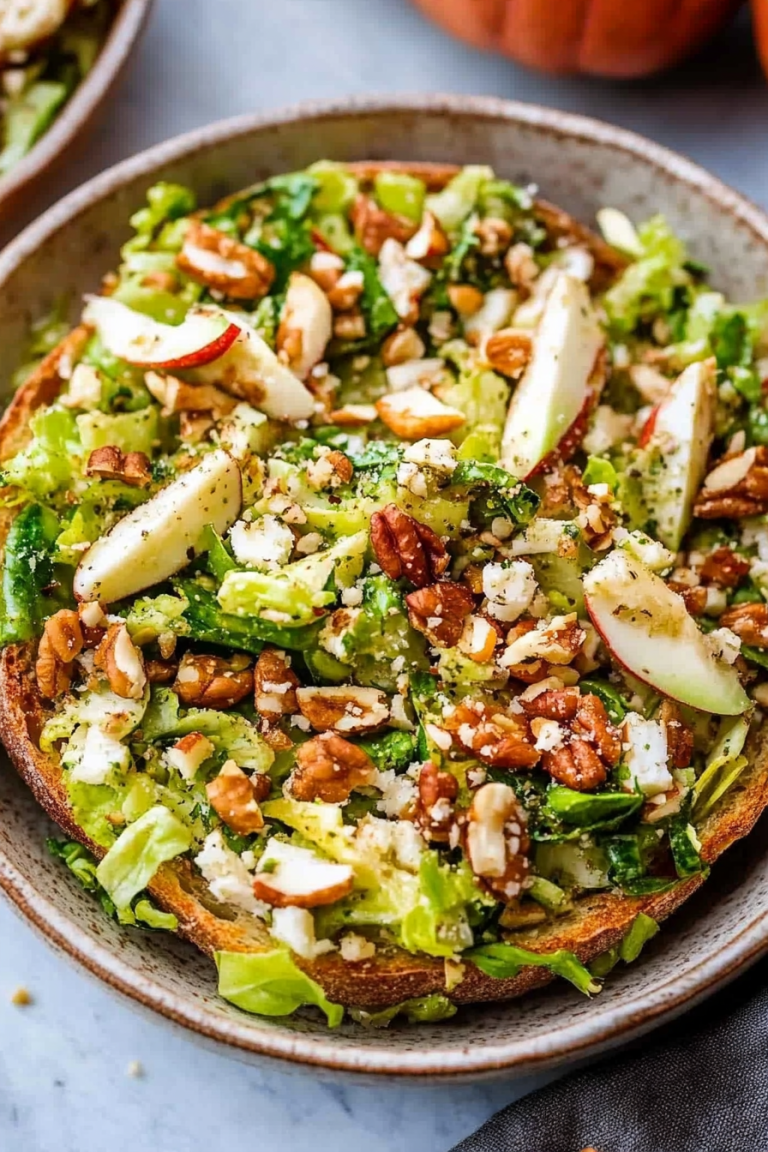
What to Serve It With
This dish is versatile enough to shine in many settings. For breakfast, pair with a fresh tomato salad and a slPal about coffee—maybe a slice of toasted baguette toasted with a smear of cream cheese and herbs. For brunch, I love serving these eggplant rolls alongside a light mixed greens salad with lemon vinaigrette—looks pretty and tastes fresh. As an appetizer or a party starter, they’re perfect on a big platter with some crusty bread and olives. And honestly, if you’re craving something sweet at 10 p.m., try drizzling honey over the warm rolls—trust me, it’s a game-changer. My kids ask for these on busy school nights, and I don’t mind making a batch because they’re so forgiving and quick. Plus, they satisfy that “I want something savory, but I want it easy” craving. They’re perfect as a main with a side of rice or roasted veggies, too. It’s one of those dishes I feel good serving up because I know it’s healthy, filling, and a little bit special.
Top Tips for Perfecting Your Eggplant Rolls
I’ve made these countless times, and honestly, I’ve learned a few lessons I’d love to share. First, when slicing your eggplant, try to keep the thickness consistent—about 1/4 inch is perfect. If slices are uneven, they won’t cook evenly or roll smoothly. I always salt my sliced eggplant early on, then let it sit for about 10 minutes. This pulls out moisture, making the slices less mushy when roasted and helping the rolls stay firm. If your eggplant is especially watery, pat it dry with paper towels before roasting. As for the cheese filling, I like to soften the cheese and herbs together so that it spreads like a dream. If you want a richer flavor, mix in some finely chopped garlic or red pepper flakes for a kick. When rolling, don’t worry if they aren’t perfect—they still look beautiful once baked. Use a gentle hand—pressing from the ends helps them stay intact. And speaking of baking, I always position the tray in the middle to avoid uneven browning. If my rolls aren’t as crispy as I want, I’ll turn on the broiler for the last two minutes, but be super careful not to burn them. For the glaze, a balsamic reduction adds a tangy sweetness, but I’ve also tried a drizzle of honey or even a splash of lemon juice for brightness. Honestly, every time I tweak these little things, the dish gets better and better—and I keep coming back to what works best for my family’s taste buds.
Storing and Reheating Tips
This dish is actually pretty friendly when it comes to leftovers. If you have any remaining eggplant rolls, store them in an airtight container in the fridge for up to two days. I recommend letting them cool completely before refrigerating so they don’t get soggy. When you’re ready to eat, reheat in a low-temperature oven (around 300°F or 150°C) for about 10 minutes, just until warmed through. If you want to keep the cheese gooey, avoid microwaving—they tend to get rubbery and lose that lovely roasted flavor. Freezing is also an option; wrap each roll tightly in plastic wrap, then place in a freezer-safe bag for up to a month. To reheat, thaw overnight in the fridge, then bake at 350°F (175°C) for 20 minutes or so. Remember, the flavor and texture might slightly change, but honestly, they still taste great. If you want to add fresh glaze or herbs afterward, do it once heated, so the topping stays vibrant. This way, your eggplant rolls stay flavorful and fresh, even days later—perfect for weekend leftovers or make-ahead meals.
Frequently Asked Questions
Final Thoughts
There’s something incredibly satisfying about transforming humble eggplant slices into these cozy, flavorful rolls. They’re forgiving, customizable, and ridiculously good—seriously, I’ve made dozens of batches and each time, they’re met with happy faces around my table. If you’re someone who loves fresh flavors and likes a bit of elegant comfort in one dish, this recipe is your new best friend. Whether it’s for an easy weeknight dinner, a fancy appetizer, or just because you’re craving something savory, these eggplant rolls fit the bill. I always encourage folks to play around with the fillings and toppings—make it your own! And don’t forget to share the love (and the leftovers, if there are any). Happy baking, and I can’t wait to hear how yours turn out! Drop a comment below with your tweaks or pictures—I’d love to see your creations.
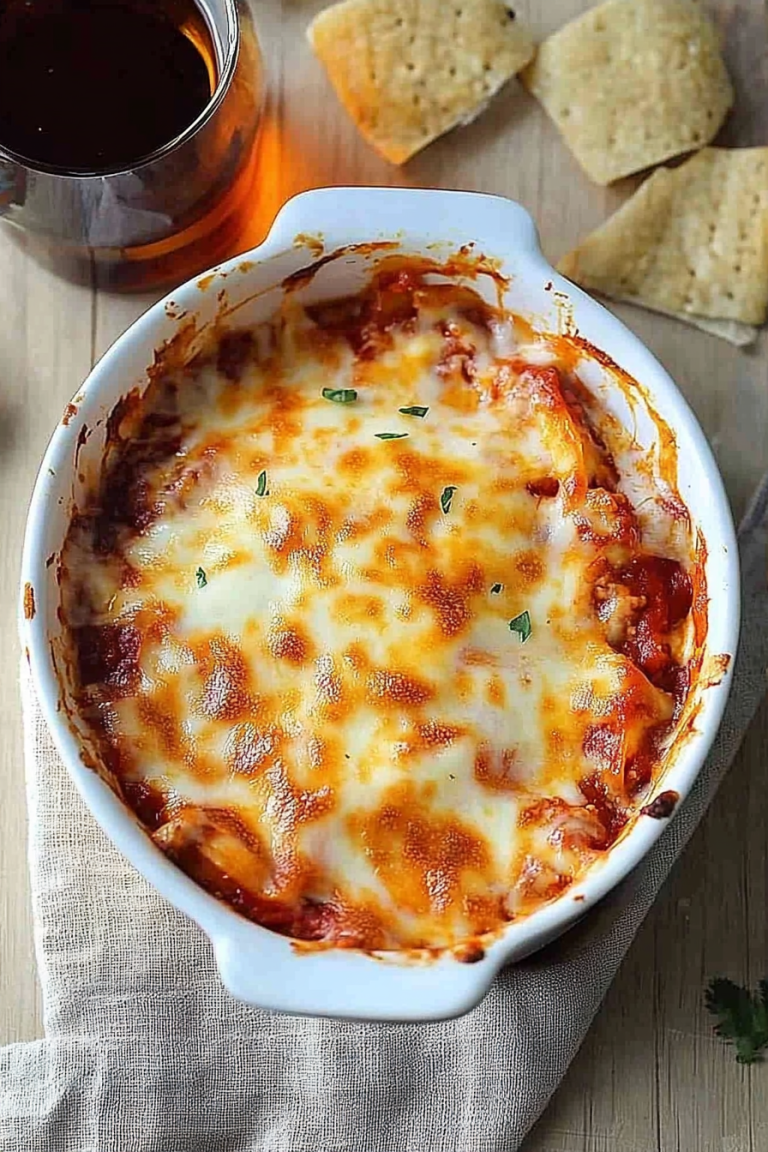
Eggplant Rolls with Cheese and Marinara
Ingredients
Method
- Preheat the oven to 400°F and lightly grease a baking dish; set aside.
- Slice eggplants into 1/4-inch thick slices and sprinkle with salt; let stand for 10 minutes. Pat dry.
- Brush slices with olive oil and roast for 8 minutes, flip, and roast for another 5 minutes until tender.
- In a bowl, mix ricotta, feta, mozzarella, parmesan, garlic, eggs, salt, and pepper.
- Spread marinara sauce in the baking dish.
- Divide ricotta mixture among eggplant slices, roll up, and place in the dish over marinara sauce.
- Top with remaining marinara sauce, mozzarella, and parmesan. Cover and bake for 30 minutes, then uncover and bake for additional 15 minutes until bubbly.
- Remove from oven and stand for 10 minutes before serving.