Easy Greek Yogurt Dip Recipe
There’s nothing quite like the smell of fresh herbs and tangy yogurt mingling in the kitchen—especially when I’m making my grandma’s tzatziki. It’s one of those recipes I always come back to, whether I’m craving something light on a summer night or looking for a quick, crowd-pleasing appetizer. My kids ask for this all the time — it’s become a household staple. The best part? It’s insanely easy to whip up and uses ingredients I always keep on hand. I swear, once you get the hang of it, you’ll be making this in your sleep. Plus, it’s a lot healthier than store-bought stuff, and that tangy, herby flavor just hits differently when it’s homemade. Trust me on this one—the smell alone will bring everyone to the table. And, honestly, I think it’s better than any fancy restaurant version I’ve ever tasted. So, grab some fresh cucumbers, a good Greek yogurt, and let’s get started on this classic, cooling tzatziki—your new go-to snack or side!
What is Tzatziki?
Think of tzatziki as Greece’s answer to the perfect, refreshing dip. It’s essentially a creamy yogurt-based sauce or condiment that’s packed with fresh herbs, garlic, and cucumbers. The name itself comes from the Greek word “tzigos,” meaning “cloth”—because traditionally, the yogurt might have been strained through cloth to make it extra thick and velvety. These days, use of high-quality Greek yogurt makes that step easier and faster. It’s a staple in Mediterranean cuisine, especially served alongside grilled meats, pita, or veggies. But honestly, I love it just scooped up with warm pita bread or even as a topping for roasted chicken or fish. What I love most about this is its balance of sharp garlic, cooling cucumber, and bright lemon—plus the herbs, of course, which brighten everything up. It’s so versatile you’ll find yourself adding it to just about anything, and the best part? It’s pretty much foolproof to make at home.
Why you’ll love this recipe?
Oh, where do I start? First off, the flavor. It’s the perfect blend of tangy, herby, and slightly garlicky—so good that you can’t help but keep dipping spoonfuls straight from the bowl. My kids actually ask for seconds, and I don’t blame them; it’s that addictive. What I love most about this tzatziki is how incredibly simple it is to make—no complicated techniques or fancy gadgets needed. Just some chopping, mixing, and chilling, and you’re all set. Plus, it’s budget-friendly—most of the ingredients are pantry staples or easy to find at the store. And the best part? It’s super versatile! Serve it as a sauce, a dip, or even a topping for grilled veggies or wraps. I’ve made this countless times, and it never fails to disappear in minutes at my house. It’s also a little healthier than a lot of store-bought options since you can control the salt, garlic, and herbs—plus, fresh ingredients always taste so much better. Honestly, once you try this homemade version, you’ll ditch the jarred stuff forever.
How do I make tzatziki?
Quick Overview
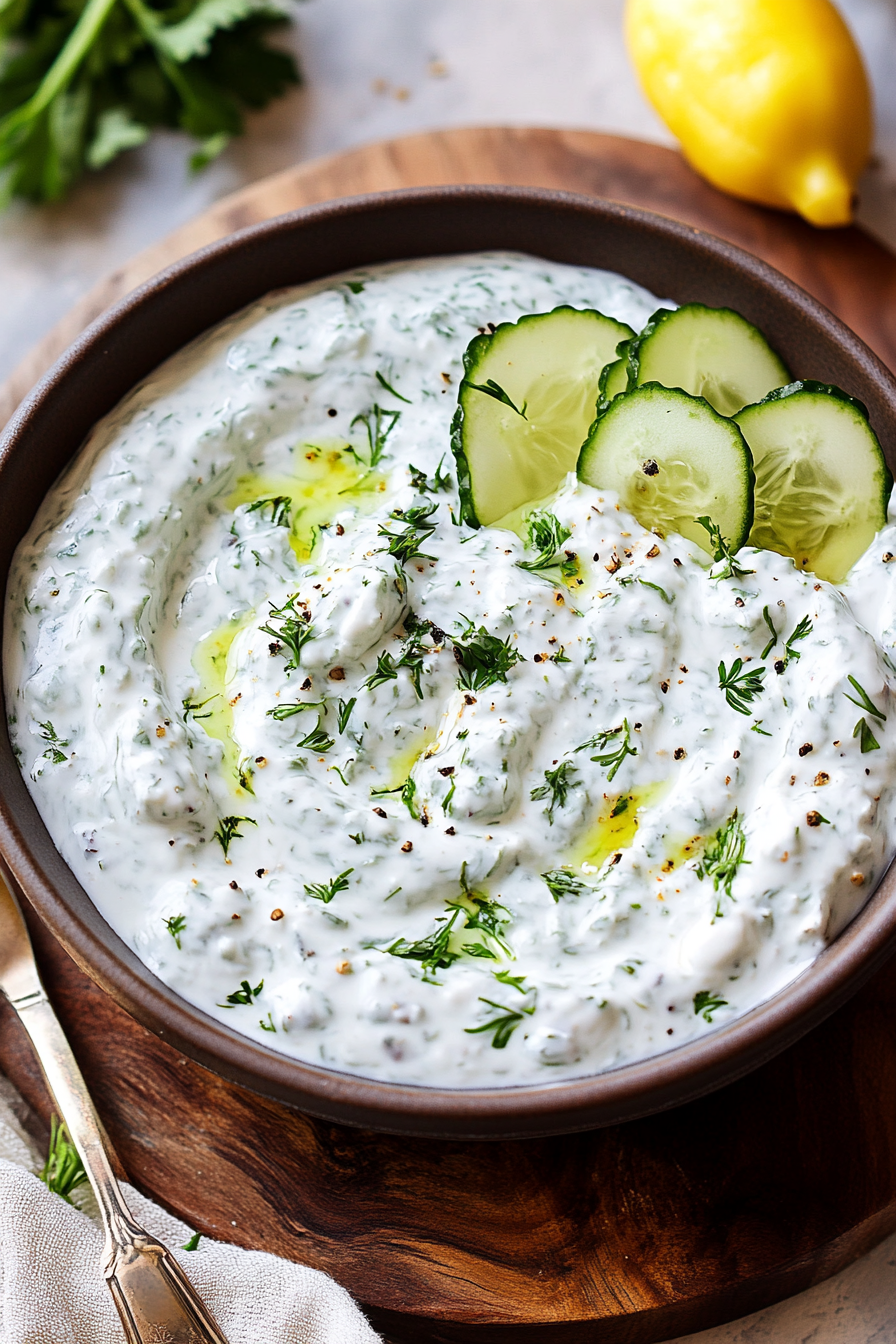
This tzatziki recipe is all about that creamy, cool texture and punchy flavor. I like to start by grating cucumbers, then squeezing out as much moisture as possible—trust me, that step makes all the difference for that velvety consistency. Mix it with thick Greek yogurt, chopped fresh herbs, garlic, lemon juice, and a splash of olive oil. Chill for at least 30 minutes so all those flavors meld beautifully. And voila—you’ve got a fresh, vibrant tzatziki that’s perfect for just about anything. Once you’ve made it a couple of times, you’ll find your own tricks—like adding a pinch of mint or using less garlic if you want it milder. It’s a forgiving recipe that tastes best when fresh, but I’ve stored it in the fridge for up to 2 days with excellent results. Honestly, this one’s a lifesaver on busy nights when I need something quick and healthy, and it always impresses guests.
Ingredients
What is the main sauce?
– 2 cups Greek yogurt (full-fat for richness, or low-fat if you prefer)
– 1 large cucumber (preferably English or Persian for less seediness)
– 3-4 cloves garlic, minced (adjust to taste)
– 2 tbsp fresh dill, chopped (or mint if you prefer a twist)
– Juice of ½ lemon
– 1-2 tbsp extra virgin olive oil
– Salt and freshly ground black pepper to taste
For the Garnish (Optional):
– Extra herbs (dill, mint, or parsley)
– A drizzle of olive oil
– Cracked black pepper
Step-by-Step Instructions
Step 1: Preheat & Prep Pan
No real heat here, but gather your tools—grater, mixing bowls, and a clean kitchen towel. If you’re using a cucumber with lots of seeds, slice it in half lengthwise and use a spoon to scoop out the watery insides first. This prevents your tzatziki from becoming watery too quickly. Set the grated cucumber in a bowl and sprinkle a little salt over it, then let it sit while you prepare the rest. This step helps draw out excess moisture, making your dip much creamier.
Step 2: Mix Dry Ingredients
While the cucumbers are resting, finely chop your herbs and mince the garlic. I always do this first because the smell of fresh garlic and herbs just signals that good things are happening in the kitchen. It’s best to have everything ready to go so your mixing process is smooth and swift.
Step 3: Mix Wet Ingredients
In a separate bowl, whisk your Greek yogurt until smooth. Add the lemon juice, olive oil, minced garlic, and herbs. Trust me, the lemon and garlic are what make this dip shine—don’t skip the lemon! I’ve tested this with a splash of cider vinegar once when I was out of lemons, and it turned out just as good.
Step 4: Combine
Now, gently squeeze out the moisture from your grated cucumber and fold it into the yogurt mixture. Adjust the salt as needed. Be careful not to overmix—leave a little texture if you like. Sometimes I like to leave chunks of cucumber for added bite. Taste and tweak—more lemon, salt, or garlic depending on how bold you want it.
Step 5: Prepare Filling (Optional)
If you’re adding a little extra herb or some finely chopped mint or parsley, mix it in now. I also sometimes add a pinch of smoked paprika or a drizzle of honey if I want a sweet and smoky twist.
Step 6: Layer & Swirl
If you want to get fancy or just make it look pretty for a party, swirl a little olive oil on top and sprinkle extra herbs or a few lemon zest shavings. It makes such a difference in presentation and aroma.
Step 7: Bake
I don’t actually bake tzatziki—this is a no-bake, chilled kind of dish. Just cover it with plastic wrap and place it in the fridge for at least 30 minutes. I love letting it sit longer—up to 2 hours—so the flavors really mingle. The chill also makes it extra refreshing!
Step 8: Cool & Glaze
Since this isn’t baked, glazing isn’t necessary, but I sometimes add a splash of olive oil just before serving for that glossy, inviting look.
Step 9: Slice & Serve
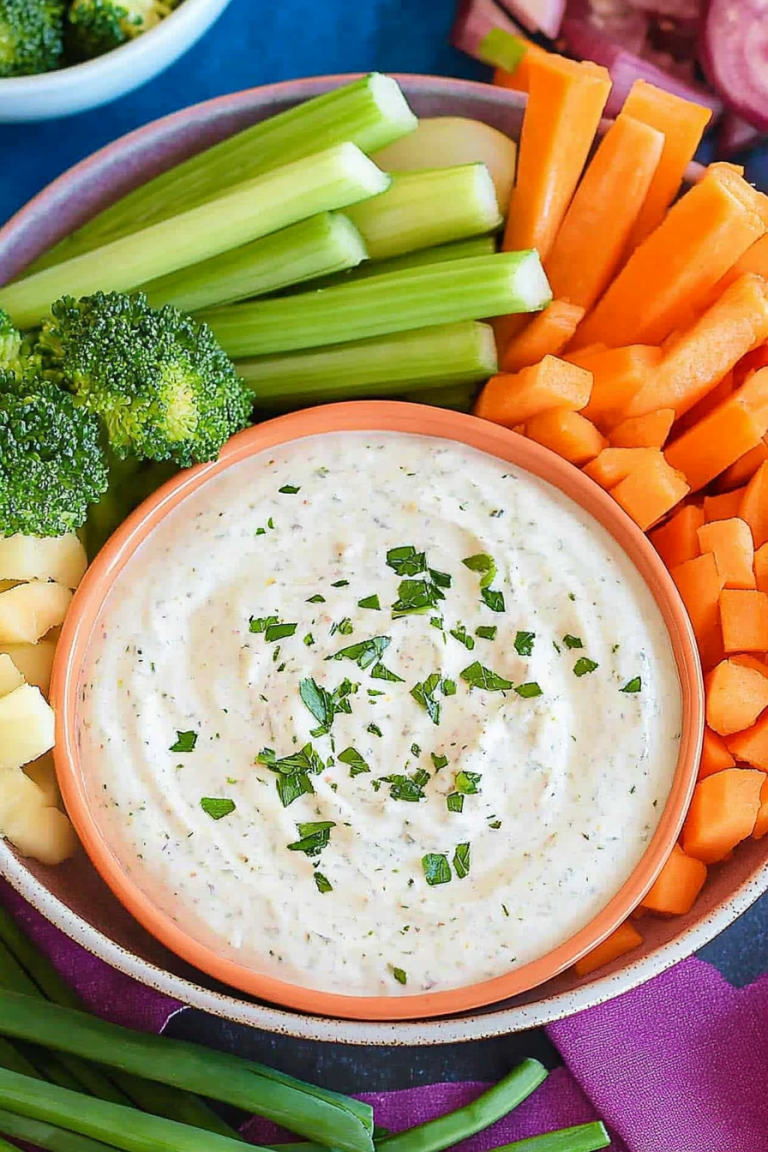
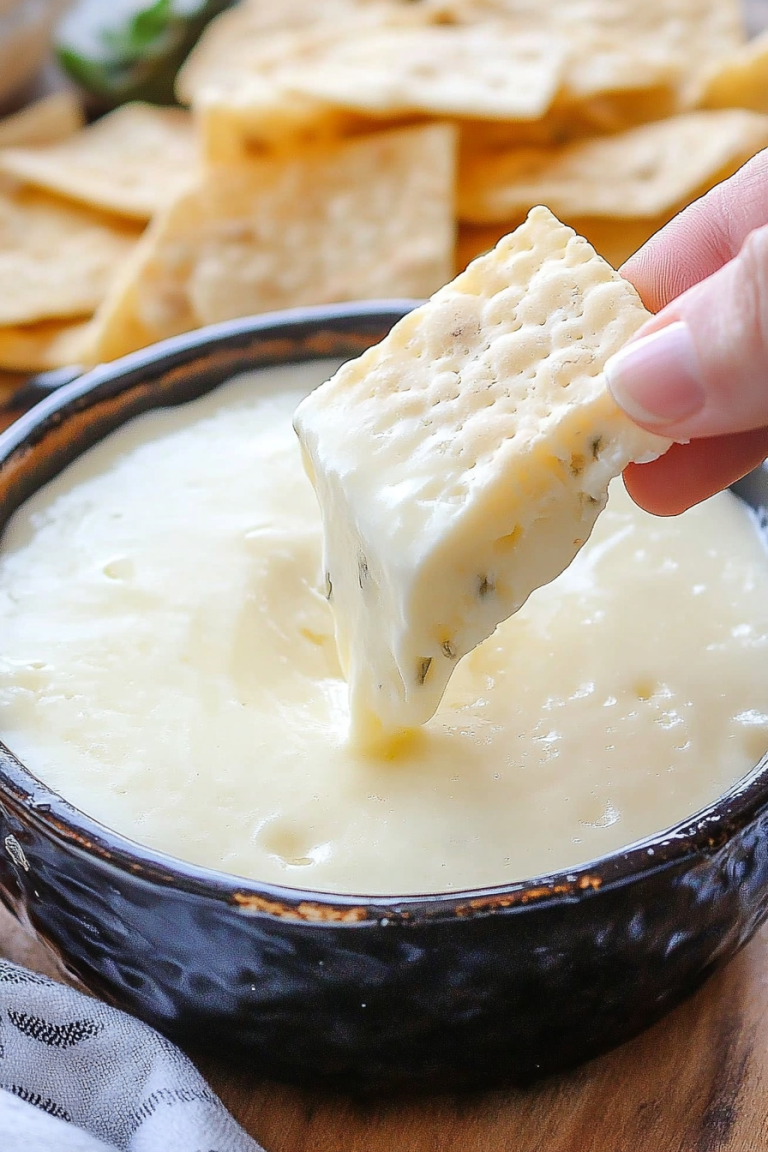
Give it a quick stir before serving, then spoon it into a bowl. You can serve it with pita chips, roasted veggies, grilled chicken, or even as a spread on sandwiches. It’s a crowd-pleaser at every lunch or dinner table I’ve brought it to!
What to Serve It With
This tzatziki is so versatile, I could write a whole book on pairing ideas. For breakfast, I love spreading it on toasted sourdough with a fried egg and some cherry tomatoes—I call it my Mediterranean breakfast. For brunch, serve it alongside grilled skewers or in a beautiful platter with hummus, olives, and fresh pita. It makes a fantastic side for grilled lamb or chicken—my go-to grilling combo in summer. And let’s not forget, it’s simply irresistible as a dip with crispy veggies or pita chips during movie night or game day. Sometimes I dollop it over roasted sweet potatoes or toss it with quinoa salad for a cooling bite. It’s become a household hero because you can customize it so easily, depending on what you’re craving or what’s in the fridge.
Top Tips for Perfecting Your Tzatziki
Over the years, I’ve picked up a few tricks that make all the difference. First, always use full-fat Greek yogurt if you want that rich, creamy texture—low-fat just doesn’t cut it here. When grating cucumbers, I prefer English or Persian varieties—they’re seedless and less watery, which saves you a step. After grating, make sure to squeeze out as much moisture as possible—trust me, watery tzatziki is no fun. I learned this trick after a few failed batches! As for garlic, start small—you can always add more, but it’s hard to tone down if you put in too much. For herbs, fresh is best, but if you only have dried, use about half the amount. When swirling over the finished dip, a drizzle of good olive oil adds that extra touch of richness and makes it look restaurant-worthy. I also test different herbs—sometimes I blend dill and mint for a fresh, complex flavor. And don’t rush the chilling step; giving it time in the fridge lets all that flavor sink in and creates that irresistible, cooling effect.
Storing and Reheating Tips
Keep your tzatziki fresh by storing it in an airtight container in the refrigerator. It’s best enjoyed within 2 days because that’s when the garlic and herbs are at their peak. I find that coverage with plastic wrap directly on the surface helps prevent it from drying out or absorbing fridge odors. If you want to make it ahead for a party, prepare it a day in advance—just give it a quick stir before serving. Sorry to burst your bubble, but it’s not ideal to freeze because yogurt can get grainy upon thawing, and the texture isn’t quite the same. When reheating or serving leftovers, just give it a gentle stir and maybe add a splash of fresh lemon juice or olive oil to brighten it back up. Trust me, it’s best served chilled, so don’t forget to keep it in the fridge until right before you’re ready to eat. No matter how you store it, always do a quick taste test after a day or so to make sure those flavors are still shining.
Frequently Asked Questions
Final Thoughts
Honestly, I can’t recommend making your own tzatziki enough. It’s one of those simple pleasures that elevates any meal—whether it’s a quick snack, a barbecue side, or a special dinner. Every time I whip up a batch, I’m reminded how fresh ingredients and a little love make all the difference. Plus, once you get the hang of it, you can tweak the herbs, garlic, or acidity to match your taste perfectly. It’s become my secret weapon for parties, family dinners, or even just a lazy weekend lunchtime. If you try this recipe, I’d love to hear how it turns out—share your tweaks, your favorite pairings, or even your own stories. Happy baking, and enjoy every creamy, herby bite! I promise, once you taste it homemade, you’ll never go back to store-bought.
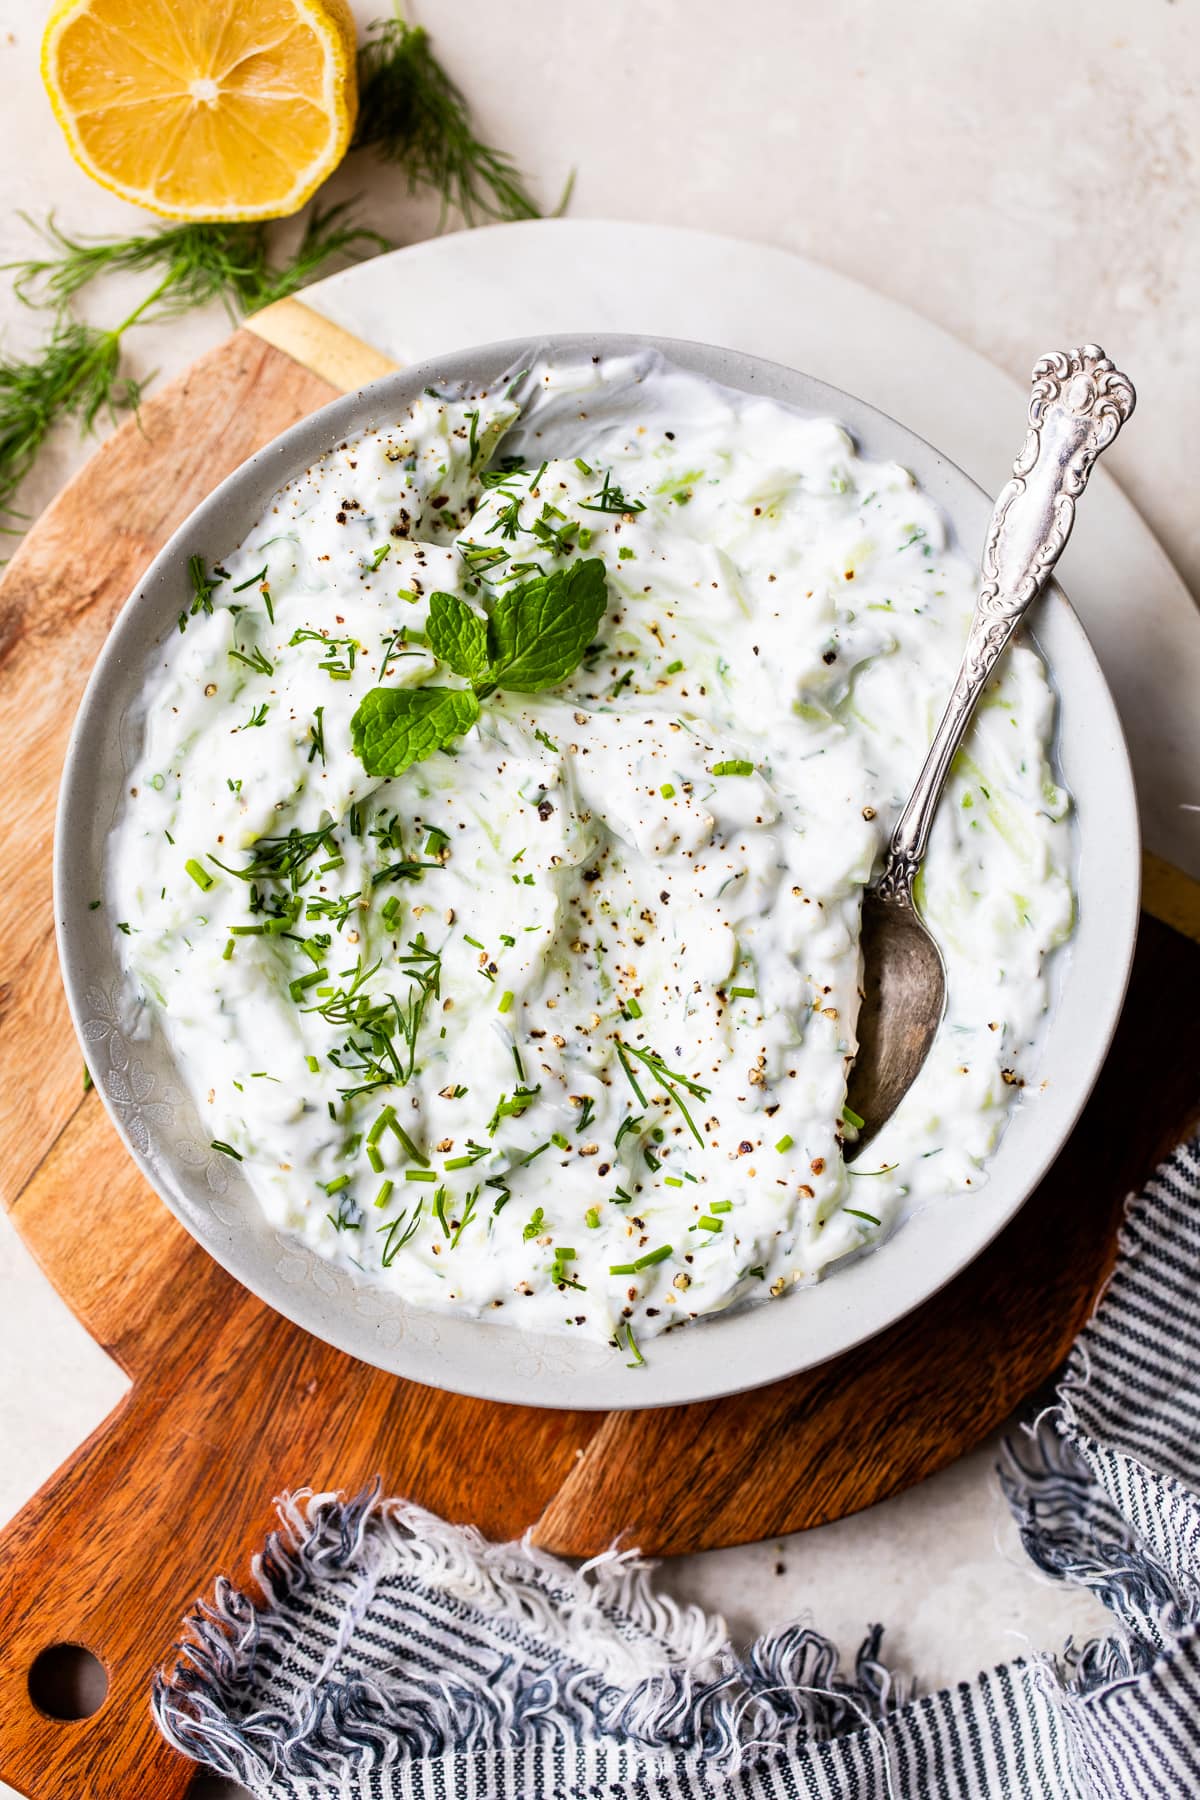
Homemade Tzatziki Sauce
Ingredients
Method
- Strain the yogurt using a metal strainer or a coffee filter for a few hours to remove as much liquid as possible. Set aside.
- Scoop seeds out of the cucumber with a small spoon. Place cucumber in a mini food processor or grate with a box cheese grater. Drain the liquid from the cucumber in a metal strainer and sprinkle with a little salt to help release the liquid.
- Combine strained cucumber, garlic, yogurt, lemon juice, dill, chives, salt, and pepper. Mix well and refrigerate for at least 1 hour before serving.
- Serve chilled as a dip or sauce.