Easy Orange Veggie Bites for Your Pup
If you’ve ever had that moment when you’re rummaging through your pantry and spot a lonely bag of carrots lingering in the crisper, I bet you’ve also thought, “What can I do with these bright orange beauties besides just chopping them into salads?” Well, let me tell you—this recipe for carrot treats is a total game-changer. It’s like biting into a little piece of sunshine—sweet, moist, and packed with wholesome goodness. I always do this when I want something hearty yet comforting, and honestly, my kids ask for these all the time. They disappear faster than I can say “healthy snack!” Plus, it’s so easy that even on my busiest days, I whip these up in no time, and they turn out perfect every single time. This one’s a lifesaver on busy nights or when I need a sneakily nutritious treat that feels like a indulgence. Trust me, once you try making these carrot treats, they’ll become a staple in your home, too.
What are carrot treats?
Think of carrot treats as a cozy, slightly sweet snack that combines the natural earthiness of carrots with a tender, cake-like crumb. It’s essentially a versatile little recipe—kind of like a muffin but more moist and almost fudgy in the center. The name “carrot treats” comes from their approachable, family-friendly vibe; they’re a treat, but built on the goodness of fresh carrots. This dish is inspired by traditional carrot-based baked goods, but I’ve adapted it to be simple, quick, and perfect for anytime you’re craving a quick sweet pick-me-up. What I love most about these treats is how flexible they are—you can add walnuts, raisins, or even a dash of cinnamon for extra flavor. It’s like your favorite carrot cake’s humble, snackable cousin, but healthier and just as delicious.
Why you’ll love this recipe?
What are some of the best reasons to make carrot treats?
- Flavor:What is the best way to add cinnamon to a carrot?
- Easy to Make: No complicated steps, no overly fancy ingredients. It’s all about simple pantry staples and a few fresh carrots. Plus, I tested this with a food processor for quick grating—so fast!
- Cost-efficient: Carrots are super budget-friendly, and you probably have all the other ingredients in your kitchen already. It’s a win-win for your wallet and your appetite.
- Versatile: These treats are perfect for breakfast, snacks, or even dessert if you add a drizzle of honey or icing. My kids love them warm from the oven with a dollop of yogurt or a glass of milk.
This is one of those recipes you can almost wing, which makes it perfect for those moments when you want something sweet but don’t want to fuss over complicated baking. And honestly, once you taste that first warm, fragrant bite, you’ll realize it’s more than just a snack—it’s a little moment of comfort that sticks around in your memory long after the last crumb.
How to Make Carrot Treats
Quick Overview
This recipe is a straightforward mix-and-bake situation. I like to blitz the carrots until finely grated (or even pureed if I’m in a hurry), then stir everything together in one bowl. No fancy techniques—just good, honest baking. The batter comes together in minutes, poured into a lined pan, swirled with your favorite fillings or add-ins, and baked until golden and moist. What makes this recipe shine is how forgiving it is—overmixing won’t ruin it, and you can customize flavors to suit everyone’s taste buds. Once it’s baked, you let it cool just enough so it slices easily. The smell alone will have everyone asking, “When’s it ready?”
Ingredients
For the Main Batter:
– 2 cups grated carrots (about 3 large carrots, peeled and finely grated)
– 1 1/2 cups all-purpose flour (I often use whole wheat for extra nutrition)
– 1/2 cup sugar (honey or maple syrup works great here too)
– 1/2 teaspoon baking powder
– 1/2 teaspoon baking soda
– 1 teaspoon cinnamon (optional but highly recommended)
– 1/4 teaspoon salt
– 1/3 cup vegetable oil or melted coconut oil
– 3 large eggs (or flax eggs for a vegan version)
– 1 teaspoon vanilla extract
For the Filling (Optional):
– Raisins, chopped nuts, or chocolate chips
– A teaspoon of lemon zest or orange zest for a citrus boost
– A spoonful of cream cheese or yogurt swirl for extra richness
For the Glaze (Optional):
– Powdered sugar mixed with a splash of milk or lemon juice
– Honey drizzled lightly on top
– A sprinkle of extra cinnamon for that warm finish
Step-by-Step Instructions
Step 1: Preheat & Prep Pan
Set your oven to 350°F (175°C). Line a square or rectangular baking pan with parchment paper, or grease it lightly. Doing this early means less fuss later when you’re ready to bake. I always do this first—more organized, less rushing. Plus, parchment makes cleanup a breeze!
Step 2: Mix Dry Ingredients
In a big bowl, whisk together the flour, baking powder, baking soda, cinnamon, and salt. This gives everything a good distribution so nothing clumps together. Trust me, skipping this step can lead to uneven rising, and no one wants a dense corner—unless you’re making bread, but not here!
Step 3: Mix Wet Ingredients
In another bowl, beat the eggs, then stir in the oil, vanilla, and sweetener. I’ve tested this with honey and maple syrup—it makes it a little more fragrant and moist. I’ve also tried almond milk once and, believe it or not, it made it even creamier. Once combined, the mixture should be smooth and fragrant, ready to mingle with the dry ingredients.
Step 4: Combine
Pour the wet mixture into the dry ingredients. Gently fold everything together—don’t overmix! You’re aiming for a moist, lumpy batter, not a smooth cake batter. Overmixing can toughen the treats, and nobody wants that. It’s okay if there are a few streaks of flour here and there.
Step 5: Prepare Filling
If you’re adding extras like raisins or nuts, fold them in now. If you’re feeling fancy, swirl in a spoonful of cream cheese or scatter chocolate chips on top just before baking. This is also a good place to add zest or spices for a personalized touch.
Step 6: Layer & Swirl
Pour half of the batter into your prepared pan, then sprinkle or dollop your filling ingredients over it. Cover with the remaining batter and gently swirl with a knife to create pretty marbled patterns. It’s not rocket science—just aim for a gentle swirl to keep the filling visible but evenly distributed.
Step 7: Bake
Pop it into the oven for about 25-30 minutes. Test doneness with a toothpick—it should come out clean but also allow for a little moist crumb for that melt-in-your-mouth feel. Keep an eye on it around the 25-minute mark—ovens vary, and I’ve had mine turn from perfect to overdone in seconds!
Step 8: Cool & Glaze
Let the treats cool in the pan for about 10 minutes, then transfer to a wire rack. If you’re glazing, do it when they’re just warm—not hot. Powdered sugar glaze or honey drizzle is my tried-and-true. The smell during cooling is heaven—sweet, spicy, and inviting.
Step 9: Slice & Serve
Use a sharp knife to slice into squares. Serve warm or at room temperature, with a cup of tea or a glass of milk. If you’re making it for breakfast, really, a dollop of Greek yogurt balances the sweetness beautifully. The texture should be moist and tender, with little bits of carrot visible, giving each bite a lovely chew.
What to Serve It With
This treat is super versatile! For breakfast, I love pairing it with a strong black coffee or a milky latte—it’s what I call a “morning hug.” My kids prefer theirs warm with a splash of milk or a drizzle of honey. When I’m entertaining for brunch, I’ll serve slices stacked high with fresh berries and a dollop of Greek yogurt. It’s equally wonderful as a dessert—served warm with a scoop of vanilla ice cream or topped with whipped cream and a dusting of cinnamon. On lazy weekends, I’ll cut thick slices and toast them slightly to make them extra crispy, just to add a bit of texture contrast. Honestly, these carrot treats are my go-to for anytime my sweet tooth strikes, and everyone always asks for seconds.
Top Tips for Perfecting Your Carrot Treats
Over the years, I’ve learned a few tricks to make these treats unbeatable:
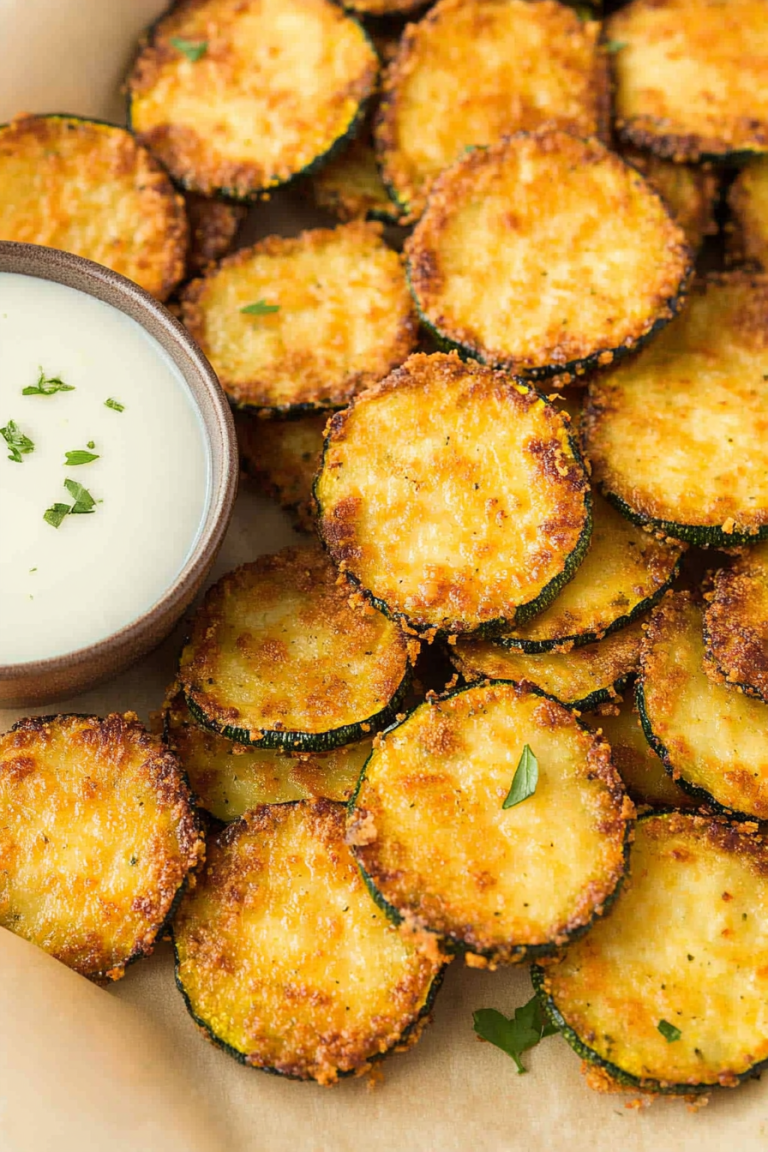
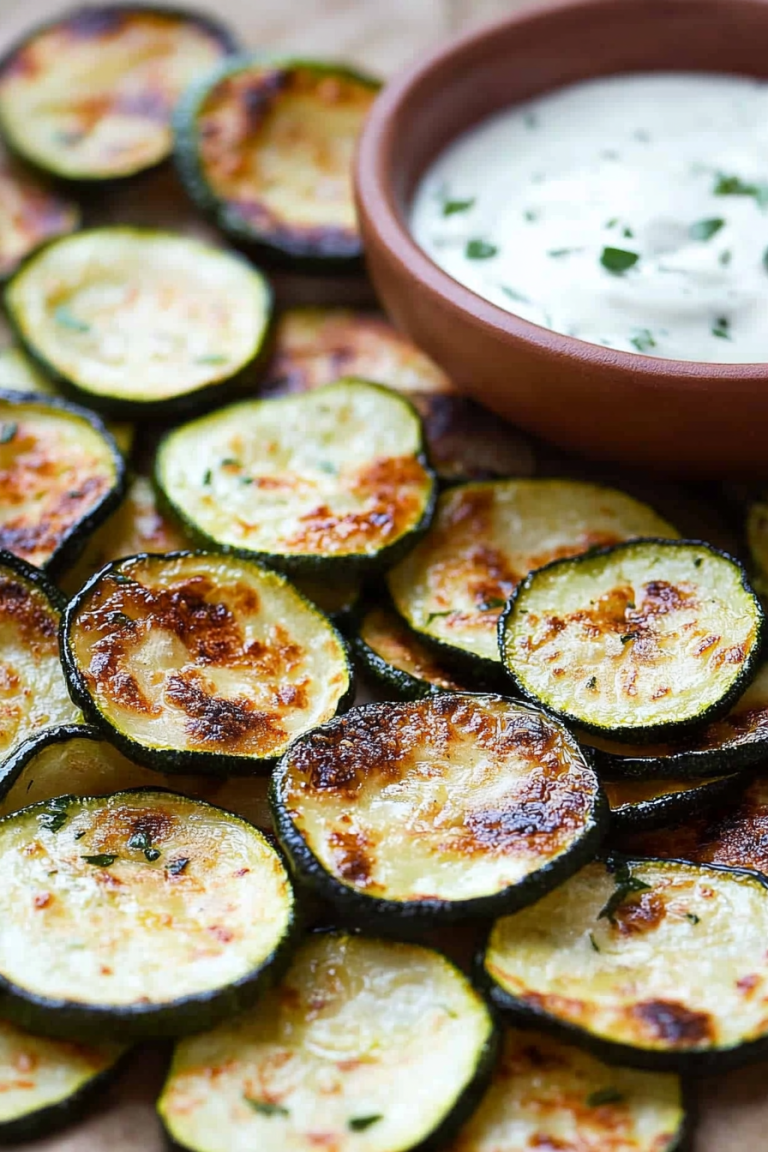
- Zucchini Prep: If you want even more moisture, try mixing in grated zucchini—just squeeze out the extra water first! It’s a sneaky way to boost nutrition.
- Mixing Advice: Avoid overmixing once the wet and dry are combined. I used to think a smooth batter was best, but now I embrace a slightly lumpy one—it keeps the treats tender and moist.
- Swirl Customization: Experiment with different fillings—try apple compote or coconut flakes. The visual appeal of a marbled effect or layered look makes it extra special.
- Ingredient Swaps: Swap out all-purpose flour for almond or oat flour if you want a gluten-free version, but remember it might change the texture slightly—more dense and hearty, which I actually love.
- Baking Tips: Keep an eye on the oven—it’s easy to overbake once you’re used to the aroma pulling you in. Use a toothpick for test doneness—it should come out moist but clean.
- Glaze Variations: Add a splash of lemon juice or vanilla to your glaze for different flavor profiles. Keeping it simple with powdered sugar and milk works perfectly, but feel free to get creative!
From my experience, a little patience and some personal tweaks turn these carrot treats from good to absolute favorites. Remember, every oven is different, so don’t be afraid to adjust baking times or ingredients based on what you’re craving or what’s in your kitchen.
Storing and Reheating Tips
Once baked and cooled, these treats keep well for several days. Here’s how to keep them fresh:
- Room Temperature: Wrap in foil or store in an airtight container for up to 2 days. They’re best eaten within the first 24 hours when still warm and fragrant.
- Refrigerator Storage: In an airtight container, they last about 4-5 days. To revive their moistness, gently microwave for 10-15 seconds, or warm in the oven for a few minutes.
- Freezer Instructions: Wrap slices individually in plastic wrap, then store in a freezer bag for up to 3 months. Thaw at room temp or gently reheat in the microwave. Freezing slightly affects moisture, so bring them back to life with a quick steam or warm oven.
- Glaze Timing: Add your glaze or topping right before serving to keep it fresh and glossy. If you’re freezing, wait until the treats are fully thawed before glaze application to prevent sogginess.
This way, you can enjoy your homemade carrot treats for days, whether you’re craving breakfast or a cozy snack in the evening. Trust me, nothing beats biting into a treat you made yourself, especially when it tastes this good.
Frequently Asked Questions
Final Thoughts
There’s something incredibly satisfying about these carrot treats—they’re wholesome, versatile, and make me feel good knowing I’ve snuck some vegetables into a delicious snack. My family’s favorite moments are when I pull these out of the oven still warm, with that inviting aroma filling the house. They’re easy enough for a weeknight but special enough to serve to friends. Plus, experimenting with fillings and flavors is half the fun—I’ve learned that a handful of walnuts or a sprinkle of crystallized ginger can elevate these treats to new heights. If you love carrots and baking comfort, I wholeheartedly recommend giving this recipe a try. I’d love to hear your variations or how you customize yours—feel free to leave a comment or share your spin on it. Happy baking, and I can’t wait to hear how yours turn out!
Homemade Carrot Dog Treats
Ingredients
Method
- Preheat the oven to 325°F. Line 2 baking sheets with parchment paper.
- In a medium bowl, whisk together 1 ¾ cups of whole wheat flour and baking powder.
- Add the finely shredded carrots, creamy peanut butter, water, eggs, and honey to a mixing bowl and stir until combined.
- Gradually stir in the flour mixture until the dough appears firm but not dry. Add more water if needed.
- Dust work surface and rolling pin with reserved flour. Roll dough to about ¼ inch thickness.
- Cut out shapes using a 3 inch dog bone cookie cutter and place on prepared baking sheets.
- Bake for 20 to 25 minutes until edges are golden brown. Cool treats on a wire rack.