Easy Asian Rice Recipe Explained
There’s something about a steaming bowl of perfectly cooked Asian rice that instantly takes me back to childhood Sunday dinners at my grandma’s house. I remember the smell of jasmine rice wafting through the kitchen, filling the air with comfort and warmth. It’s incredible how a simple bowl of rice can transform a meal — fluffy, tender, and just the right amount of stickiness. Honestly, I used to struggle with getting rice just right, especially when I wanted that perfect, slightly chewy texture that Asian rice is known for. But after years of experimenting, I finally nailed it — and trust me, this isn’t some fancy method from a cooking school. It’s just a recipe that’s become a staple in my home, especially on busy weeknights when I need something quick, satisfying, and honestly, a little nostalgic. My kids ask for this all the time, and it disappears in minutes at my house. So, I figured I’d share my secret with you — it’s practically foolproof, I promise! Whether you’re making a stir-fry, sushi, or just a cozy bowl of rice, this one’s a lifesaver.
What is Asian rice?
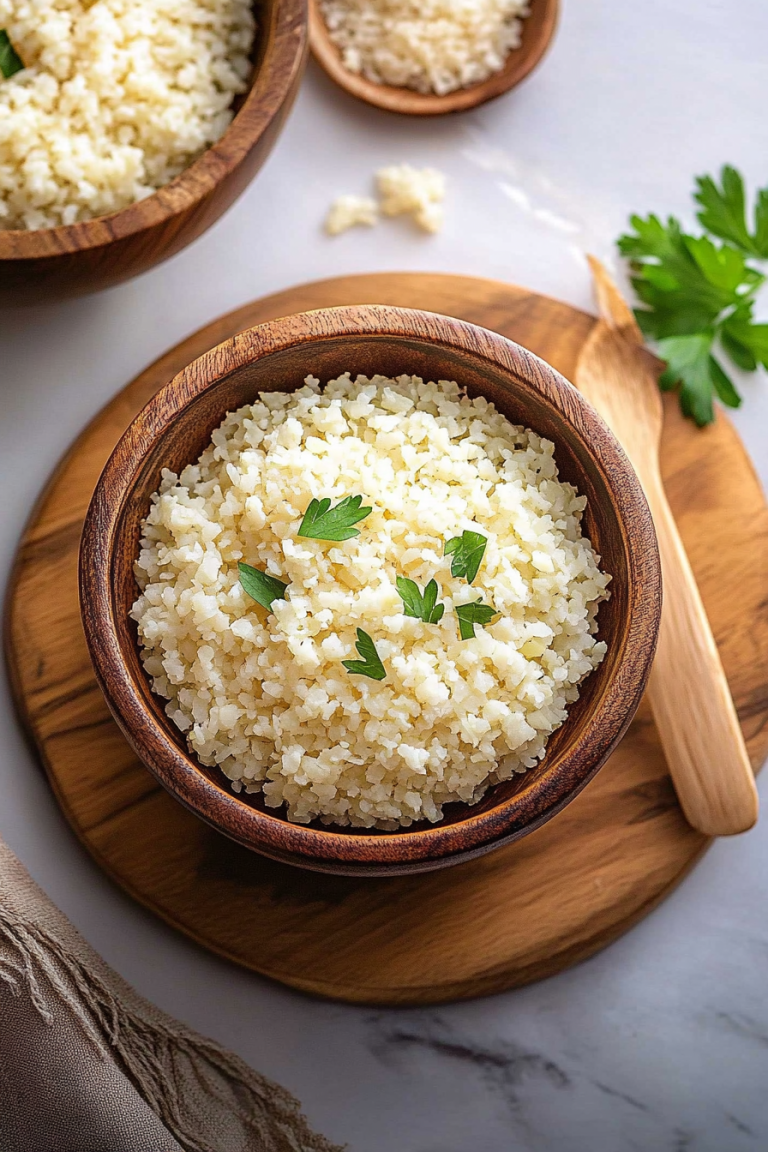
When I say “Asian rice,” I’m talking about a broad category that includes different types of rice commonly used across Asia — think jasmine, basmati, sushi rice, or short-grain varieties. But for this recipe, I primarily focus on jasmine rice because it’s aromatic, slightly sticky, and just plain good with Asian dishes. Think of it as the backbone of countless family dinners — the kind where everyone gathers around the table with chopsticks in hand, chatting and laughing over steaming bowls. The beauty of Asian rice is in its texture; it’s supposed to be fluffy yet slightly chewy, with each grain distinct but rewarding to bite into. It’s essentially a blank canvas that absorbs flavors beautifully, making it perfect whether you’re serving it plain or topped with a savory sauce. Over the years, I’ve learned that the secret isn’t just the rice itself but how you cook it — that’s what makes all the difference.
Why you’ll love this recipe?
What I love most about this is how straightforward and forgiving it is. I’ve made this countless times, and it never fails me — no more mushy rice or dry grains. The smell alone is enough to make the whole house smell like a cozy Asian market. Plus, it’s budget-friendly — you probably already have all the ingredients in your pantry. And versatility? Oh, it’s endless. Serve it as a side with a stir-fry, turn it into fried rice the next day, or use it as the base for sushi bowls. Honestly, I even tested this with a little coconut oil instead of plain water, and it made the rice even more fragrant. What’s more, my kids actually ask for seconds now, which is a big win in our house! This rice is perfect when you’re craving something savory and satisfying but don’t want to fuss with complicated recipes. It’s the kind of dish that feels like a warm hug — simple, cozy, and incredibly tasty.
How do I make Asian rice?
Quick Overview
This recipe is all about the ratio of water to rice and a gentle steam that keeps each grain perfectly fluffy. I always do this when I want a dependable side for anything from chicken stir-fry to a veggie bowl. The key is rinsing the rice well to remove excess starch, then simmering it gently on the stove until all the water has been absorbed. It’s a simple process, but a few little tricks—like letting it rest off the heat—make all the difference. The result? Light, tender rice with just the right chew. Trust me, once you get this down, you’ll never settle for soggy or undercooked rice again.
Ingredients
For the main rice: What is the best way to prepare it?
– 2 cups jasmine rice (I like to rinse it until the water runs clear—trust me on this, it keeps the grains from clumping together!)
– 2 ½ cups water (or broth for extra flavor)
– 1 teaspoon salt (optional, but it enhances the flavor)
Optional Add-ins or Variations:
– 1 tablespoon sesame oil for a nutty aroma
– A few drops of soy sauce or fish sauce for depth
Step-by-Step Instructions
Step 1: Preheat & Prep Pan
Start by rinsing your rice in cold water until it runs clear — this removes the excess starch that can make your rice gluey. Then, drain well. I always do this first because it’s the secret to achieving that light, fluffy texture without any stickiness. Grab a heavy-bottomed pot with a tight-fitting lid — I swear, a good pot makes all the difference. Make sure it’s nice and clean, then add your rinsed rice and water. Bring it to a gentle simmer over medium heat — no stirring yet, just watch for those tiny bubbles to show up.
Step 2: Mix Dry Ingredients
Here, it’s just dissolving the salt in the water as the rice cooks — simple, but it ensures even seasoning. I sometimes add a splash of broth or cook with a little ginger or garlic to boost flavor, but that’s optional.
Step 3: Mix Wet Ingredients
Once your rice starts simmering, lower the heat to the very gentle side. Cover the pot tightly and let it do its thing. Avoid lifting the lid — steam keeps everything nice and tender. I do this part over about 15 minutes, but think of it more as “until the water’s absorbed” rather than a strict timer.
Step 4: Combine
When the rice has absorbed all the water and looks fluffy, turn off the heat and let it sit, covered, for another 10 minutes. This resting step is key — it allows the grains to finish steaming and prevents that annoying mushy texture.
Step 5: Prepare Filling
If you want to jazz up your rice—say, with some scallions, toasted sesame seeds, or chopped peanuts—this is the time to do it! I love stirring in a little soy sauce or sesame oil for that authentic Asian aroma. Keep it simple and taste as you go.
Step 6: Layer & Swirl
Once rested, fluff the rice gently with a fork — no fork stabbing, just tender fluffing. If you’re making a layered dish or want a marble effect, you can layer rice and fillings in a bowl and swirl slightly. It’s like creating edible art with grains.
Step 7: Bake
This step is optional, but if you want a crisp top or a baked rice casserole style, pop it in the oven at 375°F (190°C) for 10-15 minutes after assembling. Just cover with foil or a baking sheet. In my experience, most of the magic happens right on the stovetop, but it’s great for finished textures.
Step 8: Cool & Glaze
Let your rice rest just a little longer before serving — this helps all those flavors meld together. If you’re glazing, brush it on when the rice is slightly warm, so it seeps into the grains without making everything soggy.
Step 9: Slice & Serve
If you’re making a rice pie or layered dish, use a serrated knife to cut clean slices. For bowls, just fluff up the grains and serve warm. Garnish with fresh herbs or sesame seeds, and enjoy that fragrant, perfectly textured bite—which, I promise, is better than any store-bought instant rice.
What to Serve It With
This rice is versatile enough to serve in all kinds of ways. For breakfast, try a fried egg and a drizzle of soy; for brunch, I love piling it high with sautéed veggies and grilled chicken. As a side, it’s perfect alongside Thai green curry, Korean bulgogi, or even a simple stir-fry. Leftover rice makes *the* best fried rice — just toss it in a hot pan with some garlic, soy, and any leftover protein or veggies. My family’s tradition is to have a big veggie-filled rice bowl on Fridays, topped with soft-boiled eggs and a splash of sriracha. It’s comfort food at its finest. Plus, I find that having a good batch of rice in the fridge makes weeknights so much easier. Just reheat with a splash of water or broth, and you’re good to go!
Top Tips for Perfecting Your Asian Rice
Over the years, I’ve learned a few tricks that make all the difference. First, always rinse your rice unless you’re in a rush — those excess starches make it sticky and gluey, and we want fluffy grains, not clumps! Second, don’t lift the lid during cooking — steam is your friend. I’ve made that mistake more times than I can count, and it can turn everything soggy. A good heavy-bottomed pot with a tight lid helps keep that steam in. Third, once cooked, let it rest — so many people skip this step, but it’s crucial. Resting allows the moisture to distribute evenly, making each grain perfect. When it comes to flavor upgrades, I like adding a splash of toasted sesame oil or a few drops of soy for depth. And trust me, mastering the fluffing technique—gently pulling apart the grains with a fork—is what makes your rice stand out. I tested a bunch of different types of rice, and jasmine always wins for that fragrant, tender bite. If you want to switch things up, try substituting broth for water — it adds an instant layer of flavor. For the glaze, honey and soy enjoy a lovely dance, but I’ve also loved a sprinkle of toasted sesame seeds or a drizzle of chili oil for a spicy twist.
Storing and Reheating Tips
Any leftover rice is a blessing, but it needs the right storage to stay fresh. For short-term, keep it in an airtight container in the fridge for up to 4 days. Make sure it’s cooled down first — hot rice in a sealed container can cause condensation and spoilage. To reheat, sprinkle a little water over the rice and microwave in short bursts, fluffing it every time. For longer storage, freezing in portions works great. Wrap the rice tightly in plastic wrap, then store in a freezer-safe bag or container for up to a month. Thaw in the fridge overnight, then reheat as usual. Remember, freshly cooked rice tastes best, but leftover rice, when stored properly, can be just as delicious with a quick reheat. If you added a glaze or toppings, reapply them after reheating rather than cooking them for the first time — it keeps everything fresh and flavorful.
Frequently Asked Questions
Final Thoughts
If I had to pick one thing I always keep in my kitchen, it’s a big bag of good-quality jasmine rice. Once you learn how to cook it perfectly, it becomes a blank canvas for all kinds of deliciousness. Whether you’re serving it with fried eggs in the morning or building a layered rice bowl for dinner, this recipe will never let you down. You’ll notice that the house smells incredible every time I make it — and that smell alone gets everyone excited for dinner. Don’t be surprised if friends start asking for your secret. Honestly, I feel like this humble dish is the heart of so many great memories and everyday moments. So go ahead, give it a try — I can’t wait to hear how yours turns out! And if you tweak the recipe, add your personal touch, or have your own tips, leave a comment below — I love hearing from fellow rice enthusiasts. Happy cooking!
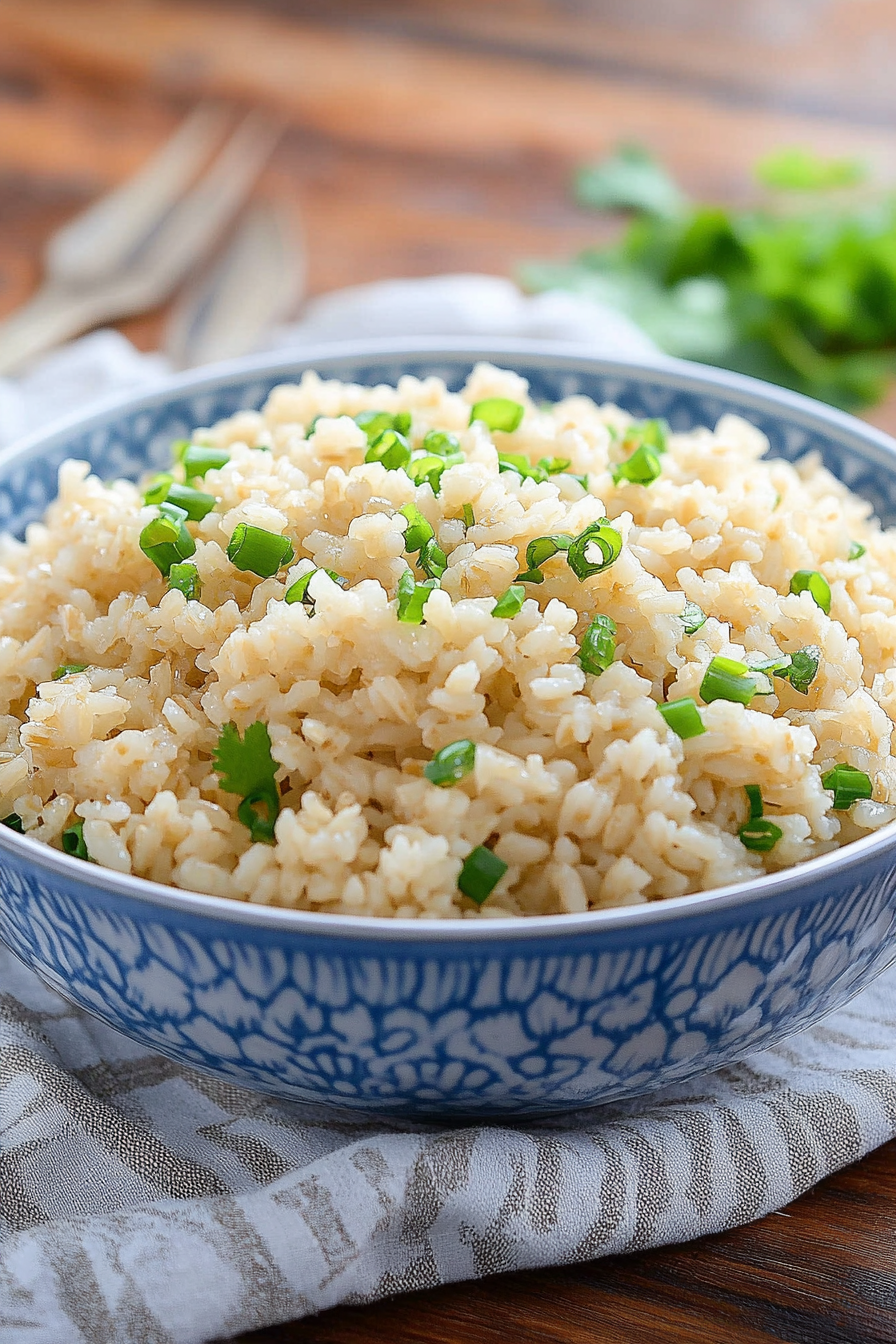
Simple Asian Rice
Ingredients
Method
- Combine the rice and the chicken stock in a large saucepan or skillet, cover with a lid and bring to a boil. Reduce the heat to low and simmer for 18 minutes.
- At the end of the cooking time, stir the rice and check the rice for tenderness. If the liquid has been absorbed, drizzle with the soy sauce and sesame oil and toss well to coat.
- Add frozen peas, if desired, and stir to combine. The heat of the rice will cook them in just a minute or two. Taste the rice, and add salt, only if needed. Add the green onions, stir and keep covered until ready to serve. Enjoy!