Sweet Cherry Chocolate Cookies How To
There’s just something about a warm, gooey cookie that instantly makes everything feel a little brighter, don’t you think? I remember the first time I baked these chocolate cherry cookies—my kitchen was filled with the intoxicating aroma of rich chocolate and sweet, tart cherries. My kids couldn’t keep their paws away, and the best part? It’s so easy to whip up a batch when that craving strikes late at night or when friends drop by unannounced. Honestly, these cookies have become a household favorite—not just because they taste incredible, but because they’re kind of a fun mix of silky chocolate and fruity bursts in every bite. Plus, the combination of flavors is just next level. Trust me, once you make these, they’ll disappear faster than you can say “cookie time”! Just imagine biting into a chewy, chocolaty cookie with bits of bright, tangy cherries—pure magic. They’re my go-to when I want something comforting but a little fancy. And here’s a little secret: I always do this when I need a quick pick-me-up—bake a batch, and watch everyone’s mood lift right alongside those sweet, melty chips. Ready to dive in? Let’s do it!
What is chocolate cherry cookie?
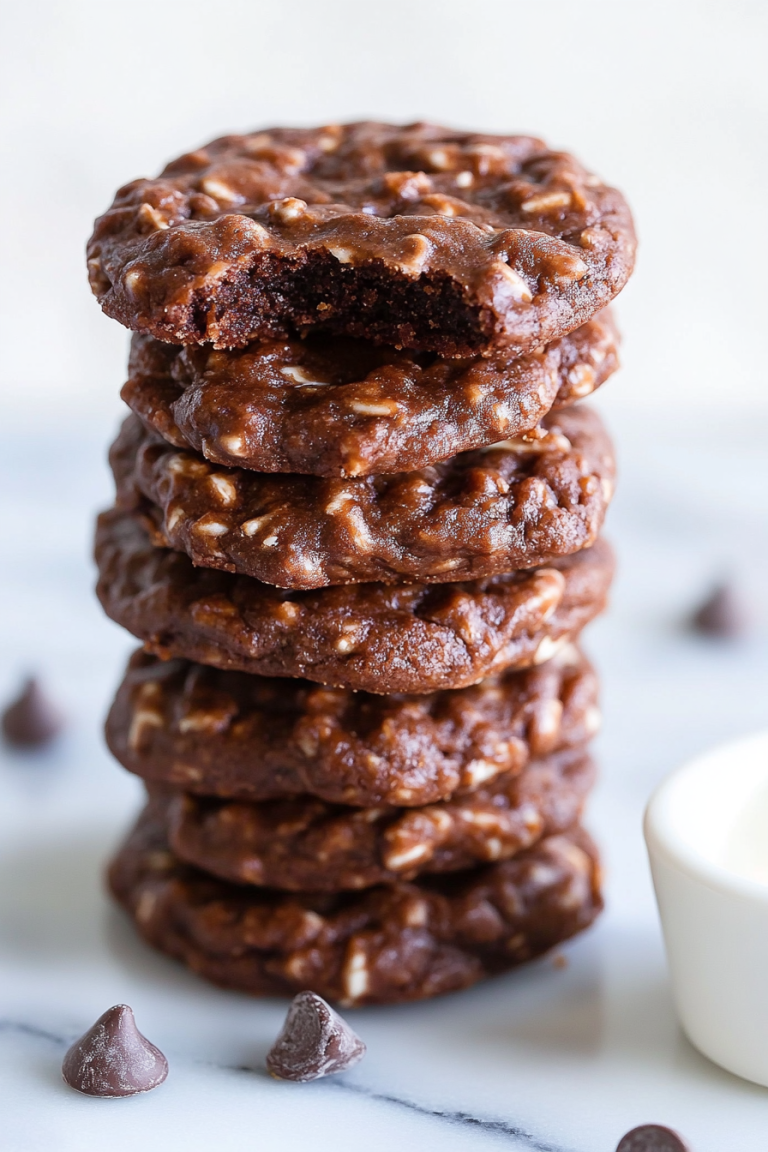
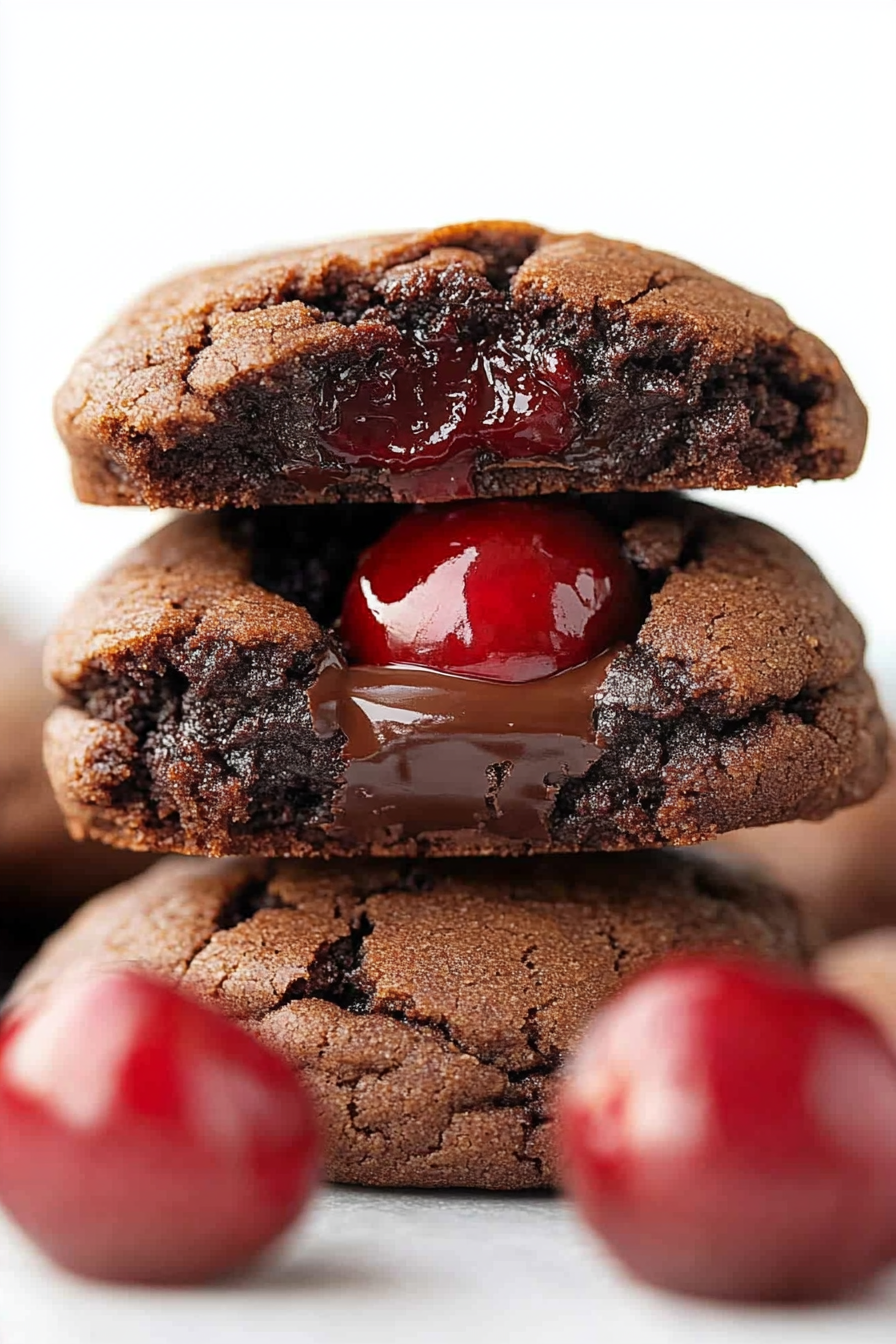
Think of chocolate cherry cookies as a plush, chewy cookie hugging bursts of sweetened dried cherries and pockets of melty chocolate. It’s essentially a decadent, fruit-festooned chocolate cookie, but super simple to make. The name says it all—they’re cookies flavored with rich cocoa and studded with tart cherries, giving a perfect balance of deep chocolate and bright fruitiness. Origin-wise, these cookies are a bit of a cozy modern twist on classic fruit and chocolate pairings—sort of a more indulgent take on black forest cake, but in cookie form. They’re fundamentally about that irresistible combo: melt-in-your-mouth chocolate contrasted with the zing of cherries. It’s like having dessert and a fruit snack all in one bite—your taste buds won’t know what hit ’em! These cookies are shape-shifters, too—they’re great for gifting, sweet treats on movie nights, or even packed in lunchboxes. Friendly, approachable, and undeniably delicious, they truly are a cookie everyone falls in love with once they try them.
Why you’ll love this recipe?
What I love most about these chocolate cherry cookies is how seamlessly they balance flavors—you get that deep, dark chocolate hitting all the right notes, but then there’s the bright pop of cherries that keeps things lively. They’re like a little party in each bite. Plus, they’re crazy easy to make. No complicated steps, just simple ingredients you probably already have in your pantry. Trust me, I’ve made these with a handful of shortcuts, and they still turn out perfect every time. And because they’re budget-friendly—hello, flour, cocoa, cherries—they don’t have to break the bank to be special. These cookies are infinitely versatile, too. Want to make them vegan? Swap out the butter and eggs for coconut oil and applesauce. Craving a little crunch? Add some chopped nuts or sprinkle a dash of sea salt on top before baking. My kids ask for these all the time, especially when I tell them they’re like a mini black forest cake in cookie form. They’re just a little bit fancy but totally comfort food at heart. Honestly, what I love most about this recipe is how it’s become a little tradition of ours—baking them together on chilly weekends, sharing a warm cookie with a glass of milk or a cup of tea. If you’re looking for a cookie that’s indulgent, easy, and downright addictive, this is it.
How do I make chocolate cherry cookies?
Quick Overview
This recipe walks you through mixing a simple cookie dough with cocoa and dried cherries, then gently swirling in chunks of melty chocolate. You’ll form the dough into balls or logs, chill for a bit, then bake until slightly crisp on the edges but still chewy inside. The magic lies in how effortlessly it comes together—you don’t need any fancy equipment, and it’s ready in about 30 minutes. I love that you can switch up the type of cherries or chocolate for different flavor twists. It’s a real ‘pull-together-from-stuff’ kind of recipe that’s perfect for when you want something satisfying—but don’t want to spend hours in the kitchen.
Ingredients
For the Main Batter:
– 1 cup (125g) all-purpose flour — I always use a good quality brand for the best texture.
– 1/2 cup (45g) unsweetened cocoa powder — Dutch-processed if you have it, for a richer flavor.
– 1 teaspoon baking soda — just to give a little rise.
– 1/4 teaspoon salt — to balance the sweetness.
– 1/2 cup (115g) unsalted butter, softened — I often do this with real butter for flavor, but you can try coconut oil for a dairy-free version.
– 3/4 cup (150g) granulated sugar — or a bit less if you prefer less sweet.
For the Filling:
– 1/2 cup (75g) dried cherries — opt for tart or sweet depending on your mood, but make sure they’re unsweetened.
– 1 cup (180g) semi-sweet chocolate chips or chopped chocolate — I like using a mix of chips and chopped bar for texture.
– Optional: a splash of almond extract or vanilla to deepen the flavor.
For the Glaze (optional but recommended):
– 1/2 cup powdered sugar
– 1-2 teaspoons milk or cream — add slowly until smooth
– A pinch of vanilla or cherry flavoring for extra punch
Step-by-Step Instructions
Step 1: Preheat & Prep Pan
Set your oven to 350°F (175°C) and line a baking sheet with parchment paper or a silicone mat. I always do this early so I’m ready to go once the dough is mixed. If you want perfectly round cookies, lightly spray or butter your hands to prevent sticking while shaping.
Step 2: Mix Dry Ingredients
In a bowl, whisk together the flour, cocoa powder, baking soda, and salt. Doing this ensures everything is evenly distributed—trust me, it makes a difference for consistent baking. The cocoa is what makes these cookies so rich and chocolatey—don’t skip it!
Step 3: Mix Wet Ingredients
In another large bowl, beat the softened butter and sugar until creamy and fluffy—about 2-3 minutes. I usually use a hand mixer for this, but a sturdy spoon works okay if you don’t mind a little arm workout. Add the vanilla or almond extract here for extra depth. Make sure the butter is softened but not melted; otherwise, your cookies may spread too much.
Step 4: Combine
Gradually add the dry ingredients to the wet, mixing on low speed or folding gently with a spatula. Be careful not to overmix—just until everything’s just combined. This step keeps the cookies tender and prevents them from becoming dense or tough.
Step 5: Prepare Filling
In a small bowl, toss the dried cherries and chocolate chips together. If you like, toss a little flour over the cherries first to keep them evenly dispersed while baking. Feel free to chop up some darker chocolate for a more sophisticated flavor—whatever makes your heart happy!
Step 6: Layer & Swirl
Add the cherry and chocolate mixture into your dough and fold gently. To get that pretty swirl effect, I like to split the dough into two, press one layer into the pan, spread some of the filling, then top with the second layer. Use a knife or toothpick to swirl gently—no need to be perfect, just aim for a marbled look. This step makes the cookies look as good as they taste.
Step 7: Bake
Pop them into your preheated oven and bake for 10-12 minutes. They might look a little soft in the middle—that’s exactly how I like ’em! They’ll firm up as they cool, so don’t overbake. Trust your nose and the golden edges as your signs of doneness. If you have oven hot spots, rotate the tray halfway through for even baking.
Step 8: Cool & Glaze
Let the cookies cool on the baking sheet for 5 minutes before transferring to a wire rack. Once cooled just enough to handle, drizzle with the glaze if you’re using it. I love to do this while they’re still warm—so the glaze melts just a little, creating a shiny, irresistible finish.
Step 9: Slice & Serve
If you baked in a log, slice once completely cooled. For individual cookies, just pick your favorites off the tray. Serve with a cold glass of milk, a cup of tea, or even a drizzle of extra melted chocolate. Honestly, these are best enjoyed within a few days, but they keep surprisingly well in an airtight container for up to a week. Just keep them away from direct sunlight so they stay soft and fresh.
What to Serve It With
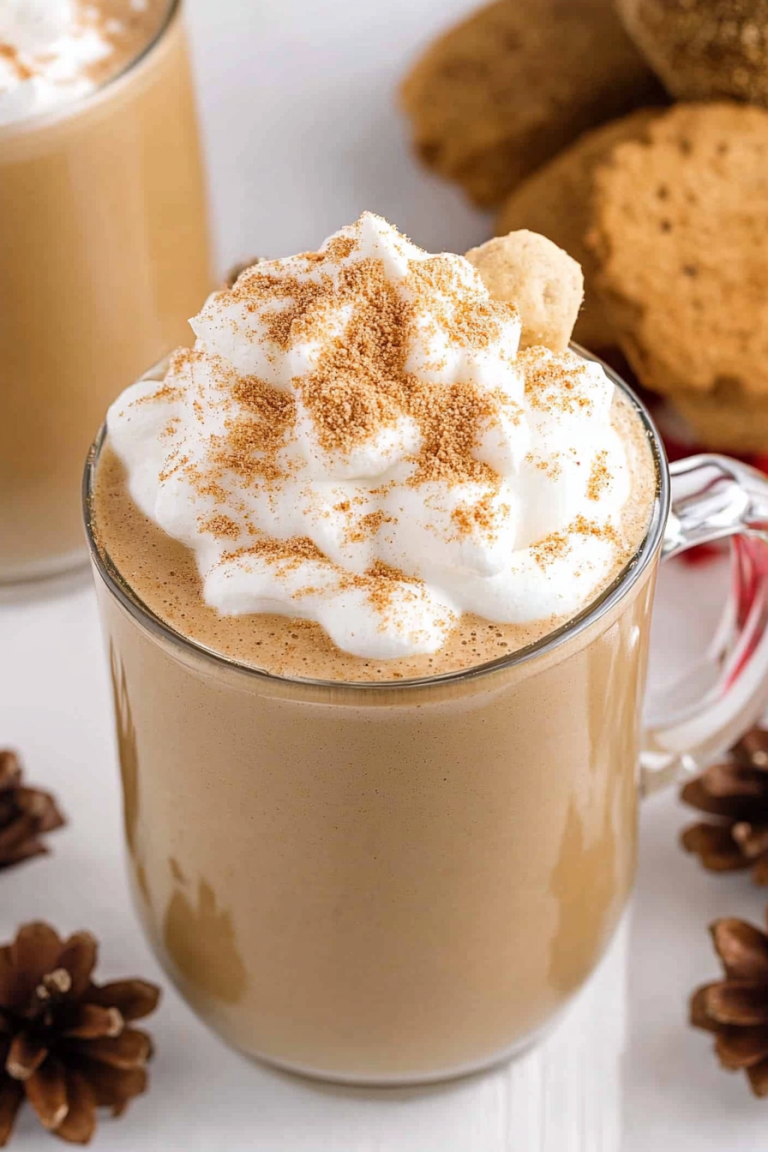
These cookies are incredibly versatile. For breakfast, pair them with a hot cup of coffee or a mug of steaming chai—that’s my personal favorite. They make a stunning addition to a brunch spread, maybe alongside some fresh fruit and creamy yogurt or whipped cream. As a dessert, they’re perfect served slightly warm with a scoop of vanilla ice cream or a dollop of whipped cream. For a casual snack, stack them in a jar and keep on the counter—my kids grab them whenever they’re looking for that little extra sweetness. Sometimes, I even turn leftovers into ice cream sandwiches for a fun twist. Honestly, these cookies do it all—sweet enough to satisfy any craving, yet simple enough that I don’t mind whipping up a batch any day of the week.
Top Tips for Perfecting Your Chocolate Cherry Cookies
Over the years, I’ve learned a few tricks that make these cookies turn out even better. Firstly, always soak your dried cherries in warm water for 10 minutes if they seem dry or leathery—this keeps them plump and juicy inside the cookie. I tested using fresh cherries, but they release too much moisture, which can make the dough sticky and tricky to handle. So, dried cherries are really the way to go. When mixing ingredients, don’t overdo it—just combine until everything’s blended. Overmixing can make your cookies tough, and nobody wants that chewy-dense feeling. I prefer to fold in the cherries and chocolate gently so they stay evenly distributed. For the swirl, use a skewer or toothpick to create pretty patterns—trust me, it will look classy and tempting. If you’re feeling creative, add a pinch of cinnamon or chili powder to the dry mix for a flavor surprise—that’s my little secret for grown-up taste buds. Baking time can vary depending on your oven and the size of your cookies, so keep an eye on them—you want that slightly crispy edge with a soft center. The glaze is optional, but it elevates the whole experience, adding that shiny finishing touch. I’ve tried making these allergen-free with coconut sugar and dairy-free butter—spoiler: they’re just as delightful, but I recommend that you keep an eye on the baking times since they can behave a little differently. Honestly, the best tip I can share is to embrace imperfections—each batch has its own quirks, but that’s what makes baking fun, right?
Storing and Reheating Tips
When it comes to storing these cookies, I like to keep them in an airtight container at room temperature for up to 4-5 days. They stay soft and chewy that way, and the glaze, if added, remains shiny and beautiful. Just make sure they’re completely cooled before sealing them—moisture can make the glaze slide off. If you want to keep them longer, pop them into a zip-top freezer bag or airtight container and store in the fridge for up to two weeks. They do lose a bit of their softness, but popping them in the microwave for about 10 seconds brings back that cozy, melty feel. Freezing is a solid option too—wrap each cookie individually, then layer them in a container with parchment paper in between. When you’re ready to enjoy, let them thaw at room temperature for a few minutes, or microwave for a few seconds until just warm. If I’ve glazed them, I prefer to add the glaze just before serving—otherwise, it can get a little dull in the fridge. Either way, these cookies are pretty forgiving, which makes them perfect for batch baking ahead of a busy week.
Frequently Asked Questions
Final Thoughts
If you’re craving something that hits all the right notes—rich chocolate, a hint of tartness, and a chewy, satisfying texture—these chocolate cherry cookies are your new best friend. I’ve shared this recipe with friends, family, even neighbors, and it’s always a hit. It’s one of those dishes that feels fancy enough for a special occasion but simple enough to make on a busy weeknight. Every time I bake a batch, I’m reminded that good things often come from just a few humble ingredients combined with a little love. So go ahead, try these out and let me know what you think. I can’t wait to hear how yours turn out! Happy baking—and don’t forget to share a cookie or two—you’ll want to! 🙂
Chocolate Cherry Cookies
Ingredients
Method
- Preheat oven to 350°F. Line baking sheets with parchment paper.
- In a bowl, whisk together flour and cocoa powder; set aside.
- Cream together butter, sugar, salt, baking powder, and baking soda until light and fluffy.
- Add egg and vanilla, mix well, scraping bowl as needed.
- Gradually add flour mixture to the wet ingredients on low speed until combined.
- Drop dough by tablespoonfuls onto prepared baking sheets, leaving about an inch apart.
- Make an indent in the center of each cookie with thumb or small spoon.
- Place a cherry into each indent.
- In a saucepan, melt chocolate chips, condensed milk, and 2 teaspoons of reserved cherry juice over medium-low heat, stirring until smooth.
- Fill each cherry indentation with about 1 teaspoon of the chocolate mixture, covering the cherry.
- Bake cookies for 9-11 minutes, then let cool on baking sheet before transferring to wire rack.