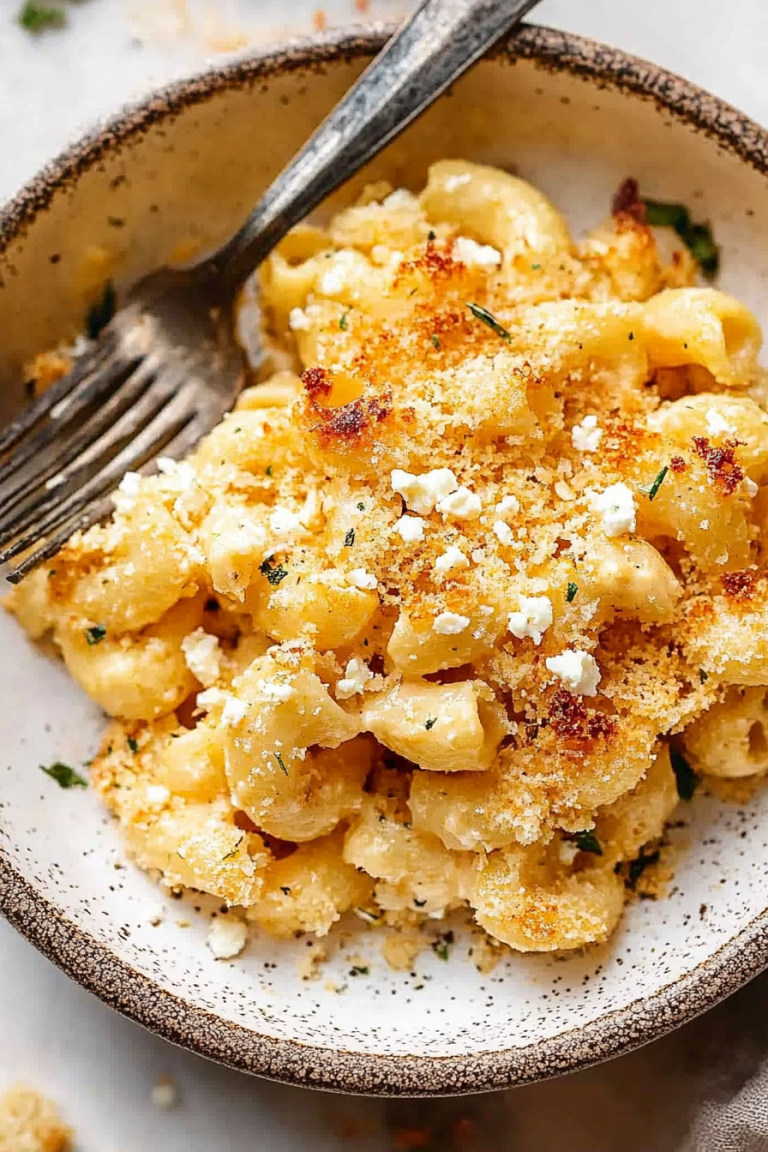
Creamy White Cheese Dip Recipe
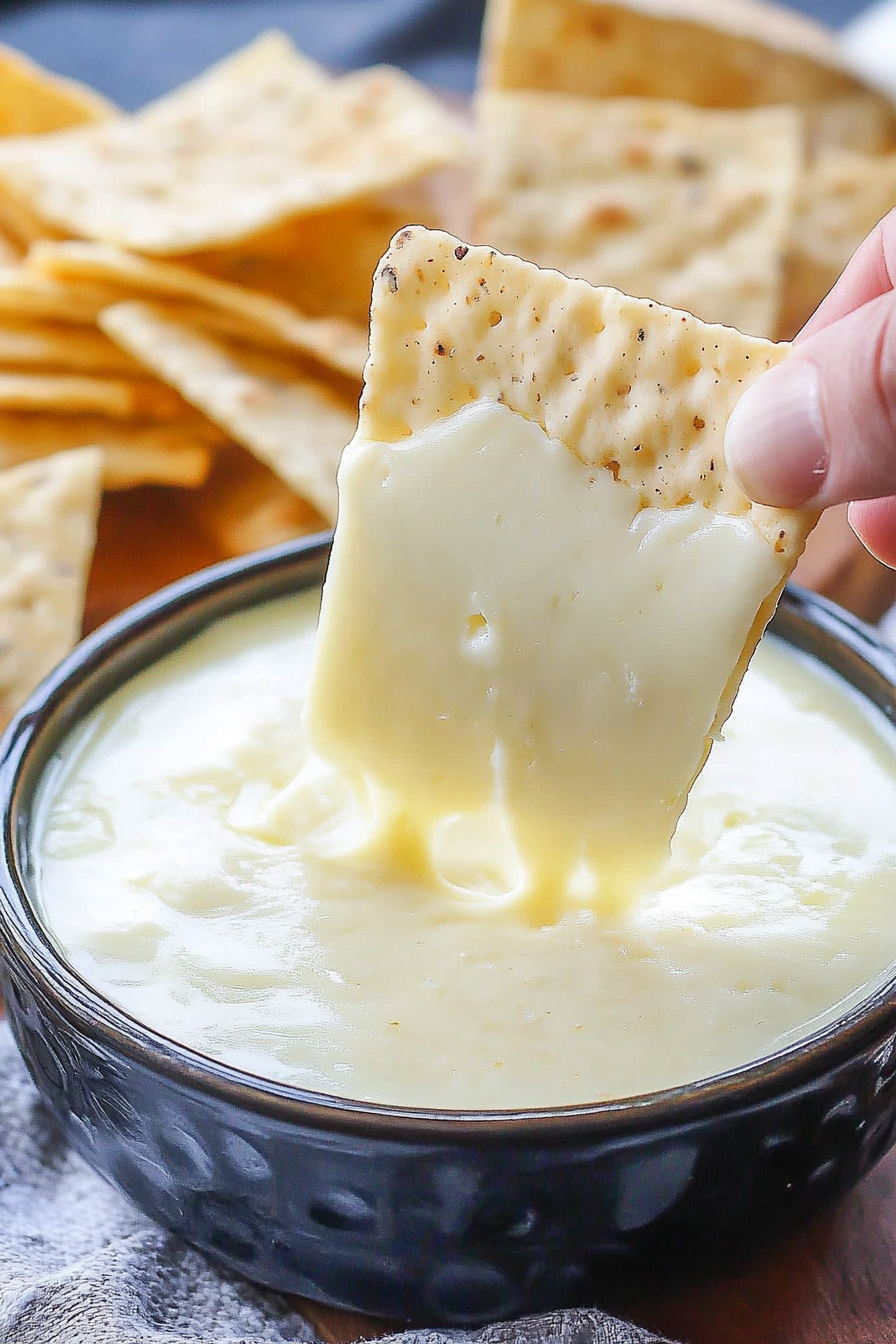
If I had to pick one comfort food that my family always asks for, it’s this incredible queso blanco. It’s creamy, cheesy, a little spicy, and just so good I swear I could eat it with a spoon. I remember making it for the first time on a chilly weekend, and the kitchen filled with this irresistible smell — I think my neighbor knocked to ask what I was cooking. Honestly, it’s become a bit of a family legend now! What I love most about this queso blanco is how versatile it is; you can dip chips in it, spoon it over tacos, or even drizzle it on a baked potato. It’s like the all-around champion of cheesy dips. Plus, it’s so easy to whip up, even on those busy weeknights when I don’t have hours to spend in the kitchen. Trust me, once you get the hang of it, you’ll be making this queso blanco all the time. It’s one of those recipes that just feels like a warm hug — and your guests will be begging for the secret!
What is Queso Blanco?
Queso blanco is essentially a soft, mild cheese that originates from Latin America, especially Mexico and Central America. The name translates to “white cheese,” which makes perfect sense because it’s beautifully pale and smooth. Think of it as a cross between ricotta and cream cheese — but meltier and stretchier, which makes it perfect for sauces, dips, or even melting over tacos. Unlike cheddar or mozzarella, queso blanco has a subtle, fresh flavor that doesn’t overpower the dish. It’s technically a fresh cheese, meaning it’s tender, slightly crumbly, and best enjoyed shortly after making, although I’ve learned a few tricks over the years to make it extra creamy and foolproof. It’s a staple in many Latin dishes but also has a special place in my kitchen because of how beautifully simple and satisfying it is to make from scratch—and it’s much cheaper than buying it in the store!
Why you’ll love this recipe?
This queso blanco is one of those recipes that I keep coming back to because it’s just so darn satisfying. What I love most about this is the flavor profile — it’s creamy, cheesy, with just a hint of tang from the lime and a whisper of spice from the jalapeño. The best part? It’s so easy that even if you’re not a pro chef, you’ll nail this every time. As long as you have a few common ingredients, you’re all set. It’s budget-friendly, too — no fancy cheeses or hard-to-find ingredients here. Plus, it’s incredibly versatile. Need a quick snack? Dipping chips into hot queso blanco is the way to go. Want to jazz up a dinner plate? Spoon it over tacos or grilled chicken. It’s also a lifesaver on busy nights because it takes less than 20 minutes to go from start to finish. My kids ask for this at least once a week, and I’ve tested it with different milks and spices — trust me, it’s a keeper. It’s like that warm, cheesy blanket you want to wrap yourself in after a long day.
How do I make Queso Blanco?
Quick Overview
Making queso blanco at home is surprisingly straightforward. You start by heating milk and adding a secret weapon—acid—like lime juice or vinegar—that curdles the milk into soft, tender curds. Then, you gently cook and stir until the curds melt into a lush, velvety cheese sauce. From there, it’s just a matter of seasoning with salt, spices, and a splash of cream or butter to achieve that perfect melt-in-your-mouth texture. The real magic lies in how quick and forgiving this process is. No need for fancy equipment or complicated steps — just plain, honest ingredients and a little patience. Once you’ve got a rich, cheesy sauce, you can pour it into a dish or serve it as a dip right away. This is perfect when you’re craving that cheesy goodness but don’t want to spend hours fussing in the kitchen.
Ingredients
For the Main Cheese: For the main cheese: For the main cheese: For the main cheese: For the main cheese: For the main cheese: For
– 1 gallon whole milk (preferably organic or farm-fresh for best flavor)
– 1/4 cup freshly squeezed lime juice or white vinegar
– 1 teaspoon salt (or to taste)
– 2 tablespoons heavy cream or whole milk (for extra creaminess)
– Optional: 1 jalapeño, seeded and chopped, for a spicy kick
For the Seasoning & Extras:
– Fresh chopped cilantro (if you love a herbal freshness)
– Minced garlic or onion powder (for depth)
– A pinch of cumin or chili powder (for smoky undertones, if desired)
For the Garnish & Serving:
– Crumbled queso fresco or shredded cheese (optional, for added texture)
– Warm tortilla chips, veggie sticks, or toasted bread to dip or spoon with
Step-by-Step Instructions
Step 1: Preheat & Prep Pan
Start by placing a large, heavy-bottomed pot over medium heat. You want good heat distribution to prevent burning or scorching. Once it’s warm, pour in the milk—don’t rush this step; just let it come up to a gentle simmer. Keep an eye on it while stirring occasionally so it doesn’t stick to the bottom. Prepare your lime juice or vinegar on the side—I usually squeeze fresh limes for flavor but apple cider vinegar works fine if you prefer a milder taste. Have your salt, cream, and optional add-ins ready so you can jump right in once the milk starts bubbling.
Step 2: Mix Dry Ingredients
This step is simple but important—just measure out your salt and any spice powders beforehand. When your milk is steaming gently (not boiling!), slowly add your acid while stirring constantly. You’ll see the milk beginning to curdle immediately—lumps forming that look kinda like tiny clouds. If it’s not curdling as much as you’d like, you can add a bit more acid, but don’t worry — sometimes the milk varies, so just trust your eyes. Keep stirring gently until the curds and whey separate nicely.
Step 3: Mix Wet Ingredients
Once the milk curdles, turn the heat down to low. Carefully add the heavy cream or extra milk to smooth and cream up the sauce. Stir gently, allowing the curds to soften and meld into a silky, stretchy cheese mixture. This is where your patience is key — don’t rush, just let it slowly come together into a luscious, cheesy sauce. If you want a little heat or flavor boost, sprinkle in garlic or cumin now.
Step 4: Combine
Now, if your cheese looks a little chunky, don’t worry. Just keep stirring gently until it melts into a smooth, creamy consistency. If it’s too thick, add a splash of warm water or broth to loosen it up. Sometimes, I like to pass it through a fine strainer for an extra silky finish — but honestly, it’s usually creamy enough as is. This step is all about patience — the cheese will become even more velvety as it cools slightly.
Step 5: Prepare Filling
If you’re adding spices, herbs, or diced jalapeños, this is the time. Mix them into your cheese sauce, taste, and adjust the salt or spice levels accordingly. I like adding a squeeze of lime for brightness, and that burst of citrus really makes the flavor pop. If you love things spicy, a few extra chopped jalapeños or a dash of hot sauce will do the trick. You can also fold in crumbled queso fresco or shredded cheese if you want more texture — I personally love a little crumbled queso for that rustic feel.
Step 6: Layer & Swirl
This part is fun! If you’re making a layered dish or a swirl cake (more on that later), gently pour your cheese into the prepared baking dish. For a dip, just serve it straight from the pot. If you’re swirling some filling or adding toppings, do it gently with a spoon to create pretty marbling. You can even sprinkle some chopped cilantro or extra cheese on top for presentation. Trust me, the visual appeal is almost as satisfying as the taste!
Step 7: Bake
For baked versions, preheat your oven to 375°F (190°C). Place your cheese mixture into a greased baking dish and bake uncovered for about 15–20 minutes, or until bubbly and slightly golden on top. Keep an eye on it — if it starts to get too brown, cover loosely with foil. For a super creamy dip, I take it out right when it’s just bubbly around the edges. The smell alone will make your whole house smell like a dream.
Step 8: Cool & Glaze
Let it cool for about 5 minutes before diving in. This helps it set just a little so it doesn’t slide off your chips too quickly. If you want an extra touch of richness, drizzle a little melted butter or a splash of heavy cream on top before serving. For some added flavor, a sprinkle of paprika or chopped avocado can bring color and freshness to the top.
Step 9: Slice & Serve
If you’ve baked this into a cake or layered it, use a sharp knife to gently slice through. For dip-style queso blanco, serve it hot in a bowl with plenty of tortilla chips, veggie sticks, or warm bread on the side. I love spooning it over my tacos or even mixing it into scrambled eggs for an extra cheesy breakfast. Personally, I think this queso blanco shines best when it’s still warm and gooey — just the right amount of melty and cheesy with a silky texture that lingers on your palate.
What to Serve It With
This queso blanco is a real crowd-pleaser, and it pairs wonderfully with a variety of dishes. For a quick breakfast, I love serving it alongside scrambled eggs and warm tortillas — it’s like a breakfast queso smash! During brunch, set out a platter with sliced baguette, fresh fruit, and a bowl of salsa to dip for a festive feel. As a hearty dip for movie nights, my kids go crazy for it with crunchy corn chips or veggie platters — I swear, even the picky eaters clean their plates when queso blanco’s involved. At dinner, spoon it over grilled chicken or baked fish for a cheesy, flavorful punch. And don’t forget—the leftovers make an amazing addition to quesadillas or cheesy baked potatoes. It’s a family favorite in my house because it’s so adaptable and downright delicious. Plus, I can make a big batch ahead of time — just keep it warm in a slow cooker or reheat on the stovetop with a splash of milk to keep it creamy. It’s one of those recipes where everyone asks for seconds, and I don’t blame them!
Top Tips for Perfecting Your Queso Blanco
Having made this queso blanco countless times, I’ve picked up a few tricks. First, always use fresh, whole milk — store-bought skim or low-fat just won’t give you that rich, velvety texture. I’ve tested with almond milk, and surprisingly, it made the queso even creamier, but it’s a bit different in flavor, so give it a try if you’re experimenting!
When adding the acid (lime juice or vinegar), add it slowly and stir constantly. I used to dump it all at once, and the curds would be uneven, but now I find little by little gives me the best texture. It’s also worth mentioning that patience matters — heat the milk gently and let the curds form slowly. Over-agitating can make the cheese greasy or rubbery.
If you want a picture-perfect swirl or layered look, I recommend letting the cheese cool just enough to firm up slightly — this makes layering easier and prettier. For spicy variations, I sometimes fold in chopped roasted poblano peppers or jalapeños before baking. Trust me, adjusting the spice level can turn this queso blanco into your signature dish.
Regarding baking, I prefer baking it uncovered until it’s bubbling and just golden on top — the smell alone is worth it! If you notice a skin forming, just give it a gentle stir or serve before it gets too crusty. Lastly, for the glaze, a simple honey or agave drizzle can elevate the flavor, or you can keep it classic with just a dusting of chili powder. Once you master these small tips, your queso blanco will be restaurant-worthy every time.
Storing and Reheating Tips
If you happen to have leftovers (which I find hard to believe, but just in case), storing is a breeze. Let it cool to room temperature first. Then, transfer it to an airtight container and keep in the refrigerator for up to 3 days. To reheat, warm it gently over low heat on the stove, stirring in a splash of milk or broth to loosen it up. For longer storage, you can freeze portions—just wrap tightly in plastic wrap and foil, and it’ll keep for up to a month. To thaw, move it to the fridge overnight, then reheat gently. Beware, though — sometimes freezing can slightly change the texture, making it a tad grainy, but with a good stir and heat, it’s still delicious. I avoid adding the glaze until you’re ready to serve, as it can become soggy if stored in the fridge. When reheating, taste again and adjust seasoning as needed—sometimes a pinch more salt or lime brightens it right up. Honestly, this cheese keeps surprisingly well, making it perfect for make-ahead snacks or game day parties.
Frequently Asked Questions
Final Thoughts
This queso blanco has become a staple in my kitchen because it’s so comforting and endlessly adaptable. Whether I’m cradling a bowl of it during movie night, spooning it over a fresh batch of homemade tacos, or just dipping chips on a lazy Sunday, it never fails to bring smiles to everyone’s face. I love how simple ingredients come together to create something so indulgent and flavorful — it’s proof that you don’t need fancy stuff to make magic happen in your kitchen. I encourage you to play with the spices, maybe add roasted poblanos or some smoky chipotle, and make it your own. Once you master this basic version, you’ll find hundreds of ways to enjoy it. Honestly, I can’t wait to hear how yours turns out! Drop a comment below or share your own twists — everyone needs a good queso blanco in their life. Happy baking!
Queso Blanco Dip
Ingredients
Method
- Combine all ingredients in a medium size glass bowl. Microwave for five minutes, pausing to stir after every minute. The dip will be very watery at first, but it will thicken as it finishes cooking.
- Serve hot, poured over just about anything that you want to make more delicious. Enjoy!