Easy Kids Lunch Routine Organic Style
There’s honestly nothing quite like the smell of fresh baked rolls wafting through the house when you’re trying to pack a lunch. I remember those rushed mornings, frantically trying to get everyone out the door—coffee in one hand, kids tugging at your shirt, and a box of last-night’s leftover pizza in the other. But for those days when I want to serve something warm, comforting, and totally kid-approved, this recipe for homemade kids lunch rolls is my secret weapon. It’s a win-win—my kids ask for seconds, and I know they’re filling up on wholesome goodness instead of overly processed snacks. Plus, they’re so versatile, I can fill them with everything from ham and cheese to slice of banana and Nutella when I want to make a special treat. Honestly, my favorite thing about these rolls is how easy they are to throw together — they come together like a warm hug I can serve in a hurry. Trust me, once you try these, they’ll be a staple in your weekly lunch routine too!
What is a kids lunch?
Before we dive into the recipe, let’s talk about what “kids lunch” really means. It’s not just a fancy term for “whatever I can scramble together” — it’s about creating a delicious, nutritious, and fun meal that kids love to eat. Think of it as a small, edible surprise that makes lunchtime feel special. These homemade kids lunch rolls are essentially soft, sweet, or savory bread rolls filled or topped with your favorite ingredients. They’re like little handheld happiness, perfect for packing in lunchboxes or serving fresh from the oven. The name “kids lunch” is kind of an umbrella — it’s about making mealtime easier and more enjoyable for those little tummies. I love that these rolls are adaptable — I can customize fillings and toppings based on what my kids are craving or what I have in my fridge. They’re comforting, fuss-free, and they turn your regular lunch into something memorable.
Why you’ll love this recipe?
What I love most about these homemade kids lunch rolls is how much flavor you get with so little fuss. The smell alone when they’re baking is enough to bring everyone into the kitchen — it’s that inviting, buttery aroma that makes mornings a little brighter. The best part? These rolls are ridiculously simple to make and don’t require fancy ingredients. I always do this when I need a quick dinner or a backup lunch — I keep a batch in the freezer for last-minute cravings or busy mornings. Plus, they’re so budget-friendly; you probably already have most of the ingredients in your pantry. I also love how versatile they are — you can stuff them with ham and cheese for a savory twist, or add cinnamon and sugar for a sweet treat. And honestly? My kids ask for these all the time. It’s a comfort food that feels like a little gift every time I pull them out of the oven. They’re perfect for picnics, school lunches, or even just a cozy snack after school.
How do I make my kids lunch?
Quick Overview
This recipe is all about mixing up a simple, tender dough, then filling it with whatever goodies your kids love. I promise, it’s straightforward — no complicated kneading tricks or fancy equipment needed. You start by making a soft yeast dough, letting it rise just enough to become airy and light. Then, you roll it out, spread or fill as you like, roll it up snug, and bake until golden. The magic is in how flexible it is; you can change the fillings, add a sweet glaze, or keep it simple. In under an hour of active time, you’ve got warm, fresh rolls ready to be devoured. The key is to keep an eye on your oven and not overbake — nobody wants a dry, crumbly roll! Whether you’re a seasoned baker or a kitchen newbie, this one’s a lifesaver on busy nights or lazy weekends when everyone’s hangry and I just want to get dinner on the table fast.
Ingredients
For the Main Dough:
- 3 ½ cups all-purpose flour (I like to use unbleached for better flavor)
- 1 cup warm milk (not too hot, around 110°F — I tested with almond milk sometimes for a creamier texture)
- 2 ¼ teaspoons active dry yeast (a standard packet)
- ¼ cup sugar (to give the dough a subtle sweetness)
- ¼ cup unsalted butter, melted (trust me, this makes the rolls tender)
- 1 teaspoon salt
- 1 large egg
For the Filling:
- Cheese, ham, cooked chicken, or even sliced banana and Nutella for sweeter rolls
- Optional: a sprinkle of cinnamon and sugar for a cinnamon roll style
For the Glaze:
- 1 cup powdered sugar
- 1-2 tablespoons milk or cream
- Vanilla extract or a dash of cinnamon for flavor variation
Step-by-Step Instructions
Step 1: Preheat & Prep Pan
Set your oven to 375°F (190°C) so it’s nice and warm when you’re ready to bake. Grease a baking dish or line it with parchment paper — I like to do this early so I don’t forget in the rush. Having your ingredients ready helps too — measure out the flour, milk, and butter before you start. This recipe is quick, so being organized means fewer mistakes and more time for cuddles afterward.
Step 2: Mix Dry Ingredients
In a big mixing bowl, combine the flour, sugar, and salt. This helps distribute everything evenly. Sifting isn’t necessary, but I always whisk it up well — it makes for a lighter, fluffier dough. If you’re feeling extra fancy, sift the flour first, but honestly, a good whisk does the trick just fine.
Step 3: Mix Wet Ingredients
In a small bowl, whisk together the warm milk, yeast, and a teaspoon of sugar. Wait about 5-10 minutes until you see it foam up. That’s how you know the yeast is alive! Then, add the melted butter and egg — give it a quick whisk until smooth. I’ve done this with slightly cold milk, but warm is best for activating the yeast.
Step 4: Combine
Pour the wet mixture into your dry ingredients, then stir everything together with a spatula or dough hook until it just comes together. It’ll be sticky but soft — that’s what you want. Don’t overmix, or the rolls might turn out Dense. If it’s too sticky to handle, sprinkle in a little extra flour, but keep it fairly soft; they’ll rise better that way.
Step 5: Prepare Filling
While the dough is rising, prepare your fillings. Whether it’s slices of ham, cheese, or fruit and Nutella, set it all up in small bowls. If you’re using cheese, I love shredded mozzarella or cheddar; for savory options, thinly sliced chicken or ham work beautifully. For sweet versions, sliced bananas or berries are perfect.
Step 6: Layer & Swirl
When the dough has doubled in size, punch it down gently and turn it out onto a floured surface. Roll it out into a rectangle about ¼ inch thick. Spread your filling evenly, then roll it up tightly from one long side into a log. Slice into about 8-10 pieces. If you want a marbled look, swirl the fillings as you layer — it’s like a breakfast version of a cinnamon roll!
Step 7: Bake
Place your rolls on the prepared baking sheet, giving each some space to expand. Bake for 20-25 minutes until they’re golden brown on top. Keep an eye on them; every oven varies a bit. You want them cooked through but still soft inside. The smell that wafts out when they’re done? Pure magic.
Step 8: Cool & Glaze
Let the rolls cool just a few minutes so you don’t burn your tongue. Then, whisk together your powdered sugar, milk, and vanilla to make the glaze. Drizzle it generously over the warm rolls — the glaze sets into a lovely shiny top, making each bite irresistible. For an extra touch, sprinkle a little cinnamon or nutmeg into the glaze.
Step 9: Slice & Serve
Use a serrated knife to cut through the rolls cleanly. Serve them warm — they disappear in minutes at my house! If you’re packing these for lunch, you can let them cool completely, then pop them in an airtight container. Warm them up in the microwave or enjoy them at room temp; either way, they’re a hit.
What to Serve It With
These kids lunch rolls are so versatile, I like to keep a few serving ideas up my sleeve. For breakfast, they’re perfect with a glass of cold milk or a hot cup of cocoa — my kids love dipping their roll in the chocolate. For brunch, sometimes I layer ham and cheese with a side of fruit salad or scrambled eggs. When it’s dessert time, a dollop of whipped cream and fresh berries turn these into a real treat. They’re also fantastic just on their own, especially when I want to make snack time special without much fuss.
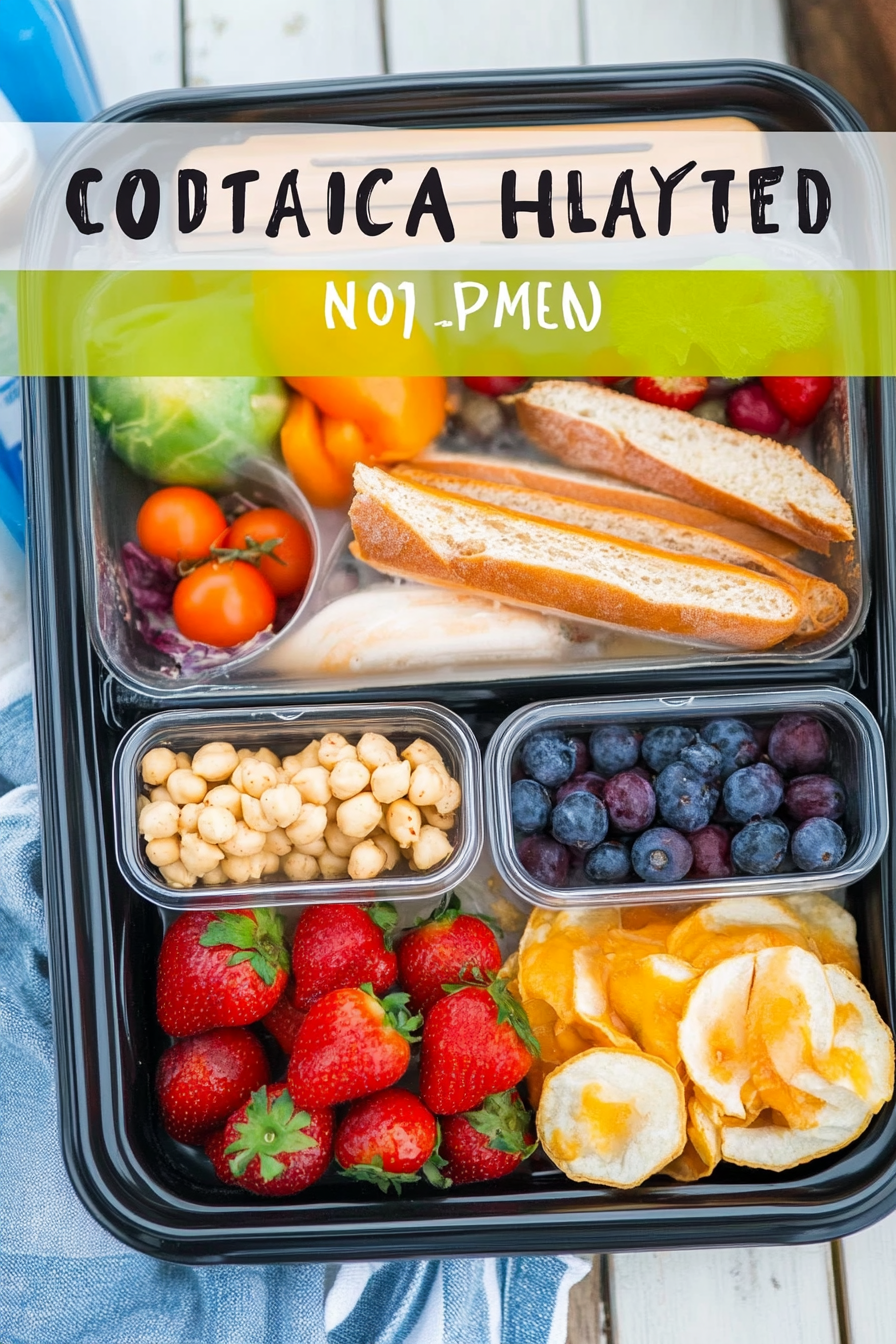
On a busy school morning, I usually just pack a couple of these rolls in their lunchbox with some apple slices or baby carrots on the side. My kids love pulling these out—they feel like little personal pies, and they’re filling enough to keep everyone energized through the afternoon. I’ve even sliced them into smaller bites for snack plates, and they’re snatched up before I can blink. Over the years, I’ve learned that keeping these on hand reduces those “hangry” moments, and the kids always ask if they can help make the next batch. This recipe is truly a family favorite — sweet or savory, it never fails to bring smiles.
Top Tips for Perfecting Your Kids Lunch
Over the years, I’ve picked up quite a few tricks to make this recipe even better. First off, when working with the dough, don’t rush the rising. Patience makes these rolls fluffy and light — I often do a second rise after shaping if I want them extra airy. For the filling, I recommend gently pressing out excess moisture from vegetables or fruits; it keeps the dough from becoming soggy. I’ve tested using Greek yogurt instead of eggs in the dough, and it turned out just as tender — so feel free to experiment!
Swirling the filling is an art—I like to spread it evenly but don’t overstuff, or the filling might squeeze out during baking. A good tip is to lightly flour the surface when rolling to avoid sticking, and never use a rolling pin that’s too heavy — the goal is gentle pressure for a nice, even layer. If you want to switch up the flavor, try a sprinkle of sesame seeds or poppy seeds before baking for extra crunch. Oven temperatures can vary, so always check a few minutes early. My secret tip? When in doubt, use a cake tester or skewer inserted into the center — if it comes out clean, they’re ready!
As for the glaze, I’ve experimented with coconut milk, which gives a subtly tropical flavor, or even maple syrup for a hint of sweetness. The consistency should be thick enough to hold on but still pourable, so I usually add liquids a half tablespoon at a time. Trust me on this: a little patience with the glazing makes all the difference. These small tweaks and tips have helped me turn simple rolls into a special treat I look forward to baking every week.
Storing and Reheating Tips
Storing leftovers is a breeze. If you plan to eat them within a day, keep the rolls in an airtight container at room temperature — they’ll stay soft for a good 24 hours. If you want them to last a little longer, pop them in the fridge for up to 3 days. Just remember, the day after baking, they might get a tad denser, so warm them up in the microwave for about 20 seconds to revive their soft, fresh-from-the-oven texture. For longer storage, freezing is your friend. Wrap each roll tightly in plastic wrap, then toss them into a freezer bag. They’ll last up to 3 months! To reheat, microwave directly from frozen or gently warm in the oven — just don’t overdo it, or they might dry out.
For the glaze, I recommend adding it right before serving, especially if you’re rewarming. If you freeze unglazed, you can add the glaze later for a glossy, fresh look. I’ve found that if I reheat and then drizzle the glaze, it melts into a sweet, sticky coating that makes the whole experience feel freshly baked. Trust me, these rolls are crowd-pleasers no matter how you store or reheat them. Just a quick zap, and they’re ready to brighten up any lunchbox or snack time!
Frequently Asked Questions
Final Thoughts
Honestly, these homemade kids lunch rolls have become a staple in my kitchen because they’re so forgiving, customizable, and downright delicious. My kids love helping me roll out the dough or choose their fillings, which makes mealtime even more fun. The smell alone makes everyone eager to eat — it’s like a warm hug from the oven. I’ve learned that once I master this basic method, I can get creative with fillings and toppings, turning these simple rolls into a weekly treat. Plus, knowing they’re made with love and wholesome ingredients makes me breathe a little easier during those hectic mornings. If you try this recipe, I’d love to hear what your family’s favorite filling is or how you customized your rolls. Happy baking, friends—you’re about to create some delicious memories in your own kitchen!
Kids Homemade Sandwiches
Ingredients
Method
- Lay a slice of bread on a plate. Spread mayonnaise evenly over the bread.
- Place sliced turkey on top of the mayonnaise.
- Add a slice of cheddar cheese over the turkey.
- Add lettuce on top of the cheese.
- Cover with a second slice of bread and cut into halves.