Easy Peanut Chocolate Buckeye Cupcakes
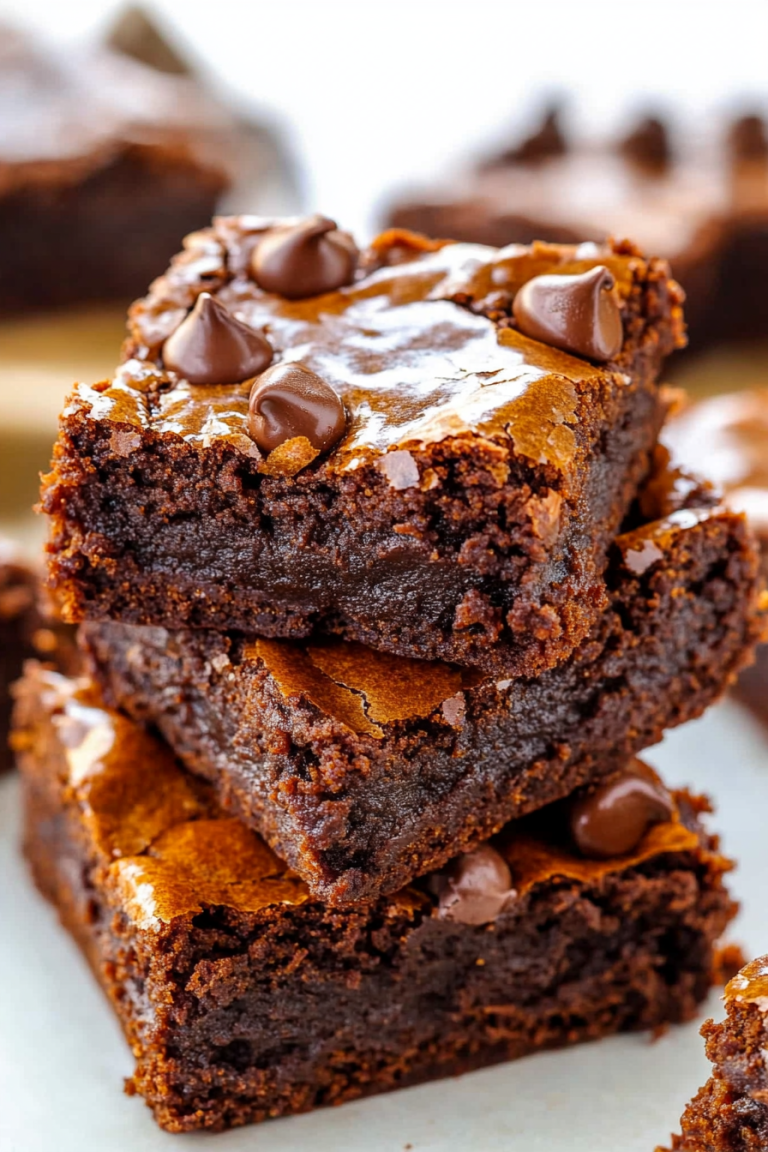
There’s something about the combination of peanut and chocolate that instantly transports me back to childhood — sitting on the kitchen counter, sneaking bites of my grandma’s peanut butter cups, with that irresistible melt-in-your-mouth texture and rich, nutty flavor. Over the years, I’ve tried countless recipes, but the one that’s stolen my heart (and my family’s) is these Peanut Chocolate Bliss Bars. They’re basically like a grown-up peanut butter cup but with a caramel-y, crumbly crust that’s both indulgent and comforting. The best part? You don’t need any fancy equipment; just a few pantry staples, and you’re good to go! This one’s a lifesaver on busy nights when I need a quick, satisfying treat that really hits the sweet spot. Trust me — once you’ve made these, you’ll find yourself craving them every week. Plus, they’re perfect for sharing (or not sharing, I won’t judge). I always do this when I need a little pick-me-up or a special something to impress friends — and honestly, they disappear in minutes at my house. So grab your apron; it’s time to make some peanut chocolate magic!
What is peanut chocolate?
Think of peanut chocolate as the happiest duo in the candy universe — smooth, creamy peanut butter paired with rich, velvety chocolate. It’s essentially a flavor mash-up that’s been around forever, in all sorts of forms — from chocolate-covered peanut candies to peanut butter cups, and even in cereal bars. But for me, the real magic happens when you combine the two into a luscious, layered bar. The “peanut chocolate” name captures the essence of these treats: where roasted peanut goodness meets melt-in-your-mouth chocolate, creating a flavor profile that’s both nostalgic and unbelievably satisfying. It’s a perfect balance of salty, sweet, and nutty with just enough crunch to keep things interesting. Think of it as a sophisticated take on the classic peanut butter & chocolate combo you loved as a kid, but elevated with homemade touches and an irresistible crumbly base. Whether you’re a die-hard peanut fan or a chocolate lover, this pairing will make your taste buds sing and keep you coming back for more.
Why you’ll love this recipe?
Oh, where do I start with why I love this peanut chocolate recipe? First off, the flavor is out of this world. The richness of the chocolate deeply complements the salty, nutty punch of peanut butter, and that crumbly crust adds a cozy, almost cookie-like texture. What’s really great is how simple it is to make — no complicated techniques or fancy ingredients needed. I’ve tested this with store-bought peanut butter, natural, or even almond butter (honestly, it works beautifully with all of them!), and the results are always delicious. Plus, it’s budget-friendly; the ingredients are staples you probably already have in your pantry. This recipe is super versatile, too. You can serve it as a quick snack, cut it into squares for a potluck, or even layer it into a fancy dessert with whipped cream or a dusting of sea salt. What I love most about this is how forgiving it is — sometimes I layer the peanut and chocolate swirls a little messily, but it always turns out rustic and gorgeous. And honestly, nothing beats the smell of cocoa and roasted peanuts wafting through your kitchen. It’s instant comfort in food form, and I promise, once you make these, they’ll become a go-to — a true happy-ending for any day.
How do I make Peanut Chocolate Bliss Bars?
Quick Overview
If you’re busy but craving something sweet and satisfying, this recipe is your new best friend. It starts with a simple crumbly crust, followed by a luscious layer of peanut butter, topped with smooth melted chocolate. The magic really happens when you swirl the layers together, creating beautiful marbled patterns. Honestly, it’s a no-fail process that’s ready in about 30 minutes, plus cooling time. Once cooled, just slice into squares, and you’re golden! The best part? It’s a layered affair that feels complicated but is actually really forgiving — the perfect DIY treat that looks fancy but is fuss-free. Trust me, once you get the hang of swirling the peanut and chocolate layers, you’ll be surprised at how effortlessly impressive these are. They make a perfect make-ahead dessert, gift, or weekend indulgence. And if you want to get adventurous, add a sprinkle of sea salt or chopped pretzels on top — I’ve tried both, and wow, game-changer!
Ingredients
For the Main Crust:
- 1 ½ cups graham cracker crumbs or digestive biscuits (crushed finely; I like to blitz these in my food processor for even texture)
- ½ cup unsalted butter, melted (a little extra for greasing the pan)
- 2 tablespoons brown sugar (for a hint of molasses richness)
For the Filling:
- ¾ cup creamy peanut butter (natural or processed, whatever you prefer)
- ¼ cup honey or golden syrup (for added sweetness and binding)
- 2 tablespoons powdered sugar (optional — for extra sweetness and smoother texture)
For the Chocolate Layer:
- 1 cup semi-sweet or dark chocolate chips (you can also use chopped chocolate bars)
- ½ teaspoon coconut oil or butter (to get that glossy, smooth finish)
- Optional: a pinch of sea salt or espresso powder for depth
Step-by-Step Instructions
Step 1: Preheat & Prep Pan
Set your oven to 350°F (175°C) and line a 9×9-inch square baking pan with parchment paper, leaving a slight overhang for easy removal. Lightly grease the paper with a little butter or spray it — this just helps when you’re ready to slice. Trust me, good preparation makes all the difference. While the oven heats, gather all your ingredients — it makes everything go smoothly.
Step 2: Mix Dry Ingredients
In a bowl, combine the graham cracker crumbs, brown sugar, and a pinch of salt if you’re using salted butter or want extra flavor. Mix well until evenly coated. Pour in the melted butter and stir until the mixture resembles coarse crumbs that stick together when pressed. This will form your delicious crust. Be careful not to overmix — just enough until everything’s combined.
Step 3: Mix Wet Ingredients
In a separate bowl, stir together the peanut butter, honey, and powdered sugar if using. The mixture should be smooth and spreadable but not runny. I’ve tested with natural peanut butter, and it’s a tad thicker, but it still works beautifully. If it feels too stiff, just warm it slightly in the microwave for 10 seconds — it makes blending easier.
Step 4: Combine
Press the crumbly crust evenly into your prepared pan. I do this with the back of a measuring cup or a sturdy spatula to get a nice, even layer. Then, spread the peanut butter filling over the crust, smoothing out the top with a spatula. This layer is what gives these bars their nutty richness. If you want a more textured effect, leave some of the peanut mixture in blobs and spread gently to keep the swirl effect later.
Step 5: Prepare Filling
Now, melt your chocolate chips with the coconut oil in a microwave-safe bowl in 30-second bursts, stirring well after each. Once smooth and glossy, let it cool just a bit — you don’t want it too hot or it will melt your peanut layer. You can add a pinch of sea salt or espresso powder here for extra flavor if you like.
Step 6: Layer & Swirl
Pour the melted chocolate over the peanut layer. Using a toothpick or skewer, gently swirl the two layers together in a figure-eight pattern. Don’t overdo it — a few swirls will create a beautiful marbled effect that looks fancy but is super easy to do. If you’re feeling playful, sprinkle some chopped peanuts, sea salt, or even a drizzle of caramel on top before chilling.
Step 7: Bake
Pop the pan into your preheated oven and bake for 15-20 minutes, or until the edges are just set and slightly firm. All ovens vary, so start checking at 15 minutes. The top might look a little soft, but don’t worry — it’ll firm up as it cools. Remember, don’t overbake or it’ll lose that fudgy, gooey charm.
Step 8: Cool & Glaze
Remove from the oven and let it cool completely in the pan on a wire rack. For best results, chill it in the fridge for at least an hour — this makes slicing easier. If you’re adding an extra layer of glaze or drizzle, do so once the bars are cool, and the chocolate will set perfectly as the bars firm up.
Step 9: Slice & Serve
Lift the bars out using the parchment overhang, then slice into squares — I love a clean, sharp knife for neat edges. Serve them on a pretty plate, add a dusting of powdered sugar or some extra chopped peanuts, and enjoy that first heavenly bite. These are even better the next day once the flavors meld. Trust me, they disappear fast!
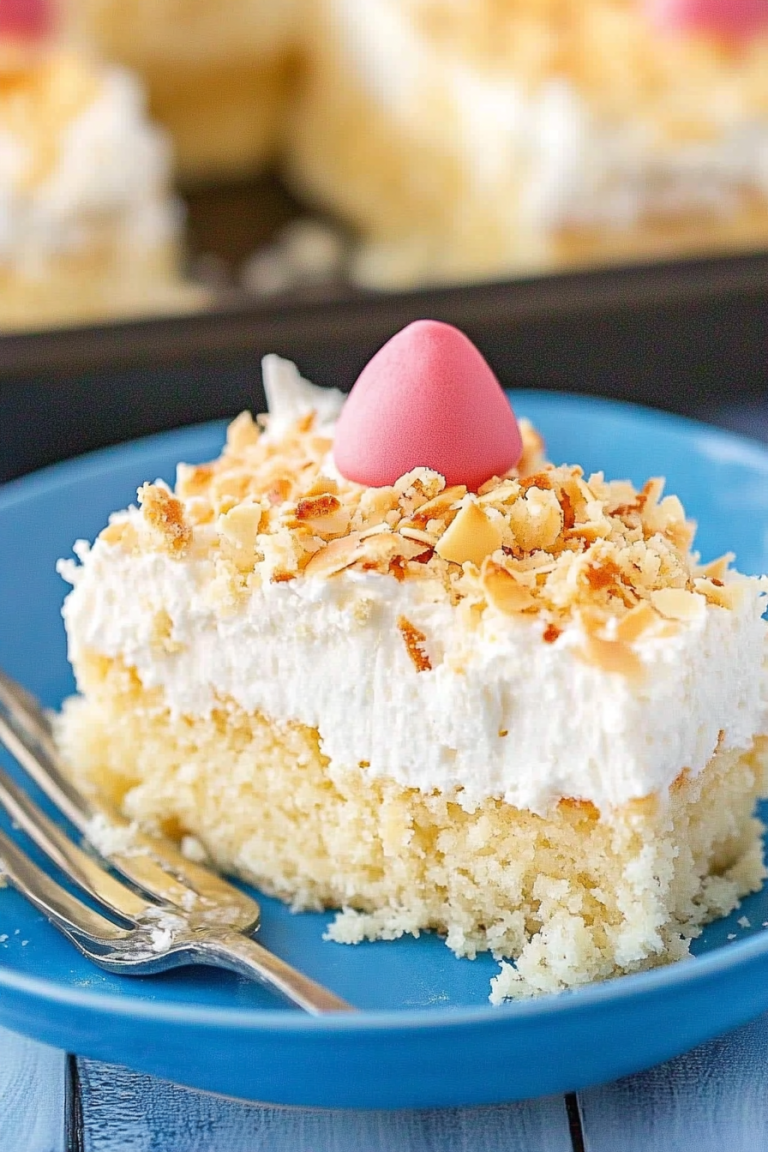
What to Serve It With
This peanut chocolate treat is versatile enough to shine at almost any gathering. For breakfast, pair it with your favorite coffee or a glass of cold milk — honestly, it’s like a brownie and peanut butter breakfast hybrid. At brunch, serve with fresh fruit and a dollop of whipped cream; the richness balances beautifully with tart berries or sliced bananas. As a dessert, I love presenting these with a little scoop of vanilla ice cream and a drizzle of caramel sauce — total comfort food magic. And for lazy weekends or cozy nights, I’ll just grab a glass of cold milk or a hot cup of tea and settle in. This recipe became a family favorite because it’s quick, satisfying, and always leaves people asking for seconds. It’s the kind of treat that makes your house smell incredible and brings everyone together around good, honest comfort food. I’m telling you, once you try these, they’ll Become a staple in your snack rotation too.
Top Tips for Perfecting Your Peanut Chocolate Bliss Bars
Over the years, I’ve learned a few tricks that make all the difference in perfecting these bars. First, don’t skip the crust — it’s the foundation for all that gooey goodness and provides the perfect crunchy contrast. When mixing the crumbs and butter, look for that crumble that sticks when you press it into the pan — this ensures a sturdy base. For the peanut layer, natural peanut butter is a favorite of mine because it’s a little lighter and less sweet, but processed peanut butter works just fine if you prefer sweeter notes. The magic, though, happens when you swirl the chocolate. Use a toothpick or skewer to create pretty marbled patterns, but don’t overdo it — a gentle hand keeps it looking sophisticated. You can experiment with add-ins, like chopped roasted peanuts, diced pretzels, or even mini marshmallows in the peanut layer for extra texture. When melting the chocolate, a brief microwave burst followed by stirring ensures a glossy, smooth finish—trust me, this step makes a huge difference. If you want a more decadent experience, sprinkle flaky sea salt on top before chilling, as the salt enhances both the peanut and chocolate flavors. And finally, don’t rush the cooling process — patience in the fridge makes slicing effortless and beautiful. Several times, I almost chopped into a too-warm slab and ended up with a messy crumble, so now I wait until they’re firm. But honestly, every mistake turned into a happy accident that made the bars even more charming.
Storing and Reheating Tips
To keep these peanut chocolate bliss bars fresh and delicious, storage is key. If you plan to enjoy them within a day or two, just keep them at room temperature in an airtight container — they’ll stay soft and tasty for about 24-36 hours. Cover them lightly with foil or plastic wrap, making sure not to squish the nicest swirls. For longer storage, refrigerate them in an airtight container for up to a week; just remember that the chocolate might firm up a little, but that’s nothing a quick few seconds in the microwave or a warm knife slice can fix. If you want to freeze these, wrap each square individually in plastic wrap, then place them in a resealable bag or container. They’ll last for up to 3 months, and I’ve tested that they taste just as good once thawed, especially if you reheat gently. For best texture, add any extra glaze or toppings after refrigeration or freezing — this keeps everything looking glossy and vibrant. I’ve learned the hard way that adding the glaze before chilling causes it to crack when sliced, so I always wait until the last minute for that finishing touch. And honestly, these bars taste almost better after they’ve rested a day or two — the flavors deepen, and that luscious peanut-chocolate combo is irresistible.
Frequently Asked Questions
Final Thoughts
If there’s one recipe I keep coming back to, it’s these peanut chocolate bliss bars. They’re like a warm hug from your favorite childhood memory mixed with a touch of indulgence you secretly deserve. The balance of salty, sweet, crunchy, and melty is just perfect, and I love how adaptable they are — change the ingredients, swirl the layers differently, or make mini muffins for a fun twist. Every time I bake these, I feel like I’m creating a little moment of happiness that everyone can enjoy. Whether it’s for an after-school treat, a holiday gift, or just because I’m craving something irresistibly good, these bars never disappoint. I hope you give them a try and enjoy the process as much as I do. Tag me on social media with your creations — I’d love to see your take on this classic combo! Happy baking, and don’t forget to share a slice with someone you love. They’ll thank you for it — I promise.
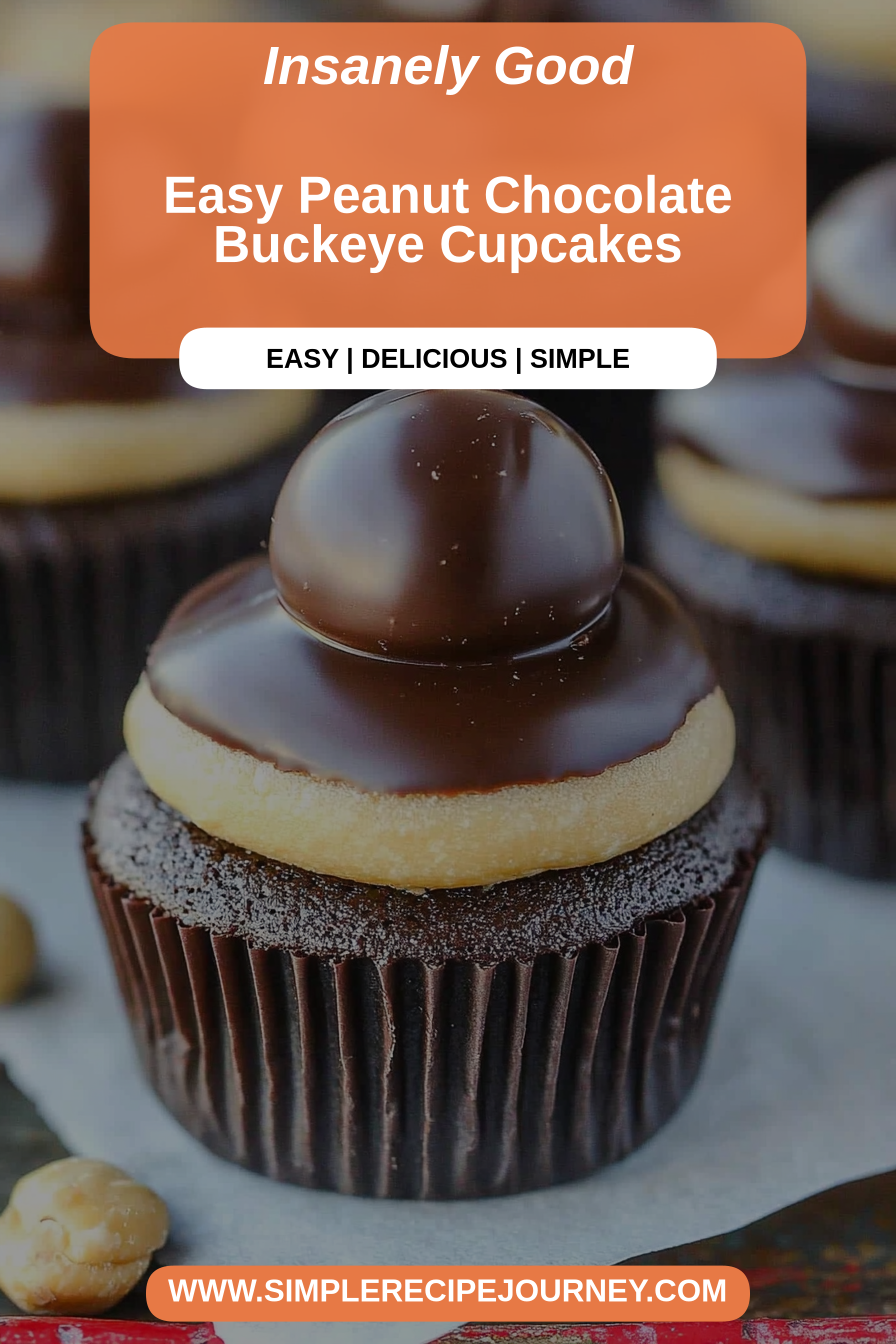
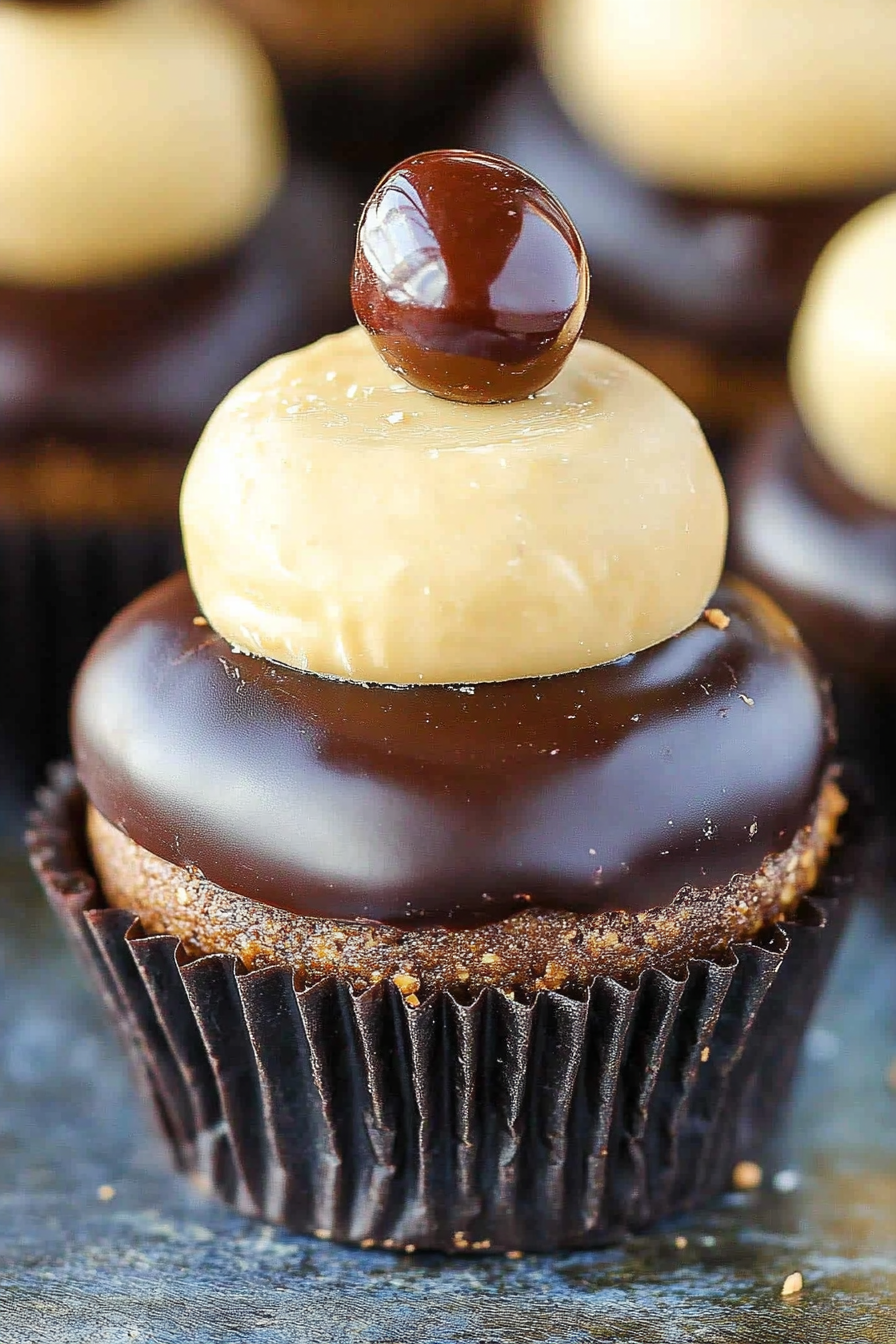
Peanut Butter Chocolate Buckeye Cupcakes
Ingredients
Method
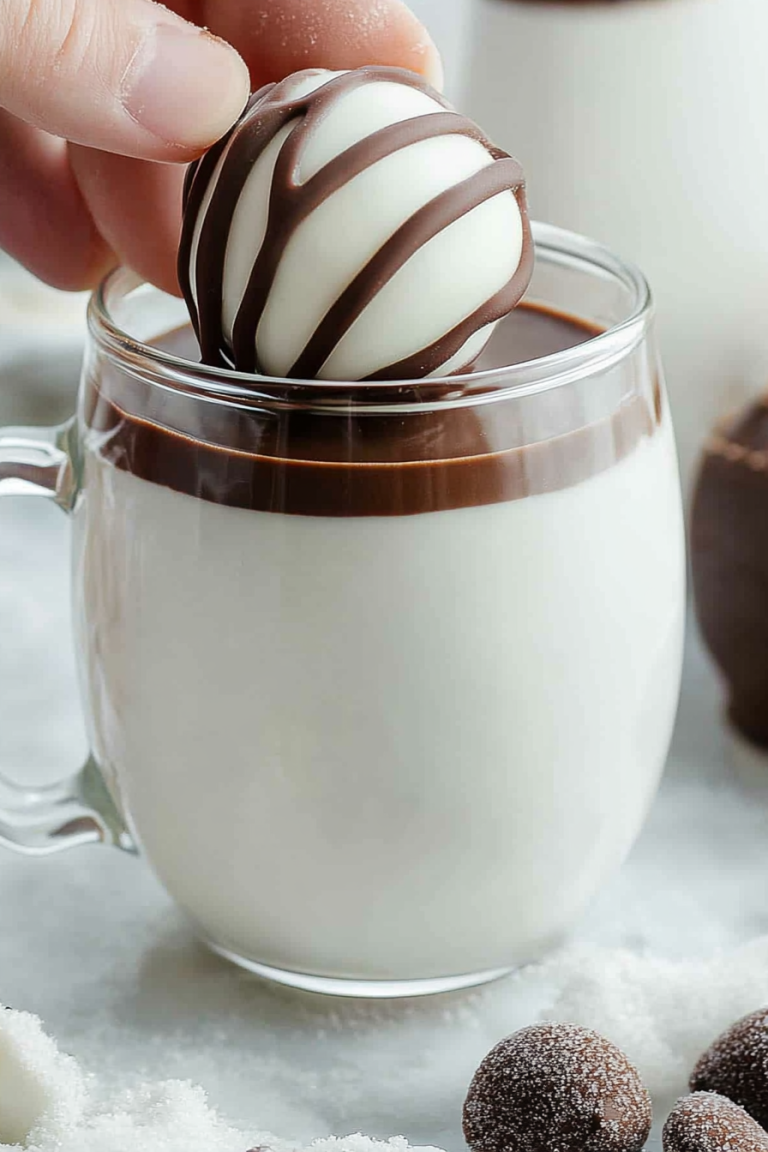
- To make the buckeyes: Combine the peanut butter, butter, and vanilla extract in a bowl and beat until well combined. Mix in half of the powdered sugar until the mixture is firm enough to form into balls. Roll into about 1 tablespoon-sized balls and refrigerate.
- Melt the chocolate according to package instructions. Dip each peanut butter ball into the melted chocolate and place on parchment paper to set. Refrigerate until firm.
- Preheat oven to 300°F. Mix dry ingredients (flour, sugar, cocoa powder, baking soda, salt) in a large bowl. In a separate bowl, whisk egg, buttermilk, vegetable oil, and vanilla. Combine wet and dry ingredients, then add hot water and mix until smooth. Fill cupcake liners half full and bake for 18-23 minutes.
- Prepare peanut butter frosting by creaming butter and peanut butter. Mix in powdered sugar, vanilla, salt, and milk until smooth. Frost cooled cupcakes. Prepare ganache by heating cream until boiling, pour over chocolate chips, and whisk until smooth. Dip frosted cupcakes into ganache and top with a buckeye treat. Chill before serving.