Chocolate Granola
Chocolate Granola
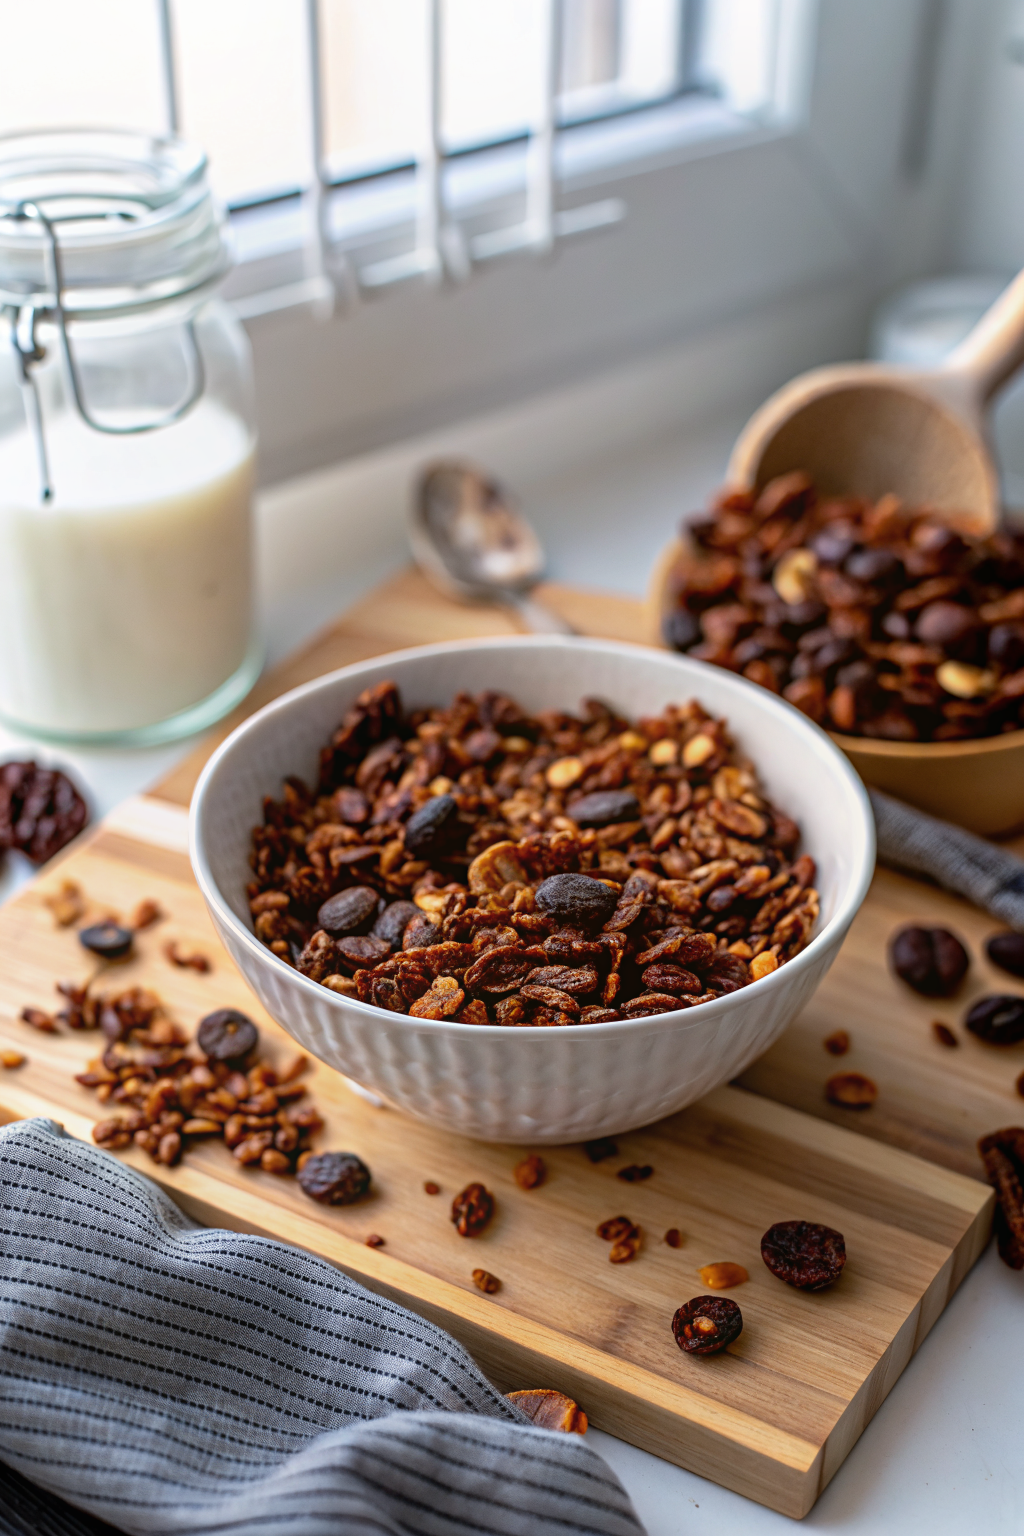
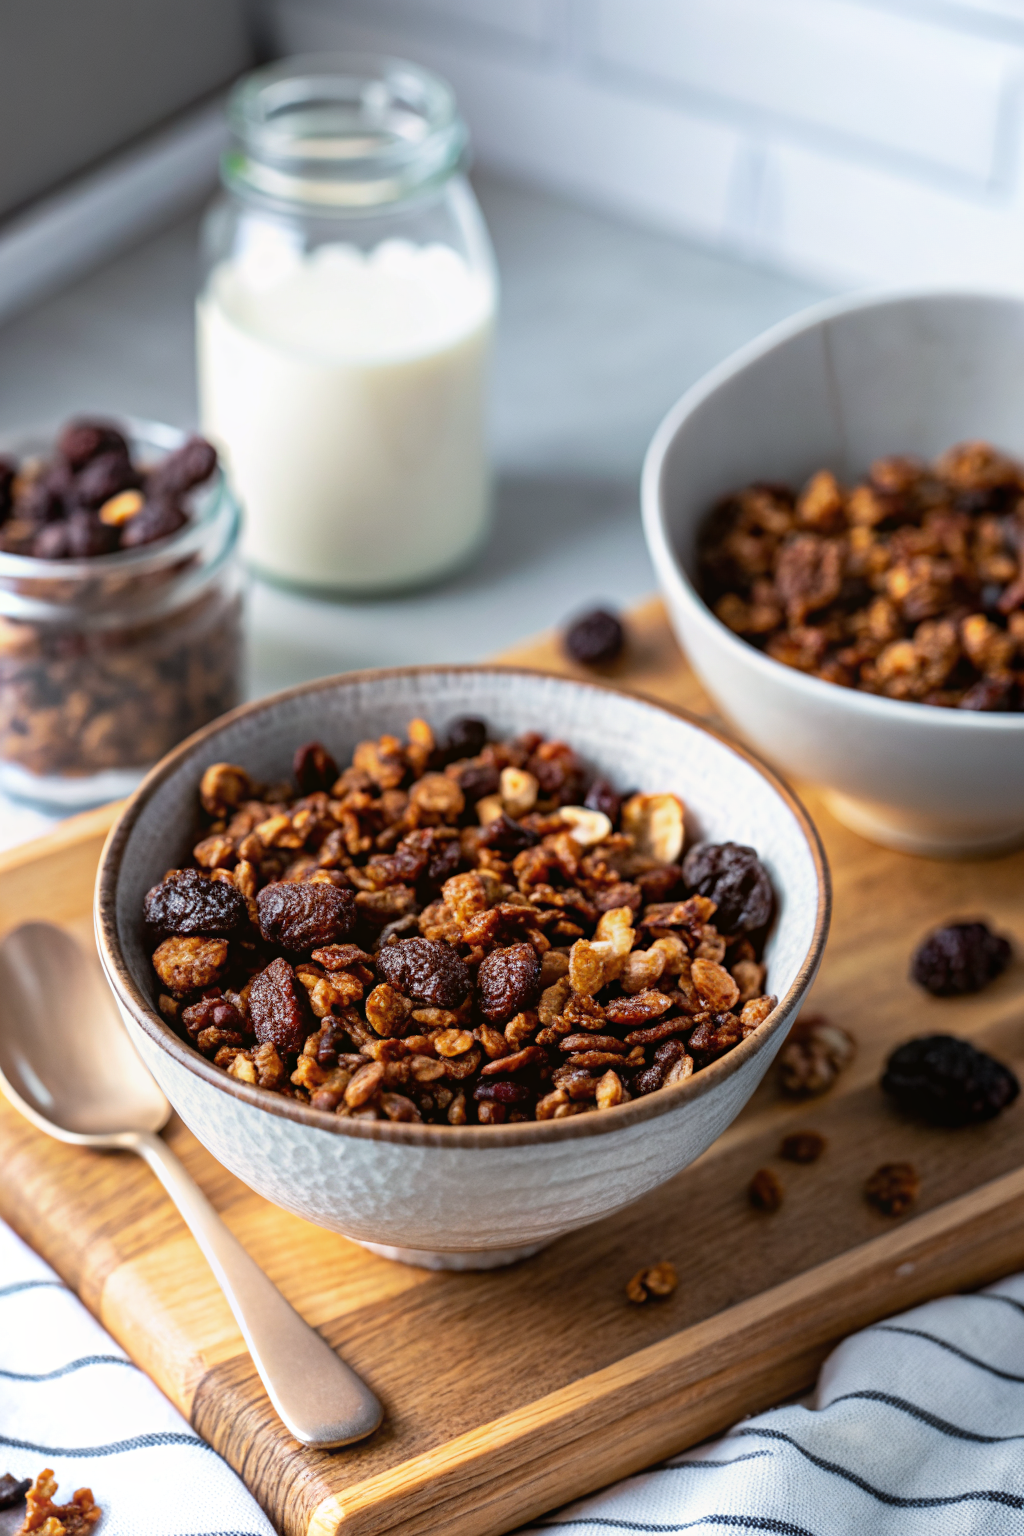
There’s something so satisfying about biting into a spoonful of homemade chocolate granola—that perfect mix of chewy dried fruit, crunchy nuts, and deep cocoa notes that makes even plain yogurt taste like dessert. I make this recipe on repeat because it never fails to impress: whether you’re sprinkling it over oatmeal, mixing it into smoothie bowls, or just eating it straight from the jar (guilty!), it’s become an essential part of my breakfast routine. The best part? It’s ridiculously easy to whip up, and you don’t need any fancy equipment. Just grab your favorite bowl, a trusty baking sheet, and a little bit of time, and you’ve got yourself a batch of wholesome, flavor-packed cereal that tastes way better than anything you’ll find in the store.
What Is Chocolate Granola?
Chocolate granola is exactly what it sounds like: a hearty, baked breakfast cereal made with old-fashioned rolled oats, rich unsweetened cocoa powder, crunchy chopped nuts, and sweetened with a warm honey-brown sugar syrup. Unlike instant oats or sugary cereals, this version is deeply textured—some bites are crispy, others have that satisfying chew from dried cranberries or goji berries, and every mouthful bursts with chocolaty depth. What sets it apart is how simple yet intentional each ingredient is: no artificial flavors, no hard-to-pronounce additives, just real food that nourishes both body and soul. It’s the kind of recipe that transforms a basic bowl of yogurt into something special, and honestly, it’s one of those pantry staples that keeps giving back week after week.
Why You’ll Love This Recipe
This chocolate granola isn’t just another trendy breakfast fad—it’s practical, delicious, and endlessly adaptable. First off, it’s incredibly versatile. Want to jazz it up? Toss in freeze-dried raspberries for a tart punch, swap walnuts for pecans or macadamias for a different nutty twist, or add a splash of orange zest for brightness. Prefer it simpler? Skip the cocoa and you’ve got a classic plain granola that still delivers serious crunch. And convenience? It’s unbeatable. Keep a big batch on hand, and you’re instantly ready for last-minute yogurt parfaits, overnight oat upgrades, or even as a topping for ice cream sundaes. Plus, making it at home means full control over sweetness and ingredients—no hidden sugars or questionable preservatives. Once you see how quickly this comes together, you’ll toss out your store-bought box without a second thought.
How to Make Chocolate Granola
Quick Overview
Making chocolate granola is refreshingly straightforward. You start by combining dry ingredients like oats, cocoa, nuts, and spices in a large bowl. Then, you heat a simple syrup made from water, oil, honey, brown sugar, and vanilla until it thickens slightly. Pour that warm mixture over the dry stuff, toss everything until coated, spread it on a baking sheet, and bake at 325°F while stirring every 10 minutes. In under an hour—including cooling time—you’ve got golden-brown, cluster-ready granola that’s crunchy, slightly chewy, and packed with chocolate flavor. No complicated steps, no specialty tools, just good old-fashioned kitchen magic.
Ingredients
- 3 cups old-fashioned rolled oats
- 2 tablespoons unsweetened cocoa powder
- ½ cup sliced almonds
- ½ cup walnuts, chopped
- ½ tablespoon wheat germ (optional)
- ¼ teaspoon ground cinnamon
- ¼ teaspoon salt
- 1 cup dried fruits (such as cranberries)
- ¼ cup water
- ¼ cup canola oil (or vegetable oil)
- ½ cup honey
- 2 tablespoons light brown sugar
- ½ teaspoon pure vanilla extract
Step-by-Step Instructions
- Preheat & prep: Set your oven to 325°F and line a baking sheet with parchment paper or a silicone mat.
- Mix dry ingredients: In a large bowl, combine the oats, cocoa powder, almonds, walnuts, wheat germ, cinnamon, salt, and dried fruit. Stir well so the cinnamon doesn’t clump at the bottom.
- Make the syrup: In a small pot, whisk together water, oil, honey, brown sugar, and vanilla. Bring to a boil over medium-high heat, stirring constantly until the sugar dissolves and the mixture thickens slightly—about 3–4 minutes.
- Combine wet and dry: Carefully pour the hot syrup over the dry mixture. Toss thoroughly until every piece is evenly coated.
- Bake & stir: Spread the granola evenly onto your prepared baking sheet. Bake for 35–40 minutes, stirring every 10 minutes to ensure even browning. Aim for a golden color but avoid burning.
- Cool completely: Remove from the oven and let sit on the hot tray for 2 minutes, then transfer to a wire rack to cool completely. Use a spatula to break up any large clumps once it’s cooled.
What to Serve It With
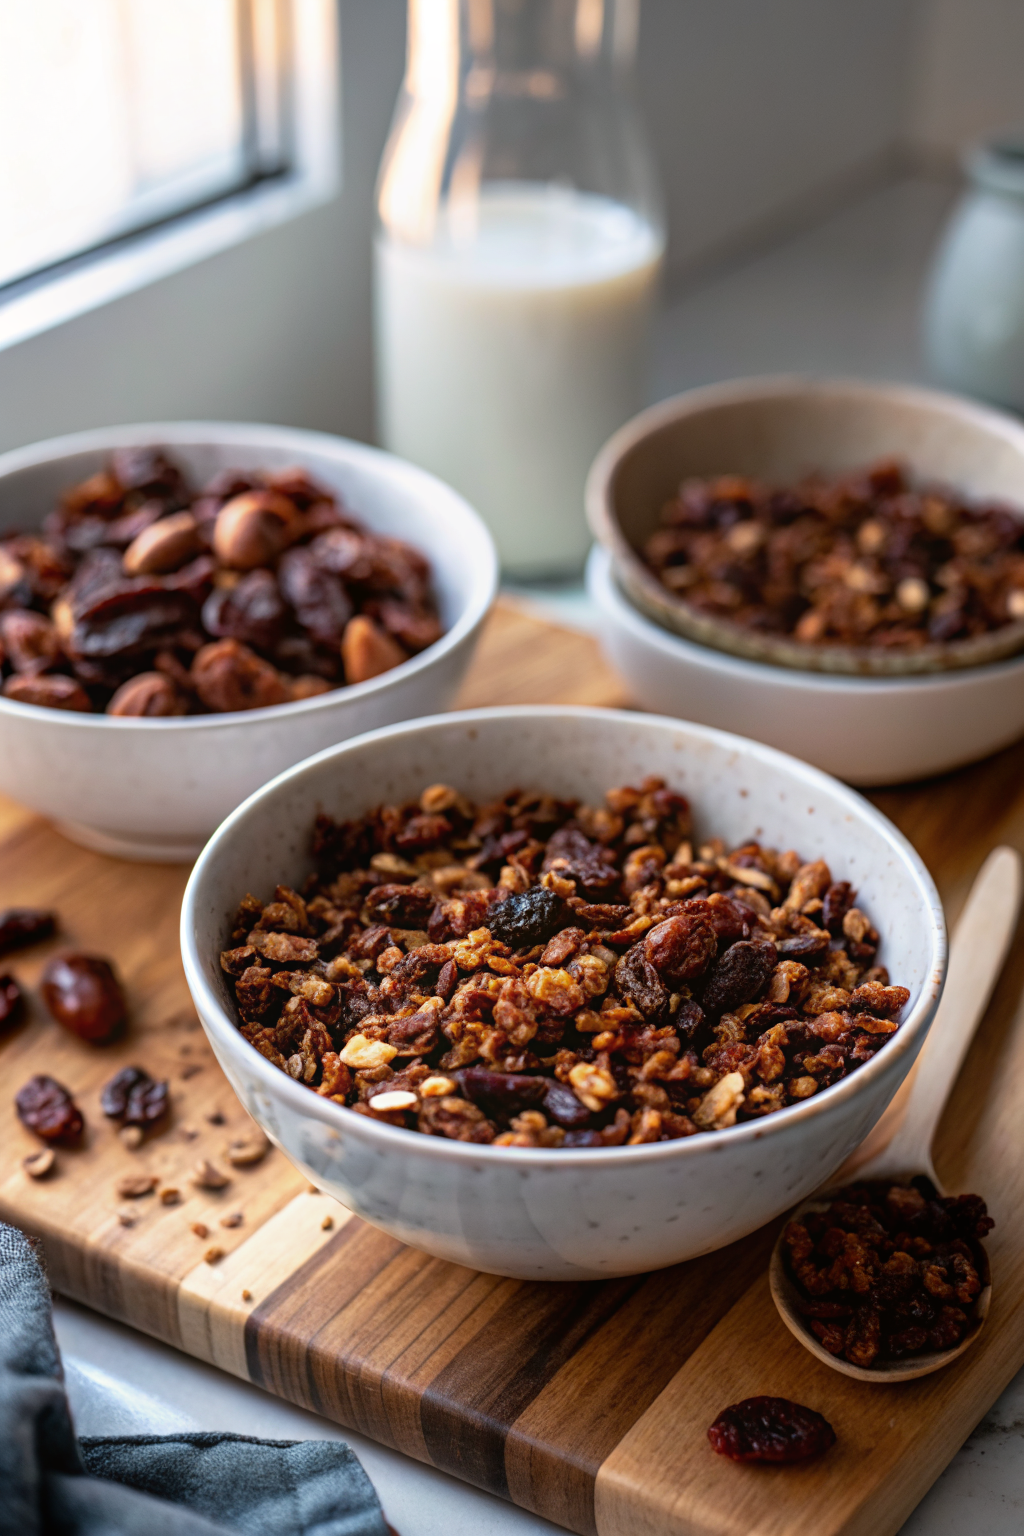
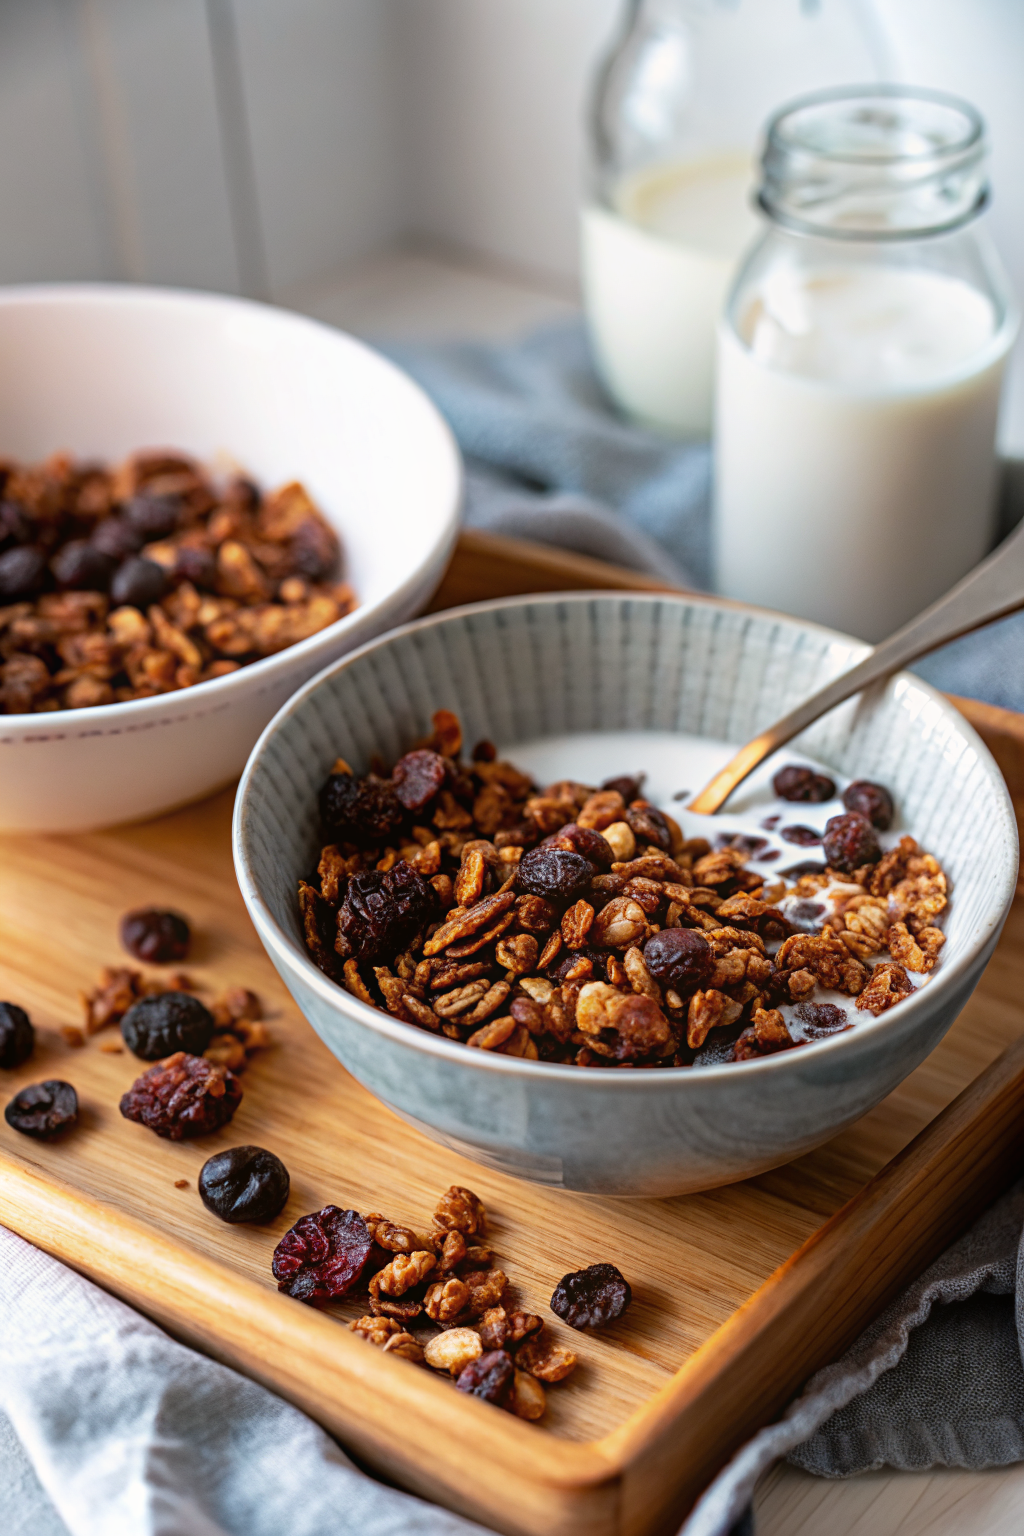
This chocolate granola shines in so many ways. Spoon it over creamy Greek yogurt for a protein-rich breakfast that feels like a treat. Drizzle with a little almond milk or oat milk and top with fresh berries for a cozy morning bowl. Try layering it in mason jars with yogurt and fruit for grab-and-go parfaits—perfect for busy mornings or meal prep. It also pairs beautifully with smoothie bowls, stirred into baked oatmeal, or even crumbled over banana nice cream. And if you’re feeling extra indulgent, pile it high on a scoop of vanilla ice cream with sliced strawberries—yes, really!
Top Tips for Perfecting Your Chocolate Granola
- Use old-fashioned oats: Quick oats turn to powder during baking, so always stick with rolled oats for structure.
- Watch the temperature: Oven thermometers are your friend—sometimes ovens run hotter or cooler than their dial says.
- Cool completely before storing: Leaving granola on the hot tray can cause it to overcook and burn; always transfer to a wire rack.
- Add extras later: Mini chocolate chips, shredded coconut, or extra dried fruit should go in only after the granola has cooled fully.
- Make clusters: Press the mixture into thick disks before baking for easy grab-and-go clusters that hold together beautifully.
Storing and Reheating Tips
Store your finished chocolate granola in an airtight container at room temperature—not in the fridge! Refrigeration causes moisture buildup, which softens the texture you love. Keep it away from direct sunlight or heat sources to preserve crispness. When stored properly, this granola stays crunchy for up to three weeks. If it does soften over time, simply spread it back out on a baking sheet and bake at 300°F for 5–7 minutes to refresh its crunch. No microwave needed—just gentle reheating in the oven does the trick.
Frequently Asked Questions
Final Thoughts
If there’s one breakfast upgrade worth making again and again, it’s this chocolate granola. There’s just something deeply comforting about knowing every bite comes from scratch—no preservatives, no mystery ingredients, just wholesome goodness that fuels your day. Whether you’re feeding a crowd or whipping up a solo serving, this recipe delivers consistent results with minimal effort. And the best part? It keeps forever, ready to transform any ordinary breakfast into something extraordinary. So go ahead—grab your favorite bowl, invite a friend over, and enjoy the simple joy of homemade. Trust me, once you taste the difference, you’ll never look back.
Chocolate Granola
Ingredients
Method
- Preheat the oven to 325°F and line a baking sheet with parchment paper.
- In a large bowl, combine the rolled oats, cocoa powder, walnuts, almonds, wheat germ, ground cinnamon, salt, and dried fruit.
- In a small saucepan, add the water, oil, honey, brown sugar, and vanilla; bring to a boil, stirring constantly.
- Pour the honey mixture over the dry ingredients and toss together until all ingredients are coated.
- Spread onto the baking sheet and bake the granola for about 35 to 40 minutes, stirring occasionally so the mixture browns evenly.
- Remove from the oven and place the baking sheet on a wire rack to cool. While the granola is still a bit warm, break up some of the larger clumps.
- This chocolate granola can be served with milk, yogurt, or even ice cream and some fruit.
- Once the granola has cooled, store it in an airtight container. Keeps in an airtight container for weeks.