Frankenstein Treats Easy Halloween Party Snacks
There are some recipes that just feel like a warm hug, you know? The kind that smell like pure comfort the moment they hit the oven, and disappear faster than you can say “seconds, please!” This one? This is definitely that. It’s a little bit of this, a little bit of that, all thrown together into something magical. We affectionately call them “Frankenstein Treats” in my house, not because they’re scary (far from it!), but because they’re a glorious mash-up of deliciousness that comes together so unexpectedly well. It’s like taking the best bits of a decadent brownie and a moist, spiced cake and making them one. Honestly, if you’ve ever loved a really good chocolate chip cookie or a classic zucchini bread, you’re going to fall head over heels for this. It’s one of those recipes that surprised me the first time I made it, and now, it’s a staple. It’s my go-to when I need a little pick-me-up or when unexpected guests pop by.
What are Frankenstein treats?
So, what exactly are these “Frankenstein Treats”? Think of them as a delightful culinary experiment that went perfectly right! They’re not quite a cake, not quite a bar, and definitely not your average cookie. They’re a rich, fudgy base studded with pockets of gooey chocolate and a hint of spice, all baked into a sturdy yet tender square. The “Frankenstein” comes from the way the textures and flavors come together – a bit of brownie fudginess, a bit of cake tenderness, and a burst of chocolate intensity. It’s a comforting, deeply satisfying bake that’s incredibly forgiving. It’s the kind of treat that doesn’t ask for fancy ingredients or complicated techniques. It’s more like saying, “Hey, I have this leftover chocolate, and a little bit of batter, let’s make something amazing!” It’s approachable, adaptable, and always, always delicious.
Why you’ll love this recipe?
Honestly, I could sing the praises of these Frankenstein Treats all day, but here are the top reasons why I’m convinced you’ll adore them just as much as my family does. First off, the flavor is just out of this world. You get that deep, dark chocolate goodness that hits all the right spots, balanced perfectly with just enough sweetness so it’s never cloying. And the texture? Oh my goodness. It’s this incredible interplay between a slightly chewy edge, a soft, cake-like center, and those molten chocolate bits. It’s pure bliss in every bite.
But what really makes this recipe a lifesaver is its sheer simplicity. I’m talking about a one-bowl wonder (mostly!). You don’t need a stand mixer or a culinary degree. If you can stir ingredients together, you can make these. It’s the perfect thing for those nights when a chocolate craving hits hard but the thought of baking a full cake feels overwhelming. Plus, they’re surprisingly budget-friendly. Most of the ingredients are pantry staples, making it an easy bake without breaking the bank. And let’s not forget versatility! While they’re amazing on their own, they’re also fantastic served warm with a scoop of vanilla ice cream, or even topped with a dollop of whipped cream for a more decadent dessert. What I love most is how it’s the perfect recipe to use up those chocolate chips or chunks that are lingering in the back of your pantry. It’s practical, delicious, and incredibly rewarding. They’re like a more exciting, homemade version of your favorite store-bought brownie or cake bar.
How do you make Frankenstein treats?
Quick Overview
This recipe is designed for ease and maximum flavor. You’ll simply mix your wet ingredients, whisk in your dry, fold in the chocolate, and bake until golden and fudgy. The beauty of this method is its straightforwardness. It minimizes dishes and maximizes deliciousness, ensuring you get that perfect balance of tender cake and molten chocolate without any fuss. It’s truly a recipe you can whip up in under 15 minutes of active prep time, leaving you more time to enjoy that incredible aroma filling your kitchen.
Ingredients
For the Main Batter:
2 cups all-purpose flour (or a gluten-free blend if needed)
1 teaspoon baking soda
½ teaspoon salt
½ teaspoon ground cinnamon (this is my secret weapon for warmth!)
1 cup unsalted butter, softened (or you can use melted if you’re in a rush, it changes the texture slightly to be a bit more fudgy!)
1 ½ cups granulated sugar (you can reduce this slightly if you prefer less sweet)
2 large eggs
1 teaspoon vanilla extract
½ cup sour cream or plain Greek yogurt (this is key for that amazing moisture!)
For the Chocolate Burst:
1 ½ cups semi-sweet chocolate chips or chunks (I love using a mix of both for texture variation!)
Optional: ½ cup chopped nuts (walnuts or pecans are fantastic here)
For the Simple Glaze (Optional, but recommended!):
½ cup powdered sugar
1-2 tablespoons milk (dairy or non-dairy)
¼ teaspoon vanilla extract
Step-by-Step Instructions
Step 1: Preheat & Prep Pan
First things first, get that oven preheating to 350°F (175°C). You’ll want to grab an 8×8 inch baking pan. I like to line mine with parchment paper, leaving a little overhang on the sides. This makes lifting the finished treats out super easy, which is a lifesaver when they’re warm and gooey. Just grease the pan lightly before you put the parchment in, and then grease the parchment paper itself. That ensures nothing sticks, and cleanup is a breeze!
Step 2: Mix Dry Ingredients
In a medium bowl, whisk together your flour, baking soda, salt, and that little pinch of cinnamon. Don’t skip the cinnamon, even if you’re not a huge cinnamon fan. It just adds this subtle warmth that makes the chocolate sing. Whisking them together ensures everything is evenly distributed, so you don’t end up with a pocket of baking soda or salt. It’s a small step, but it makes a difference in the final texture.
Step 3: Mix Wet Ingredients
In a large bowl (this is where your main mixing will happen!), cream together the softened butter and sugar until it’s light and fluffy. You can use an electric mixer for this, or just a good old-fashioned whisk and some elbow grease. Then, beat in your eggs, one at a time, making sure each one is incorporated before adding the next. Stir in the vanilla extract and then the sour cream or yogurt. This is what gives these treats their incredible moisture; it’s my little secret for keeping them from ever feeling dry.
Step 4: Combine
Now, it’s time to bring it all together. Gradually add your dry ingredients to the wet ingredients, mixing on low speed or by hand until just combined. The key here is not to overmix! You want to stop as soon as you no longer see streaks of flour. Overmixing can lead to tough treats, and we definitely don’t want that. A few lumps are perfectly fine.
Step 5: Prepare Filling
This is where the “Frankenstein” magic really starts to happen! Gently fold in your chocolate chips and any nuts you might be using. I like to reserve about ¼ cup of the chocolate chips to sprinkle on top just before baking for an extra visual appeal and delicious melted bits. Make sure the chocolate is evenly distributed throughout the batter. The more chocolate, the better, in my opinion!
Step 6: Layer & Swirl
Spoon the batter into your prepared pan. It will be thick, so spread it out evenly using a spatula. If you reserved some chocolate chips, sprinkle them over the top now. You can also swirl in a tablespoon or two of extra chocolate or even some jam if you’re feeling adventurous. The goal is a wonderfully marbled effect, so don’t over-swirl – a few gentle passes with a knife or skewer will do!
Step 7: Bake
Bake for 25-35 minutes, or until a toothpick inserted into the center comes out with moist crumbs attached, not wet batter. The edges should look set and slightly golden. Every oven is different, so keep an eye on them. If the top starts to brown too quickly, you can loosely tent it with foil. I usually check mine around the 25-minute mark and go from there.
Step 8: Cool & Glaze
Let the Frankenstein Treats cool in the pan for about 10-15 minutes before attempting to lift them out using the parchment paper. Let them cool completely on a wire rack. Once they’re fully cooled, you can whip up the simple glaze. Whisk together the powdered sugar, milk, and vanilla until smooth. If it’s too thick, add a tiny bit more milk; if it’s too thin, add a bit more powdered sugar. Drizzle it over the cooled treats. This glaze adds just a touch more sweetness and a lovely finish. If you’re serving them right away, you can even drizzle it while they’re still slightly warm!
Step 9: Slice & Serve
Once the glaze has set slightly, slice the treats into squares or bars. I usually get about 16 good-sized treats from an 8×8 pan. Serve them at room temperature for the best texture. They’re wonderful on their own, but truly spectacular when served warm with a scoop of good vanilla ice cream. The contrast of the warm, fudgy treat and the cold, creamy ice cream is just divine.
What to Serve It With
These Frankenstein Treats are so versatile, they fit into almost any occasion! For a quick and easy breakfast that feels like a treat, I love serving them warm with a strong cup of coffee. The rich chocolate and the coffee are a match made in heaven, and it’s the perfect way to start a busy day.
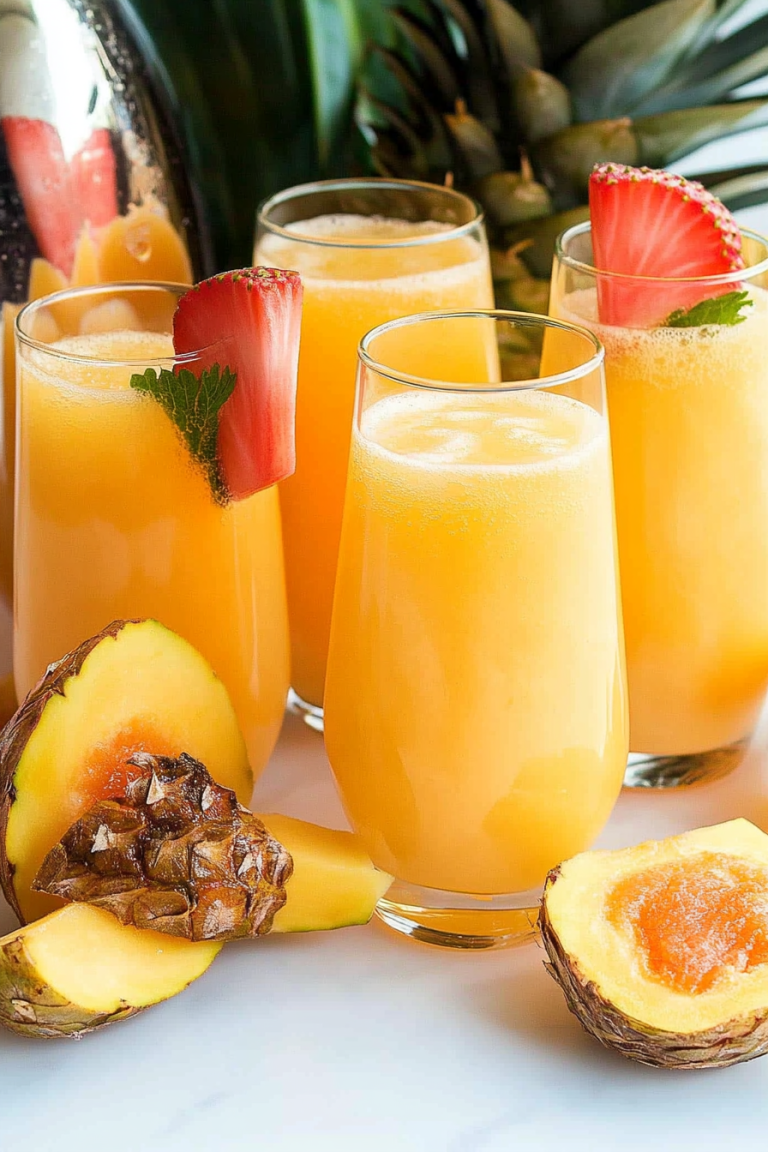
If you’re hosting brunch, these are a showstopper. Imagine them cut into slightly smaller squares and arranged artfully on a platter. They pair beautifully with fresh fruit like berries or a light yogurt parfait. For beverages, think mimosas or a lovely sparkling cider.
As a dessert, they’re absolute perfection. Serve them slightly warm with a generous scoop of vanilla bean ice cream, a drizzle of caramel sauce, or even a dollop of freshly whipped cream. They also make a fantastic base for a “deconstructed” dessert with some fresh raspberries and a dusting of cocoa powder.
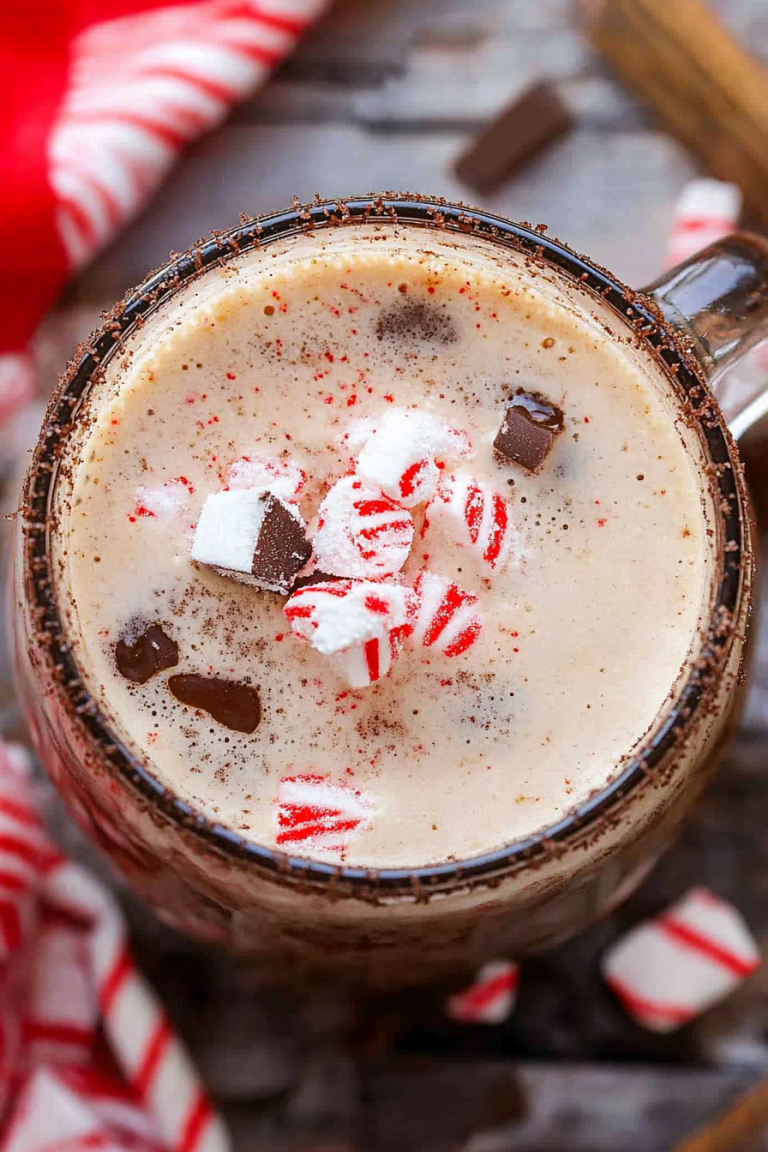
And for those cozy snack times, or when you just need a little comfort food, they’re wonderful on their own with a glass of cold milk. My kids practically inhale them this way after school. They’re simple, satisfying, and always hit the spot when you’re craving something sweet and comforting. My family tradition is to have these with hot chocolate on chilly evenings, especially during movie nights!
Top Tips for Perfecting Your Frankenstein Treats
Over the years, I’ve learned a few tricks that really elevate these Frankenstein Treats from good to absolutely incredible. Here are my top tips:
Zucchini Prep: While this recipe doesn’t *require* zucchini (that’s for another day!), if you ever see a version that does, remember to really wring out all the excess moisture. Grate it finely and squeeze it dry with paper towels or a cheesecloth. This is crucial for a good texture!
Mixing Advice: The biggest mistake anyone can make with baked goods like this is overmixing. When you combine the wet and dry ingredients, mix *just* until no dry flour streaks remain. A few lumps are perfectly fine and will actually contribute to a tender texture. Overmixing develops the gluten too much, leading to a tougher bake.
Swirl Customization: If you want those beautiful swirls, don’t go crazy with the knife or skewer. Just a few gentle passes through the batter are enough to create lovely patterns. You can also swirl in things like peanut butter or a fruit compote for added flavor and visual interest. Just make sure they’re not too liquidy, or they’ll get absorbed into the batter.
Ingredient Swaps: I’ve tested this with different types of chocolate – milk, dark, white, and even chopped candy bars! Each gives a slightly different flavor profile. For the butter, I’ve successfully used melted butter for an even fudgier texture. And if you don’t have sour cream or Greek yogurt, a good quality, full-fat plain yogurt works wonderfully. For a dairy-free option, coconut cream or a thick, unsweetened plant-based yogurt can be used, though the texture might be slightly different.
Baking Tips: Always use the middle rack of your oven for even baking. If you notice the edges are baking faster than the center, loosely tent the pan with foil for the last 10-15 minutes of baking. The toothpick test is your best friend – moist crumbs mean it’s done and will continue to set as it cools. If it comes out totally clean, it might be slightly overbaked.
Glaze Variations: If the simple powdered sugar glaze isn’t your jam, try a rich chocolate ganache (equal parts heavy cream and chopped chocolate, warmed and stirred until smooth) for a more decadent finish. Or, for a lighter touch, just a dusting of powdered sugar through a sieve is lovely. You can also add a touch of espresso powder to the glaze for an mocha flavor boost!
Storing and Reheating Tips
These Frankenstein Treats are surprisingly good at keeping their freshness, which is always a win in my book. If you find yourself with leftovers (which is rare in my house, but it happens!), here’s how I like to store them.
Room Temperature: Once they’ve completely cooled, I like to store them in an airtight container at room temperature. They’ll stay deliciously moist and fudgy for about 2-3 days. I often just leave the container on the counter, and they’re perfect for grabbing a quick snack throughout the day. Make sure they are fully cooled before covering, otherwise, you can get condensation, which isn’t ideal for texture.
Refrigerator Storage: If you live in a particularly warm climate, or if you just want them to last a bit longer, you can definitely store them in the refrigerator. Place them in an airtight container, and they should keep well for up to a week. They tend to be a bit firmer when cold, so I often let them sit out at room temperature for about 15-20 minutes before enjoying them.
Freezer Instructions: These are fantastic for freezing! Once completely cooled, I cut them into individual bars and wrap each one tightly in plastic wrap, then place them in a freezer-safe bag or container. They’ll keep beautifully for up to 2-3 months. To thaw, simply unwrap them and let them come to room temperature, or gently warm them in a low oven (about 250°F or 120°C) for a few minutes until heated through.
Glaze Timing Advice: If you plan to store them for more than a day or two, I often recommend adding the glaze *after* they’ve thawed from the freezer or just before serving. If you glaze them and then freeze, the glaze can sometimes crack or become a bit gummy. For refrigerator storage, glazing before is usually fine, especially if you let them come to room temp before eating.
Frequently Asked Questions
Final Thoughts
So there you have it – my beloved “Frankenstein Treats”! They’re a testament to the fact that sometimes, the most delicious things come from a little bit of happy kitchen experimentation. They’re rich, they’re comforting, and they’re just so darn easy to make. What I love most is that they never fail to bring a smile to people’s faces, whether it’s my own family or friends I’m sharing them with. They’re the perfect little squares of happiness that are ready in a flash but taste like they took hours of effort.
If you enjoy this recipe, you might also love my ultimate fudgy brownie recipe or my classic chocolate chip cookie bars – they share a similar spirit of decadent ease! Don’t be afraid to play around with the chocolate chips or add in nuts if that’s your thing. The beauty of these Frankenstein Treats is their adaptability. I genuinely can’t wait to hear how yours turn out! Let me know in the comments below if you give them a try, or if you have your own fun variations. Happy baking!

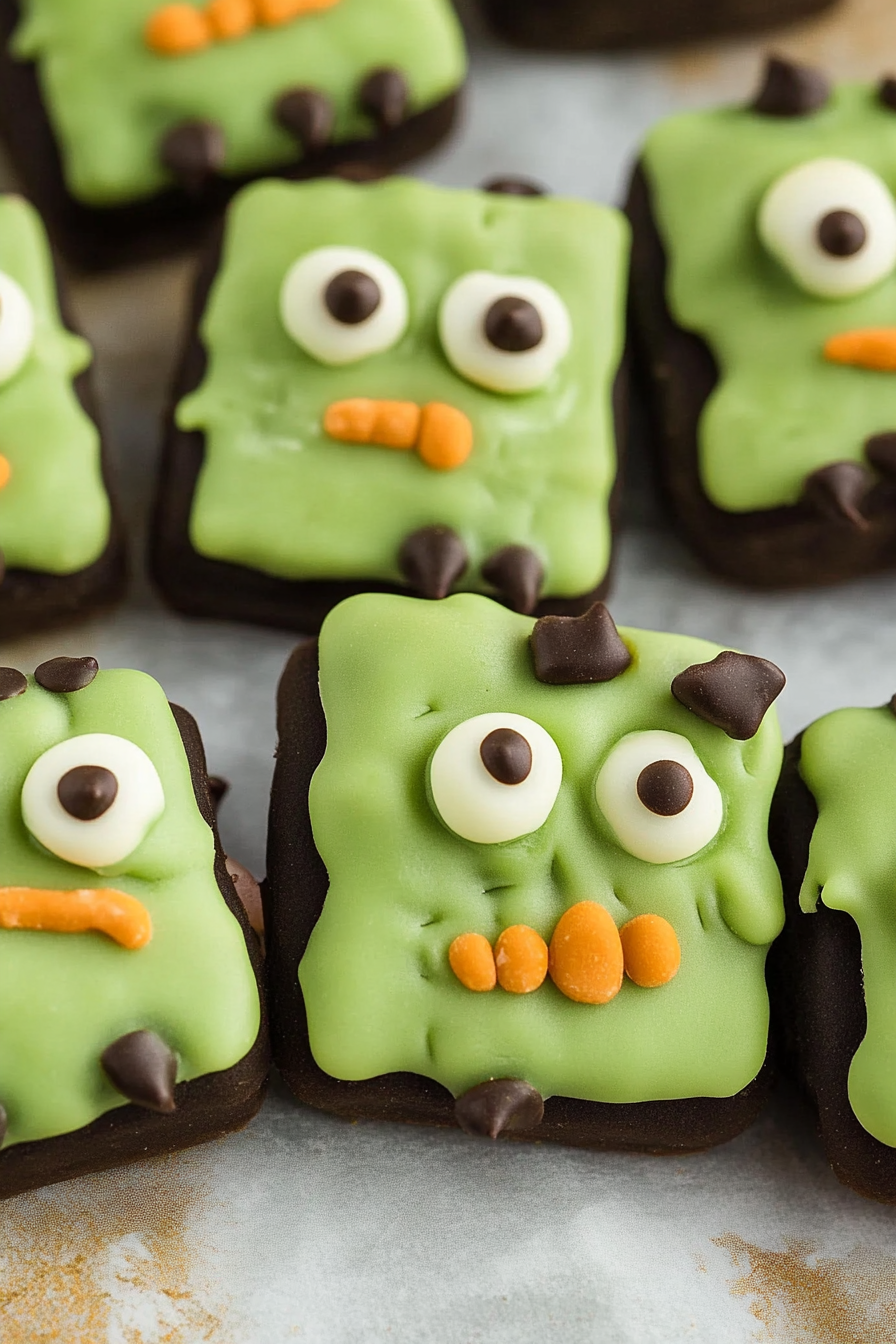
Spooky Frankenstein Treats
Ingredients
Method
- Melt the green candy melts according to package directions. You can use a microwave or a double boiler.
- Dip each Rice Krispie treat into the melted green candy melts, ensuring it's fully coated. Let any excess drip off.
- Place the coated treats on a parchment-lined baking sheet. While the candy coating is still wet, press two candy eyeballs onto the top of each treat for the eyes.
- Use the black decorating icing to draw a mouth below the eyes on each treat. You can also add a few stitches for effect.
- Press a few mini chocolate chips into the green coating below the mouth to create Frankenstein's bolts.
- Allow the candy coating to harden completely. This can be done at room temperature or by placing the treats in the refrigerator for a few minutes.