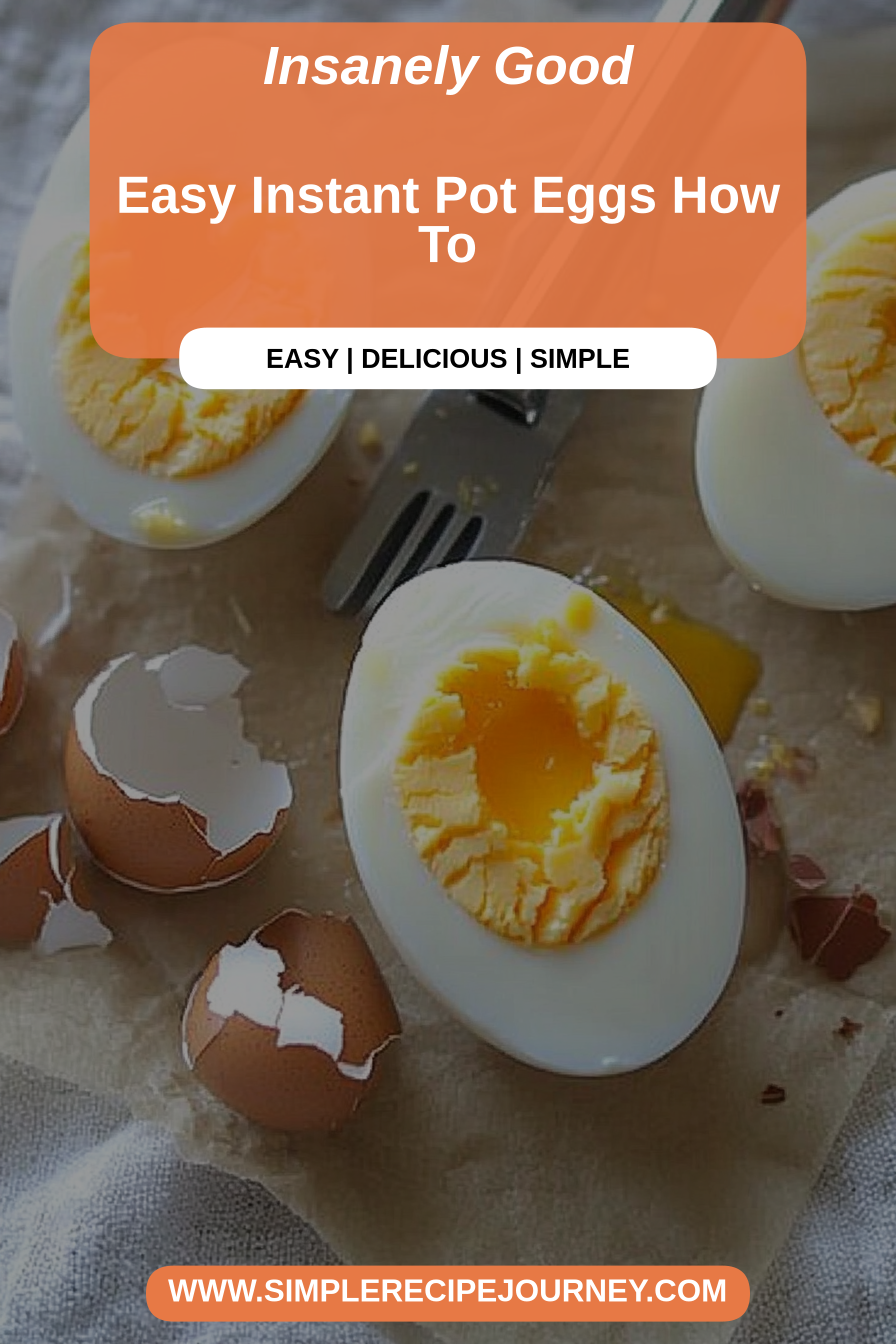
Easy Instant Pot Eggs How To
I remember the days of frantically trying to get breakfast on the table for the kids before the school bus arrived, my kitchen a whirlwind of cereal boxes and spilled milk. Then, one frantic Tuesday morning, I discovered the magic of Instant Pot eggs, and let me tell you, it was a game-changer. Forget the messy stovetop boiling, the overcooked yolks, or the impossible peeling. This method is so foolproof, so ridiculously simple, that it feels like cheating. If you’ve ever stared into your Instant Pot and wondered, “What else can this thing do?” then get ready, because making perfect hard-boiled, soft-boiled, or even jammy eggs is now at your fingertips. It’s honestly as easy as throwing a bag of groceries in and pressing a few buttons. This is my go-to for meal prep, for quick snacks, and for ensuring we always have protein-packed goodness ready to go. It’s less about a complex recipe and more about a brilliant kitchen hack that saves me so much time and stress. So, let’s dive into how you can achieve egg perfection with minimal effort!
What are Instant Pot Eggs?
So, what exactly are “Instant Pot Eggs”? It’s not some fancy culinary term; it’s simply the process of cooking whole eggs (in their shells, mind you!) inside your electric pressure cooker. Think of it as a super-efficient steamer that uses pressurized steam to cook the eggs to your desired level of doneness, from perfectly firm hard-boiled to delightfully jammy. The beauty of this method lies in its consistency. Unlike stovetop boiling, where temperature fluctuations and pot sizes can throw things off, the Instant Pot provides a controlled environment. It uses a specific amount of water at the bottom, and the steam does all the work. It’s essentially a foolproof way to get consistently cooked eggs every single time, with incredibly easy peeling. It’s one of those kitchen inventions that makes you wonder how you ever lived without it.
Why you’ll love this recipe?
Honestly, there are so many reasons why I’ve fallen head over heels for making eggs in the Instant Pot. First and foremost, the flavor is just… clean. It tastes like an egg, but somehow brighter, more vibrant. And the texture? Oh my goodness. You can get that perfect, fluffy hard-boiled egg with no rubbery edges, or a gloriously jammy yolk that oozes just right. But beyond the taste and texture, it’s the sheer simplicity that wins me over. I used to dread boiling eggs on the stove. It felt like a gamble every time – would they peel? Would the yolks be chalky? With the Instant Pot, it’s a total non-issue. You set it and forget it, and when the timer goes off, you have perfect eggs ready to go. It’s also incredibly cost-efficient. Eggs are a fantastic source of protein, and this method makes them accessible for quick breakfasts or snacks without breaking the bank. Plus, the versatility is insane! You can use these eggs in so many ways – sliced on avocado toast, chopped into a salad, or just eaten plain with a sprinkle of salt and pepper. What I love most about this is knowing I can pull out perfectly cooked eggs from the fridge any time of day. It’s a lifesaver for busy mornings, quick lunches, or when that late-night craving hits and you need something healthy and satisfying. Seriously, once you try this, you’ll never go back.
How do you make an instant pot egg?
Quick Overview
This method is all about simplicity and consistency. You’ll place a bit of water in your Instant Pot, arrange your eggs on a steamer rack or trivet, seal the lid, and set a short cook time. The magic happens as the pressurized steam cooks the eggs evenly. Once the cooking cycle is done, you’ll immediately plunge them into an ice bath to stop the cooking and make peeling an absolute breeze. It’s incredibly hands-off, making it perfect for busy days when you need to multitask.
Ingredients
For the Eggs:
1 dozen large eggs (or as many as will fit your Instant Pot rack – usually 12-14 fits comfortably)
1 cup water
For the Ice Bath:
A large bowl filled with ice cubes and cold water
Step-by-Step Instructions
Step 1: Preheat & Prep Pan
This is more about prepping your tools! You’ll want to make sure your Instant Pot is clean. Pour 1 cup of water into the bottom of the inner pot. Place your Instant Pot trivet or steamer basket into the pot, resting on top of the water. This is crucial because you don’t want the eggs sitting directly in the water; we’re using steam power here!
Step 2: Mix Dry Ingredients
No dry ingredients to mix here! This is the beauty of this recipe – it’s so streamlined. Just the water and the eggs!
Step 3: Mix Wet Ingredients
The “wet ingredient” is simply the water that goes into the bottom of the Instant Pot. Ensure it’s exactly 1 cup. Too much or too little can sometimes affect the pressure and cooking time, so stick to the measurement.
Step 4: Combine
Gently arrange your eggs on the trivet in a single layer. Don’t overcrowd them. Close and lock the lid of your Instant Pot. Make sure the steam release valve is set to the ‘Sealing’ position. No need to vent or do anything fancy at this stage.
Step 5: Prepare Filling
This step is for recipes that involve fillings, but for plain hard-boiled eggs, there’s no filling to prepare! The “filling” is simply the yolk and white of the egg itself.
Step 6: Layer & Swirl
Again, this isn’t a cake or a casserole, so there’s no layering or swirling involved. We’re focusing on perfect, individual steamed eggs.
Step 7: Bake
This is where the “cook” button comes in! Select the ‘Manual’ or ‘Pressure Cook’ setting on your Instant Pot. Set the cooking time to 5 minutes for large eggs. Once the timer is up, the Instant Pot will automatically switch to “Keep Warm.” Don’t worry about that; the cooking time is set. After the 5 minutes of cooking are complete, let the pressure release naturally for 5 minutes (this is called a “Natural Pressure Release” or NPR). After 5 minutes of NPR, carefully move the steam release valve to the ‘Venting’ position to release any remaining pressure. Be cautious of the steam!
Step 8: Cool & Glaze
As soon as the steam has completely released, carefully open the lid. Using tongs, immediately transfer the cooked eggs from the Instant Pot into your prepared ice bath. Let them chill in the ice water for at least 10-15 minutes. This is the secret to easy peeling! The rapid temperature change helps the egg white contract away from the shell.
Step 9: Slice & Serve
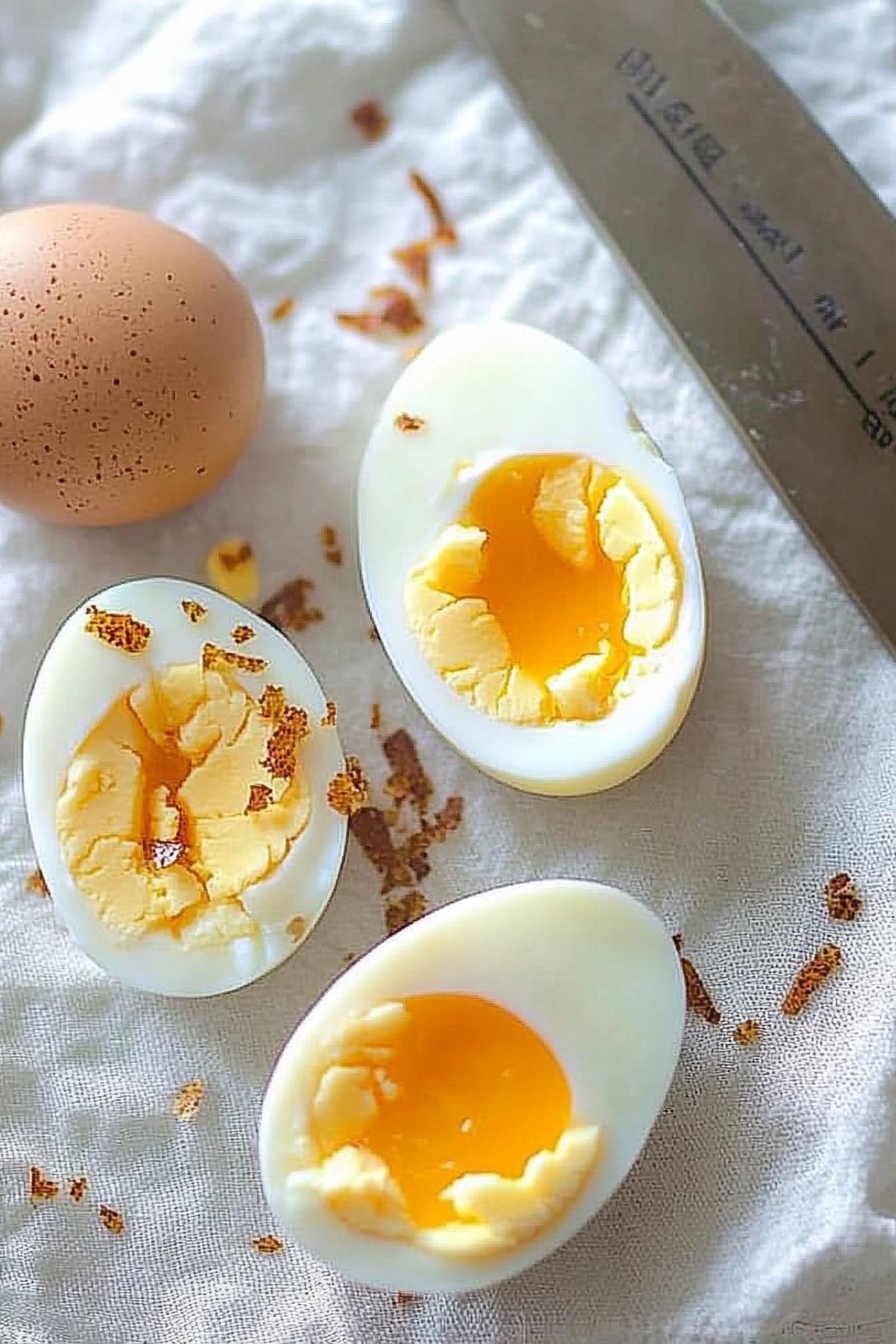
Once the eggs are thoroughly chilled, you can peel them. The shells should slip right off. If any are a little stubborn, gently tap them on a hard surface all around, then start peeling from the wider end. Slice them in half, season with salt and pepper, or use them in your favorite egg salad or breakfast dish. Enjoy your perfectly cooked Instant Pot eggs!
What to Serve It With
The beauty of these Instant Pot eggs is their incredible versatility. They’re not just for breakfast! For a quick and protein-packed breakfast, I love serving them simply sliced on avocado toast with a sprinkle of red pepper flakes. They’re also fantastic alongside a simple bowl of oatmeal or with some fresh fruit. For brunch, they’re a must-have. Imagine a beautiful spread with these eggs, some smoked salmon, capers, and a dollop of cream cheese – or chopped and mixed into a gourmet deviled egg recipe. They make any brunch feel a little more special. As a dessert? Well, not usually on their own, but they are the star of a truly delightful savory tart or a quiche where you want perfectly cooked egg pieces throughout. My kids absolutely love them for a cozy snack. They’ll grab a peeled egg from the fridge and eat it like an apple, maybe with a little salt. It’s such a healthy alternative to processed snacks. Honestly, they fit into any meal, any time of day, and that’s why I can’t recommend them enough.
Top Tips for Perfecting Your Instant Pot Eggs
I’ve made hundreds, maybe thousands, of Instant Pot eggs by now, and I’ve picked up a few tricks that really make a difference. For starters, always use older eggs if you can. Super fresh eggs tend to be a bit trickier to peel, even with the ice bath. If all you have are fresh eggs, just be a little extra gentle when peeling. Speaking of peeling, the ice bath is non-negotiable. Seriously, don’t skip it! The shock of the cold water is what causes the egg white to shrink away from the shell membrane. It makes peeling feel like a dream. When it comes to the cooking time, 5 minutes for large eggs is my sweet spot for hard-boiled. If you prefer them softer with a more jammy yolk, try 4 minutes, followed by the 5-minute natural release and then the ice bath. For truly soft-boiled with a runny yolk, you might even go down to 3 minutes. Experiment a little to find your perfect consistency! The amount of water is also important – 1 cup is standard, and it creates enough steam without making the pot too watery. I’ve tried a little less, and it didn’t seem to affect it much, but 1 cup is a safe bet. Always ensure your steam release valve is in the ‘Sealing’ position before cooking. I once forgot to seal it, and it took forever to come to pressure and the eggs were cooked unevenly. Learn from my mistakes! Finally, once peeled, store your eggs in an airtight container in the refrigerator. They’ll stay fresh and ready for you for about 5-7 days. I sometimes like to add a tiny splash of vinegar to the water in the Instant Pot, just in case an egg cracks – it helps the white cook and seal the crack quickly. It’s a small thing, but it’s saved me from a messy pot more than once!
Storing and Reheating Tips
One of the best parts about making a batch of Instant Pot eggs is the built-in meal prep. Once they’re cooked and thoroughly cooled in the ice bath, you can store them in their shells in the refrigerator for up to a week. I usually keep them in an airtight container, and they’re good to go. If you’ve already peeled them (which I sometimes do because peeling is so easy with this method!), make sure to store them in an airtight container as well, and they’ll still last about 5-7 days. I find that peeled eggs can sometimes dry out a little faster, so keeping them covered is key. If you’re planning to use them in an egg salad or for deviled eggs, peeling them ahead of time can be a real time-saver. For reheating, there’s not really much reheating involved since they’re usually served cold or at room temperature. If you happen to have a cooked egg that’s gotten a bit too cold and you want it closer to room temperature, just let it sit out on the counter for about 15-20 minutes. Don’t microwave them, though – they tend to get rubbery and can even explode! Trust me on this one; it’s not a pleasant experience. The glaze for some recipes is usually applied just before serving, so storage doesn’t usually affect it, unless it’s a recipe where the glaze is baked on, in which case you’d follow the storage instructions for that specific dish. But for plain eggs, just keep them cool and covered!
Frequently Asked Questions
Final Thoughts
So there you have it – the simplest, most foolproof way to make perfect eggs every single time using your Instant Pot. It’s one of those kitchen marvels that truly changes the game, especially for busy households. The ease of preparation, the consistently delicious results, and the fact that peeling becomes a non-issue? It’s a triple threat! I’ve shared this method with so many friends, and they all rave about it. It’s become my go-to for meal prep, ensuring I always have a healthy, protein-packed snack or breakfast component ready to go. If you’re new to using your Instant Pot for more than just main courses, I really encourage you to give these eggs a try. You might be surprised at how much you love them. Don’t forget to let me know in the comments how yours turned out, or if you have any special ways you like to serve your Instant Pot eggs! Happy cooking!
Instant Pot Hard Boiled Eggs
Ingredients
Method
- Place a trivet or egg rack in the bottom of your Instant Pot. Pour 1 cup of water over the trivet.
- Carefully arrange the eggs on the trivet in a single layer.
- Secure the lid and set the valve to sealing. Cook on Manual/High Pressure for 5 minutes.
- Once the cooking time is complete, allow for a natural pressure release (NPR) for 5 minutes. After 5 minutes, perform a quick pressure release (QPR) to release any remaining steam. Carefully open the lid.
- Immediately transfer the eggs to an ice bath (a bowl filled with ice and water) for at least 5-10 minutes to stop the cooking process and make them easier to peel.
- Gently tap the eggs and peel them. They should peel easily.