Easy Berry Icebox Cake Delight
There are some recipes that just instantly transport you back to your childhood, aren’t there? For me, that’s this Strawberry Icebox Cake. It’s one of those desserts that feels like pure magic, especially when the summer strawberries are at their peak. My Grandma Clara used to make this for every family gathering, and the moment that beautiful, layered cake hit the table, you knew it was going to be a special occasion. It’s not a fussy, complicated affair; it’s more like a sweet hug in cake form. Honestly, I think it’s the perfect antidote to those scorching hot days when the thought of turning on the oven feels like a Herculean task. It’s funny, because people often compare it to a no-bake cheesecake or even a fancy layered trifle, but this Strawberry Icebox Cake has its own unique charm. It’s simpler, somehow lighter, and the way the cookies soften into this incredible cake-like texture is just divine.
What is an Icebox cake?
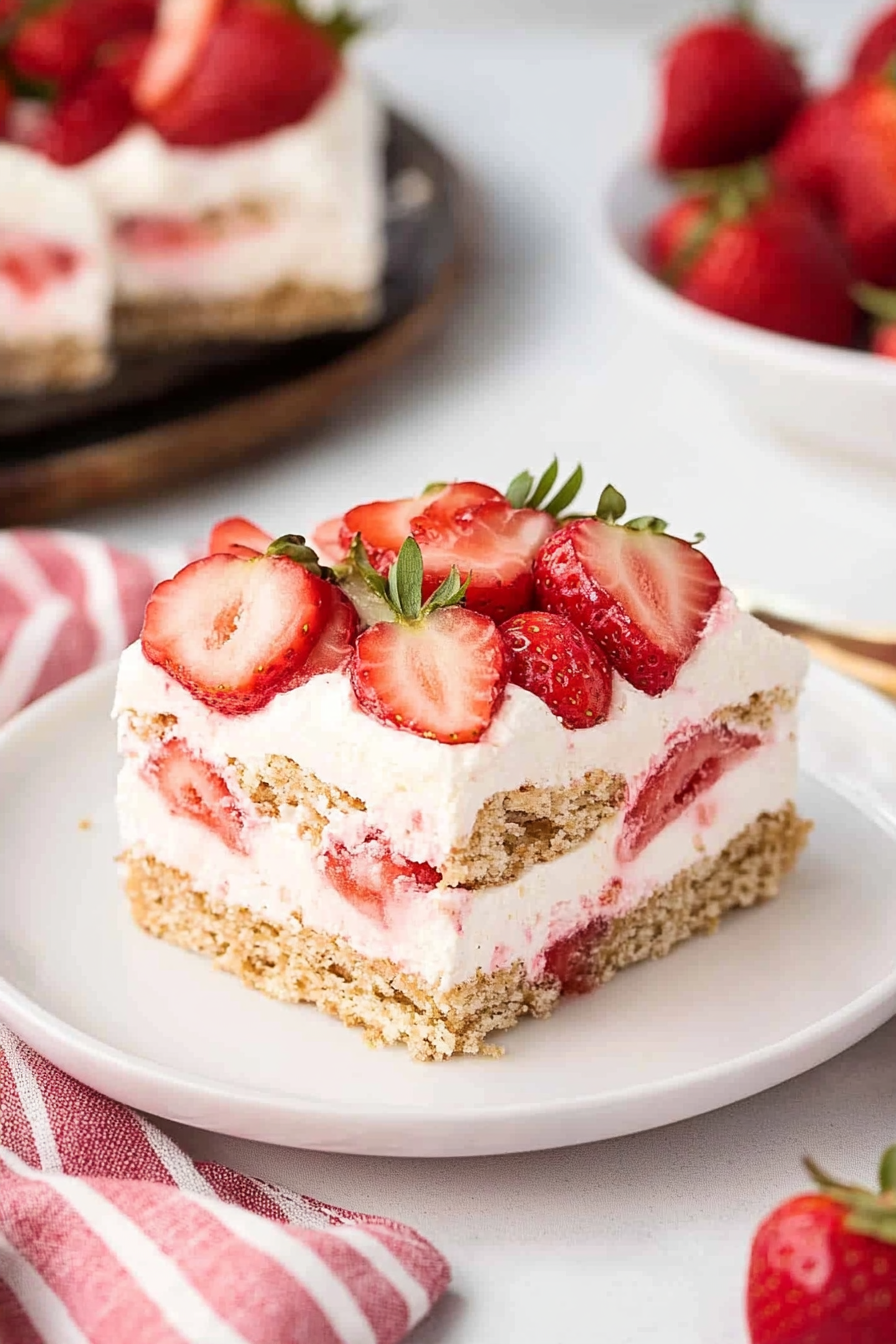
So, what exactly is a Strawberry Icebox Cake? Think of it as a delightful, no-bake wonder that relies on layers of crisp cookies, luscious whipped cream, and, of course, plenty of fresh strawberries. The “icebox” part is key here – it needs time in the refrigerator to work its magic. As it chills, the cookies absorb moisture from the cream and the strawberry juices, softening beautifully to create a texture that’s somewhere between a cake and a really soft cookie. It’s not baked, which is a huge win in my book, especially during warmer months. The name itself just sounds so wonderfully retro and comforting, doesn’t it? It brings to mind a time when simple ingredients and a little patience could create something truly spectacular. It’s essentially a masterclass in how a few humble ingredients can transform into a showstopper without ever seeing the inside of an oven. It’s the kind of dessert that makes you feel like a kitchen wizard, even if you’re just assembling pre-made components.
Why you’ll love this recipe?
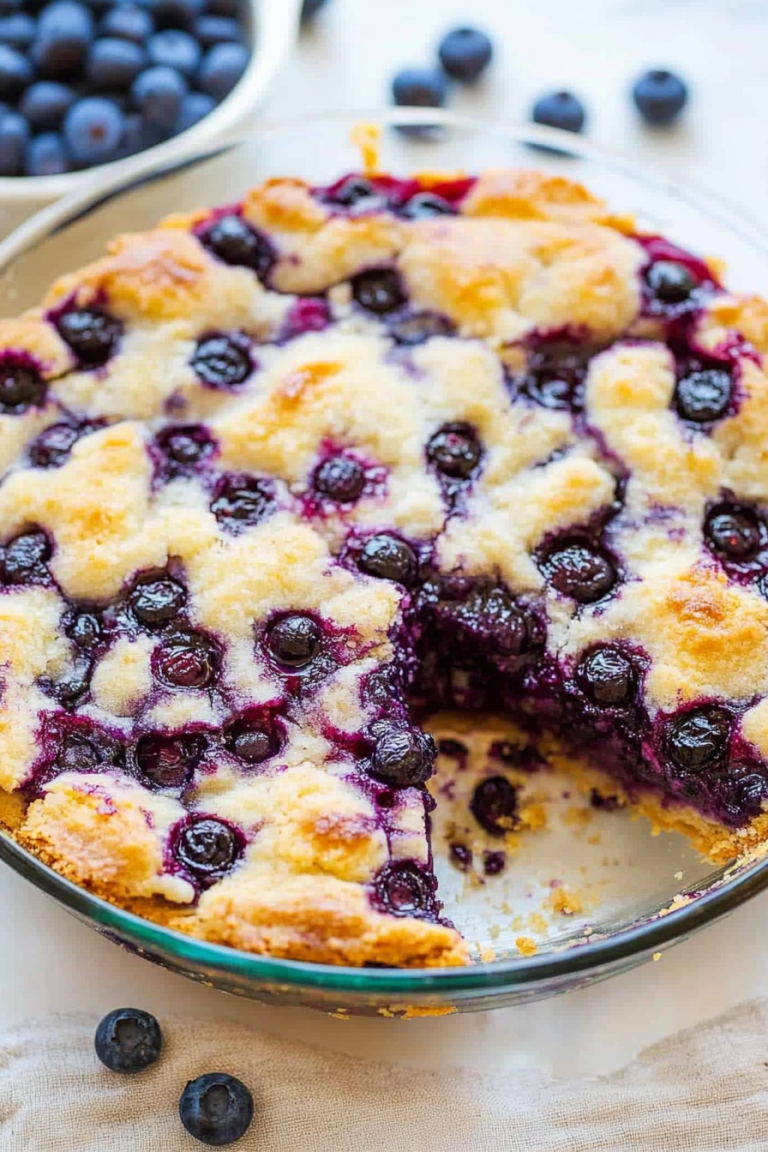
Oh, where do I even begin with why this Strawberry Icebox Cake is a keeper? Let’s start with the flavor. It’s just heavenly. You get that bright, sweet burst from the fresh strawberries, perfectly balanced by the creamy, slightly sweetened whipped cream. The cookie layers provide a subtle, vanilla-y base that’s soft enough to eat with a spoon but still offers a hint of texture. It’s a symphony of deliciousness! Then there’s the sheer simplicity of it all. Seriously, if you can whip cream and slice strawberries, you can make this cake. It’s my absolute go-to when I need a dessert that’s impressive but doesn’t require hours of effort. Plus, it’s incredibly budget-friendly! You’re using common ingredients that you might even have on hand already, making it a lifesaver for unexpected guests or when you just need a sweet treat without breaking the bank. And talk about versatile! While strawberries are the star here, I’ve experimented with raspberries and blueberries too, and they’re all amazing. It’s the kind of dessert that brings smiles to everyone’s faces, from the pickiest eaters (my kids devour this!) to the most discerning dessert aficionados. What I love most about this is that it’s so forgiving. Even if your whipped cream isn’t perfectly stiff or your strawberries aren’t uniform, it still turns out beautifully. It’s the perfect recipe for when you’re craving something decadent at 10 PM but really don’t want to commit to a whole baking project.
How do you make an Icebox cake?
Quick Overview
This Strawberry Icebox Cake is all about layering simple, delicious ingredients and letting the refrigerator do the heavy lifting. You’ll be whipping cream, slicing strawberries, and arranging layers of cookies and fruit. The magic happens as it chills, transforming those cookies into a soft, cake-like base. It’s incredibly straightforward, and the result is a stunning, no-bake dessert that tastes like it took hours to make.
Ingredients
For the Main Batter (well, cookie layers!):
You’ll need about 2-3 sleeves of crisp vanilla wafer cookies. I always go for the classic ones because they have a mild flavor that lets the strawberries and cream shine. Make sure they’re fresh and not stale – that’s the only real secret to a good no-bake cake! If you can’t find vanilla wafers, graham crackers are a decent substitute, though they’ll impart a slightly different flavor.
For the Filling:
This is where the creamy goodness comes from. You’ll need heavy whipping cream – I usually grab a quart to be safe, as you want a generous amount. Make sure it’s very cold; that’s crucial for whipping it up perfectly. You’ll also need powdered sugar for sweetness (about 1/2 cup, but you can adjust to your taste) and a teaspoon of vanilla extract to really enhance that flavor. A splash of almond extract can be lovely here too if you’re feeling adventurous, but vanilla is the classic choice.
For the Strawberry Layers:
About 2 pounds of fresh strawberries are ideal. Look for bright red, firm berries. You’ll want to hull them and then slice them or chop them into bite-sized pieces. Some people like to macerate them with a little bit of sugar beforehand to draw out their juices, but I often skip this step to keep it super simple, and it still turns out wonderfully.
Step-by-Step Instructions
Step 1: Preheat & Prep Pan
Okay, so there’s no oven involved, but you *do* need a good vessel for your icebox cake! I usually use a 9×13 inch baking dish. You can line it with parchment paper, leaving some overhang on the sides. This makes lifting the cake out SO much easier later on, especially if you want to serve it from a nice platter instead of directly from the dish. It’s a little trick I learned after struggling to get a perfectly formed cake out of the pan in the past!
Step 2: Mix Dry Ingredients
This step is more about preparing your “cake” layers! Get your vanilla wafer cookies ready. You can leave them whole if you want a more distinct cookie texture, or you can break them up slightly. My grandma always just arranged them in a single layer, slightly overlapping. Don’t worry about perfection here; it all melds together.
Step 3: Mix Wet Ingredients
This is where the magic of the whipped cream happens. Pour your *cold* heavy whipping cream into a large bowl. Add the powdered sugar and vanilla extract. Start whipping with an electric mixer (or a whisk and a lot of arm power!) on medium speed. Gradually increase to high speed until you have nice, stiff peaks. You want it to hold its shape when you lift the beaters. Be careful not to over-whip it, or you’ll end up with butter!
Step 4: Combine
Now we’re going to start assembling. Spread a thin layer of the whipped cream over the bottom of your prepared dish, right on top of the cookie layer. This helps everything stick together and prevents the bottom cookies from getting too soggy too quickly.
Step 5: Prepare Filling
This is where the fruit comes in! Take your hulled and sliced strawberries. If you want them to release a little more juice and flavor, you can toss them with a tablespoon or two of granulated sugar and let them sit for about 15-20 minutes while you prepare everything else. This is optional, but it does add a lovely sweetness and a bit of sauciness to the cake.
Step 6: Layer & Swirl
Now for the fun part! Arrange a layer of your sliced strawberries over the whipped cream. Then, place another layer of vanilla wafer cookies on top of the strawberries. Continue layering like this: whipped cream, strawberries, cookies. Aim for about 3-4 layers, ending with a final layer of whipped cream. You can get creative with the strawberry placement – I sometimes arrange them in a pretty pattern on the top layer for an extra visual appeal.
Step 7: Bake
Here’s the “icebox” part! Cover the dish tightly with plastic wrap or a lid. Refrigerate for at least 6-8 hours, or preferably overnight. This is the most crucial step. The longer it chills, the softer and more cake-like the cookies will become. You can’t rush this process!
Step 8: Cool & Glaze
Once it’s had ample time to chill and set, you can add a final touch. If you saved some whipped cream, you can frost the top, or just leave it as is. Garnish with a few fresh strawberries. If you didn’t macerate your strawberries, you can drizzle a little strawberry syrup or a light glaze over the top just before serving for extra shine and flavor.
Step 9: Slice & Serve
When you’re ready to serve, carefully lift the cake out of the dish using the parchment paper overhang, if you used it. Slice it with a sharp knife. It will be soft, so be gentle. Serve immediately. This cake is best served cold, straight from the refrigerator.
What to Serve It With
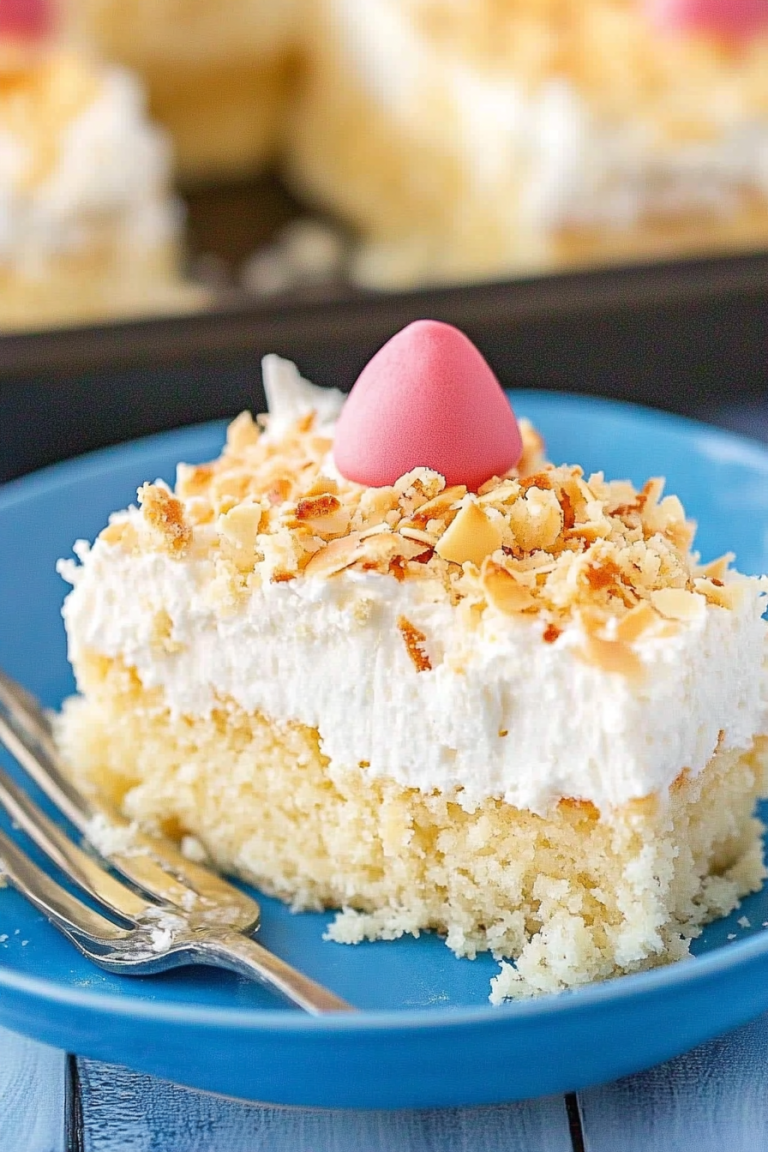
This Strawberry Icebox Cake is so versatile, it fits right in with almost any meal or occasion. For a lovely breakfast, I love serving a small slice alongside a piping hot mug of coffee. It’s a sweet start to the day without being too heavy. If you’re planning a weekend brunch, this cake is an absolute showstopper. You can plate it elegantly, perhaps with a few extra fresh berries on the side and a sprig of mint. A light, bubbly mimosa or a refreshing glass of iced tea pairs beautifully. As a dessert, it’s pure indulgence. After a rich dinner, this light, fruity cake is the perfect palate cleanser. I often serve it with a dollop of extra whipped cream or even a small scoop of vanilla bean ice cream. And for those cozy nights in, when you just need a little something sweet, this cake is pure comfort. It’s perfect with a glass of milk or a warm cup of herbal tea. My family has a tradition of making this for my dad’s birthday every June because he says it’s his favorite way to celebrate the start of summer. I’ve also found that a sprinkle of toasted slivered almonds over the top of the whipped cream adds a delightful crunch that complements the softness of the cake beautifully.
Top Tips for Perfecting Your Strawberry Icebox Cake
Over the years, I’ve picked up a few tricks that help make this Strawberry Icebox Cake absolutely perfect every single time. First off, about those cookies: make sure they’re not stale. A slightly stale cookie just won’t absorb moisture as well, and you won’t get that lovely cake-like texture. I usually buy a fresh box just for this cake. When you’re whipping your cream, remember that cold is key! Cold cream whips up faster and holds its shape better. Don’t be tempted to add more sugar than I’ve suggested initially; you can always taste the whipped cream and add a bit more powdered sugar if you prefer it sweeter, but it’s easier to add than to take away! For the strawberries, if you want that extra burst of berry flavor, letting them sit with a tablespoon of sugar for about 20 minutes before layering will draw out their natural juices. This creates a beautiful, slightly syrupy layer in the cake. Don’t overfill your dish; you want enough room for a couple of layers of cookies and strawberries. My worst mistake early on was trying to cram too much in, and it made for a very unstable cake. When it comes to chilling, patience is your best friend. I know it’s hard to wait, but the 6-8 hours, or even better, overnight, is essential for the cookies to soften properly. If you’re short on time, I’ve found that a few extra hours in the fridge will still make a difference, but the longer, the better. For an extra touch of flavor, I sometimes add a pinch of lemon zest to the whipped cream – it adds a subtle brightness that really makes the strawberry flavor pop! And if you want to get fancy with the presentation, save some of the prettiest strawberries and arrange them artfully on top of the final layer of whipped cream. A few mint leaves add a lovely pop of color too!
Storing and Reheating Tips
This Strawberry Icebox Cake is best enjoyed fresh, but it does store quite well! At room temperature, it’s really best to keep it chilled. If you absolutely must leave it out for a short period, I’d say no more than an hour or two, especially if it’s warm. For refrigerator storage, this is where it shines. Once it’s fully chilled and set, cover it tightly with plastic wrap or pop it into an airtight container. It will stay delicious in the fridge for about 3-4 days. The cookie layers will continue to soften over time, which some people actually prefer! If you plan on freezing it, I’d recommend slicing it into individual portions *before* freezing. Wrap each slice tightly in plastic wrap, then in aluminum foil. This helps prevent freezer burn. It can stay in the freezer for up to 2 months. To thaw, take a slice out of the freezer and let it thaw in the refrigerator for a few hours. The texture might change slightly after freezing, becoming a bit softer, but it’s still a wonderful treat. For the glaze, it’s best to add any extra drizzles or garnishes just before serving, especially if it’s going to be stored for a while. If you’re planning on a longer chill time, I usually just add the strawberries and whipped cream, and then add any extra decorative drizzles right before it goes to the table.
Frequently Asked Questions
Final Thoughts
Honestly, making this Strawberry Icebox Cake is more than just following a recipe; it’s about creating a feeling. It’s the feeling of warm summer days, of family gathered around the table, and of pure, unadulterated joy. This cake embodies simplicity and elegance, proving that you don’t need a hot oven to create something truly spectacular. It’s the perfect dessert for any occasion, whether it’s a backyard barbecue, a birthday celebration, or just a weeknight treat when you need a little something sweet. If you love light, fruity desserts that are incredibly easy to make, I really hope you’ll give this Strawberry Icebox Cake a try. It’s a recipe that has been cherished in my family for generations, and I know it will bring just as much happiness to yours. If you enjoy this, you might also love my recipe for a classic No-Bake Chocolate Eclair Cake or my Easy Berry Trifle – they share that wonderful no-bake magic! I can’t wait to hear how yours turns out! Please leave a comment below with your thoughts, or share your own family twists on this classic. Happy baking… or should I say, happy chilling!

Strawberry Icebox Cake
Ingredients
Method
- Create an even layer of graham crackers on the bottom of an 8x8 pan, breaking them into pieces to fit as necessary.
- Top the graham crackers with an even layer of 1.5 cups of Cool Whip. Smooth out into an even layer as best as possible using a rubber or offset spatula.
- Create a layer of strawberry slices on top of the layer of Cool Whip. Make sure they're not overlapping and that the layer is as even as possible.
- Repeat a second and third layer of graham crackers, Cool Whip, and strawberry slices. The top layer should be strawberries.
- Refrigerate overnight, or at least 8 hours. Keep chilled until ready to serve.