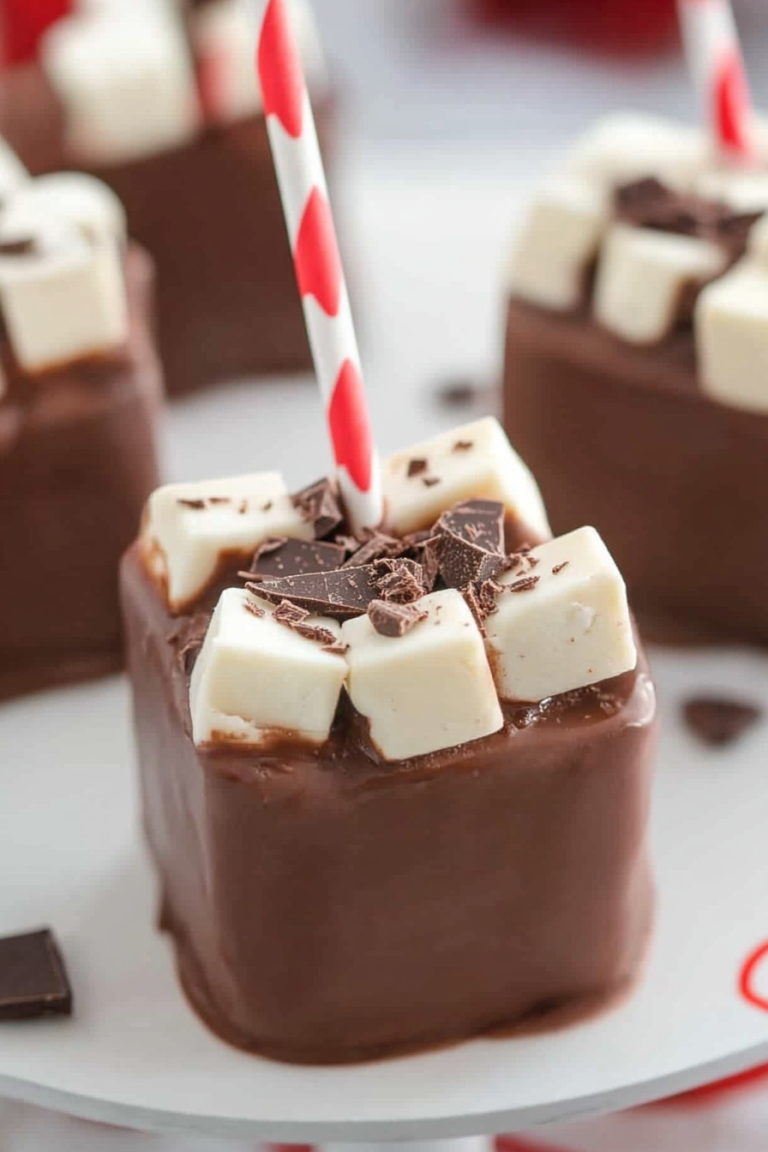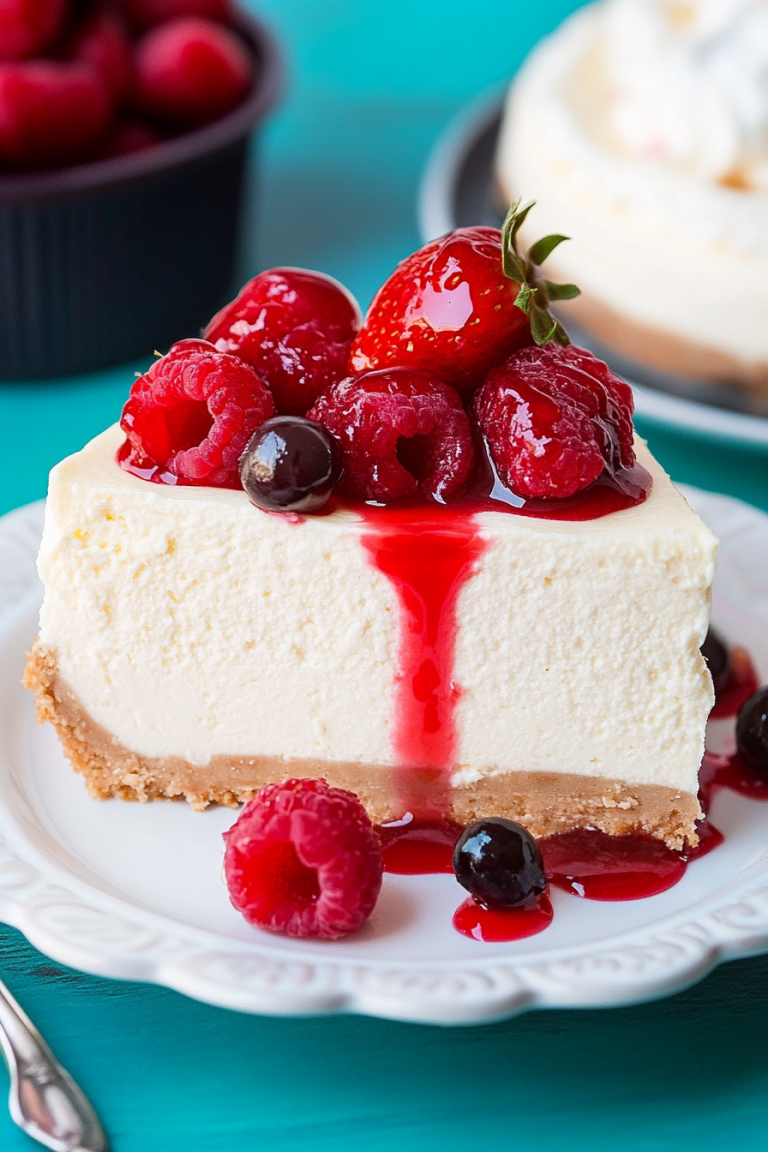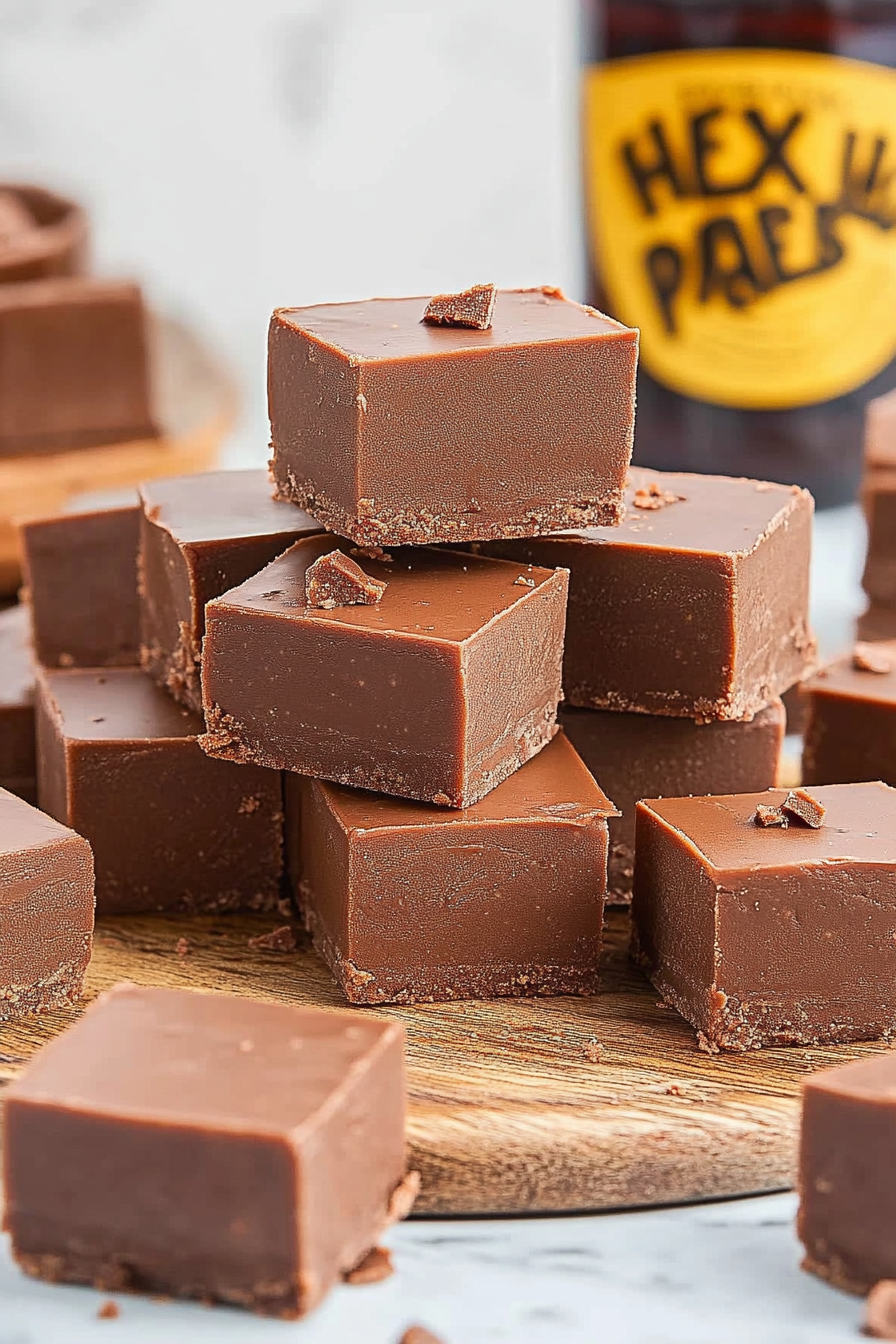
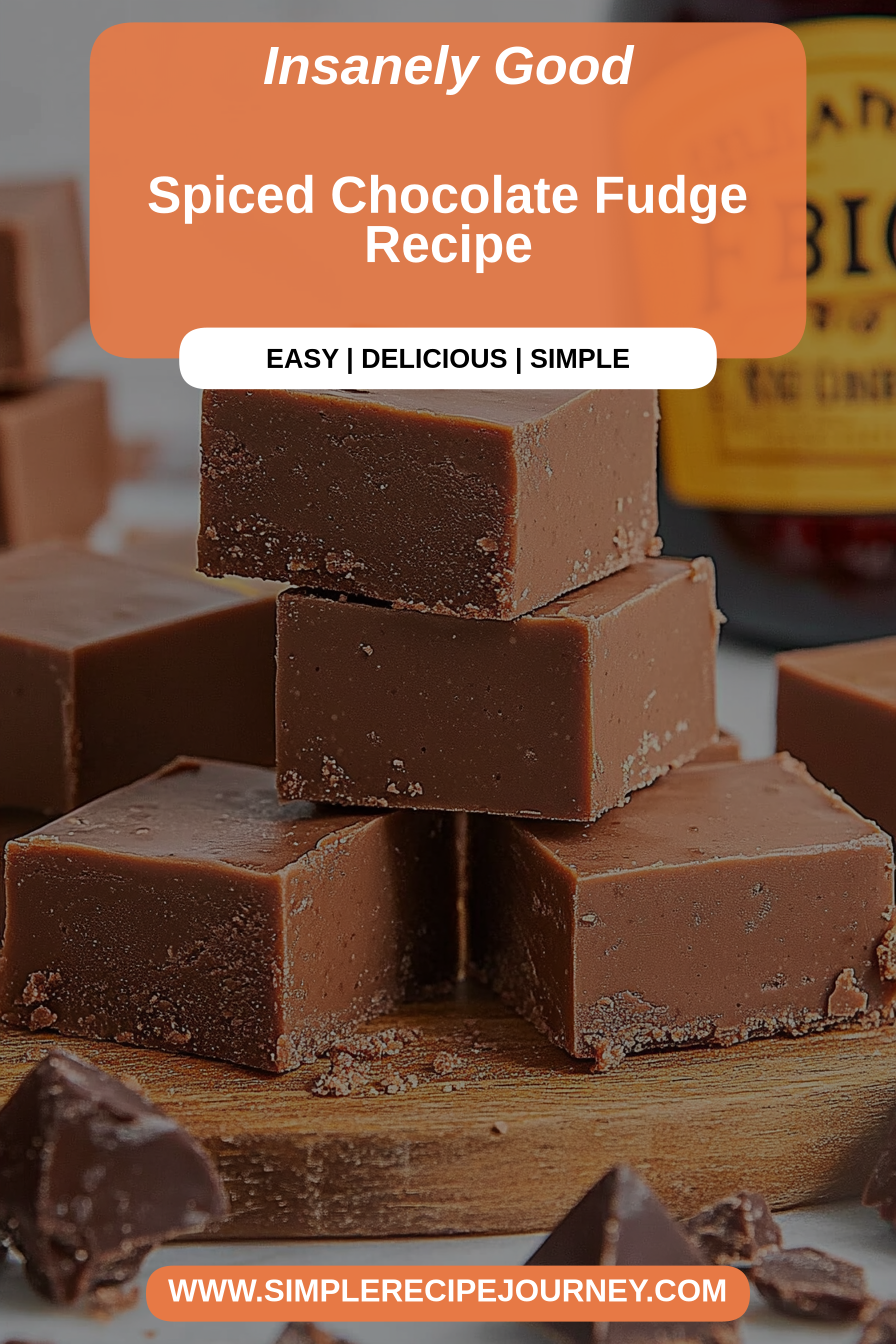
Spiced Chocolate Fudge Recipe
Oh, where do I even begin with this fireball fudge? It’s honestly one of those recipes that feels like sunshine and happy memories all rolled into one. I remember the first time I made it – it was for a neighborhood potluck, and I was a little nervous because I’d never tried adding a kick of cinnamon-whiskey flavor to fudge before. You know how sometimes you just get a crazy idea in your head and you have to see if it works? Well, this was one of those times! My grandma used to make the most incredible classic chocolate fudge, the kind that was rich and fudgy and always disappeared in minutes. I wanted to capture that same comforting, decadent feeling, but with a little twist. This fireball fudge does exactly that. It’s got all the creamy, dreamy chocolate goodness you expect, but then BAM! A little warmth from the cinnamon-whiskey that just dances on your tongue. It’s not overpowering, just a beautiful subtle heat that makes it utterly addictive. Honestly, if you love those spicy cinnamon candies or anything that gives you a cozy warmth, this is your jam. It’s way easier than you think, too, and always a massive hit whenever I bring it anywhere!
What is Fireball Fudge?
So, what exactly IS fireball fudge? Think of it as your classic, melt-in-your-mouth chocolate fudge, but with a secret, exciting ingredient: a shot of that cinnamon-whiskey liqueur, often referred to as “Fireball.” It’s not about making it boozy, mind you! The alcohol cooks off, leaving behind this incredible, warm cinnamon flavor that perfectly complements the deep, dark chocolate. It’s essentially a delightful fusion of comforting chocolate and a surprising, delightful spice. The name just perfectly captures that initial warmth and then the smooth, rich finish. It’s that unexpected element that makes people go, “Wow, what IS that?” It’s like a little party in your mouth. It’s not a complicated recipe at all; it’s more about adding a little flavor magic to a beloved treat. It’s essentially a delicious way to elevate simple ingredients into something truly special and memorable. It’s become my go-to for holidays, parties, or even just a Tuesday night when I need a little pick-me-up.
Why you’ll love this recipe?
Honestly, there are so many reasons why I keep coming back to this fireball fudge recipe, and I just know you’re going to fall in love with it too! First off, the flavor is just out of this world. You get that intense, satisfying chocolate that’s so rich and creamy, and then, just as you think you know what’s coming, this lovely, warm cinnamon spice kicks in. It’s not a fiery burn; it’s more of a cozy hug from the inside, a gentle warmth that makes the chocolate taste even more decadent. It’s the kind of flavor profile that keeps you coming back for just one more piece. And speaking of pieces, this fudge is surprisingly simple to make! You don’t need any fancy candy-making equipment or a double boiler, which is a lifesaver on busy days. It’s mostly hands-off once you get it going. Plus, the ingredients are pretty standard pantry staples, plus that little bottle of cinnamon-whiskey, which, let’s be honest, is a great addition to any home bar anyway! It’s incredibly cost-effective, especially considering how gourmet it tastes. What I love most about this recipe is its versatility. While I adore it as is, you can totally play around with it. Add some chopped pecans for crunch, or even a pinch of cayenne if you’re feeling extra adventurous! It’s perfect for a holiday cookie exchange, a teacher’s gift, or just to have on hand for unexpected guests. It’s so much better than store-bought, and the homemade touch makes it extra special. It’s truly a recipe that punches way above its weight in terms of flavor and wow-factor!
How do you make fireball fudge?
Quick Overview
Making this fireball fudge is honestly a breeze! You’ll essentially melt a few key ingredients together until they’re smooth and glossy, stir in your flavorings and add-ins, then let it set. It’s a no-bake wonder that comes together in about 15-20 minutes of active time, plus cooling. The magic happens when the rich chocolate and sweet condensed milk combine with that special cinnamon liquor, creating a luxuriously smooth texture and that signature warm flavor. It’s one of those recipes where the result feels way more impressive than the effort involved, and that’s always a win in my book!
Ingredients
For the Main Fudge Base:
You’ll need a good quality semi-sweet chocolate. I always opt for chocolate chips or a chopped bar that’s around 60-70% cacao for the best balance of sweetness and cocoa flavor. Avoid using milk chocolate, as it can make the fudge too sweet and less rich. Also, grab a can of sweetened condensed milk – this is what gives the fudge its incredible creamy texture and sweetness without needing to cook sugar to a specific temperature. A good tablespoon of butter will add a lovely sheen and richness. And, of course, our star ingredient: about 2-3 tablespoons of cinnamon-whiskey liqueur. Start with 2 tablespoons if you’re unsure, you can always add a tiny bit more if you want a stronger flavor, but remember, the flavor intensifies as it cools!
For the Flavor Boost & Mix-ins:
This is where we add that signature kick! You’ll need about 1/4 teaspoon of ground cinnamon to really amp up the warm spice notes, and optionally, a tiny pinch of salt to balance the sweetness and make the chocolate flavor pop even more. If you like a little texture and extra flavor, consider adding 1/2 cup of chopped toasted pecans or walnuts. They add a delightful crunch that complements the smooth fudge beautifully. Just make sure they are toasted; it makes a world of difference!
For the Optional Glaze:
While this fudge is absolutely divine on its own, sometimes a little extra something is nice. For an optional glaze, you can mix 1/2 cup of powdered sugar with about 1-2 tablespoons of milk or even a splash more of the cinnamon-whiskey until you reach a drizzling consistency. This adds a touch more sweetness and a pretty finish. You can also simply dust the top with a little extra cocoa powder or powdered sugar before it sets completely.
Step-by-Step Instructions
Step 1: Preheat & Prep Pan
This is the easiest part! Grab an 8×8 inch baking pan. You want to line it with parchment paper, leaving some overhang on the sides. This overhang is your best friend for lifting the fudge out of the pan later. Make sure the parchment paper is pretty smooth; you don’t want major wrinkles in your beautiful fudge. Give the parchment a quick spray with non-stick cooking spray before you add it to the pan, just to make sure it stays put. You don’t need to preheat an oven for this recipe, which is one of the things I love most about it!
Step 2: Mix Dry Ingredients
In a medium bowl, we’re going to whisk together our dry ingredients. This includes the semi-sweet chocolate chips (or chopped chocolate), the ground cinnamon, and the pinch of salt, if you’re using it. Whisk them together really well, ensuring the cinnamon and salt are evenly distributed among the chocolate. This helps to make sure that every bite of fudge gets that lovely cinnamon warmth and that salt is there to enhance the chocolate flavor, preventing it from being cloyingly sweet.
Step 3: Mix Wet Ingredients
In a medium saucepan over low heat, combine the sweetened condensed milk and the tablespoon of butter. Stir gently until the butter is completely melted and the mixture is warmed through. You don’t want it to boil, just get nice and warm. Once the butter is melted and everything is combined, remove the saucepan from the heat. This gentle warming is key to melting the chocolate smoothly.
Step 4: Combine
Now, pour the warm condensed milk and butter mixture over the dry ingredients in the bowl. Let it sit for about 2-3 minutes without stirring. This allows the heat from the condensed milk mixture to start melting the chocolate chips. After those few minutes, gently begin to stir. Stir slowly and consistently from the center outwards until the chocolate is completely melted and the mixture is smooth, glossy, and beautifully combined. If any chocolate pieces are still stubbornly intact, you can pop the bowl back over the saucepan with the residual heat (off the burner!) for a minute or two, stirring constantly, but be very careful not to overheat it, or your fudge can get grainy.
Step 5: Prepare Filling
Once your fudge base is smooth and glossy, it’s time to add the flavor boosters! Stir in the cinnamon-whiskey liqueur and mix until it’s fully incorporated. Give it a good stir to make sure that wonderful spicy aroma starts to fill your kitchen. If you’re adding chopped nuts, fold them in now. Make sure they are evenly distributed throughout the fudge mixture.
Step 6: Layer & Swirl
Pour the fudge mixture into your prepared, parchment-lined pan. Use a spatula to spread it evenly into the corners. If you’re doing an optional glaze, this is when you would prepare it and then drizzle it over the top. You can use a fork or a toothpick to gently swirl the glaze into the fudge, creating a pretty marbled effect. Don’t over-swirl, or the colors will just blend together. A few gentle passes are all you need.
Step 7: Bake
Actually, there’s no baking involved with this fudge! That’s right, no oven needed! Once you’ve spread it evenly in the pan and added any optional glaze or toppings, you’ll simply let it set. Cover the pan loosely with plastic wrap or foil, or just place it in the refrigerator to speed things up. It needs to firm up completely. I usually aim for at least 2-3 hours in the fridge, or longer if you’re patient and leaving it at room temperature (which takes a bit longer, maybe 4-6 hours depending on how warm your kitchen is).
Step 8: Cool & Glaze
This step is actually already covered in Step 7 since it’s a no-bake recipe! The ‘cooling’ is the ‘setting’ process. If you do decide to add a glaze, do it once the fudge has firmed up enough that the glaze won’t just sink straight in. If you put the glaze on too early, it might become too runny. If you wait too long, it might just sit on top without adhering. I find drizzling it about an hour into chilling, or when the fudge is just starting to feel firm, works best. Or, if you’re going for a clean look, skip the glaze entirely!
Step 9: Slice & Serve
Once the fudge is completely firm, use the parchment paper overhang to carefully lift the entire block out of the pan onto a cutting board. Now comes the fun part: slicing! For clean cuts, I like to use a sharp knife that has been warmed slightly by running it under hot water and then dried. This helps prevent the fudge from sticking. Cut the fudge into small squares, about 1-inch or 1.5-inch pieces. They’re rich, so small is often better! Arrange them on a serving platter and get ready for the compliments.
What to Serve It With
This fireball fudge is so wonderfully versatile; it truly shines in so many settings! For a cozy
For Breakfast:
You might think fudge is just for dessert, but hear me out! A small square of this cinnamon-kissed chocolate fudge alongside a hot cup of black coffee or a rich mocha is an absolute dream to start the day. It’s like a little indulgence to kick things off right. The warmth of the fudge complements the coffee perfectly.
For Brunch:
Elevate your brunch spread! Arrange these delightful squares on a tiered dessert stand with other pastries and fruits. They add a touch of sophistication and a surprising flavor element that guests will rave about. Pair them with a sparkling cider or even a mimosa for a festive touch.
As Dessert:
This is its natural habitat, of course! Serve it after a hearty meal alongside a scoop of vanilla bean ice cream or a dollop of whipped cream. The contrast of the warm spice and cool creaminess is divine. A glass of red wine or a creamy liqueur also makes a wonderful after-dinner pairing.
For Cozy Snacks:
Sometimes, you just need a little something sweet to cozy up with. Grab a mug of hot chocolate and a piece of this fudge. The rich chocolate flavors meld beautifully. It’s also fantastic for holiday gatherings, movie nights, or simply when you have that sweet craving that only chocolate can satisfy. My kids love it as an after-school treat, especially when it’s a bit chilly outside. It’s just pure comfort!
Top Tips for Perfecting Your Fireball Fudge
Over the years, I’ve learned a few tricks that have really helped me nail this fireball fudge every single time. So, let me share some of my best-kept secrets with you!
Chocolate Quality: Don’t skimp on your chocolate! Using good quality semi-sweet chocolate (around 60-70% cacao) makes a HUGE difference. Those cheap, waxy chocolate chips can make your fudge taste greasy or not melt as smoothly. I often use Ghirardelli or Guittard chips, or even chop up a good quality bar like Lindt or Callebaut. The better the chocolate, the better the fudge!
Sweetened Condensed Milk Matters: Make sure you’re using sweetened condensed milk, NOT evaporated milk. They look similar, but they are completely different. Sweetened condensed milk is thick and very sweet, and it’s what gives fudge its signature smooth, creamy texture and sweetness without needing to cook sugar to precise temperatures. Evaporated milk is thinner and unsweetened, and will result in a very different, likely unappealing, outcome.
Gentle Heat is Key: When you’re melting the chocolate and condensed milk, low and slow is the way to go. Overheating can cause the chocolate to seize up and become grainy, or it can make the fudge oily. Stir constantly and gently over low heat, or use the residual heat of the saucepan off the burner to finish melting. If it feels too hot, just pull it away from the heat for a moment.
Don’t Overmix the Base: Once you’ve added the condensed milk mixture to the chocolate, stir until it’s just combined and smooth. Overmixing after everything is melted can sometimes incorporate too much air, which can lead to a slightly less dense or fudgy texture. Think smooth and glossy, not fluffy.
The Cinnamon-Whiskey Amount: Start with 2 tablespoons of the cinnamon-whiskey liqueur. You can always add another tablespoon if you want a more pronounced flavor, but it’s harder to take it away! The flavor also deepens as the fudge cools and sets. I’ve found 2-3 tablespoons to be the sweet spot for a noticeable but not overpowering cinnamon warmth.
Toasting Nuts: If you’re adding nuts like pecans or walnuts, always toast them first! Spread them on a baking sheet and toast in a 350°F (175°C) oven for about 5-7 minutes, or until they’re fragrant and lightly golden. Let them cool completely before chopping and stirring them into the fudge. It brings out their flavor and makes them wonderfully crisp.
Clean Cuts: For those beautiful, neat squares, a sharp knife is your best friend. Run it under hot water, wipe it dry, and then make your cut. Repeat as needed. This helps prevent the fudge from dragging and sticking. A bench scraper can also work really well for slicing.
Parchment Paper is Your Lifesaver: Seriously, do not skip the parchment paper! Lining your pan with parchment paper that has generous overhang makes lifting the entire block of fudge out so much easier. You can then place it on a cutting board and slice it cleanly. It’s such a simple step that saves so much hassle.
Storage Matters: While this fudge is delicious at room temperature, it will last longest and maintain its best texture when stored in the refrigerator. I’ll get into more details about that below, but just know that refrigeration is your friend for keeping it perfectly firm.
Storing and Reheating Tips
One of the best things about this fireball fudge is how well it keeps, meaning you can make it ahead of time and have a delicious treat ready whenever the craving strikes! I’ve tested these methods extensively, and they work like a charm.
Room Temperature: If your kitchen isn’t too warm (think cool autumn day), you can store the fudge at room temperature. Make sure it’s in an airtight container. It should stay fresh and delicious for about 3-4 days. However, if it’s humid or warm, the fudge might start to soften, so refrigeration is usually the safer bet for optimal texture.
Refrigerator Storage: This is my preferred method for storing the fudge. Once it’s completely set and sliced, place the pieces in an airtight container. You can layer them between sheets of parchment paper or wax paper to prevent them from sticking together. Stored this way, the fudge will keep its perfect, firm texture for up to 2 weeks. It’s also wonderfully refreshing to eat slightly chilled!
Freezer Instructions: If you want to make a big batch and stash some away for a future craving or event, the freezer is your best friend! Wrap the sliced fudge pieces very tightly in plastic wrap, then place them in a freezer-safe bag or airtight container. It will keep well in the freezer for up to 2-3 months. To thaw, simply transfer the wrapped fudge from the freezer to the refrigerator and let it thaw overnight. This prevents condensation from forming on the fudge as it thaws.
Glaze Timing Advice: If you’ve added a glaze and plan to store it for a longer period, the refrigerator is definitely the way to go. The glaze will firm up nicely in the fridge along with the fudge. If you’re planning to freeze, the glaze might be a bit more delicate. Ensure it’s fully set before freezing. When thawing frozen fudge with glaze, try to thaw it in the refrigerator to maintain the glaze’s integrity as much as possible.
Frequently Asked Questions
Final Thoughts
I really hope you give this fireball fudge a try. It’s one of those recipes that just brings a smile to my face every time I make it, and it’s always a guaranteed hit when I share it. It’s got that perfect balance of rich chocolate and warm, cozy cinnamon spice that just feels incredibly comforting and indulgent. It’s so much more than just a sweet treat; it’s a little burst of happiness. And the fact that it’s so simple to whip up makes it a total win in my book, especially for those times when you need a little something special without a lot of fuss. If you enjoy this recipe, you might also love my Spiced Hot Chocolate Bombs or my Double Chocolate Chip Cookies – they’ve got that same cozy, comforting vibe! Seriously, don’t be intimidated by the “fudge” name; this is truly beginner-friendly and so rewarding. Can’t wait to hear how yours turns out, so please leave a comment below and let me know your thoughts, or even share your own favorite variations! Happy baking (or, in this case, no-baking)!
Spiced Chocolate Fudge
Ingredients
Method
- Line an 8x8 inch baking pan with parchment paper, leaving some overhang to help lift the fudge later. Set aside.
- In a microwave-safe bowl, combine the milk chocolate chips and sweetened condensed milk. Do not stir. Add the cubed butter on top. Microwave on high for 2 minutes. The butter may not be completely melted at this point.
- Stir the mixture until smooth and all the butter and condensed milk are fully incorporated into the chocolate.
- Add the cinnamon whisky and vanilla extract, stirring until the fudge mixture has a uniform consistency.
- Pour the fudge mixture into the prepared baking pan and spread into an even layer. Tap the pan gently on the counter to release any air bubbles.
- Chill in the refrigerator for at least 2 hours, or until the fudge is completely set.
- Using the parchment paper overhang, carefully lift the fudge from the pan. Slice into equal-sized pieces with a sharp knife.