How to Make Delicious Smoked Meat Ends
Oh, where do I even begin with these smoked ends? This recipe feels like a warm hug on a chilly evening, or that perfect first bite of something you’ve been dreaming about all day. It’s funny, I used to think making anything with “smoked” in the name was a huge production, reserved for pitmasters with decades of experience and fancy equipment. But then, a few years ago, I stumbled upon a way to get that incredible, deep, smoky flavor without needing a smoker – and believe me, it’s a game-changer. My family absolutely devours these, and the best part? They’re surprisingly simple to whip up, even on a weeknight. They’re like the humble, yet utterly spectacular, cousins to pulled pork, but with a unique, melt-in-your-mouth texture all their own. If you’ve ever loved those little bits of burnt ends from a BBQ joint, you’re going to be obsessed with these smoked ends.
What are Smoked Ends?
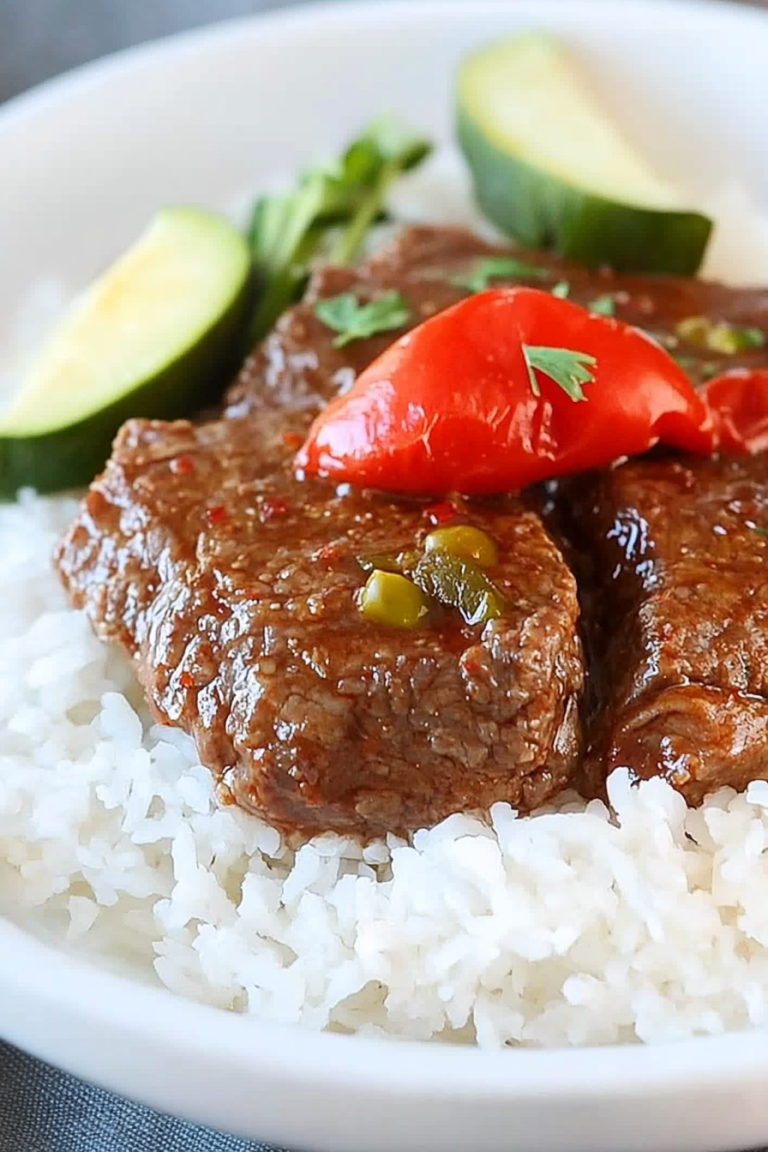
So, what exactly are these magical things we’re calling “smoked ends”? Think of them as the absolute best part of a slow-cooked meat, usually brisket, that’s been trimmed and then braised or baked until ridiculously tender and caramelized. The “smoking” part, in this context, doesn’t necessarily mean traditional smoking over wood chips. We’re achieving that deep, savory, slightly sweet, and undeniably smoky flavor through a clever combination of ingredients and cooking methods. It’s essentially taking those glorious, flavorful bits that fall off the main cut and turning them into a star dish all their own. It’s comfort food at its finest, a testament to how humble ingredients can transform into something truly extraordinary with a little patience and a lot of love. It’s that irresistible morsel that you just can’t stop reaching for!
Why you’ll love this recipe?
Honestly, if I had to pick one recipe to take to a potluck or to impress guests without breaking a sweat, this would be it. There are so many reasons why I keep coming back to this dish, and I’m just bursting to share them with you. First off, the flavor is just out of this world. We’re talking rich, savory, a little bit sweet, with that unmistakable smoky depth that feels so comforting. It’s the kind of flavor that makes you close your eyes with every bite. And the texture? Oh, the texture! They’re incredibly tender, almost falling apart, with those slightly crisped edges that are just pure magic. What I love most about this is how forgiving it is. You don’t need to be a gourmet chef to nail this; the oven does most of the heavy lifting. Plus, it’s incredibly budget-friendly. You’re using cuts of meat that are often overlooked, transforming them into something truly spectacular. They’re also ridiculously versatile. Serve them on their own, piled high on a bun, or even tossed with your favorite barbecue sauce. They’re like the culinary equivalent of a perfectly fitted cozy sweater – warm, satisfying, and always makes you feel good. It’s a lifesaver when you want something hearty and delicious without all the fuss, and it always disappears faster than you can say “more, please!”
How do you make smoked ends?
Quick Overview
This recipe is all about layering flavor and letting time do its work. We’ll start by prepping our meat, giving it a good rub with our smoky spice blend, and then letting it slow-cook in a rich, savory liquid until it’s fork-tender. The final step involves a quick caramelization to get those irresistible crispy bits. It’s a process that’s more hands-off than you might think, allowing you to relax while dinner basically cooks itself. The end result? Insanely tender, deeply flavorful smoked ends that taste like they’ve been simmering for days.
Ingredients
For the Main “Smoky” Rub:
2 tablespoons smoked paprika (this is key for that deep smoky flavor! Don’t skip it!)
1 tablespoon brown sugar (just a touch of sweetness to balance things out)
1 teaspoon garlic powder
1 teaspoon onion powder
1 teaspoon kosher salt
1/2 teaspoon black pepper
1/4 teaspoon cayenne pepper (optional, for a little kick!)
For the Meat:
2 pounds beef chuck roast or pork shoulder, trimmed of excess fat and cut into 1-inch cubes (Don’t be afraid of a little marbling; it adds so much flavor! I usually grab whatever looks good at the butcher counter.)
For the Braising Liquid:
2 cups beef broth (or chicken broth if that’s what you have)
1/4 cup Worcestershire sauce (this adds a fantastic umami depth!)
2 tablespoons soy sauce (or tamari for gluten-free)
1 tablespoon apple cider vinegar (just a splash to brighten things up)
1/2 cup your favorite BBQ sauce (optional, but I highly recommend it for an extra layer of flavor)
Step-by-Step Instructions
Step 1: Preheat & Prep Meat
First things first, preheat your oven to 300°F (150°C). While the oven is warming up, trim any really thick, hard pieces of fat from your beef chuck roast or pork shoulder. You don’t want to remove all the fat, as it’s crucial for tenderness and flavor! Then, cut the meat into roughly 1-inch cubes. Don’t worry about perfection here; rustic is good!
Step 2: Mix Dry Ingredients
In a small bowl, whisk together all the ingredients for your “Smoky” Rub: smoked paprika, brown sugar, garlic powder, onion powder, kosher salt, black pepper, and cayenne pepper (if using). Make sure everything is well combined. This blend is what’s going to give us that signature smoky, savory flavor without an actual smoker.
Step 3: Rub the Meat
Place the cubed meat into a large bowl. Sprinkle about two-thirds of your smoky rub over the meat. Use your hands to toss and coat the cubes thoroughly. You want every piece to have a nice, even coating. Save the remaining rub for later.
Step 4: Sear the Meat (Optional, but Recommended!)
For an extra layer of flavor and a beautiful color, you can briefly sear the meat. Heat a tablespoon of oil in a large, oven-safe Dutch oven or heavy-bottomed pot over medium-high heat. Add the seasoned meat in batches, being careful not to overcrowd the pot. Sear for about 1-2 minutes per side, just until browned. Remove the seared meat and set it aside. This step really builds depth!
Step 5: Prepare Braising Liquid
If you seared the meat, pour off any excess fat from the Dutch oven, leaving about a tablespoon. If you skipped the searing, you can just start with an empty Dutch oven. Add the beef broth, Worcestershire sauce, soy sauce, and apple cider vinegar to the pot. If you’re using BBQ sauce, stir it in now. Bring the mixture to a simmer over medium heat, scraping up any browned bits from the bottom of the pot (that’s pure flavor!).
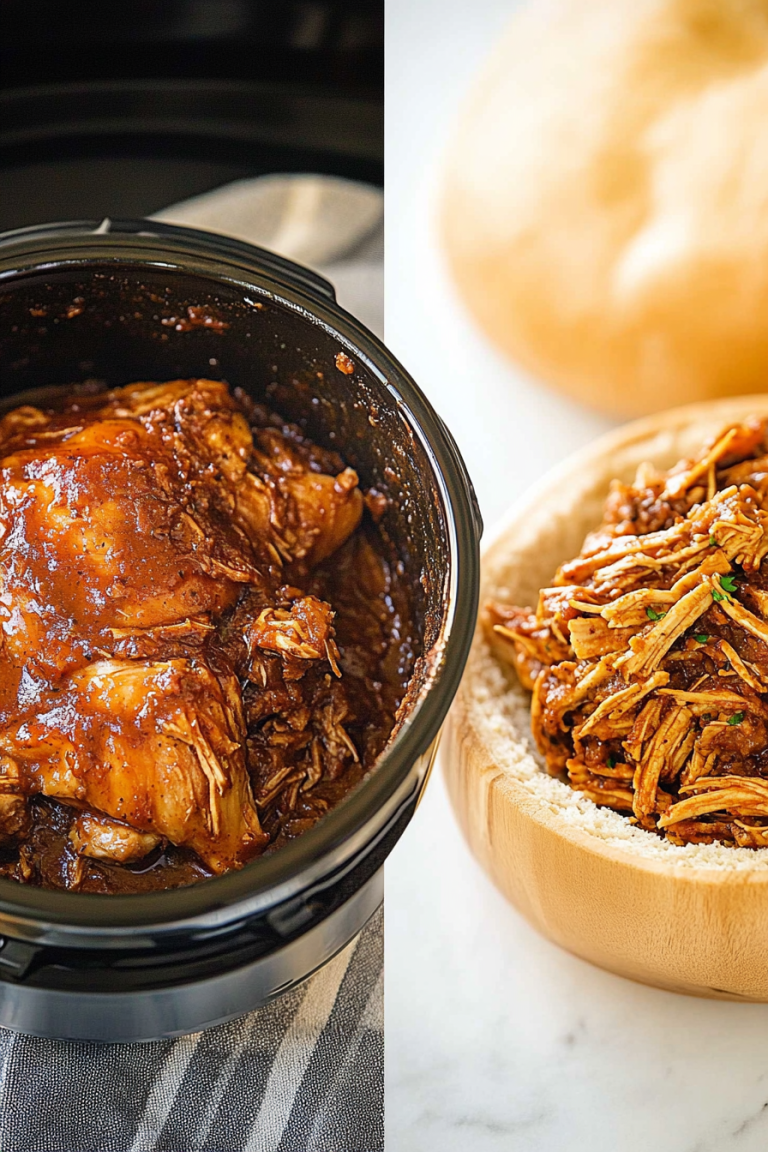
Step 6: Combine & Slow Cook
Return the seared (or unseared) meat to the Dutch oven with the braising liquid. Sprinkle the remaining smoky rub over the top of the meat. Make sure the liquid comes up about halfway to two-thirds of the way up the meat. If it seems a bit low, you can add a little more broth or water. Cover the Dutch oven tightly with its lid. Place it in the preheated oven (300°F / 150°C).
Step 7: Bake Until Tender
Let the smoked ends cook, undisturbed, for 2.5 to 3 hours. The goal is for the meat to be incredibly tender, easily pierced with a fork. Cooking time can vary depending on the cut of meat and your oven, so start checking around the 2.5-hour mark. You’re looking for that melt-in-your-mouth texture.
Step 8: Thicken Sauce & Caramelize
Once the meat is tender, carefully remove the Dutch oven from the oven. Using a slotted spoon, transfer the tender meat to a baking dish or a rimmed baking sheet. Leave the braising liquid in the Dutch oven. If you want a thicker sauce, you can simmer the liquid on the stovetop over medium heat for about 10-15 minutes, or until it reaches your desired consistency. Taste and adjust seasoning if needed. While the sauce is simmering or reducing, you can pop the meat under the broiler for 2-3 minutes, watching it closely, until the edges get nice and caramelized and slightly crispy. This is where those coveted “burnt end” textures come from!
Step 9: Slice & Serve
Once the meat is nicely caramelized, you can either serve it as is, with the thickened sauce spooned over, or toss the pieces in the sauce. I like to give them a quick toss in the rich sauce to make sure every piece is coated in that glorious flavor. Serve them hot and watch them disappear!
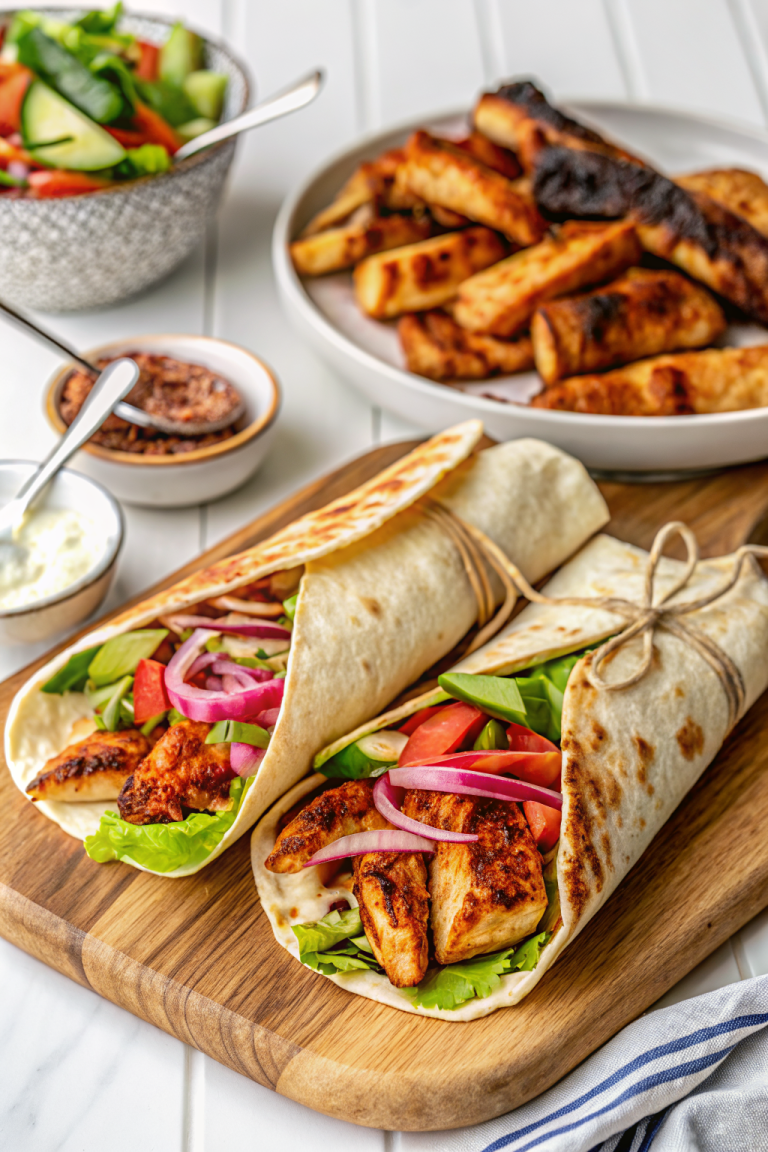
What to Serve It With
These smoked ends are incredibly versatile, which is another reason I adore them so much. They’re not just a one-trick pony! For a classic breakfast, I love serving them alongside some scrambled eggs and crispy potatoes. The savory, smoky goodness really wakes up the palate in the best way. If you’re planning a brunch spread, pile these onto slider buns with a dollop of coleslaw for a fantastic appetizer that everyone raves about. They’re also absolutely divine as the star of a dinner plate, especially when paired with creamy mashed potatoes and a simple green salad. I often make a big batch for game day, and they’re a huge hit served with toothpicks for easy snacking. My kids particularly love them on top of mac and cheese – talk about comfort food overload! You can also mix them into a baked bean casserole or top a loaded baked potato with them. Honestly, anywhere you’d use pulled pork, these smoked ends will be a showstopper. They’re just that universally loved flavor.
Top Tips for Perfecting Your Smoked Ends
I’ve made these smoked ends countless times, and over the years, I’ve picked up a few tricks that really make them shine. First off, the meat choice is important. While chuck roast is fantastic for its marbling and tenderness, a pork shoulder (also known as Boston butt) works beautifully too. Just make sure you’re trimming excess fat but not all of it; that fat renders down and keeps the meat wonderfully moist. When it comes to the rub, don’t be shy with that smoked paprika! It’s the secret weapon here for that authentic smoky flavor without the smoker. I always make sure to give the meat a really good coating. For the braising liquid, I find that adding a touch of acidity, like the apple cider vinegar, really helps to cut through the richness and brighten up the flavors. And if you have time, searing the meat before braising is a step I never skip. It adds an incredible depth of flavor that you just can’t get otherwise. Some people like to add a splash of liquid smoke, but I find the smoked paprika is usually enough. If you’re using BBQ sauce in the braising liquid, choose one you really love, as its flavor will concentrate during the cooking process. When it comes to tenderness, resist the urge to rush. The longer and slower, the better. You want that meat to practically fall apart. For that perfect caramelized exterior, broiling is your friend, but watch it like a hawk – those sugars can burn quickly! If your sauce seems a little thin after braising, don’t despair. Simply simmer it down on the stovetop until it thickens to your liking. I’ve even used cornstarch slurry in a pinch, though reducing it naturally is always my preference for the best flavor. Lastly, consider the cubes: I aim for about 1-inch, but slightly larger pieces will take longer to cook but might stay a touch more moist. It’s all about personal preference!
Storing and Reheating Tips
These smoked ends are delicious fresh, but they also hold up beautifully, making them perfect for leftovers. If you have any (which is a rare occurrence in my house!), you can store them at room temperature for about two hours if they’re not covered, but it’s best to get them into an airtight container sooner rather than later. For refrigerator storage, transfer any leftovers to an airtight container or a resealable plastic bag. They’ll keep wonderfully in the fridge for about 3-4 days. The flavors actually tend to meld and deepen overnight, so sometimes they’re even better the next day! When it comes to freezing, these are fantastic candidates. I like to portion them into smaller freezer-safe bags or containers so I can just reheat what I need. They can be frozen for up to 2-3 months. To thaw, it’s best to move them from the freezer to the refrigerator overnight. For reheating, you have a few great options. The stovetop is my go-to method. Gently reheat the smoked ends in a skillet over medium-low heat, adding a splash of broth, water, or even a little extra BBQ sauce to keep them moist. You can also reheat them in a covered oven-safe dish at around 300°F (150°C) for about 10-15 minutes, or until heated through. If you plan to add glaze after reheating, I recommend doing that just before serving. For best results and to maintain that lovely tender texture, avoid microwaving them for too long, as they can dry out. Always reheat gently!
Frequently Asked Questions
Final Thoughts
There you have it – my absolute favorite way to make smoked ends. I really hope you give this recipe a try. It’s one of those dishes that looks impressive but is genuinely so achievable, and the rewards are immense. The way the meat becomes so tender and flavorful, with those irresistible caramelized bits, is just pure culinary magic. It’s the perfect dish for a weekend dinner, a potluck, or even just when you’re craving something deeply satisfying. Don’t be intimidated by the “smoked” in the name; this method is all about clever flavoring and slow cooking to achieve that incredible result. If you love this recipe, you might also enjoy my recipe for slow-cooked BBQ ribs or my savory beef stew – they have that same comforting, deep flavor profile. I can’t wait to hear how your smoked ends turn out! Let me know in the comments below what you served them with or any fun variations you tried. Happy cooking!
Poor Man's Smoked Ends
Ingredients
Method
- Place your chuck roast on a plate and pat dry with a paper towel.
- Coat the roast with mustard. Set aside.
- In a small mixing bowl, mix together the ingredients for the dry rub: salt, pepper, garlic powder, onion powder, celery seeds, and smoked paprika.
- Sprinkle the dry rub on the chuck roast and slightly press into the roast. Make sure to cover all sides.
- Place roast in an airtight container with a lid or a 9x13 inch pan covered with plastic wrap. Store in the fridge for 12 hours or overnight.
- Prepare your BBQ for indirect heat. Plan for 8 hours+ cook time.
- Bring your BBQ to 250°F.
- Once at temperature, place the chuck roast on the grill. Close the cover and let it cook until it has reached an internal temperature of 150 to 160°F. This typically takes about 4 hours.
- Cut 2 pieces of aluminum foil that are big enough to wrap the chuck roast.
- Once the chuck roast reaches an internal temperature of 150 to 160°F, place it on the foil paper. Brush on 0.5 cup of barbecue sauce. Add the diced butter on top. Wrap the chuck tightly, being careful if using a probe.
- Place back on the grill and close the cover.
- Continue cooking until an internal temperature of 190 to 205°F is reached. Remove chuck from the grill and place on a cutting board. Let it rest for 30 minutes.
- While the meat is resting, increase your BBQ temperature to 350°F.
- Unwrap the chuck carefully. Dispose of the liquid in the aluminum foil. Cut into bite-sized pieces.
- Place the pieces in an aluminum pan, pour the remaining BBQ sauce over them, and sprinkle with brown sugar.
- Carefully mix to coat all the pieces. The meat will be very tender.
- Once the BBQ has reached 350°F, place the foil pan on the grill.
- Cook with the cover closed for 30 to 40 minutes, or until the sauce has thickened.