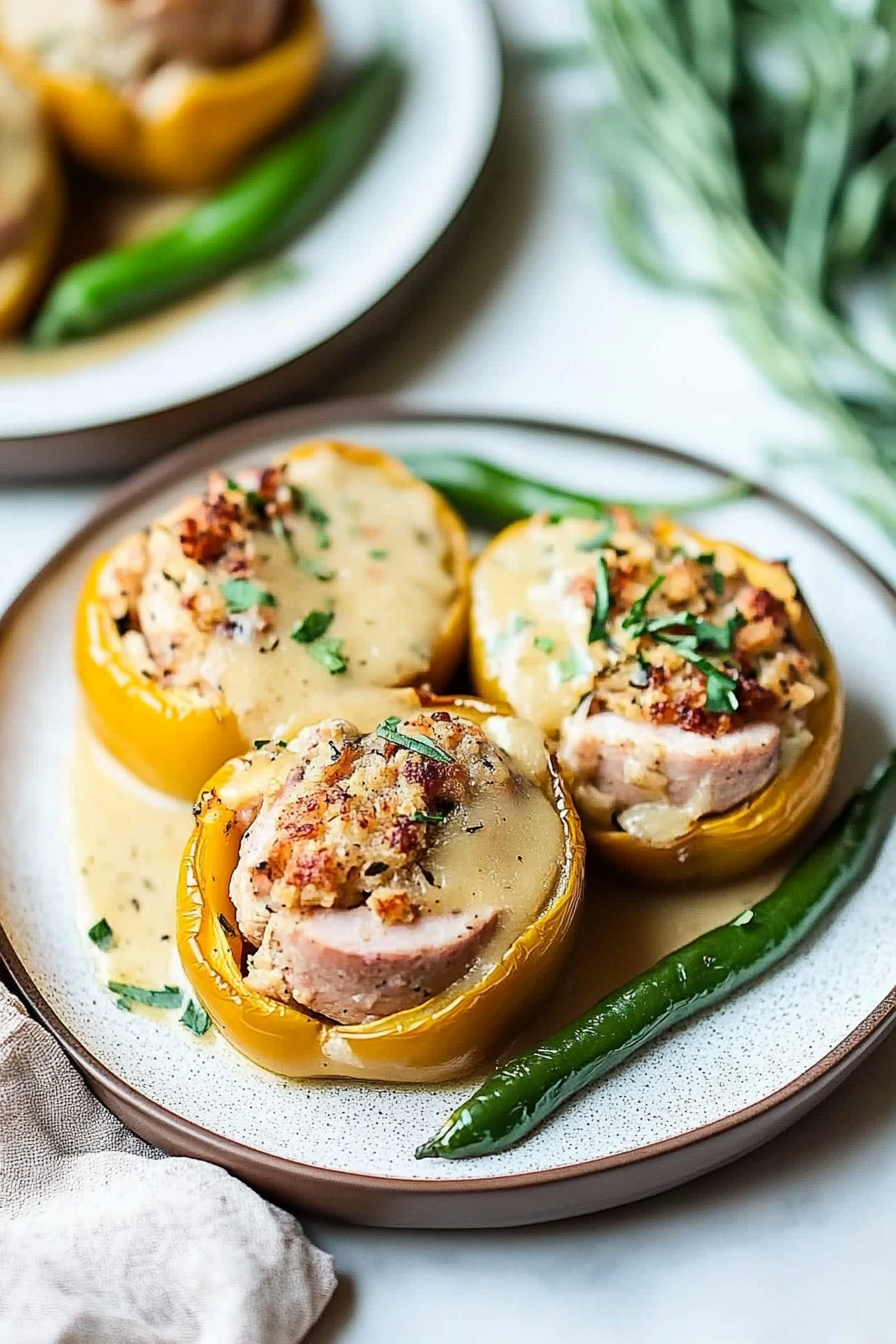
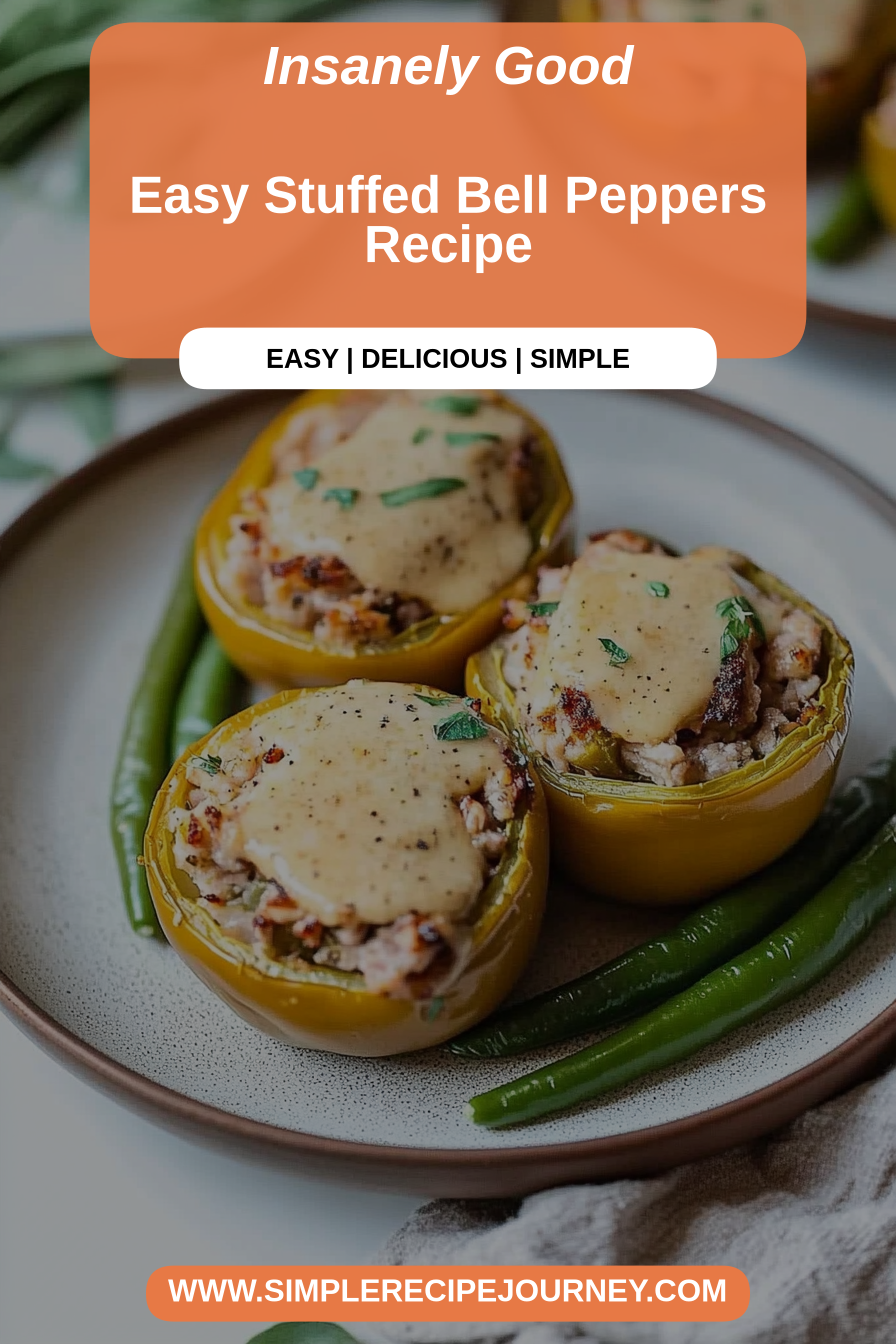
Easy Stuffed Bell Peppers Recipe
There are some dishes that just feel like a warm hug, and for me, that’s absolutely stuffed bell peppers. It’s one of those comfort food classics that can do no wrong. I remember my mom making these when I was a kid, the kitchen filling with the most amazing aroma of simmering tomatoes, savory meat, and sweet peppers. It was always a special occasion when stuffed bell peppers were on the menu! They’re so versatile too – you can totally change up the filling to suit your mood or what you have in the fridge. This particular recipe, though? This one’s my go-to. It’s got that perfect balance of flavors and textures, and honestly, it’s surprisingly simple to put together, even on a weeknight. Forget those bland, dry versions you might have tried; this is the real deal, the kind that makes everyone at the table ask for seconds (and thirds!). It’s like a hug in a pepper, and I’m so excited to share it with you!
What is a stuffed bell pepper recipe?
So, what exactly are we talking about when I say “stuffed bell peppers”? Think of it as a delicious edible bowl. We take vibrant, colorful bell peppers – usually green, red, or yellow – slice them in half (or sometimes I just lop off the tops), scoop out the seeds, and then fill them with a hearty, flavorful mixture. This filling is typically a combination of cooked rice, seasoned ground meat (beef is my classic choice, but chicken or turkey works beautifully too!), and a savory tomato-based sauce. Once they’re all stuffed, they get baked until the peppers are tender and the filling is bubbly and perfectly cooked through. It’s essentially a complete meal nestled inside a fresh, sweet pepper. It’s wholesome, it’s satisfying, and it looks absolutely gorgeous on a plate. It’s a little bit rustic, a little bit elegant, and completely crowd-pleasing.
Why you’ll love this recipe?
Honestly, there are so many reasons why this stuffed bell peppers recipe has earned a permanent spot in my recipe rotation. For starters, the flavor is just out of this world. The sweetness of the bell peppers softens and caramelizes in the oven, creating this wonderful base for the rich, savory filling. The rice soaks up all those delicious juices, and the tomato sauce adds that perfect tangy, umami punch. What I love most is how simple it is, despite tasting like it took hours. You can prep most of the filling ahead of time, which is a lifesaver on busy nights. And let’s talk about cost-efficiency! Bell peppers themselves aren’t too pricey, and the other ingredients are pantry staples. This is a meal that feels special without breaking the bank. Plus, it’s incredibly forgiving! If you don’t have exactly one pound of ground meat, no biggie. A little more or less rice is totally fine. This recipe is a testament to how simple, honest ingredients can create something truly spectacular. It’s also way more exciting than, say, a plain meatloaf, and my kids actually ask for these! They’re like little edible treasures.
How do you make stuffed peppers?
Quick Overview
The process is wonderfully straightforward: we’ll par-cook the peppers just slightly to soften them, then mix up a flavorful filling of rice, seasoned ground meat, and a rich tomato mixture. We’ll stuff those prepped peppers, top them with a little extra sauce, and then bake them until they’re tender and the filling is perfectly cooked. It’s a hands-off kind of baking once they’re in the oven, giving you time to relax or get the table set. It’s genuinely one of those meals that feels achievable any night of the week.
Ingredients
For the Peppers: What are some good peppers?
– 4-6 large bell peppers (any color works beautifully – I love using a mix for visual appeal!)
– A splash of olive oil
For the Savory Filling:
– 1 tablespoon olive oil
– 1 pound ground beef (85/15 or 90/10 is perfect; you can also use ground turkey or chicken)
– 1 medium onion, finely chopped
– 2 cloves garlic, minced
– 1 cup cooked white or brown rice (leftovers are fantastic here!)
– 1 (15-ounce) can crushed tomatoes, undrained
– 1/4 cup chopped fresh parsley (or 1 tablespoon dried)
– 1 teaspoon dried Italian seasoning
– 1/2 teaspoon salt, plus more to taste
– 1/4 teaspoon black pepper, plus more to taste
For the Luscious Topping:
– 1/2 cup reserved crushed tomatoes (from the can)
– A pinch of dried oregano
Step-by-Step Instructions
Step 1: Preheat & Prep Peppers
First things first, let’s get our peppers ready. Preheat your oven to 375°F (190°C). Slice your bell peppers in half lengthwise, from stem to tip. Carefully scoop out the seeds and membranes – a spoon works wonders for this. If any peppers are wobbly, you can slice a tiny bit off the bottom to create a flat base so they stand up nicely. Toss them with a tiny splash of olive oil and arrange them cut-side up in a baking dish. This initial prep helps them soften up just enough so they’re tender by the time the filling is cooked.
Step 2: Brown the Meat & Veggies
Heat the tablespoon of olive oil in a large skillet over medium-high heat. Add the ground beef and cook, breaking it up with a spoon, until it’s nicely browned. Drain off any excess grease – nobody likes greasy stuffed peppers! Add the chopped onion to the skillet and cook until it’s softened and translucent, about 5-7 minutes. Then, stir in the minced garlic and cook for another minute until it’s fragrant. Don’t let that garlic burn!
Step 3: Mix the Filling Ingredients
Now for the fun part – building that amazing filling! To the skillet with the cooked meat and onions, add the cooked rice, the remaining crushed tomatoes (minus the bit we saved for the topping), fresh parsley, Italian seasoning, salt, and pepper. Stir everything together really well. Taste it at this stage and adjust seasonings if needed. This is where you can really make it your own! Sometimes I add a pinch of red pepper flakes for a little kick, or a tablespoon of Worcestershire sauce for extra depth.
Step 4: Stuff Those Peppers
Grab your prepped pepper halves from the baking dish. Generously spoon the filling mixture into each pepper half, mounding it up slightly. Don’t be shy! You want them packed full of that delicious goodness. Make sure you distribute the filling evenly among all the pepper halves.
Step 5: Add the Topping
Now, take that half cup of reserved crushed tomatoes and give it a little stir with a pinch of dried oregano. Spoon a little bit of this sauce over the top of the filling in each pepper. This adds an extra layer of tomato flavor and keeps the top of the filling nice and moist as it bakes.
Step 6: Bake to Perfection
Pour about 1/4 cup of water into the bottom of the baking dish – this creates steam and helps the peppers cook evenly and tenderly. Cover the baking dish tightly with foil. Pop it into your preheated oven and bake for 40-45 minutes. You want the peppers to be tender when you poke them with a fork, and the filling to be heated through and bubbly.
Step 7: Broil (Optional) for Browning
If you like a little golden-brown crispiness on top, carefully remove the foil after the 40-45 minutes of baking. You can then turn on the broiler for a minute or two, keeping a close eye on them to prevent burning. This step is totally optional but adds a lovely visual appeal and a bit of texture contrast.
Step 8: Rest Before Serving
This is a crucial step, even though it’s tempting to dig right in! Let the stuffed peppers rest in the baking dish for about 5-10 minutes after they come out of the oven. This allows the flavors to meld and makes them easier to handle. The filling will set up a little bit too.
Step 9: Slice and Serve
Carefully transfer the stuffed pepper halves to plates. They’re absolutely delicious as is, or you can serve them with a dollop of sour cream or a sprinkle of extra fresh parsley. Enjoy every savory, tender bite!
What to Serve It With
These stuffed bell peppers are practically a meal in themselves, but they do love some good company! For a classic breakfast or brunch, I love serving them alongside some fluffy scrambled eggs or a simple fruit salad. The sweetness of the fruit really complements the savory peppers. If you’re serving them as a main course for dinner, a simple side salad with a light vinaigrette is always a winner. It cuts through the richness of the filling beautifully. Sometimes, when I’m feeling a bit extra, I’ll whip up some garlic bread to sop up any extra sauce – pure heaven! For a heartier meal, consider serving them with a side of roasted potatoes or some crusty bread. And for a really cozy, comforting vibe, a spoonful of cool sour cream or Greek yogurt on top makes them even more irresistible. My kids also love them with a side of those little potato smile fries, because, well, kids!
Top Tips for Perfecting Your Stuffed Bell Peppers
I’ve made stuffed bell peppers more times than I can count, and over the years, I’ve picked up a few tricks that really make a difference. First off, when it comes to the peppers themselves, don’t be afraid to mix colors! Red, yellow, and orange peppers are naturally sweeter than green ones, which can sometimes have a slightly bitter edge, so a mix gives you the best of both worlds. If you’re using all green peppers, you might find you need just a touch more sweetness in the filling. My biggest tip for the filling is to not overcook your rice beforehand. You want it to have a slight bite because it will continue to cook in the oven. Soggy rice in stuffed peppers is a culinary crime! When browning your meat, make sure you get a good sear on it; this adds so much depth of flavor. And don’t skimp on the seasoning! Taste your filling mixture before you stuff the peppers and adjust salt, pepper, and herbs as needed. It’s the easiest way to ensure a flavorful outcome. For the tomato sauce, I usually reserve about half a cup of the crushed tomatoes from the can. This allows me to add a fresh tomato topping that doesn’t get too cooked down and maintains a brighter flavor. If you’re not a fan of ground beef, I’ve experimented with ground turkey and chicken, and they work wonderfully, just be sure to season them generously as they can be a bit more mild. For a vegetarian version, I’ve found that cooked lentils or crumbled firm tofu work surprisingly well as a meat substitute – just be sure to season them well! And remember that oven temperatures can vary, so keep an eye on your peppers during the last 15 minutes of baking. You want them tender, not mushy!
Storing and Reheating Tips
These stuffed bell peppers are fantastic for meal prep because they store and reheat so well. Once they’ve cooled down completely, store any leftovers in an airtight container in the refrigerator. They’ll stay good for about 3-4 days. My favorite way to reheat them is to pop them back into a baking dish with a tiny splash of water or extra tomato sauce, cover with foil, and reheat them in a 350°F (175°C) oven until heated through. This method keeps them from drying out. If you’re in a real hurry, you can reheat individual pepper halves in the microwave, but I find the oven gives you the best texture. I’ve also successfully frozen these! Let them cool completely, then wrap them tightly in plastic wrap and then in foil, or place them in a freezer-safe container. They can be stored in the freezer for up to 2-3 months. To reheat from frozen, I usually transfer them to a baking dish, cover with foil, and bake at 350°F (175°C) for about 45-60 minutes, or until heated through, adding a little extra liquid if needed. I often add the topping sauce *after* reheating from the fridge or freezer, especially if they’ve been frozen, to ensure it stays fresh and vibrant.
Frequently Asked Questions
Final Thoughts
There you have it – my absolute favorite stuffed bell peppers recipe! It’s a dish that’s packed with flavor, incredibly satisfying, and surprisingly easy to make. I truly believe that good food is meant to be shared, and this recipe is a prime example of how simple ingredients can come together to create something truly special for your family and friends. Whether you’re looking for a hearty weeknight dinner, a comforting make-ahead meal, or a dish that will impress at a potluck, these stuffed peppers are sure to be a hit. They bring me so much joy, and I hope they bring you just as much! Don’t be afraid to experiment with the filling – add your favorite spices, veggies, or even a different grain. It’s your kitchen, after all! I can’t wait to hear how your stuffed peppers turn out. Please leave a comment below to share your experience, any tweaks you made, or even your own family traditions surrounding this classic dish. Happy cooking!
Stuffed Bell Peppers
Ingredients
Method
- Preheat oven to 375°F (190°C).
- In a large skillet, brown the ground beef over medium heat. Drain off any excess grease.
- Add the chopped onion and minced garlic to the skillet and cook until softened, about 5 minutes.
- Stir in the cooked rice, tomato sauce, oregano, salt, and pepper. Mix well.
- Stuff the bell pepper cavities evenly with the meat mixture.
- Place the stuffed peppers in a baking dish. Add about 1/2 inch of water to the bottom of the dish.
- Cover the baking dish tightly with foil.
- Bake for 30 minutes. Remove the foil, sprinkle with shredded cheddar cheese, and bake for another 10 minutes, or until peppers are tender and cheese is melted and lightly browned.