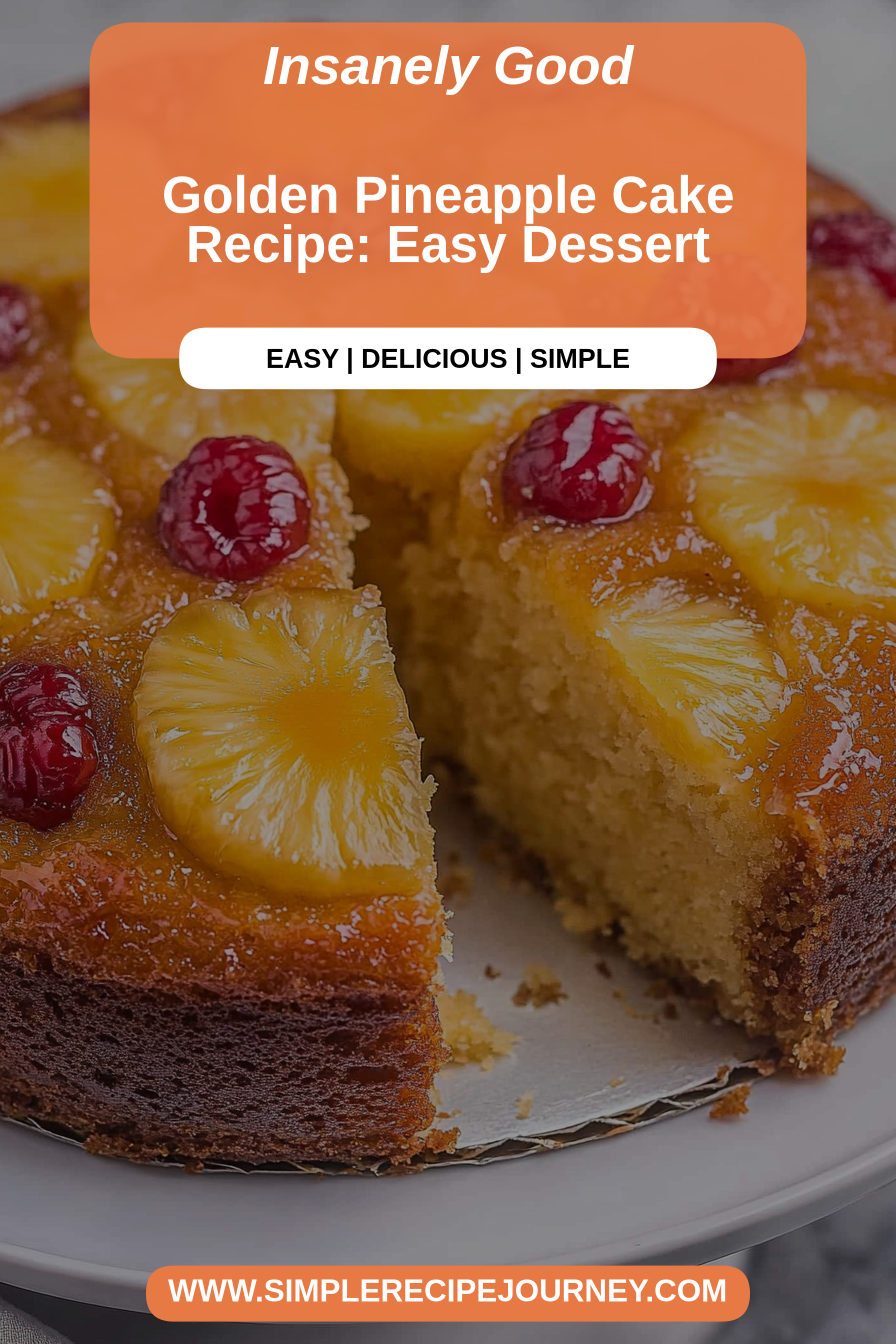
Golden Pineapple Cake Recipe: Easy Dessert
Oh, this pineapple cake. If there’s one recipe that instantly takes me back to warm summer days and my grandma’s kitchen, it’s this one. It’s not just a cake; it’s a hug in dessert form. I’ve tried so many variations over the years, but this particular pineapple cake recipe is the one I always come back to. It’s got that perfect balance of sweet, tangy pineapple, a tender crumb, and a glaze that’s just… divine. Honestly, it’s better than any fancy bakery cake I’ve ever had, and that’s saying something! It’s the kind of dessert that makes people ask for the recipe the moment they take their first bite, and the best part? It’s surprisingly easy to whip up, even on a weeknight. Forget complicated desserts that leave you stressed; this pineapple cake is your new go-to for pure, unadulterated joy.
What is a pineapple cake?
So, what exactly is this glorious creation we call pineapple cake? At its heart, it’s a moist, tender cake infused with the bright, tropical flavor of pineapple. Think of it as a sunshine explosion in every slice! The name itself, pineapple cake, is pretty straightforward, but it doesn’t quite capture the magic. It’s essentially a celebration of pineapple, where its natural sweetness and slight tang are the stars of the show, balanced beautifully by a soft, buttery cake batter. Unlike a pineapple upside-down cake, where the pineapple is baked on top, this cake incorporates the pineapple right into the batter, giving it incredible moisture and a uniform flavor. It’s the kind of cake that makes you close your eyes with pleasure and feel like you’re on a mini-vacation, no matter where you are.
Why you’ll love this recipe?
What is your favorite pineapple cake?
The Flavor is Out of This World: The Flavor is Out of This World: The Flavor is Out of This World: The Flavor is This is where the magic really happens. The pineapple doesn’t just add sweetness; it brings this incredible tanginess that cuts through the richness of the cake. It’s not overly sweet, which I really appreciate. Each bite is bursting with that unmistakable tropical goodness, and the aroma while it bakes? Pure bliss. It’s the kind of scent that fills your entire house and makes everyone come running to the kitchen, asking “What’s baking?!”
It’s Shockingly Simple to Make: Seriously, I’ve made this countless times, and it never fails to impress. You don’t need any fancy equipment or complicated techniques. It’s mostly just mixing ingredients together, and the results are consistently spectacular. This is a lifesaver for busy days when you still want to bake something delicious without spending hours in the kitchen. It’s even easier than my go-to chocolate chip cookies sometimes!
Budget-Friendly Happiness: Most of the ingredients are pantry staples, and even the pineapple is pretty affordable. You get a truly gourmet-tasting dessert without breaking the bank. It’s proof that you don’t need expensive ingredients to create something truly special and decadent.
So Versatile: While it’s perfect on its own, I love how adaptable this pineapple cake is. You can serve it for breakfast (yes, I do!), brunch, or as a delightful dessert. It also pairs wonderfully with a scoop of vanilla ice cream or a dollop of whipped cream. What I love most about this recipe is that it’s forgiving. Even if you’re a beginner baker, you’re going to nail this. It’s the kind of recipe that builds confidence in the kitchen.
How to Make Pineapple Cake
Quick Overview
This recipe is all about simplicity and flavor. We’ll start by prepping our pan and preheating the oven, then combine our dry and wet ingredients separately before bringing them together into a luscious batter. The star of the show is the pineapple, which we’ll incorporate for ultimate moisture and taste. A simple swirl adds a touch of elegance before baking to golden perfection. Finally, a quick glaze ties it all together. It’s a straightforward process that yields an incredibly moist and flavorful pineapple cake every single time.
Ingredients
For the Main Batter:
2 cups all-purpose flour (I usually use King Arthur’s, it gives a really lovely texture)
1 ½ teaspoons baking powder (Make sure it’s fresh! Old baking powder is a cake killer.)
½ teaspoon baking soda
¼ teaspoon salt (Just a touch to enhance all those sweet flavors)
1 cup (2 sticks) unsalted butter, softened (Crucial for a tender cake! Let it sit out for at least an hour.)
1 ½ cups granulated sugar (You can reduce this slightly if your pineapple is super sweet)
3 large eggs, room temperature (Helps them incorporate better)
1 teaspoon vanilla extract (Good quality makes a difference!)
1 (20 ounce) can crushed pineapple, undrained (This is key! Don’t drain it – that juice is packed with flavor and moisture.)
For the Filling:
1 (8 ounce) can crushed pineapple, drained well (We’re using a bit less for a concentrated flavor swirl)
¼ cup granulated sugar
1 tablespoon cornstarch (To thicken it up so it doesn’t all sink)
For the Glaze:
1 cup powdered sugar, sifted (Sifting prevents lumps, trust me)
2-3 tablespoons pineapple juice (Reserved from draining the filling, or from the can)
½ teaspoon vanilla extract (Optional, but lovely)
Step-by-Step Instructions
Step 1: Preheat & Prep Pan
First things first, get your oven preheating to 350°F (175°C). I like to use a 9×13 inch baking pan for this cake. Grease it really well with butter or cooking spray, and then give it a light dusting of flour. Tap out any excess flour. This step is super important to ensure your cake doesn’t stick and comes out beautifully. I learned this the hard way many years ago, and it was a sad, crumbly mess!
Step 2: Mix Dry Ingredients
In a medium bowl, whisk together your flour, baking powder, baking soda, and salt. Give it a good mix to make sure everything is evenly distributed. This is where you ensure consistent leavening and flavor throughout the cake. A light whisking is all you need; don’t go overboard here.
Step 3: Mix Wet Ingredients
In a large bowl, cream together the softened butter and granulated sugar until light and fluffy. This usually takes about 3-5 minutes with an electric mixer. Then, beat in the eggs one at a time, making sure each is fully incorporated before adding the next. Stir in the vanilla extract. This creaming process incorporates air, which helps create a tender cake.
Step 4: Combine
Now, gradually add the dry ingredients to the wet ingredients, alternating with the undrained crushed pineapple. Start and end with the dry ingredients. Mix on low speed or by hand until just combined. Don’t overmix! A few little streaks of flour are okay; they’ll disappear as the cake bakes. Overmixing can lead to a tough cake, and we definitely don’t want that.
Step 5: Prepare Filling
While the batter is coming together, let’s get the filling ready. In a small saucepan, combine the drained crushed pineapple, ¼ cup sugar, and cornstarch. Cook over medium heat, stirring constantly, until the mixture thickens, about 2-3 minutes. It should be nice and syrupy. Let this cool slightly while you get the batter into the pan.
Step 6: Layer & Swirl
Pour about half of the cake batter into your prepared baking pan and spread it evenly. Then, spoon dollops of the pineapple filling over the batter. Now, pour the remaining batter over the filling, trying to cover it as much as possible. Here’s the fun part: take a knife or a skewer and gently swirl the filling into the batter. Don’t over-swirl, just a few figure-eights will do to create pretty ribbons of flavor throughout the cake. It doesn’t need to be perfect!
Step 7: Bake
Bake in the preheated oven for 30-40 minutes, or until a toothpick inserted into the center of the cake comes out clean. The top should be golden brown and slightly springy to the touch. Oven temperatures can vary, so start checking around the 30-minute mark. If the top is browning too quickly, you can loosely tent it with foil.
Step 8: Cool & Glaze
Let the cake cool in the pan for about 10-15 minutes before inverting it onto a wire rack to cool completely. This helps prevent it from breaking. Once it’s completely cooled, it’s time for the glaze! In a small bowl, whisk together the sifted powdered sugar, 2-3 tablespoons of pineapple juice, and vanilla extract (if using) until smooth and pourable. You want a consistency that’s thick enough to coat but still runny. Drizzle it generously over the top of the cooled cake.
Step 9: Slice & Serve
Once the glaze has set a bit, slice your beautiful pineapple cake into squares. I usually wait until the glaze is mostly set, but honestly, I can’t resist cutting into it when it’s still a little warm. Serve it as is, or with a dollop of whipped cream or a scoop of vanilla ice cream. Enjoy every single delicious bite!
What to Serve It With
This pineapple cake is so versatile, it’s practically a chameleon! It fits right in at any meal or occasion.
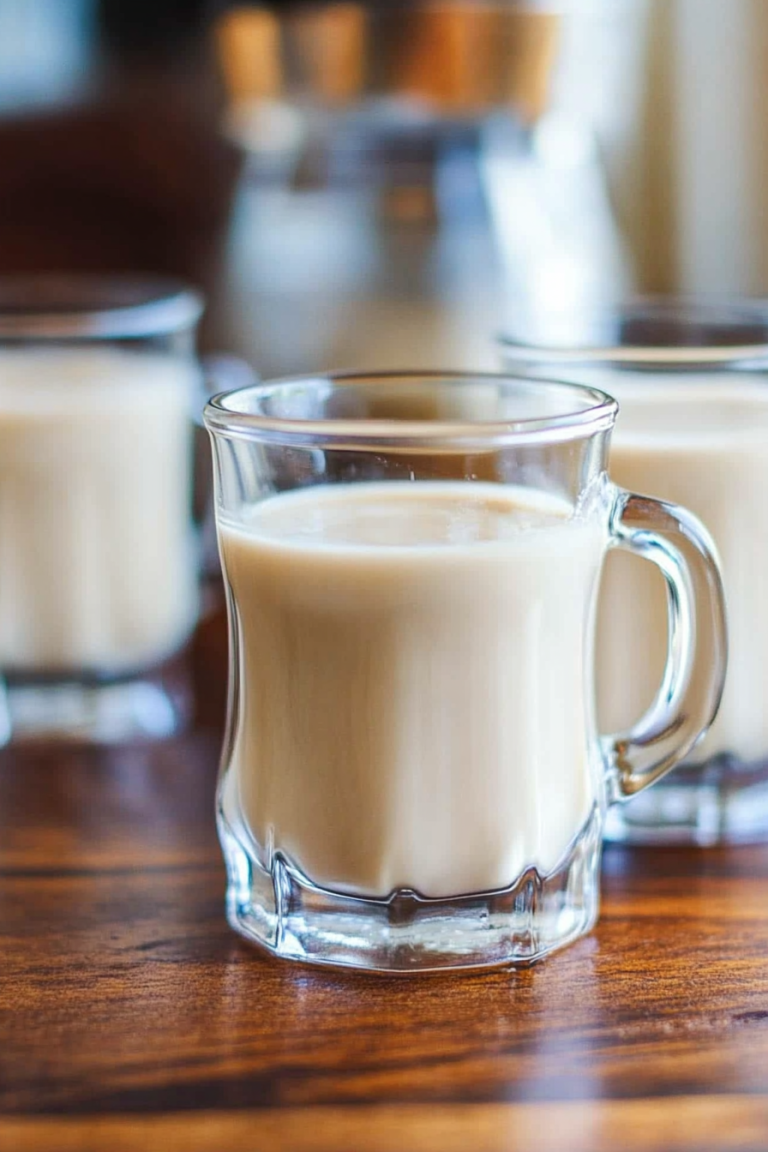
For Breakfast: Honestly, this is one of my favorite ways to start the day. A slice of this cake with a hot cup of coffee is pure heaven. It feels decadent but it’s not overly sweet, so it’s perfect. I sometimes cut it into smaller, more manageable squares for a quick breakfast treat. It’s a great way to use up leftover cake from dessert the night before!
For Brunch: This cake is a showstopper at any brunch spread. I love arranging slices on a beautiful platter, perhaps with some fresh berries scattered around. It pairs wonderfully with mimosas or a sparkling cider. It adds that touch of elegance without being fussy, and everyone always raves about it.
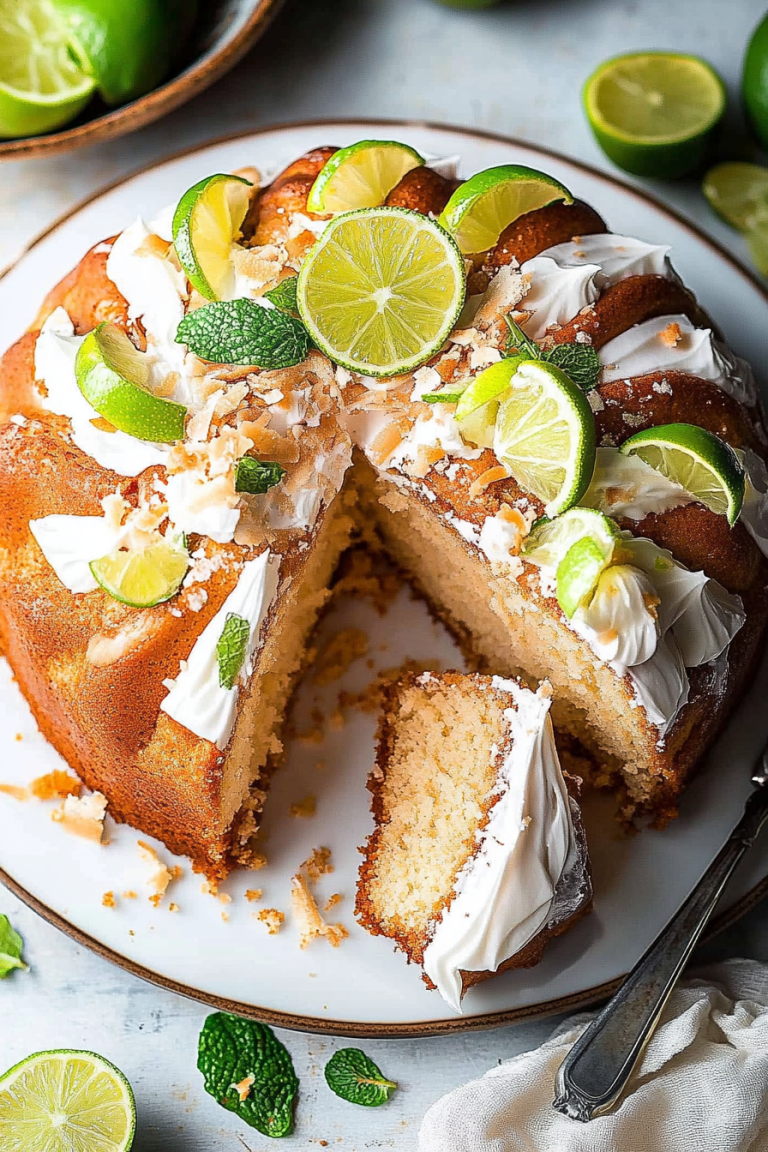
As Dessert: Of course, it shines as a dessert! Serve it warm with a scoop of good quality vanilla bean ice cream. The contrast of the warm cake and cold ice cream is just divine. A dollop of freshly whipped cream is also a classic and delicious pairing. I sometimes add a sprinkle of toasted coconut flakes over the glaze for an extra tropical flair.
For Cozy Snacks: On a chilly afternoon or a late-night craving, a simple slice of this pineapple cake is just what the doctor ordered. It’s comforting and satisfying. I’ll often have it with a cup of tea. It’s the perfect treat to enjoy with a good book or while catching up with friends.
My family has a tradition of having this cake on the first day of spring each year. It just feels like sunshine on a plate and sets the tone for warmer months ahead. I’ve also found that it pairs surprisingly well with a mild cheddar cheese – a little sweet and savory magic!
Top Tips for Perfecting Your Pineapple Cake
Over the years, I’ve learned a few tricks that really help make this pineapple cake absolutely perfect every time. These aren’t complicated, just little things that make a big difference.
Pineapple Prep: For the main batter, using undrained crushed pineapple is absolutely crucial. The juice is packed with flavor and moisture that gets incorporated directly into the cake, making it incredibly tender. For the filling swirl, draining the pineapple well is key. You want a concentrated pineapple flavor that thickens nicely, not a watery mess. I usually press the drained pineapple gently in a sieve.
Mixing Advice: The biggest tip I can give you is *don’t overmix* the batter once you start combining the wet and dry ingredients. Mix until just combined. A few little streaks of flour are okay – they’ll disappear during baking. Overmixing develops the gluten in the flour too much, which can result in a tough, dense cake. I always switch to a spatula and fold gently towards the end.
Swirl Customization: When you add the filling to the batter, don’t go crazy with the swirling. A few gentle passes with a knife or skewer will create beautiful ribbons of flavor and texture without mixing the filling completely into the batter. You want distinct pockets of that concentrated pineapple goodness. Too much swirling can make the cake batter look muddy.
Ingredient Swaps: While this recipe is fantastic as is, I have experimented! For a dairy-free version, I’ve had success using a good quality vegan butter substitute and unsweetened almond milk (about ½ cup to replace the liquid from the undrained pineapple if needed, but usually the pineapple is enough). For a touch more richness, you can use half butter and half cream cheese in the batter, but it will change the texture slightly. It’s less about swapping and more about understanding how ingredients interact!
Baking Tips: Always bake your cake in the center rack of your oven. This ensures even heat distribution. If you notice the top of your cake is browning too quickly before the center is cooked, you can loosely tent it with aluminum foil. The toothpick test is your best friend here – it should come out clean with just a few moist crumbs attached, not wet batter.
Glaze Variations: The standard pineapple juice glaze is wonderful, but feel free to get creative! For a tangier glaze, use lemon juice instead of pineapple juice. For a creamier glaze, add a tablespoon or two of melted butter. You can also add a pinch of cinnamon or nutmeg to the glaze for a warmer flavor profile. The consistency is key: you want it to be pourable but not so thin that it just runs off the cake.
Storing and Reheating Tips
Keeping this pineapple cake fresh is pretty straightforward, and it tastes amazing even a few days later. The key is how you store it.
Room Temperature: Once the cake is fully cooled and the glaze has set, you can store it at room temperature for up to 2 days. Make sure it’s covered tightly with plastic wrap or in an airtight container. This is perfect for when you’ve just baked it and want to keep it accessible for snacking.
Refrigerator Storage: For longer storage, up to 5 days, keep it in the refrigerator. Again, an airtight container is essential. The cake might firm up a bit in the fridge, but it will still be delicious. I find that it’s best served at room temperature, so just let it sit out for about 30 minutes before serving if it’s been chilled.
Freezer Instructions: This cake freezes beautifully, making it a great candidate for baking ahead! Once completely cooled and glazed, wrap the entire cake (or individual slices) tightly in plastic wrap, followed by a layer of aluminum foil or a freezer-safe bag. It can be frozen for up to 2-3 months. To thaw, transfer it to the refrigerator overnight, then let it come to room temperature before serving.
Glaze Timing Advice: If you plan to freeze the cake without the glaze, that’s often easier. You can then glaze it after it has thawed and come to room temperature. If you glaze it before freezing, make sure the glaze is completely set. The glaze can sometimes become a little sticky or melty if stored at room temperature for too long, so refrigeration or freezing is usually better for long-term storage.
Frequently Asked Questions
Final Thoughts
This pineapple cake truly is a labor of love, but in the best way possible. It’s that perfect blend of comforting and exotic, familiar yet exciting. The way the pineapple infuses every bite with its sweet tang, creating a cake that’s impossibly moist and flavorful, is just something special. It’s the kind of recipe that reminds you why baking from scratch is so rewarding. Whether you’re looking for a showstopper dessert, a delightful brunch treat, or just a really, really good cake to brighten your day, this pineapple cake has got your back. I truly hope it brings as much joy to your kitchen as it does to mine.
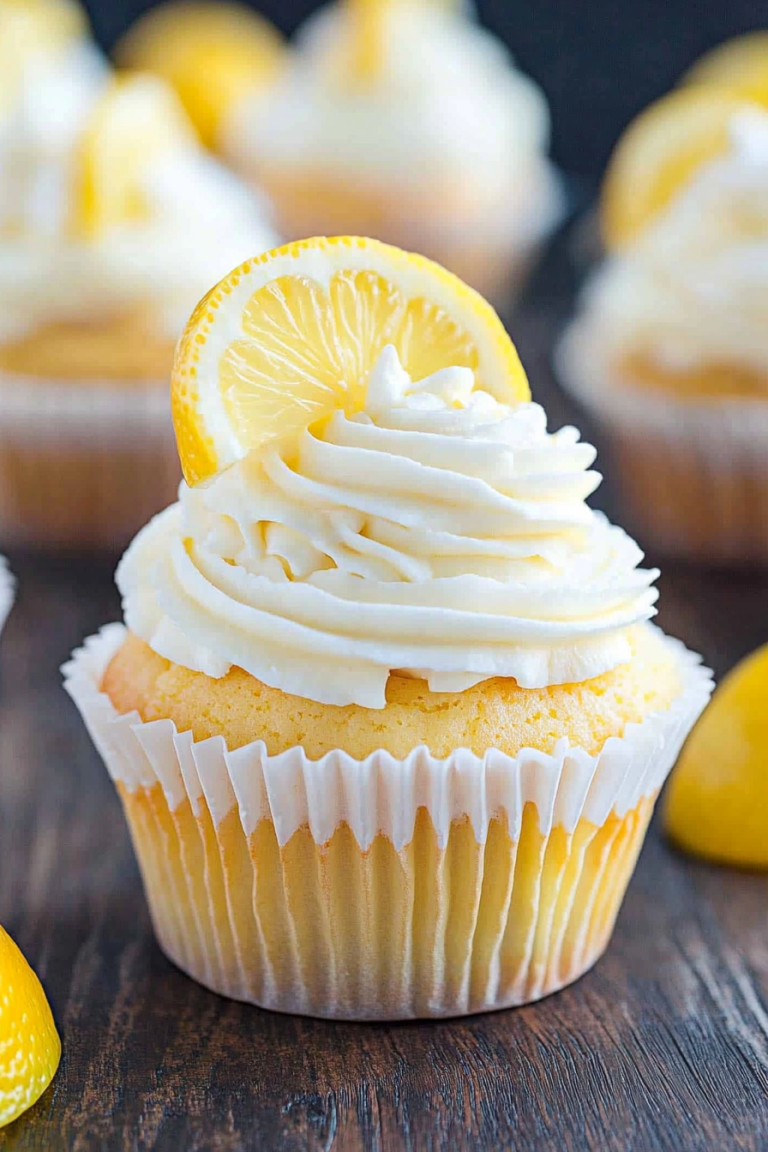
If you loved this recipe, you might also enjoy my Lemon Blueberry Bundt Cake or my incredibly easy Chocolate Mug Cake. Both are quick, crowd-pleasing favorites! Don’t hesitate to leave a comment below and let me know how your pineapple cake turned out, or if you have any favorite variations. I love hearing from you all!
Happy baking!
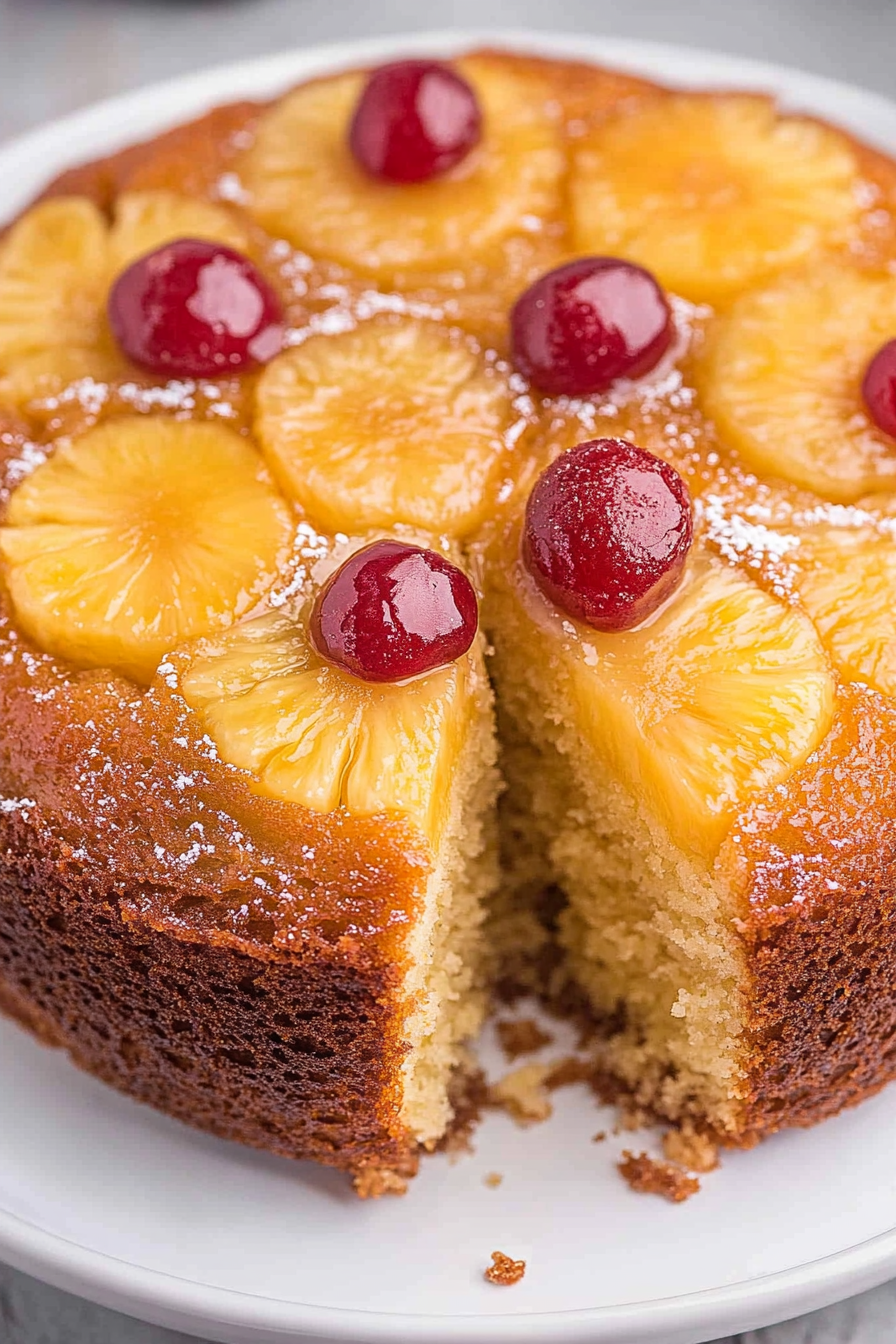
Pineapple Upside Down Cake
Ingredients
Method
- Preheat oven to 350°F (175°C).
- In a 9-inch round cake pan, melt the butter in the oven. Sprinkle the brown sugar evenly over the melted butter. Arrange the drained pineapple slices on top of the brown sugar. Place a maraschino cherry in the center of each pineapple slice.
- In a large bowl, cream together the granulated sugar and shortening until light and fluffy. Beat in the egg and vanilla extract until well combined.
- Gradually add the milk to the creamed mixture, beating until just combined.
- In a separate bowl, whisk together the flour, baking powder, and salt. Gradually add the dry ingredients to the wet ingredients, mixing until just combined. Do not overmix.
- Pour the cake batter evenly over the pineapple layer in the cake pan.
- Bake for 50-55 minutes, or until a toothpick inserted into the center of the cake comes out clean.
- Immediately after removing the cake from the oven, place a heatproof serving plate upside down over the cake pan. Carefully and quickly invert the pan and plate together. Let the pan sit for a few minutes to allow the topping to release, then lift the pan off.
- Let the cake cool for about 15 minutes before serving warm.