Giant Muffins How to Bake Texas-Sized Treats
You know those days? The ones where the world feels a little bit too much, and all you crave is something warm, comforting, and utterly delicious? For me, that feeling is perfectly captured by a batch of my absolute favorite muffins. They’re not fancy, they’re not complicated, but oh, they are everything. I remember my grandma making something similar when I was a kid, and the scent would just fill our little kitchen, instantly making everything feel safe and cozy. This recipe is my tribute to those memories, a little bit of sunshine I can whip up any time I need a pick-me-up, or when unexpected guests pop by and I want to show them some love. They’re remarkably easy, forgiving if you’re a little off on your measurements (we’ve all been there!), and they always disappear faster than you can say “more, please!” If you’re a fan of classic, moist, and flavorful muffins, you’re going to fall head over heels for these. They’re a game-changer, especially when you’re craving that sweet, baked goodness but don’t have hours to spare.
What are some of the Marvelous Muffins?
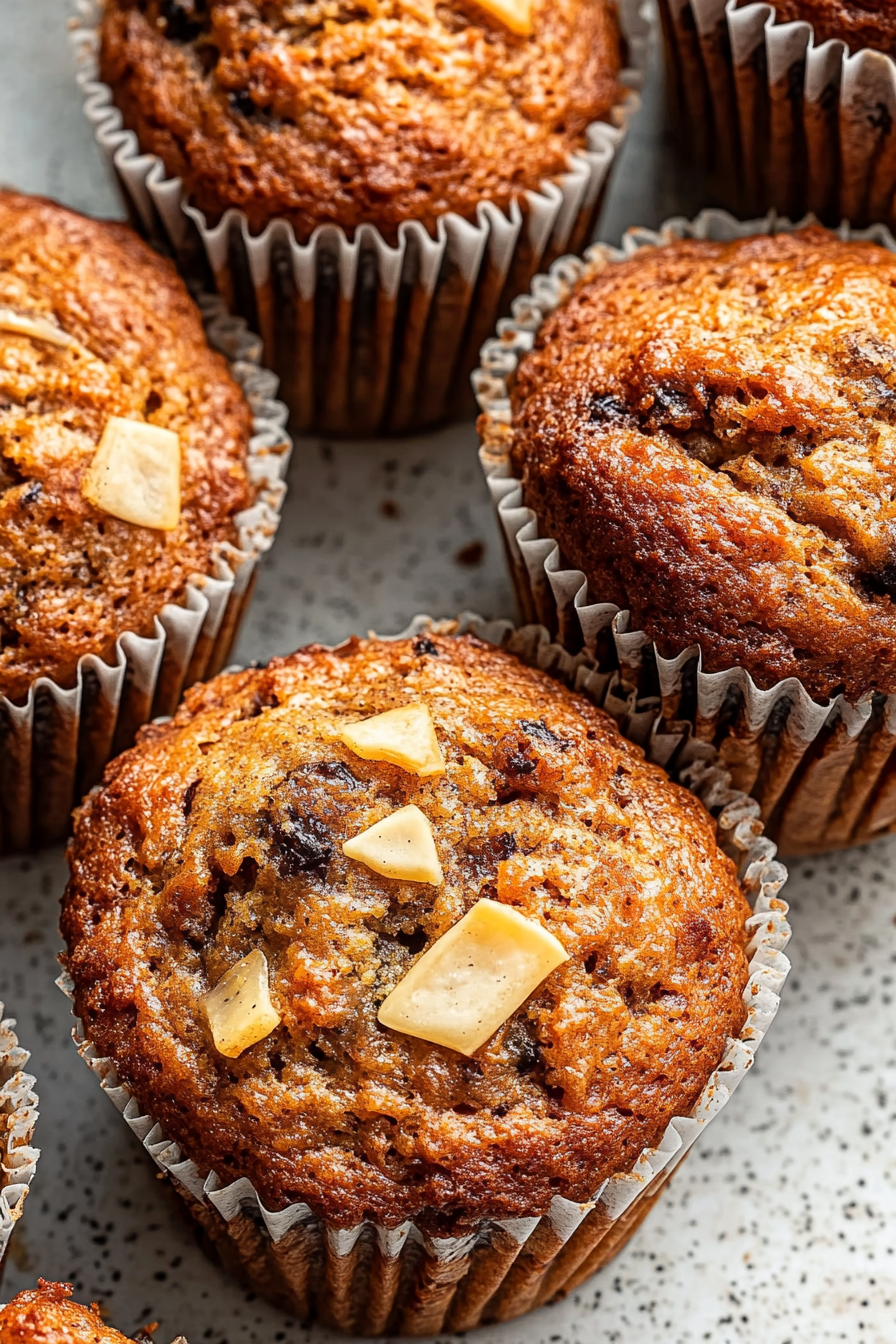
So, what exactly are these magical little treats? Think of them as the ultimate crowd-pleasing muffins. They’re incredibly moist, not too sweet, and bursting with a lovely, subtle flavor that makes you want to go back for another one (or three!). The magic really lies in the texture – they’re tender and fluffy, with just enough chew to be satisfying. The name? Well, I guess “Ultimate Comfort Muffins” just felt right. They’re essentially the perfect blank canvas for whatever you’re in the mood for, but they’re absolutely delightful just as they are. They’re the kind of muffin that feels like a warm hug from the inside out, perfect for a lazy weekend morning, a quick afternoon snack, or even a light dessert. It’s not complicated; it’s just pure, unadulterated deliciousness in muffin form.
Why you’ll love this recipe?
What is the secret behind this muffin recipe?flavor is just incredible. It’s a well-balanced sweetness with a hint of warmth from the spices that just sings. They smell divine while baking, and that aroma alone is enough to make your day better. Then there’s the simplicity. I’ve tested this recipe countless times, even on days when I’m exhausted or juggling a million things, and it always comes through. The steps are straightforward, and you don’t need any fancy equipment. Seriously, you can have these mixed and in the oven in under 15 minutes! And let’s talk about Cost-efficiency: What is the best way to measure cost-efficiency?. The ingredients are pantry staples for most bakers, meaning you can whip these up without a special trip to the store, keeping your budget happy. What really seals the deal for me, though, is the versatility. While they’re perfect on their own, I also love adding things like chocolate chips, berries, or even a swirl of jam. They’re great with my Simple Blueberry Scones for a brunch spread, or even as a sweet bite alongside a cup of my Perfectly Brewed Coffee. This recipe stands out because it’s just so reliable. It’s the one I go to when I need a sure thing, a guaranteed win that always brings smiles to faces.
How to Make These Delicious Muffins
Quick Overview
This recipe is all about speed and ease, without ever sacrificing flavor or texture. You’ll simply whisk together your dry ingredients, then combine your wet ingredients separately. A quick mix of the two, fold in any extras, and then into the oven they go! It’s the kind of recipe that proves you don’t need to spend hours in the kitchen to create something truly wonderful. The key is not to overmix, which keeps them wonderfully tender.
Ingredients
For the Main Batter:
You’ll need all-purpose flour – about 2 cups. I usually just grab whatever I have in the pantry, but if you have a favorite brand, go with that! Also, 1.5 teaspoons of baking powder and half a teaspoon of baking soda for that perfect lift. A pinch of salt, of course, to balance everything out – just a quarter teaspoon. And for that lovely warmth, I add about a teaspoon of ground cinnamon, but feel free to add a touch more if you’re a cinnamon lover like me.
For the Wet Ingredients:
We’re talking about 1 cup of milk. I often use whole milk for extra richness, but 2% or even almond milk works beautifully – I tested it with almond milk once and it actually made them even creamier! Then, about half a cup of melted butter or a neutral oil like canola or vegetable oil. I find butter gives a richer flavor, but oil makes them incredibly moist. Two large eggs, at room temperature if you can remember – it just helps them combine better. And a teaspoon of vanilla extract, because everything is better with vanilla!
For Sweetness and Texture:
Half a cup of granulated sugar is my usual go-to, but I’ve also used a mix of granulated and brown sugar for a deeper flavor. About 1/4 cup of packed light brown sugar adds a lovely caramel note. And for that extra special touch, I love to add about a cup of something extra. My personal favorites are chocolate chips (about a cup!) or fresh berries, like blueberries or raspberries. You can also add nuts if you like a bit of crunch.
For the Simple Glaze (Optional, but Highly Recommended!):
This is where things get really decadent. You’ll need about 1 cup of powdered sugar. Then, a couple of tablespoons of milk or cream – just enough to get the right drizzling consistency. A tiny splash of vanilla extract adds a lovely touch here too.
Step-by-Step Instructions
Step 1: Preheat & Prep Pan
First things first, let’s get your oven preheated to 375 degrees Fahrenheit (190 degrees Celsius). While that’s warming up, grab a standard 12-cup muffin tin and generously grease it or line it with paper liners. I always prefer to grease mine really well, even with liners, just to be absolutely sure nothing sticks. A little extra butter or cooking spray goes a long way here!
Step 2: Mix Dry Ingredients
In a large bowl, whisk together your flour, baking powder, baking soda, salt, and cinnamon. Give it a good whisk to make sure everything is evenly distributed. This step might seem small, but it’s crucial for ensuring your muffins rise evenly and have that perfect texture. You want to avoid any pockets of baking soda or powder.
Step 3: Mix Wet Ingredients
In a separate medium bowl, whisk together your milk, melted butter or oil, eggs, and vanilla extract. Whisk until everything is well combined and smooth. If your butter is still a little warm, let it cool for a minute or two before adding the eggs, just so you don’t scramble them!
Step 4: Combine
Now, pour the wet ingredients into the bowl with the dry ingredients. Using a spatula or a wooden spoon, gently mix them together until *just* combined. Stop mixing as soon as you don’t see any more dry flour streaks. It’s really important not to overmix here! A few lumps are perfectly fine; in fact, they’re a good sign. Overmixing develops the gluten in the flour, which can lead to tough, rubbery muffins.
Step 5: Prepare Filling (If Using Add-ins)
If you’re adding things like chocolate chips or berries, gently fold them into the batter now. Be careful not to overmix. If you’re using berries, sometimes I’ll toss them with a tablespoon of the dry flour mixture before adding them to the batter. This helps prevent them from sinking to the bottom during baking.
Step 6: Fill Muffin Cups
Divide the batter evenly among the prepared muffin cups. They should be about two-thirds to three-quarters full. You can use an ice cream scoop for even portions, which is my favorite trick!
Step 7: Bake
Pop the muffin tin into your preheated oven and bake for 18-22 minutes, or until a wooden skewer or toothpick inserted into the center of a muffin comes out clean. Keep an eye on them, as oven temperatures can vary. If they start to brown too quickly on top, you can loosely tent them with foil.
Step 8: Cool & Glaze
Once baked, let the muffins cool in the muffin tin for about 5-10 minutes. This helps them firm up a bit before you remove them. Then, carefully transfer them to a wire rack to cool completely. Once they’re mostly cool, you can whip up the glaze by whisking the powdered sugar, milk, and vanilla until smooth. Drizzle it over the cooled muffins. This glaze sets up nicely but remains soft and luscious.
Step 9: Slice & Serve
These are best enjoyed slightly warm with the glaze, but they’re also fantastic at room temperature. Slice them in half and admire that fluffy interior! They are absolutely perfect for a mid-morning snack or with a cup of tea.
What to Serve It With
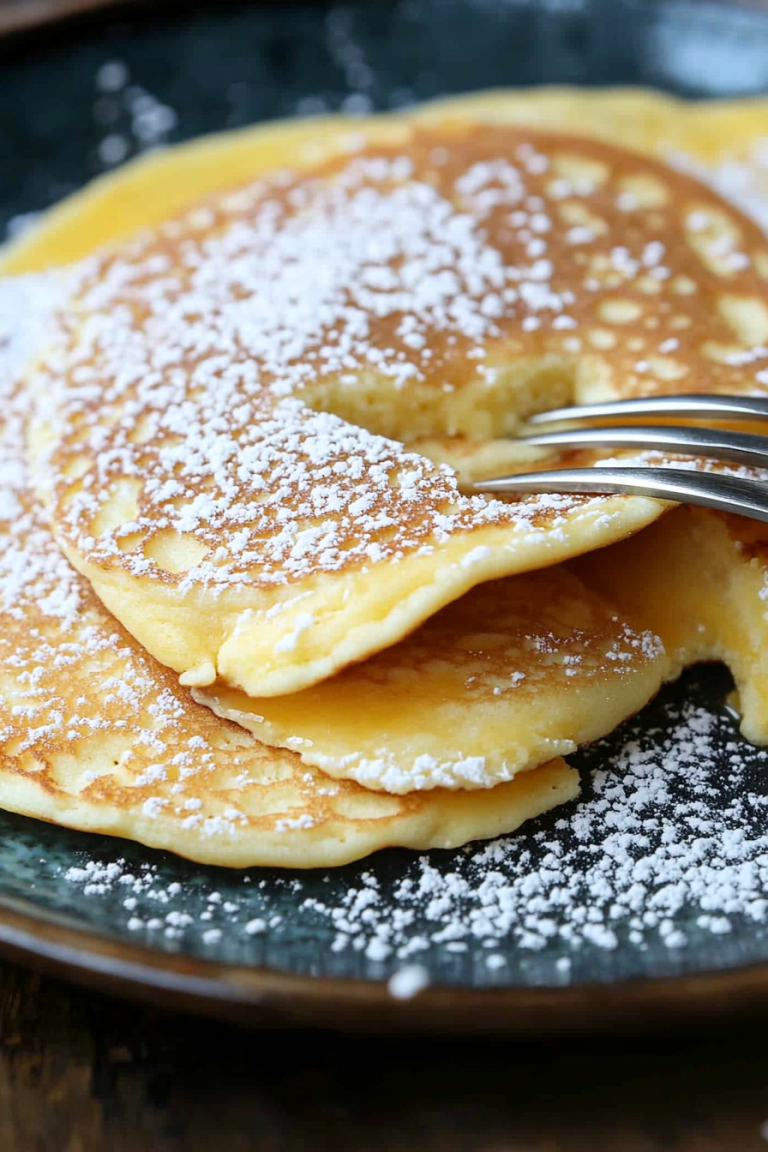
These muffins are so versatile, they fit into almost any occasion! For Breakfast, they’re a dream. I love having one (or two!) with my morning coffee – the sweetness is just enough to wake you up without being overwhelming. For a more impressive Brunch spread, I’ll arrange them alongside some fruit salad, maybe my Lemon Ricotta Pancakes, and a big pot of coffee or some fresh juice. They look so pretty on a tiered stand! As a simple Dessert, they’re a winner. A little dollop of whipped cream or a scoop of vanilla ice cream on top makes them feel extra special. And for those Cozy Snacks moments, when you just need a little something comforting? They’re perfect. My kids love them with a glass of milk after school. A family tradition is to have them while we watch a movie on a rainy afternoon. They’re just so adaptable!
Top Tips for Perfecting Your Muffins
Over the years, I’ve learned a few tricks that make these muffins consistently fantastic. For any baking involving fruit, like berries or even zucchini if you go that route, make sure they’re not overly wet. If using fruit, give them a gentle pat dry. When it comes to Mixing Advice, the biggest rule I can give you is: DO NOT OVERMIX. Seriously, it’s the most common mistake and the easiest to avoid. A few lumps in the batter are a good thing! For Swirl Customization, if you’re adding something like chocolate chips or nuts, try tossing them with a tablespoon of the dry flour mixture before adding them to the batter. This little trick helps them distribute more evenly and prevents them from sinking to the bottom. When it comes to Ingredient Swaps, I’ve found that if you don’t have milk, you can substitute yogurt or sour cream thinned with a little water for an even more tender muffin. For Baking Tips, always preheat your oven properly. A consistent temperature is key for even baking. And don’t be afraid to test for doneness a minute or two early. Ovens can be tricky! Lastly, for Glaze Variations, if you want a thicker glaze, just add more powdered sugar. For a thinner glaze, add a tiny bit more milk or even some lemon juice for a citrusy kick. I’ve even added a touch of cocoa powder to make a chocolate glaze!
Storing and Reheating Tips
These muffins are a lifesaver because they keep so well! At Room Temperature, they stay fresh for about 2-3 days if stored in an airtight container. They might lose a tiny bit of their initial fluffiness by day 3, but they’re still delicious. For Refrigerator Storage, you can extend their life to about a week. Just make sure they’re in a sealed container or wrapped well. Honestly, I don’t often refrigerate them because they get eaten so fast! If you’re looking to store them long-term, Freezer Instructions are your friend. Wrap each muffin tightly in plastic wrap, then place them in a freezer-safe bag or container. They’ll keep for up to 2-3 months. When you’re ready to enjoy one, you can let it thaw at room temperature for an hour or two, or pop it in the microwave for about 20-30 seconds. For Glaze Timing Advice, I always prefer to glaze them once they’re completely cool. If you’re freezing them, you can add the glaze *after* thawing, or you can freeze plain muffins and glaze them once they’re ready to eat.
Frequently Asked Questions
Final Thoughts
So there you have it – my recipe for what I affectionately call “comfort muffins.” They’re more than just a baked good; they’re a little bit of joy, a source of comfort, and a testament to how simple ingredients can create something truly special. I really hope you give them a try. They’re perfect for those days when you need a little extra sweetness, a quick treat for the kids, or just want to fill your home with that incredible bakery smell. If you love these, you might also enjoy my Easy Banana Bread or my Classic Chocolate Chip Cookies – they’re in a similar vein of comforting, homemade goodness. I can’t wait to hear what you think, or to see what delicious add-ins you decide to use! Let me know in the comments below how yours turn out. Happy baking!
Morning Glory Muffins
Ingredients
Method
- Preheat the oven to 375°F.
- Line a muffin tin with 6 “Texas-sized” muffin paper liners or use a cupcake tin and line all 12 cavities with cupcake paper liners.
- In a large mixing bowl, whisk together the flour, brown sugar, baking soda, cinnamon, ginger, and salt. Add in the carrots, apple, coconut, nuts, raisins, prunes, and zest; mix to combine.
- Whisk the eggs, oil, orange juice, and vanilla in a separate bowl.
- Add the egg mixture to the flour mixture and stir until just combined.
- Fill the muffin liners to the top. Sprinkle light brown sugar over the top of the muffins.
- Bake for 22 to 25 minutes or until a toothpick inserted in the center of a muffin comes out clean.
- Cool the muffins in the pan for 5 minutes and then turn them out on a baking rack to cool completely.