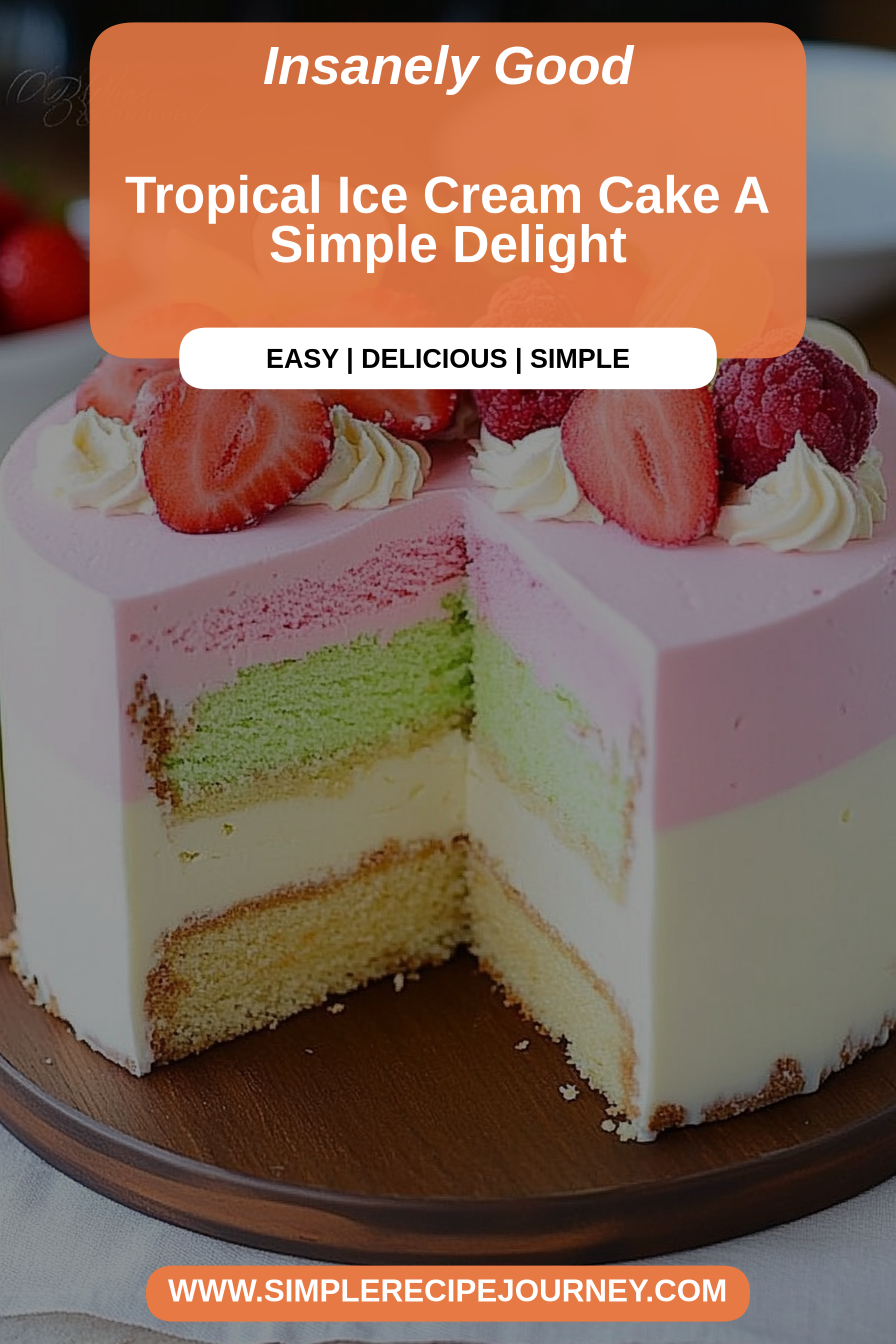
Tropical Ice Cream Cake A Simple Delight
I remember the first time I even thought about making an ice cream cake from scratch. It felt like this monumental task, something reserved for fancy bakeries and special occasions. But honestly, the thought of that rich, creamy ice cream layered with soft cake and maybe some crunchy bits? Pure magic. It was the ultimate dessert, the kind that made everyone at the table stop and just savor each bite. I’d seen those amazing creations in magazines and always thought, “No way can I do that.” But then, one sweltering summer afternoon, craving something truly spectacular that didn’t involve turning on the oven, I decided to give it a shot. And let me tell you, it was a game-changer! This ice cream cake recipe is now my absolute go-to, a true lifesaver for birthdays, holidays, or honestly, just a Tuesday when you need a serious pick-me-up. It’s incredibly forgiving, surprisingly simple, and tastes so much better than anything you can buy. If you’ve ever dreamed of making your own show-stopping dessert, you’ve come to the right place. Get ready to impress everyone!
What is no bake ice cream cake?
So, what exactly is this magical creation I’m so obsessed with? Think of it as the ultimate mashup of your favorite ice cream and your favorite cake, all rolled into one glorious, frozen masterpiece. It’s not a traditional baked cake layered with ice cream; instead, it’s a harmonious blend where the cake component is often infused with ice cream’s creamy essence, and everything comes together in the freezer. It’s essentially an intensely flavored, impossibly smooth dessert that bypasses the oven entirely. We’re talking layers of deliciousness that meld together as they freeze, creating a texture that’s both soft and satisfyingly firm. The beauty of it is that it’s adaptable. You can play with different ice cream flavors, cake bases, and exciting mix-ins. It’s the kind of dessert that feels incredibly decadent and homemade, without any of the usual baking stress. It’s the perfect answer when you’re craving something sweet and impressive but don’t have hours to spend in the kitchen.
Why you’ll love this recipe?
What are some of the best reasons to try ice cream cake?flavor. Oh my goodness, the flavor! It’s an explosion of creamy, sweet, and whatever delicious additions you decide to throw in. The combination of the cake and ice cream creates a depth of flavor that’s just unparalleled. It’s not just sweet; it has this wonderful richness that really satisfies. Then there’s the simplicity. Seriously, this is where the magic happens. No tricky baking techniques, no worrying about cakes collapsing or burning. You mix, you layer, you freeze. That’s it! It’s so straightforward that even if you’re new to making desserts, you’ll feel like a seasoned pro. And let’s talk about Cost-efficiency: What is the best way to measure cost-efficiency?. When you buy a good ice cream cake from a store, it can get pricey, right? Making this at home uses pantry staples and a couple of pints of your favorite ice cream, making it way more budget-friendly, especially for feeding a crowd. Plus, the versatility is off the charts! You can customize every single element. Prefer chocolate ice cream? Go for it. Want a hint of coffee? Add some espresso powder. Craving cookie dough chunks? Throw them in! It’s a blank canvas for your wildest dessert dreams. What I love most about this recipe is that it feels so elegant and special, yet it’s so incredibly easy to pull off. It’s the perfect solution for those moments when you want to serve something truly impressive without the fuss. It’s a winner in my book every single time.
How to Make This No-Bake Ice Cream Cake
Quick Overview
This ice cream cake is all about layering and freezing. We’ll start by creating a simple, no-bake cake base, then generously layer it with your chosen ice cream, add in some delightful mix-ins, and top it off with a luscious glaze. The whole process involves minimal active time and maximum freezer magic. It’s designed to be incredibly forgiving, meaning even a small slip-up won’t ruin the final product. The key is patience during the freezing stages, allowing each layer to set up perfectly before adding the next.
Ingredients
For the No-Bake Cake Base:
2 cups crushed cookies (like Oreos, graham crackers, or shortbread) – I find Oreos give a wonderful chocolatey depth.
1/2 cup unsalted butter, melted – Use good quality butter; it really makes a difference in richness.
2 tablespoons granulated sugar – Just a touch to help bind and sweeten.
Pinch of salt – To balance the sweetness.
For the Ice Cream Layers:
2 pints (about 1 quart each) of your favorite ice cream, slightly softened – I usually go for one chocolate and one vanilla, or a flavor combo that complements each other.
For the Mix-Ins (Optional but Highly Recommended!):
1 cup of your favorite additions like chocolate chips, chopped candy bars, cookie dough chunks, or fresh berries. – This is where you can really personalize it!
For the Luscious Glaze:
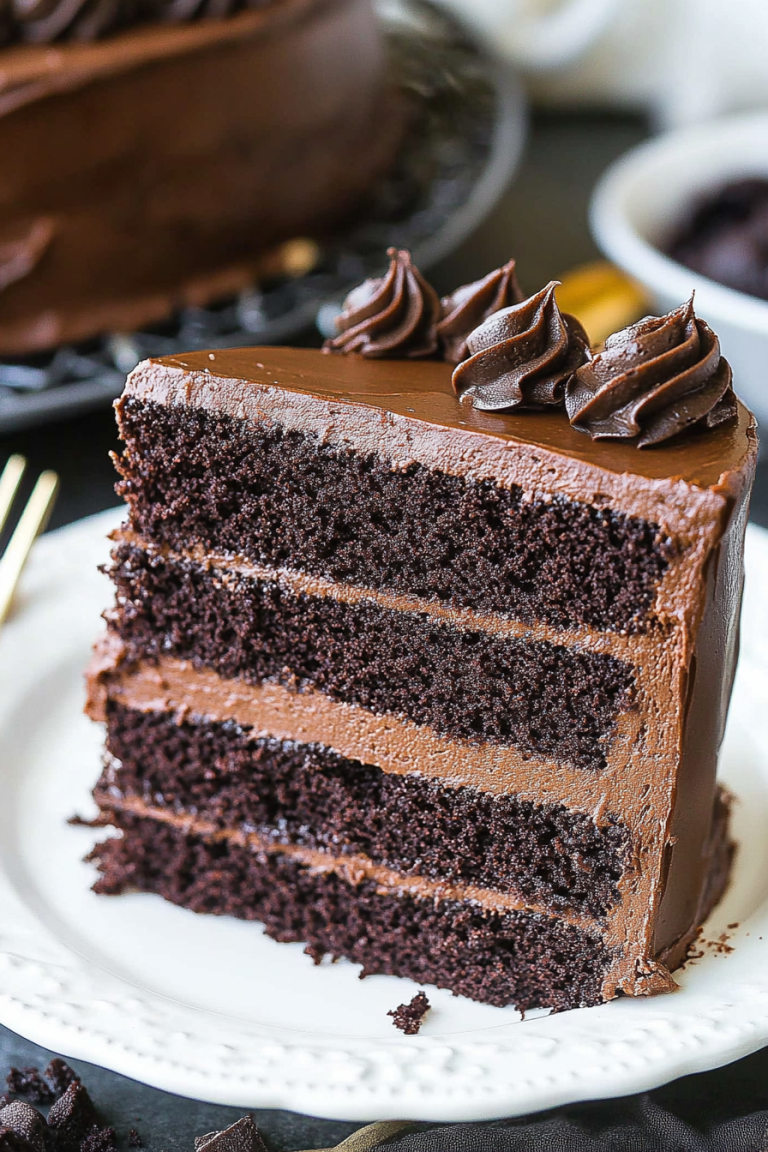
1 cup semi-sweet chocolate chips – Good quality chips melt smoother.
1/4 cup heavy cream – For that silky, pourable texture.
Step-by-Step Instructions
Step 1: Preheat & Prep Pan
First things first, grab a 9-inch springform pan. This is crucial because it allows you to easily remove the cake without damaging its beautiful layers. Line the bottom of the pan with a circle of parchment paper. This is another little trick that ensures the cake releases cleanly. If you don’t have parchment, a light grease and flour will do, but parchment is your best friend here.
Step 2: Mix Dry Ingredients
In a medium bowl, combine your crushed cookies, granulated sugar, and a pinch of salt. Give it a good stir to ensure everything is well mixed. The sugar helps the butter bind everything together, and the salt just brightens up all those flavors.
Step 3: Mix Wet Ingredients
Pour the melted butter over the dry cookie mixture. Stir with a fork or a spatula until all the crumbs are moistened and the mixture resembles wet sand. You want it to hold together when you press it, but not be greasy.
Step 4: Combine
Press this crumb mixture evenly into the bottom of your prepared springform pan. Use the bottom of a glass or a flat measuring cup to really compact it down. This forms your first delicious layer. Pop this into the freezer for about 15-20 minutes while you prepare the ice cream.
Step 5: Prepare Filling
Take your ice cream out of the freezer a few minutes before you need it. You want it softened enough to spread easily, but not melted. If you’re using two flavors, you can either spread them one on top of the other, or swirl them together before adding to the pan. If you’re adding mix-ins, gently fold them into the softened ice cream now. Don’t overmix, or you’ll break up the ice cream too much.
Step 6: Layer & Swirl
Once your cookie base is firm, spoon about half of your softened ice cream mixture evenly over the top. Spread it out with a spatula. If you’re using two flavors, now’s the time to add your second layer, or swirl them if you prefer. If you’re adding mix-ins, sprinkle them over the ice cream layer. Then, add the remaining ice cream and spread it to create a smooth top. You can use the back of a spoon or a small offset spatula to create swirls if you like! Pop the whole pan back into the freezer. This layer needs to freeze until very firm, which usually takes at least 2-3 hours, or even better, overnight.
Step 7: Bake
Wait, bake? Nope! This is the beauty of it – no baking required! The freezing does all the work.
Step 8: Cool & Glaze
Once your ice cream cake is completely firm, it’s time for the glaze. In a microwave-safe bowl, combine the chocolate chips and heavy cream. Microwave in 30-second intervals, stirring between each, until the chocolate is melted and smooth. Be careful not to overheat. If it seems too thick, add another splash of cream. Let the glaze cool slightly for a few minutes so it’s pourable but not hot. Carefully remove the sides of the springform pan. Pour the glaze over the top of the frozen cake, letting it drip down the sides. You can use a spatula to gently encourage it if needed. Return the cake to the freezer for another 30 minutes to an hour to let the glaze set.
Step 9: Slice & Serve
This is the moment of truth! To get clean slices, I like to dip a sharp knife in hot water and wipe it dry before each cut. Serve immediately. The cake will soften as it sits out, so it’s best enjoyed relatively soon after slicing.
What to Serve It With
This ice cream cake is truly a star on its own, but it also plays wonderfully with other flavors and occasions! For Breakfast (yes, I’m that person!), imagine a thin slice with a strong cup of coffee. The richness of the cake and the slight sweetness is a perfect contrast to a bitter brew. For Brunch, I love to serve it with a dollop of fresh whipped cream and a scattering of vibrant berries – think raspberries or blueberries. It adds a touch of elegance and freshness. The bright fruit cuts through the sweetness beautifully. As a show-stopping Dessert, it’s obviously incredible on its own, but you can elevate it further with a drizzle of raspberry coulis or a sprinkle of toasted nuts for added texture. My kids always ask for it with extra chocolate shavings. And for those Cozy Snacks, when you just need a little something sweet after dinner, a small slice with a glass of milk is pure comfort. My family has a tradition of having this for every birthday, and it’s always the highlight of the meal. It just brings people together and makes any occasion feel extra special.
Top Tips for Perfecting Your Ice Cream Cake
I’ve made this ice cream cake more times than I can count, and I’ve picked up a few tricks along the way that I think will really help yours turn out perfectly. For the Cookie Prep, don’t just shove cookies in a bag and hit them with a rolling pin. For the smoothest base, I highly recommend using a food processor to get a fine, consistent crumb. This helps it bind together better and creates a more stable foundation. If you don’t have one, pulsing them in a blender also works wonders. When it comes to Mixing Advice, remember that with the ice cream, you’re aiming for “spreadable,” not “melted.” If it gets too soft, your layers will blend together before they’ve had a chance to set, and you won’t get those distinct layers or swirls. Patience is key here! Pop it back in the freezer for 15-20 minute intervals if it starts to get too soft while you’re working. For the Swirl Customization, don’t be afraid to get a little artistic! If you’re swirling two flavors, add dollops of each flavor onto the base, then use a knife or skewer to gently swirl them together. Don’t over-swirl, or you’ll lose the definition. For Ingredient Swaps, feel free to experiment! If you don’t have Oreos, graham crackers or shortbread cookies are fantastic alternatives. For the ice cream, any flavor works, but consider pairings – mint chocolate chip with a brownie base, or strawberry with a vanilla cookie base. And for those mix-ins, if you’re using fresh fruit, make sure it’s not too wet, or it can affect the texture. For Baking Tips (or rather, freezing tips!), make sure your freezer is cold enough. An overcrowded freezer can sometimes lead to slower freezing times. I usually clear a shelf beforehand. Also, ensure your pan is on a level surface in the freezer so your cake freezes evenly. Finally, when it comes to Glaze Variations, if you want a dark chocolate flavor, use good quality dark chocolate. For a lighter touch, white chocolate chips work too, though they might need a little more cream to achieve the right consistency. You can also stir in a teaspoon of espresso powder into the glaze for a mocha kick!
Storing and Reheating Tips
Once your beautiful ice cream cake is made, you’ll want to keep it perfect for as long as possible. For Room Temperature storage, it’s honestly best served immediately after the glaze sets. It will start to soften quite quickly once out of the freezer. If you must leave it out for a short period, do so for no more than 15-20 minutes before serving. For Refrigerator Storage, this isn’t ideal for ice cream cakes as they’ll melt. The freezer is your best friend! If you need to store it for a day or two, wrap the entire cake tightly in several layers of plastic wrap, then add a layer of aluminum foil. Keep it in the coldest part of your freezer. It should hold up for about 2-3 days, though the texture might change slightly. For Freezer Instructions, this is where it shines. After the glaze has set, tightly wrap the cake in plastic wrap, then in aluminum foil, and store it in an airtight container if you have one for extra protection against freezer burn. It can last for up to 2 weeks this way, though I find it’s best consumed within the first week for optimal texture. When you’re ready to serve, let it sit at room temperature for about 10-15 minutes to soften just enough to slice easily. For Glaze Timing Advice, I always recommend glazing right before the final freeze. Applying the glaze to a very hard, frozen cake ensures it sets up nicely and doesn’t melt into the ice cream. If you are storing for longer periods, the glaze might crack slightly upon thawing, but it will still taste delicious!
Frequently Asked Questions
Final Thoughts
I truly hope you give this no-bake ice cream cake a try. It’s become such a beloved recipe in my home, a go-to for those moments when you want to create something really special without the usual baking drama. The sheer joy on people’s faces when they take that first bite is just priceless. It’s a dessert that feels indulgent and impressive, yet is so approachable for any home cook. If you love this recipe and are looking for more no-bake treats or stunning desserts, be sure to check out my recipes for no-bake cheesecake bars and my easy chocolate mousse. They’re perfect for when you want that wow factor without turning on the oven! I can’t wait to hear how your ice cream cake turns out. Please share your variations and any fun mix-ins you tried in the comments below – I’m always looking for new inspiration! Happy freezing!
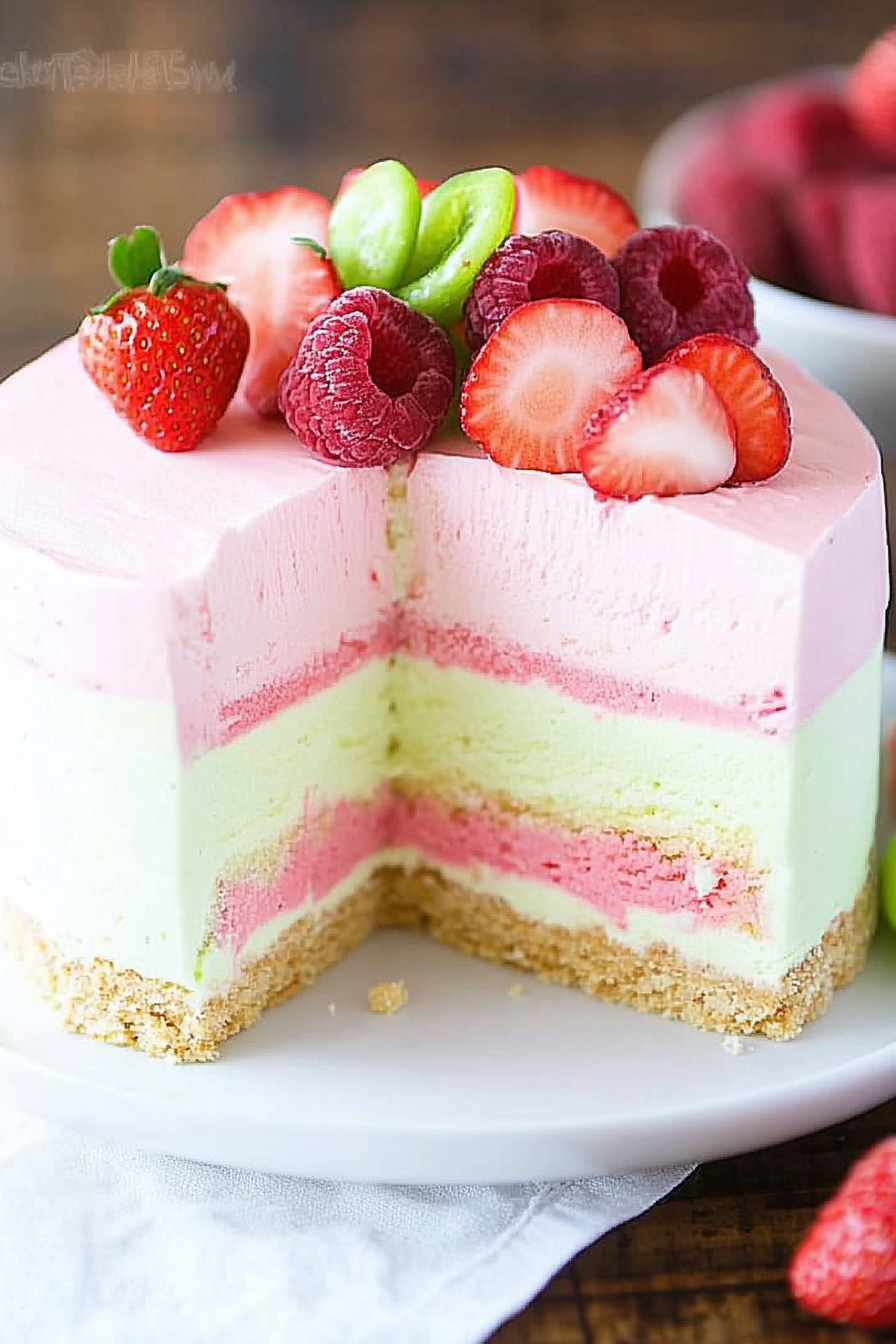
Key Lime Strawberry Coconut Ice Cream Cake
Ingredients
Method
- Prepare an 8x3 inch springform pan by lining it with parchment paper that extends about 2 inches above the rim. This helps with easy removal. If using a regular cake pan, line it with plastic wrap and then parchment paper.
- For the strawberry filling: Combine strawberry puree, 1/4 cup sugar, and 1 tbsp cornstarch in a small bowl. Microwave in 10-second intervals until thickened, about 30 seconds to 1 minute. Let cool.
- For the key lime filling: Combine key lime juice, 1/4 cup sugar, and 1 tbsp cornstarch in a small bowl. Microwave in 10-second intervals until thickened, about 30 seconds to 1 minute. Let cool.
- For the crust: Mix shortbread crumbs, 3 tbsp sugar, and melted butter. Press evenly into the bottom of the prepared cake pan and freeze until firm.
- For the coconut ice cream layer: Beat 8 oz cream cheese and 1/2 cup sugar until smooth. Mix in 2 tbsp milk and coconut extract. In a separate bowl, whip 1.25 cups heavy whipping cream and 1/2 cup powdered sugar to stiff peaks. Gently fold about 1/3 of the whipped cream into the cream cheese mixture, then fold in the rest. Spread this mixture over the crust and return to the freezer.
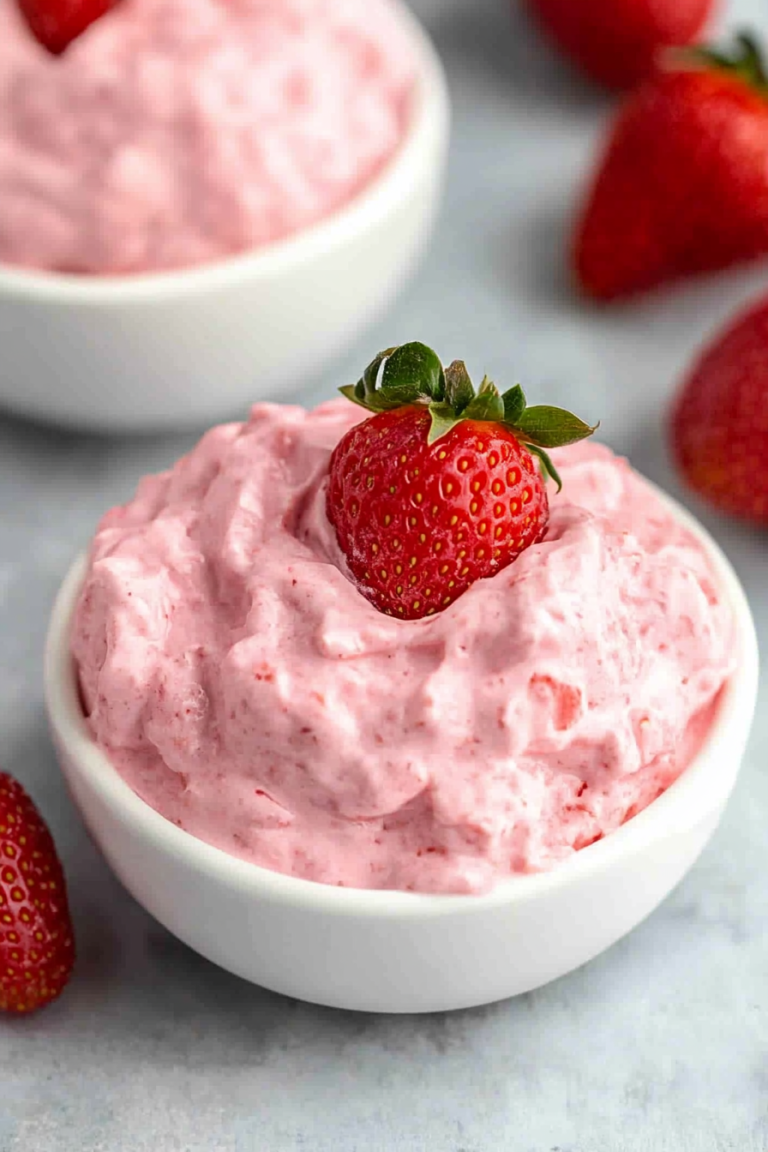
- For the strawberry ice cream layer: Beat 8 oz cream cheese and 1/4 cup sugar until smooth. Mix in 2 tbsp milk, strawberry extract (if using), and the cooled strawberry filling. In a separate bowl, whip 1 cup heavy whipping cream and 1/2 cup powdered sugar to stiff peaks. Gently fold about 1/3 of the whipped cream into the cream cheese mixture, then fold in the rest. Fold in the pink food coloring. Spread this mixture over the coconut layer and return to the freezer.
- For the key lime ice cream layer: Beat 8 oz cream cheese and 1/4 cup sugar until smooth. Mix in 2 tbsp milk and the cooled key lime filling. In a separate bowl, whip 1 cup heavy whipping cream and 1/2 cup powdered sugar to stiff peaks. Gently fold about 1/3 of the whipped cream into the cream cheese mixture, then fold in the rest. Fold in the lime green food coloring. Spread this mixture over the strawberry layer and freeze until completely firm, 5-6 hours or overnight.
- Once firm, carefully remove the cake from the springform pan. Smooth the sides with a warm offset spatula if needed and transfer to a serving plate. Decorate with Cool Whip, fresh strawberries, and lime slices. Let the cake sit at room temperature for at least 30 minutes before cutting and serving.