Autumn Sweetness Best Candy Corn Cookies
There’s just something about fall baking that makes my heart do a little dance — maybe it’s the crisp air or the cozy sweaters, but candy corn cookies have become my personal seasonal obsession. The first time I made them, I remember the smell of vanilla mixing with the sweet, slightly honeyed aroma of candy corn. My kids wandered into the kitchen, eyes wide, asking if they could have a piece early — but little did they know, they’d be snacking on these gooey, colorful cookies in a matter of minutes. Honestly, this recipe is a game-changer; it’s simple enough for a busy weeknight but festive enough to serve at a party. Plus, I love how the candy corn melts into the dough, creating tiny pockets of chewy sweetness. Trust me, these disappear in minutes at my house. They’re that addictive. If you’re craving something fun, nostalgic, and a little bit playful, keep reading — I promise, you’re going to love this one!
What is candy corn cookie?
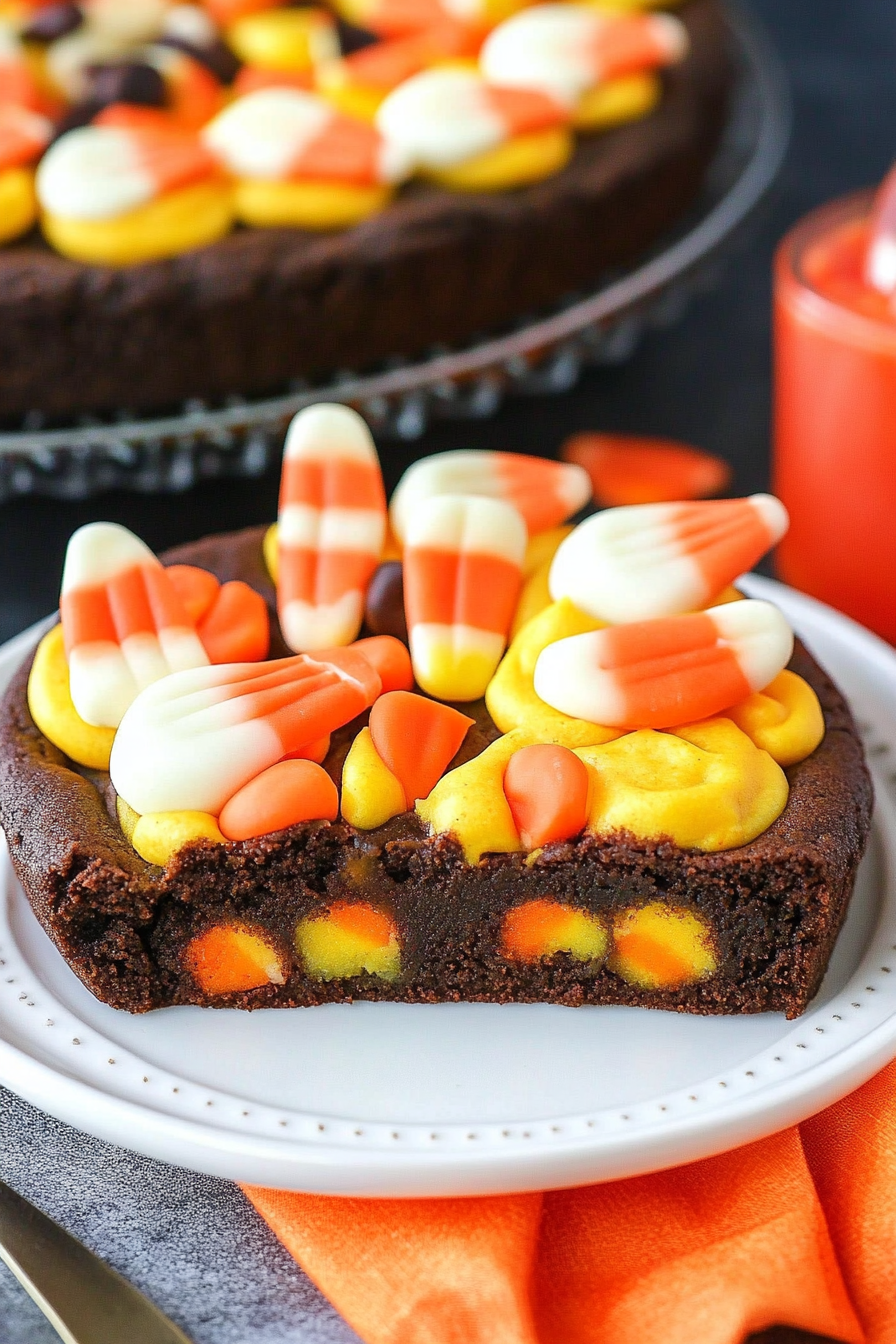
Candy corn cookies are soft, chewy cookies infused with the iconic, tri-color candy that we all associate with Halloween. Think of it as a sweet, buttery cookie dough that’s brightened up with little bursts of flavor and color from the candy corn. The idea is pretty simple—bake a classic cookie dough, add in some chopped candy corn, and watch as it melts into gooey, golden pockets that are just a little bit sticky and oh-so-delicious. It’s essentially a fun twist on your typical chocolate chip or sugar cookie, but with a playful, seasonal flair. The name comes straight from the star ingredient — those colorful, cone-shaped candies that seem to scream Halloween. What’s really special about these cookies, though, is how the candy corn adds a subtle sweetness and a satisfying chew that keeps every bite interesting. It’s kind of like a blend of childhood memories and homemade comfort in one perfect treat.
Why you’ll love this recipe?
This recipe has become one of my favorites for so many reasons. First, the flavor — oh, the flavor! The buttery richness combined with the sweet, honey-like taste of melted candy corn is just pure magic. I always do this when I want a little nostalgia with my baking; it’s a reminder of lazy fall afternoons and school parties where these candies reigned supreme. The best part? It’s super easy. No fancy equipment, no complicated techniques — just a bowl, a spoon, and a good oven. Honestly, I’ve made these on a whim when I needed a quick dessert for friends dropping by, and they always turn out perfect. The cost is minimal too, since most ingredients are pantry staples. Plus, your kids will love helping — it’s practically a no-fail kids’ baking project! I also love how versatile they are: you can swap out the candy corn for M&Ms or even dried fruit for different flavors. But honestly, nothing beats that cheerful, colorful look and the nostalgic taste of candy corn in every bite. These cookies are a hit at any gathering and even better as a cozy homemade treat for yourself after a long day.
How do I make candy corn cookies?
Quick Overview
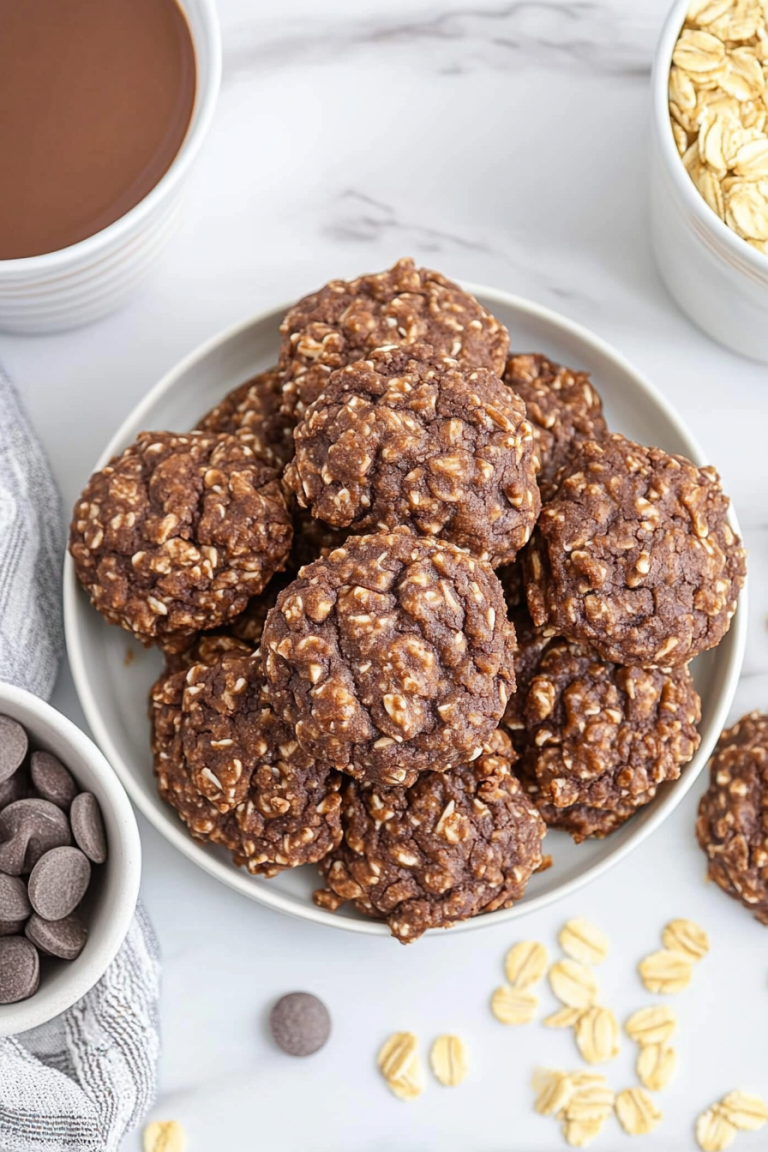
If I had to sum it up, these cookies come together quickly — you mix butter and sugar, add in your dry ingredients, fold in those gooey chunks of candy corn, and then bake until golden. It’s really that simple. What makes this process special is how forgiving it is; you don’t need fancy techniques, just a little love and patience to get the texture just right. The dough isn’t sticky or overly loose, so I always do a quick chill if I’m in a rush, but honestly, it’s not necessary. Once they’re baked, the warm, sweet smell floats through the house, drawing everyone to the kitchen. You’ll know they’re ready when the edges are lightly browned and the centers are soft but set. Cool them on a wire rack, and then dive in — I promise, the first bite is pure comfort!
Ingredients
For the Main Batter:
– 1 cup (226 grams) unsalted butter, softened but not melted (trust me, softened butter makes all the difference)
– 1 cup (200 grams) granulated sugar
– 1 large egg
– 2 teaspoons vanilla extract
– 2 ½ cups (310 grams) all-purpose flour (try to use high-quality flour for the best texture)
– ½ teaspoon baking soda
– ¼ teaspoon salt
For the Filling:
– 1 ½ cups chopped candy corn (don’t bother chopping each candy — just tear them apart with your fingers)
– Optional: a handful of mini chocolate chips or M&Ms for extra fun
For the Glaze:
– Not strictly necessary, but a simple drizzle of white chocolate or vanilla glaze gives a pretty finishing touch. Use ½ cup melted white chocolate mixed with a teaspoon of vanilla if you want to keep things simple.
Step-by-Step Instructions
Step 1: Preheat & Prep Pan
Set your oven to 350°F (175°C). Line a baking sheet with parchment paper or silicone baking mats — trust me, cleanup is a breeze, and nothing sticks. If you want perfect cookies, make sure your oven rack is in the middle. No need to grease the pan — parchment does all the work.
Step 2: Mix Dry Ingredients
In a small bowl, whisk together your flour, baking soda, and salt. This step ensures even distribution of the leavening agents, preventing weird pockets of baking soda, which I learned after a few baking mishaps early on. set aside, and get ready for the best part.
Step 3: Mix Wet Ingredients
In a large bowl, beat the softened butter and sugar together until the mixture’s light and fluffy — about 2-3 minutes with an electric mixer. Add the egg and vanilla, mixing until just combined. The batter should look creamy and smooth, not greasy or crumbly. I’ve tested this with almond milk once, and I swear it made the dough even creamier, though traditional dairy works beautifully too.
Step 4: Combine
Gradually add the dry ingredients into the wet mixture, mixing on low speed. This prevents flour from flying everywhere — and also overworking the dough, which can make cookies tough. Mix until you see no flour streaks; don’t go too crazy, or your cookies will be dense instead of soft.
Step 5: Prepare Filling
Gently fold in your chopped candy corn. The dough will stiffen a little as the candies melt slightly and distribute. It’s a fun, slightly sticky mess — just embrace it! If you’re adding extras like mini M&Ms or chocolate chips, now’s the time.
Step 6: Layer & Swirl
Drop spoonfuls of dough onto your prepared baking sheet, spacing them a couple of inches apart. For a pretty swirl, I like to press a few extra candy corns on top and give the dough a gentle swirl with the back of a spoon. This creates a marbled look with colorful pockets peeking through.
Step 7: Bake
Bake for 10-12 minutes, depending on your oven. Keep an eye on them — you want the edges to be lightly golden, and the centers to look soft but not raw. If you’re unsure, do the gentle tap test: lightly press the top — if it springs back, they’re done. Let them rest on the baking sheet for 5 minutes before transferring to a wire rack. This helps set the shape and keeps them chewy.
Step 8: Cool & Glaze
Allow the cookies to cool completely before glazing if you’re adding it. This prevents melting and uneven drips. A light drizzle of melted white chocolate brightens the look and adds a glossy finish. I love to sprinkle a few remaining candy corn on top before the glaze sets, for that perfect festive touch.
Step 9: Slice & Serve
Honestly, I prefer these warm — the candy corn is extra gooey then. But they taste great at room temperature too. Serve with a cold glass of milk or a warm cup of cider. They’re great for sharing, but honestly, I wouldn’t blame you if you hoarded a few for yourself. Cut into squares or just break them apart with your hands — rustic is beautiful, after all!
What to Serve It With
These cookies are so versatile that they work for pretty much any occasion. For breakfast, I love pairing them with a strong cup of coffee — the richness of the cookie balances perfectly with bitter espresso. During brunch, serve them alongside caramel lattes or spiced apple cider, garnished with a sprinkle of cinnamon — pure fall magic. As dessert, they’re fantastic with a scoop of vanilla ice cream or a dollop of whipped cream for an extra indulgence. And honestly, they’re my go-to snack during chilly evenings curled up with a good book. I even toss a few into lunchboxes for a fun surprise — my kids ask for these all the time. They’re cheerful, flavorful, and make any moment feel a little more special. Plus, they smell incredible coming out of the oven—the kind of aroma that instantly makes everyone smile.
Top Tips for Perfecting Your Candy Corn Cookies
After baking these for years, I’ve picked up a few tricks that keep them perfect every time. First, always use softened butter — cold butter will make the cookies spread unevenly and be denser. Trust me, it’s worth planning ahead to leave the butter out for about 30 minutes before baking. When mixing, overmixing can lead to tough cookies; I always stop just when everything’s combined. For the swirl effect, I like to gently press in extra candy corn on the surface and do a little swirl with a toothpick or the back of my spoon — it creates those gorgeous marbling patterns that everyone loves. Ingredient swaps are totally doable — I’ve tested coconut oil instead of butter in a pinch, and they still turn out lovely — just reduce the liquid slightly. Baking is another area where a little patience pays off; ovens vary, so I suggest starting with 10 minutes and monitoring closely. For the glaze, I’ve experimented with different flavors, like a splash of caramel or even orange zest — keep it simple or spice it up, whatever makes your taste buds happy!
Storing and Reheating Tips
This batch of cookies stays fresh for about 3 days at room temperature if stored in an airtight container. Make sure they’re completely cooled before sealing, or they might get soggy. I prefer to layer them with parchment paper to prevent sticking. If you want to keep them longer, refrigerate for up to a week — just bring them back to room temp before serving for that soft, chewy bite. For longer storage, pop them in the freezer wrapped tightly in plastic wrap and then foil; they’ll last up to 3 months. When reheating, I microwave a cookie for about 10 seconds or toast it lightly — instant comfort food! If you glaze the cookies, it’s best to add the glaze after reheating, as it may crack or melt if the cookies are too warm. Overall, these cookies stay delightful with minimal effort — I always keep a stash in the freezer for those sudden sweet cravings.
Frequently Asked Questions
Final Thoughts
If you’re anything like me, fall just isn’t complete without something sweet and colorful to celebrate the season. Candy corn cookies fit the bill perfectly — they’re cheerful, fun, and downright delicious. From their soft texture to those sweet pockets of melting candy, they bring a little joy with every bite. Plus, they’re incredibly forgiving to make, so don’t worry if your first batch isn’t perfect — you’ll get better every time. I love sharing these with friends and family, and honestly, they’ve become a seasonal tradition in my house. If you try this recipe, I’d love to hear how it turned out or any tweaks you made — maybe a sprinkle of sea salt on top or extra chocolate chips? Happy baking, and here’s to many cozy, candy-colored moments ahead!
Candy Corn Sugar Cookies
Ingredients
Method
- In a bowl, whisk together flour, baking powder, and salt. In a separate large bowl, cream butter and sugar until light and fluffy. Beat in egg and vanilla. Gradually add dry ingredients and mix until combined. Divide dough into three equal parts.
- Color one portion of dough with yellow gel icing color, another with orange gel icing color, and leave the third plain for white base.
- Roll each colored dough into a log about 12 inches long. Stack the logs side by side, press gently together, and roll into a single log to create a striped effect. Wrap in plastic and freeze for 15 minutes.
- Preheat oven to 350°F. Slice the chilled log into 1/4-inch thick cookies and place on a baking sheet. Bake for 12-15 minutes until edges are golden.
- Cool cookies on a wire rack. Decorate with additional icing if desired, and serve.