Buttery Snowball Cookies How to Make Them
If I had to pick a go-to treat for practically every occasion, these snowball cookies would be it. There’s something about that delicate, buttery exterior coated in powdered sugar—like little edible clouds—that just melts in your mouth. I remember helping my grandma bake these during the holidays, and the smell alone took me straight back to cozy winter mornings. Honestly, I’ll admit I probably make them way more often than I should—because they’re just that easy, and they always disappear in minutes at my house! They’re also a lifesaver on busy nights when I need a sweet fix without all the fuss. Plus, my kids ask for these all the time, especially when they’re craving comfort food. Trust me when I say, once you master this recipe, you’ll be making it every season. You might even find yourself sneaking a few for yourself before serving. It’s like little bites of happiness that everyone, young and old, can’t resist.
What is snowball cookie?
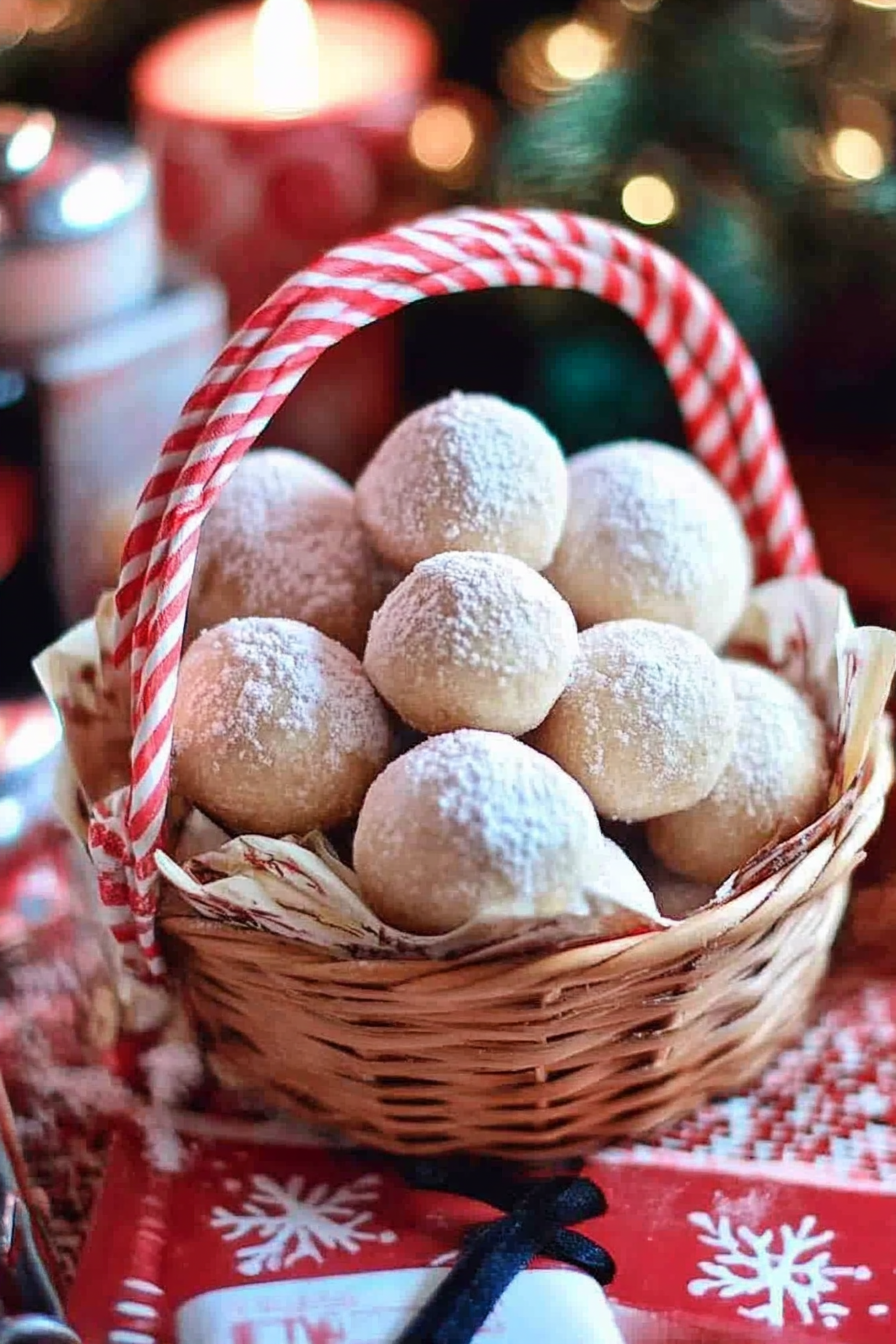
Think of snowball cookies as those adorable, bite-sized treats that look as sweet as they taste. They’re essentially soft, buttery cookies rolled into a perfect ball, then coated generously in powdered sugar. The name makes sense once you see how they’re dusted with that snowy, white layer—hence, snowball! The recipe’s origins trace back to European traditions, but each family seems to have their own little twist. I’ve seen versions with pecans, walnuts, or even a splash of vanilla to amp up the flavor. The beauty of these cookies is how simple they are—minimal ingredients, no fancy equipment needed, and they come together with a few basic kitchen staples. Think of it as the cookie equivalent of a warm hug—soft, sweet, and just a little bit nostalgic. They’re great for holiday cookie trays, brunches, or just whenever you’re craving something sweet that’s easy to make and even easier to love.
Why you’ll love this recipe?
What I love most about these snowball cookies is how perfectly effortless they are to whip up, yet the end result looks so fancy and festive. The flavor? Oh, it’s just pure buttery goodness with a sweet, melt-in-your-mouth texture that makes every bite feel like a celebration. And speaking of celebration, these cookies are a showstopper on any holiday platter—from Christmas to New Year’s, or even a casual family Sunday. Trust me, once you get the hang of rolling the dough into those neat little balls, it’s smooth sailing. Plus, they’re super budget-friendly—just a handful of ingredients that I always keep stocked in my pantry. What’s more, they’re incredibly versatile. Want to add a hint of orange zest or swap in pecans for walnuts? Go for it! They’re forgiving, adaptable, and universally loved. Plus, I’ve found that these cookies actually taste even better after a day or two—kind of like a fine wine, but in cookie form. I’ve made this countless times, and honestly, it never fails to impress or satisfy a sweet tooth in seconds.
How do you make snowball cookies?
Quick Overview
In just a few simple steps, you’ll have a batch of tender, buttery snowball cookies ready to enjoy. The process involves mixing together basic ingredients—flour, butter, sugar—and shaping the dough into small balls. After baking until golden, the cookies are rolled in powdered sugar while still warm, which gives them that signature snowy look. My trick? I always mix the dough until just combined to keep the cookies tender and flaky. They bake fast—usually in about 12-15 minutes—so it’s perfect for a last-minute sweet treat or a quick gift for friends. And trust me, the hardest part is resisting the temptation to eat them all before they make it to the cooling rack!
Ingredients
For the Main Batter:
– 1 cup (2 sticks) unsalted butter, softened – I always use real butter for that rich flavor and a tender crumb.
– 1/2 cup powdered sugar, plus extra for dusting – don’t skimp here, powdered sugar is the magic.
– 1 teaspoon vanilla extract – pure vanilla makes all the difference.
– 2 cups all-purpose flour – I buy the good stuff, but any trustworthy brand works.
– 1/2 teaspoon salt – to balance out the sweetness and bring out the flavor.
For the Filling:
– 1 cup finely chopped nuts (pecans, walnuts, or almonds) – I love walnuts, but pecans make it extra festive.
– Optional: a pinch of cinnamon or a dash of lemon zest for a flavor twist.
For the Glaze:
– Additional powdered sugar for dusting – this is all you need for that classic snowball look.
– Optional: a splash of milk or a few drops of vanilla for a light glaze, if you want a bit more sweetness or shine.
Step-by-Step Instructions
Step 1: Preheat & Prep Pan
Set your oven to 350°F (175°C) and line a baking sheet with parchment paper or a silicone mat. I always do this early on—makes cleanup a breeze and keeps the cookies from sticking. I also gently spray my hands with a little non-stick spray or dust them with flour to help shape the cookies without sticking too much.
Step 2: Mix Dry Ingredients
In a small bowl, whisk together the flour and salt. This ensures the dry ingredients are evenly distributed, which is especially important for a tender, uniform cookie. I’ve learned the hard way that skipping this step can lead to uneven baking or sparse flavor pockets.
Step 3: Mix Wet Ingredients
In a large bowl, beat the softened butter and powdered sugar until fluffy—this usually takes about 2-3 minutes with a hand mixer or whisk. Add vanilla, and mix until combined. The mixture should be light and creamy, smelling wonderfully sweet—that’s when I know I’ve done it right. I’ve also tested doing this with almond extract for a different twist, and wow, it’s delicious!
Step 4: Combine
Gradually mix in the dry ingredients, just until the dough comes together. Be careful not to overmix — I’ve learned that overworking the dough can make the cookies tough rather than tender. When it’s just combined, you’re ready for the next step.
Step 5: Prepare Filling
In a small bowl, toss the chopped nuts with a tablespoon of flour if you want to prevent them from sinking during baking. You can also toast the nuts lightly beforehand to deepen the flavor. For a fun flavor boost, sprinkle in a pinch of cinnamon or lemon zest here—you’ll be surprised at how much it elevates the cookie.
Step 6: Layer & Swirl
Pinch off tablespoon-sized balls of dough and flatten slightly, then dollop a small spoonful of the chopped nuts in the center. Carefully fold the dough around the filling, rolling into a smooth ball. Place on the prepared sheet, spacing about 2 inches apart. If you want that swirled look, you can gently press a few nuts on top or swirl the filling through the dough before rolling—just a little extra flair.
Step 7: Bake
Pop those in the oven for about 12-15 minutes, or until the edges are just golden. Keep a close eye—these can brown quickly. I always check at the 12-minute mark because I love my cookies soft and tender rather than crispy. They will firm up a little as they cool, so don’t overbake!
Step 8: Cool & Glaze
Leave the cookies on the baking sheet for about 5 minutes, then transfer them to a wire rack. While still warm, roll each cookie in powdered sugar for that perfect ‘snowball’ look. I like to do it in batches—coating while they’re warm helps the sugar stick better. If you want an extra touch, mix a little milk with powdered sugar to create a thin glaze and drizzle it on top once cooled.
Step 9: Slice & Serve
These cookies are best enjoyed once fully cooled and dusted with that snowy coating. Serve them on a pretty plate, in a stack, or in a little gift box for friends—you really can’t go wrong. I find they taste better the next day, once the flavors meld, but honestly, they vanish almost immediately at my house.
What to Serve It With
Honestly, these snowball cookies are versatile enough to be the star of many occasions. For breakfast, pair them with a hot cup of coffee or tea—think of that classic moment where you dunk your cookie just enough to get a sugary, buttery flavor burst. They’re perfect for brunch, too, served alongside fresh fruit and a sparkling mimosa. If you’re dreaming of a cozy dessert, they sit beautifully on a platter with a scoop of vanilla ice cream or a drizzle of caramel sauce—my favorite way to elevate them after dinner. And let’s not forget, as a snack, they’re just the thing to have in your hand while curled up with a good book or watching a movie. My family and I have made tradition of bringing these out during holidays and gatherings—they instantly make everyone feel at home.
Top Tips for Perfecting Your Snowball Cookies
These tips come from years of trial and error—and a lot of tasting! First, do not overmix the dough. Overworking it can make the cookies tough and dense, and that’s not what we want. I always mix until just combined, which keeps them light and flaky. When rolling the balls, make sure they’re uniform—you’ll get even baking and look more polished. A little tip: I dampen my hands slightly when shaping cookies—they don’t stick, and it keeps the dough smooth. For the filling, to ensure the nuts don’t sink or roll away, toss them in a tiny bit of flour before folding them in. If you want to shake up the flavor, add a pinch of cinnamon or orange zest to the nuts—they add warmth and brightness. When baking, I recommend starting with 12 minutes and checking early; oven temperatures vary, and you want that soft, barely golden edge. The final secret? Dust the cookies generously with powdered sugar when they’re still warm. It helps the coating stick and creates that snowball look we’re after. And don’t forget: let them cool completely before serving or storing to keep that perfect melt-in-your-mouth texture intact.
Storing and Reheating Tips
Once you’ve made your snowball cookies, storing them right is key to keeping that buttery crunch and snowy coating fresh. Keep any leftovers in an airtight container at room temperature for up to a week. Make sure they’re layered with parchment paper between cookies—this prevents sticking and preserves the coating. If you plan to store them longer, pop them into a freezer-safe container and freeze for up to three months. I like to wrap individual portions tightly with plastic wrap before freezing for easy portioning later. When it’s time to enjoy them again, let the cookies thaw at room temperature for about 20 minutes. If you’ve added glaze or icing, keep in mind that sugar tends to soften over time, so I prefer adding a fresh dusting of powdered sugar just before serving if you want that pristine snowy appearance. Reheating isn’t usually necessary—they’re best enjoyed at room temperature—but if you like them slightly warmer, a quick 10-15 seconds in the microwave works. Just don’t overdo it; you want that tender crumb to stay perfect.
Frequently Asked Questions
Final Thoughts
Honestly, there’s something so comforting about these snowball cookies—maybe it’s the simplicity, or maybe it’s the way they bring back childhood memories of holiday baking with loved ones. They’re a breeze to make, yet they look elegant enough to serve to guests or tuck into holiday gift boxes. Every time I bake a batch, I feel a little bit of my grandma’s kitchen magic in every bite, and I bet you’ll feel the same once you give this recipe a try. Don’t hesitate to customize with your favorite nuts or flavor extracts—these cookies are forgiving and fun. I promise, once you master the quick shaping and dusting, they’ll become a treasured part of your baking repertoire. Happy baking! And I can’t wait to hear how yours turn out—share your photos and tweaks in the comments below!

Christmas Snowball Cookies
Ingredients
Method
- Preheat the oven to 400°F and line two baking sheets with parchment paper.
- Cream together the butter, powdered sugar, and almond extract until light and fluffy.
- In a separate bowl, whisk together the all-purpose flour, almond flour, and salt.
- Gradually add the dry ingredients to the butter mixture, mixing until fully incorporated.
- Roll the dough into 1-inch balls; if dough is too sticky, add 1 to 3 teaspoons of flour. Roll each ball in powdered sugar and place on baking sheets 1 inch apart.
- Bake for 11-13 minutes or until edges are just starting to turn a golden brown.
- Let the cookies cool for 5 minutes, then roll them in powdered sugar again to coat.
- Allow to cool completely on a wire rack. Dust with more powdered sugar if desired.