Creamy Banana Smoothie Recipe
There’s something about waking up in the morning and blending up a banana smoothie that just feels like giving yourself a warm hug before you start the day. I remember my grandma making these for us when we were kids — she’d throw in a banana, a splash of milk, and a little honey, and suddenly breakfast was the best part of our morning. Over the years, I’ve tweaked that simple idea, adding my own twists and tricks, and now I can’t imagine starting my day without a tall glass of this creamy, dreamy banana smoothie. It’s the kind of recipe that’s perfect when you’re in a rush, craving something sweet but wholesome, or just needing a little pick-me-up after a long day. Honestly, my kids ask for this all the time — it’s a guaranteed hit in my house. And the best part? It’s so easy, you’ll be blending it up in minutes. Plus, I’ve tested it with almond milk, Greek yogurt, and even coconut water — it’s surprisingly flexible, so you can totally customize it to your taste buds. If you’re looking for a nutritious, tasty treat that feels like a treat but really isn’t, this banana smoothie is your new best friend.
What is a banana smoothie?
Think of a banana smoothie as the hug in a glass. It’s essentially a chilled blend of ripe bananas, milk (or any milk substitute you love), and a few extras like honey, vanilla, or even some cinnamon for that warm touch. Its name is pretty straightforward — it’s a smoothie (which just means blended, creamy goodness) made mainly from bananas. The idea is to capture that perfect balance of sweetness and creaminess that bananas naturally provide, giving you a drink that’s both satisfying and nourishing. It’s what I’d call a “hangout staple” because it’s loved by kids and grown-ups alike, and it works whether you’re making a quick breakfast, a mid-afternoon snack, or even a simple dessert. Sometimes, I toss in a handful of spinach or chia seeds for a little extra boost — nobody even notices because the banana flavor overshadows everything! Think of this as a blank canvas that’s just waiting for your personal touch, but honestly, it’s delicious even with just the basics.
Why you’ll love this recipe?
What I love most about this banana smoothie is how versatile and forgiving it is. You can make it just as it’s written, or jazz it up with whatever you have in the fridge — frozen berries, a spoonful of peanut butter, or a sprinkle of cacao powder. It’s like a delicious blank slate! The flavor? Oh, it’s pure banana with a hint of sweetness that’s never overwhelming — just perfectly balanced. It’s rich and creamy without any heavy cream or added fats, which makes it feel indulgent but actually pretty healthy. Plus, it’s ridiculously simple to make, which is a lifesaver on busy mornings or late-night cravings. I tested it with almond milk, and honestly, it made the whole thing even creamier — give that a try if you want a dairy-free version. And because all the ingredients are budget-friendly, it’s a recipe I whip up all the time without stressing the wallet. You can enjoy it with a straw watching the sunlight flood your kitchen, or pour it into a fancy glass for brunch — either way, it’s a little moment of joy. What I love most about this is how it feels like a treat you can guiltlessly indulge in, even if it’s just because you’re craving something sweet and nourishing at the same time.
How do I make a banana smoothie?
Quick Overview
This banana smoothie is all about blending fresh or frozen bananas with your favorite milk and a few flavor-enhancers until smooth, silky, and oh-so-satisfying. I love tossing in frozen banana chunks because they make the drink extra thick and cold — it’s like dessert in a glass! The process is straightforward: measure, blend, taste, and adjust. It’s foolproof, and the best part? No fancy equipment needed. Just a good blender and a couple of minutes. Whether you’re making a quick breakfast or a revitalizing snack, this recipe can be whipped up in no time. Plus, once you get the hang of it, you can customize it endlessly. I sometimes sneak in a dash of cinnamon or a spoonful of nut butter for a flavor twist. Trust me on this — once you’ve tried it, it’ll be your go-to for a healthy, satisfying treat.
Ingredients
For the Main Batter:
– 2 ripe bananas (frozen if you want extra creaminess)
– 1 cup of your favorite milk (dairy, almond, oat, coconut — whatever you like)
– 1-2 teaspoons honey or maple syrup (optional, for extra sweetness)
– 1 teaspoon vanilla extract (for a warm, subtle flavor)
– A pinch of cinnamon or nutmeg (optional but recommended!)
For the Filling (optional, but fun):
– A handful of berries or a spoonful of peanut butter
– A few ice cubes if using fresh bananas and you want it colder
– A sprinkle of chia or flax seeds for added fiber
For the Glaze (if you want to serve it fancy):
– Drizzle of honey or chocolate syrup
– Whipped cream or extra banana slices for garnish
Step-by-Step Instructions
Step 1: Preheat & Prep Pan
No oven here, but make sure your banana is peeled and your blender is ready. If you’re using frozen bananas, give them a few minutes to thaw just enough to blend smoothly. If you haven’t already frozen your bananas, I highly recommend doing that — they melt into a silky texture that makes the smoothie ultra creamy!
Step 2: Mix Dry Ingredients
Since this recipe doesn’t have many dry ingredients, you can just set out your cinnamon or other powders to sprinkle in later. Trust me, the flavor build-up is worth it. Remember, the less you overthink it, the better the texture—just keep those bananas in the star role.
Step 3: Mix Wet Ingredients
Pour your milk into the blender, add the honey or maple syrup if you’re using it, and throw in your vanilla. Give it a quick swirl just to mix everything up before adding the bananas. Here’s a trick: I often taste the mixture at this stage. If it’s not sweet enough, I just toss in a little more honey—it’s so forgiving!
Step 4: Combine
Add your bananas to the blender. Secure the lid tight and blend on high until it’s super smooth — usually about 30 to 60 seconds. If it’s too thick, splash in a little more milk. If it’s too thin, toss in a few more frozen banana chunks. Overmixing can make it frothy, so aim for a velvety consistency.
Step 5: Prepare Filling
If you’re adding anything extra like berries or nut butters, now’s the time. Just drop them in and give a quick pulse or stir to combine. For a layered look or swirling effect, leave some of the toppings aside for layering or marbling.
Step 6: Layer & Swirl
If you want a pretty swirl, pour part of the smoothie into your glass, add a few berries or a sprinkle of cinnamon, then top with the rest, swirling gently with a spoon. This is purely aesthetic but adds a personal touch that makes it feel special.
Step 7: Bake
Haha, just kidding — no baking here! But if you’re feeling fancy, you could chill it in the fridge for about 15 minutes if you like it extra cold. Otherwise, serve immediately to enjoy that fresh, chilled flavor.
Step 8: Cool & Glaze
If you’re adding a glaze or topping, do it after pouring it into your glasses. Drizzle honey or chocolate on top, add a swirl of whipped cream, or sprinkle some crushed nuts for crunch. It’s like dessert, right in your hand!
Step 9: Slice & Serve
Pour into your favorite glass, insert a straw, and enjoy! For an extra fancy presentation, garnish with a banana slice or a little mint leaf. Trust me, this is a picture-perfect moment you’ll want to share.
What to Serve It With
This banana smoothie is incredibly versatile. For breakfast, pair it with a toasted English muffin and a cup of your favorite coffee — it’s a peaceful, satisfying start. During brunch, serve it alongside fluffy pancakes or waffles, maybe topped with extra banana slices and a drizzle of syrup. It also doubles as a great after-dinner treat — just add a little whipped cream or a dusting of cocoa powder for that dessert vibe. And when you’re craving a cozy snack, this is your go-to. Keep it in the fridge for a quick, nourishing fix, or serve it at a picnic with some granola for texture. My family loves it after soccer games — it’s like a creamy reward after all that running around. It’s also perfect for summer mornings or lazy weekends where you just want something cool and refreshing. Basically, it’s a recipe that fits into any part of your day and makes every moment a little sweeter.
Top Tips for Perfecting Your Banana Smoothie
Over the years, I’ve learned a few tricks that make all the difference. First, always use ripe bananas — they’re naturally sweeter and blend into that luscious texture you crave. If your bananas aren’t quite ripe, pop them in a paper bag for a few days. I tested this with almond milk and found that it made the smoothie even creamier — give it a shot! When blending, start on low speed and then crank it up — this prevents splattering and ensures everything gets evenly incorporated. Speaking of blending, if you want super thick smoothies, use frozen bananas and skip the extra ice; they naturally chill and thicken everything right up. For swirling, I find that layering your ingredients in the glass and then gently swirling with a toothpick or skewer creates a beautiful marbled effect. If you’re swapping out ingredients, like adding berries or cocoa powder, keep an eye on the sweetness level — you might need to adjust the honey accordingly. Lastly, I’ve been experimenting with different toppings — toasted coconut, chopped nuts, or even a drizzle of caramel — all take this to the next level. Just remember, don’t overmix once you add the toppings; you want to keep those lovely bits intact for texture and visual appeal. These small tweaks have made my smoothies consistently better, and I bet they’ll do the same for you!
Storing and Reheating Tips
This smoothie is best enjoyed fresh, but if you have leftovers, store it in an airtight container in the fridge for up to 24 hours. Give it a quick stir or shake before drinking since some ingredients might separate a bit — that’s normal. I’ve also frozen leftovers in a sealed bag for up to 2 months; just thaw in the fridge overnight or give it a quick whirl in the blender to restore that creamy texture. Be careful with freezing; sometimes the water from the bananas can cause a slightly grainy texture once thawed, but blending again smooths it out. If you’ve added toppings like whipped cream or fresh fruit, add those just before serving instead of storing with the smoothie to keep everything looking fresh. For a richer, more decadent treat, you can even reheat it gently on the stove — though I prefer enjoying it cold or chilled because that’s when it’s at its best. Adding a splash of extra milk during reheating can help loosen it up if it thickens too much in storage. Basically, store it in a good container, give it a stir, and enjoy it whenever the craving hits!
Frequently Asked Questions
Final Thoughts
If there’s one recipe I keep coming back to, it’s this banana smoothie. It’s simple, adaptable, and honestly just makes me happy every time I make it. I love how it’s creamy enough to feel like a treat but wholesome enough to fuel my day. From hectic mornings to lazy weekends, it’s that little recipe that can do it all. Once you’ve made it, I bet it’ll become part of your routine too. Feel free to get creative — toss in berries, cacao, or even a handful of spinach — and see what delicious combinations you come up with. Honestly, I’d love to hear your tweaks and tips, so don’t forget to leave a comment or share your photos! Happy blending, and I can’t wait to hear how yours turns out. Cheers to good mornings and happy snacking!
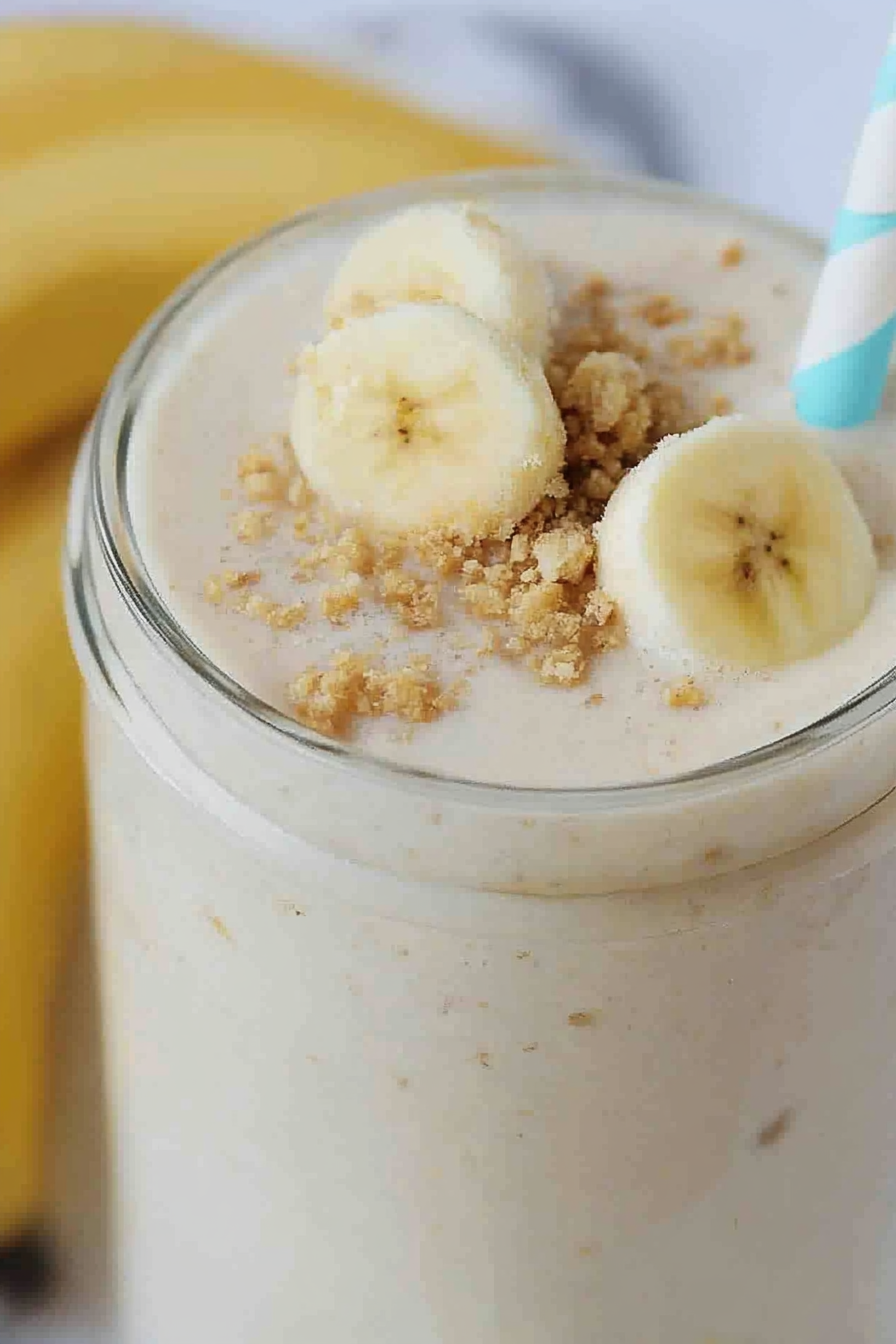
Banana Pudding Smoothie
Ingredients
Method
- In a blender, place the frozen banana slices, Greek yogurt, almond milk, and vanilla wafer cookies. Blend until smooth and creamy.
- Pour the smoothie into a glass and, if desired, garnish with extra crushed vanilla wafer cookies on top.