Delicious Paleo Cincinnati Chili Recipe
You know, there are some recipes that just become a part of your soul. They’re the ones you pull out when you need comfort, when you want to impress, or honestly, when you just have a hankering for something *really* good. For me, that’s this Paleo Cincinnati Chili. Now, I know what you’re thinking: Cincinnati Chili without the beans? Blasphemy! But trust me on this one. This isn’t just a stand-in; it’s a flavor revelation. I’ve spent years tweaking this, trying to capture that unmistakable Cincinnati vibe – that warm, spicy, subtly sweet aroma – all while keeping it strictly grain-free and paleo-friendly. It’s the dish that gets requested at every family gathering, and the one my husband asks for when he’s had a tough week. It tastes like home, like a warm hug in a bowl, and it’s surprisingly easy to whip up, even on a weeknight. If you’ve ever loved a hearty bowl of traditional chili but are looking for a cleaner, more nutrient-dense option, this paleo Cincinnati chili is going to be your new best friend.
What is Paleo Cincinnati Chili?
So, what exactly *is* this paleo Cincinnati chili I keep raving about? At its heart, it’s a celebration of the classic Cincinnati chili flavor profile, but reimagined for a paleo lifestyle. Think of it as a deeply savory, warmly spiced meat sauce, packed with aromatic spices like cinnamon, cloves, and allspice, which gives it that unique sweetness and complexity you find in true Cincinnati chili. The “secret” to making it hearty and satisfying without beans or grains is a clever combination of finely ground meat, pureed vegetables, and a rich tomato base. It’s not a thick, chunky stew; it’s more of a velvety, smooth sauce that clings beautifully to whatever you serve it with. The origin of Cincinnati chili itself is fascinating – a Greek immigrant’s twist on a Mediterranean meat sauce served over spaghetti. We’re taking that spirit of delicious innovation and adapting it to be both delicious and nourishing, proving that you can have all the flavor without the stuff that doesn’t make you feel your best. It’s essentially a labor of love, simmered to perfection.
Why you’ll love this recipe?
Honestly, there are so many reasons why this paleo Cincinnati chili has earned a permanent spot in my recipe rotation. First and foremost, the flavor is just out of this world. It hits all the right notes: savory, a little bit sweet, a touch of heat, and that unmistakable warm spice blend that Cincinnati chili is famous for. It’s complex without being overwhelming, and it’s the kind of dish that fills your kitchen with the most incredible aroma as it simmers. Then there’s the simplicity factor. While it has a few more steps than just dumping a can of beans into a pot, the process is straightforward and incredibly rewarding. Most of the magic happens while it’s simmering away on the stove, allowing the flavors to meld beautifully. And speaking of magic, this recipe is surprisingly cost-efficient. The ingredients are pantry staples for anyone embracing a paleo lifestyle, and the bulk of it is just ground meat and tomatoes, which are readily available and usually pretty budget-friendly. But what really seals the deal for me is its versatility. You can serve it on sweet potato “fries,” over spaghetti squash, with cauliflower rice, or even just in a bowl on its own. It’s a lifesaver on busy nights when you need a healthy, satisfying meal that the whole family will devour. What I love most about this paleo Cincinnati chili is that it delivers all the comfort and nostalgia of the original, but with ingredients that make me feel genuinely good. It’s a win-win in my book!
How do I make a Paleo Cincinnati Chili?
Quick Overview
This paleo Cincinnati chili is all about building layers of flavor. We start by browning the meat and aromatics, then simmer everything in a rich tomato and spice base until it’s deeply flavorful and the perfect consistency. It’s a forgiving recipe, so don’t stress too much about perfect timing – the longer it simmers, the better it gets! You’ll be amazed at how rich and satisfying this chili is, all while being completely grain-free and bean-free. It’s surprisingly straightforward and results in a dish that feels both special and comforting.
Ingredients
For the main chili base:
2 pounds ground beef (80/20 is my go-to for flavor and moisture)
1 large yellow onion, finely chopped
4 cloves garlic, minced
1 (28 ounce) can crushed tomatoes (look for brands with no added sugar)
1 (15 ounce) can tomato sauce (again, no added sugar)
2 tablespoons tomato paste
1/2 cup unsweetened almond milk (or coconut milk for a touch more richness!)
1 tablespoon chili powder
2 teaspoons ground cumin
1 teaspoon smoked paprika
1 teaspoon dried oregano
1/2 teaspoon ground cinnamon
1/4 teaspoon ground cloves
1/4 teaspoon ground allspice
1 bay leaf
1/4 cup apple cider vinegar
Sea salt and freshly ground black pepper to taste
Optional: A pinch of cayenne pepper for a little heat
For Thickening (No Beans!):
1 medium zucchini, grated and excess moisture squeezed out (about 1.5 cups)
1/4 cup almond flour (for a smoother texture, though optional if you don’t have it)
For Serving (Optional Toppings):
Chopped fresh parsley
Diced red onion
Avocado slices
Dairy-free shredded cheddar-style cheese (if your paleo allows)
A dollop of coconut yogurt or paleo sour cream
Step-by-Step Instructions
Step 1: Preheat & Prep Pan
Grab a large, heavy-bottomed pot or Dutch oven. I swear by my cast iron Dutch oven for this; it distributes heat so evenly. Place it over medium-high heat. Add a tablespoon of olive oil or avocado oil if your beef isn’t particularly fatty, but usually, the fat from the 80/20 beef is enough to get things started.
Step 2: Mix Dry Ingredients
While the pot heats up, take a moment to gather all your spices for the chili base. In a small bowl, whisk together the chili powder, cumin, smoked paprika, oregano, cinnamon, cloves, and allspice. If you’re adding cayenne, toss that in now too. Having your spice blend ready to go makes adding it to the pot a breeze and ensures it gets evenly distributed.
Step 3: Mix Wet Ingredients
In a separate medium bowl, whisk together the crushed tomatoes, tomato sauce, tomato paste, unsweetened almond milk (or coconut milk), and apple cider vinegar. This creates the rich, flavorful liquid base for our chili. The almond milk might seem a little odd, but it adds a subtle creaminess and helps to balance the acidity of the tomatoes. I tested this with different milks and found almond milk was the most neutral and effective.
Step 4: Combine
Add the ground beef to the hot pot. Break it up with a spoon and cook until it’s nicely browned, about 5-7 minutes. Don’t overcrowd the pot; if you have a smaller pot, you might need to do this in batches to ensure the meat browns properly and doesn’t steam. Once browned, drain off any excess grease, leaving just a tablespoon or so in the pot for flavor. Add the chopped onion to the pot and cook until softened and translucent, about 5 minutes. Then, stir in the minced garlic and cook for another minute until fragrant. Pour in your prepared spice blend and stir well, letting it toast for about 30 seconds to release its aromas.
Step 5: Prepare Filling
While the onions and garlic are cooking, prepare your zucchini. Grate the zucchini using a box grater or the grating attachment on your food processor. Place the grated zucchini in a clean kitchen towel or cheesecloth and squeeze out as much excess moisture as possible. This is a crucial step to prevent watery chili! You can also just use your hands, pressing firmly. Once you’ve squeezed it dry, stir the grated zucchini into the pot with the meat and onions. If you’re using almond flour for extra thickness and a smoother texture, stir that in now as well.
Step 6: Layer & Swirl
Pour the wet ingredient mixture (tomatoes, sauce, milk, vinegar) into the pot with the meat and vegetables. Add the bay leaf. Stir everything together really well, making sure to scrape up any browned bits from the bottom of the pot – that’s where a lot of flavor lives! Bring the chili to a simmer. Once simmering, reduce the heat to low, cover the pot, and let it cook for at least 1 hour, or up to 2-3 hours for the best flavor development. Stir occasionally to prevent sticking. The longer it simmers, the richer and more complex the flavors will become. Remove the bay leaf before serving.
Step 7: Bake
This recipe is primarily stove-top, but if you wanted to transfer it to a baking dish to keep warm in a low oven (around 300°F or 150°C) while you prepare other things, you absolutely could. Just ensure it’s well-covered.
Step 8: Cool & Glaze
The chili is best when allowed to cool slightly after simmering. This allows the flavors to meld even further and the consistency to thicken up perfectly. Taste and adjust seasoning with salt, pepper, or a touch more vinegar if needed. The glaze isn’t typically part of the main chili base itself, but rather a topping for serving, much like traditional Cincinnati chili toppings. If you’re looking for a “glaze” of sorts, consider a dollop of a creamy paleo-friendly topping like avocado crema or a thick coconut yogurt.
Step 9: Slice & Serve
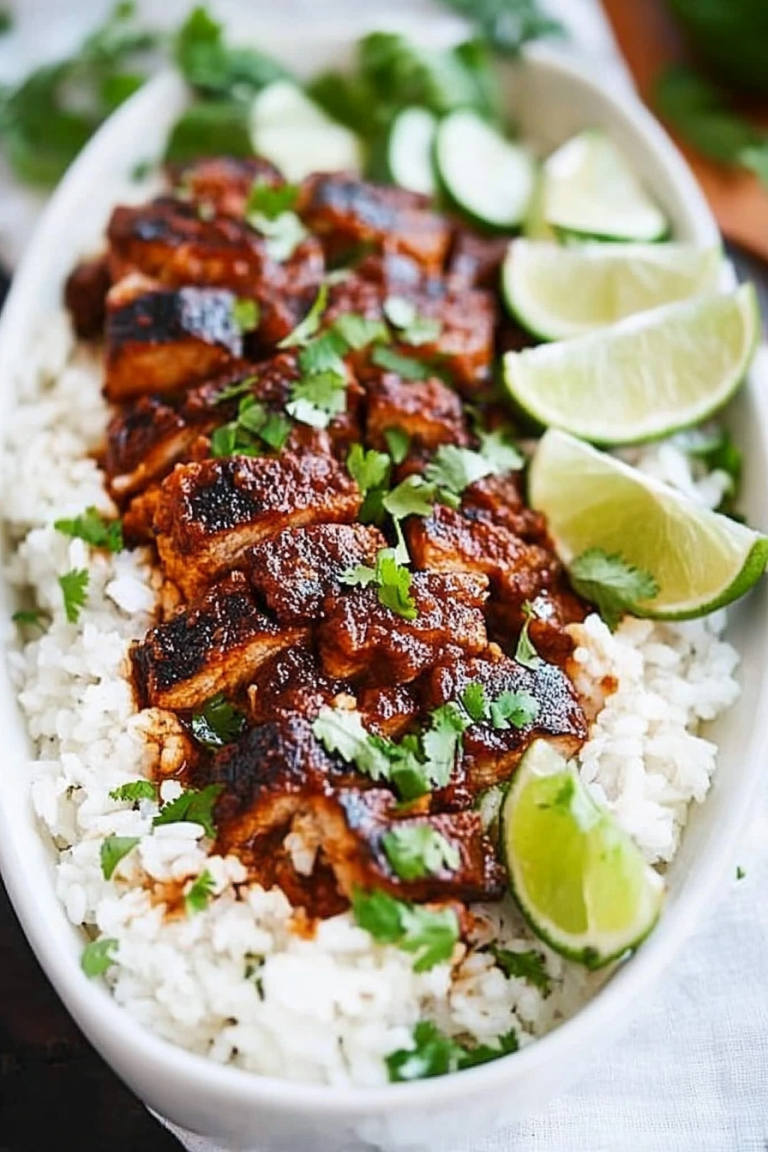
This paleo Cincinnati chili is incredibly versatile. For a classic Cincinnati experience, serve it over spaghetti squash strands or a bed of cauliflower rice. You can also serve it alongside baked sweet potato “fries,” as a hearty topping for a large salad, or simply in a bowl with your favorite paleo toppings like fresh parsley, diced red onion, and avocado slices. I love to top mine with a sprinkle of fresh cilantro and a few slivers of jalapeño for an extra kick. Enjoy the rich, comforting flavors!
What to Serve It With
The beauty of this paleo Cincinnati chili is its adaptability. It’s not just a one-trick pony! For a delicious and hearty breakfast, I love serving a small portion over some pan-fried sweet potato hash or alongside a couple of fried eggs. It’s a fantastic way to get a savory start to the day that’s packed with protein and healthy fats. For a more elegant brunch, imagine this chili spooned over creamy cauliflower mash, topped with a poached egg and a sprinkle of fresh chives – it feels incredibly gourmet and satisfying. As a dessert? Well, not in the traditional sweet sense, but for a hearty, comforting evening meal that feels like a treat, it’s perfect. Think of it as a deeply satisfying savory dish that hits all the right comfort food notes. And for those cozy snack times, when you just need something warm and nourishing, a smaller bowl of this chili is pure bliss. My family also loves it served with some homemade paleo cornbread (if you find a good recipe!) or even just with a side of crunchy jicama sticks for dipping. We’ve even tried serving it over loaded baked sweet potatoes, and that was a huge hit!
Top Tips for Perfecting Your Paleo Cincinnati Chili
Alright, let’s dive into some of the little secrets and tricks I’ve learned over the years to make this paleo Cincinnati chili absolutely sing. First, the zucchini prep is key. Remember to grate it and squeeze out as much moisture as humanly possible. I learned this the hard way early on, and let me tell you, watery chili is just disappointing. A clean kitchen towel works wonders here. For mixing, the biggest tip I can give you is to avoid overworking the meat when you’re browning it. You want nice browned bits, not a mushy texture. Let it develop a good crust on the bottom of the pot; that’s flavor gold! When it comes to the spice blend, don’t be afraid to adjust it to your taste. I’ve found this ratio to be spot on for that classic Cincinnati vibe, but if you love cinnamon, add a touch more! I once accidentally doubled the cloves, and while it was interesting, it was a bit too potent. So, measure carefully! For ingredient swaps, if you can’t find ground beef, ground turkey or even a mix of ground pork and beef works beautifully. Just adjust the fat content accordingly. If you’re not a fan of almond milk, a full-fat canned coconut milk will give you a creamier, richer result, though it will impart a slight coconut flavor. Baking tips? Not strictly necessary for this recipe since it’s mostly stove-top, but if you want to keep it warm, a low oven is your friend. Make sure your pot is heavy-bottomed to prevent scorching, especially during the longer simmer time. And finally, the glaze – as I mentioned, it’s more about the toppings here. Think of a dollop of homemade cashew cream or a drizzle of your favorite paleo hot sauce for an extra layer of deliciousness. I’ve also found that a splash more apple cider vinegar right at the end can really brighten up the flavors if it feels a bit flat.
Storing and Reheating Tips
This paleo Cincinnati chili is a fantastic candidate for making ahead, and honestly, I think it tastes even better the next day! When storing it at room temperature, I recommend letting it cool down to just warm before covering it tightly. It’s usually good for about two hours at room temperature once it’s reached that point. For refrigerator storage, transfer the cooled chili into an airtight container. It should keep wonderfully for about 3-4 days. I usually portion mine into smaller containers so I can easily grab a single serving for lunch. For longer storage, freezing is your best bet. Make sure the chili is completely cool before portioning it into freezer-safe bags or containers. I like to lay freezer bags flat on a baking sheet to freeze them so they don’t take up too much space, then I can stack them once frozen. It will keep well in the freezer for up to 3 months. When you’re ready to reheat, the easiest method is to thaw it in the refrigerator overnight and then gently reheat it on the stovetop over low heat, stirring occasionally. You can also microwave individual portions, stirring halfway through. If it seems a little thick after reheating, just add a splash of water, broth, or even a little more almond milk to reach your desired consistency. Remember, if you’re planning on serving it with toppings that shouldn’t be stored with the chili (like fresh herbs or avocado), add those just before serving.
Frequently Asked Questions
Final Thoughts
I truly hope you give this Paleo Cincinnati Chili a try. It’s a recipe that means so much to me, not just because it’s delicious and healthy, but because it represents how we can honor beloved flavors while staying true to our dietary choices. It’s hearty, comforting, and packed with that distinctive Cincinnati magic that makes you want to curl up with a big bowl. It’s proof that you don’t need beans or grains to create something incredibly satisfying and flavorful. If you enjoyed this, you might also love my recipe for Paleo Beef Stew – it’s another one that’s perfect for cozy nights! I can’t wait to hear what you think once you’ve made it. Please leave a comment below with your thoughts or any variations you tried. And if you snap a pic, be sure to share it – I love seeing your creations! Happy cooking!

Easy Cincinnati Chili Recipe
Ingredients
Method
- Add the ground beef and beef broth to a 6-quart pot.
- Break up the beef into very tiny pieces. You can use a fork, but it's best to wear gloves and break up the meat with your hands until it almost dissolves into the broth, aiming for a "meat soup" texture.
- Bring the mixture to a boil, then decrease the heat to a simmer and cook for half an hour, stirring frequently.
- Add all the dry ingredients and stir to combine.
- Add all the wet ingredients and stir to combine.
- Reduce heat to medium-low and simmer for 3 hours, stirring every so often to prevent burning. If the chili thickens too much and resembles just ground meat, add a cup of water and stir to combine.
- Remove from heat and allow to cool to an edible temperature.