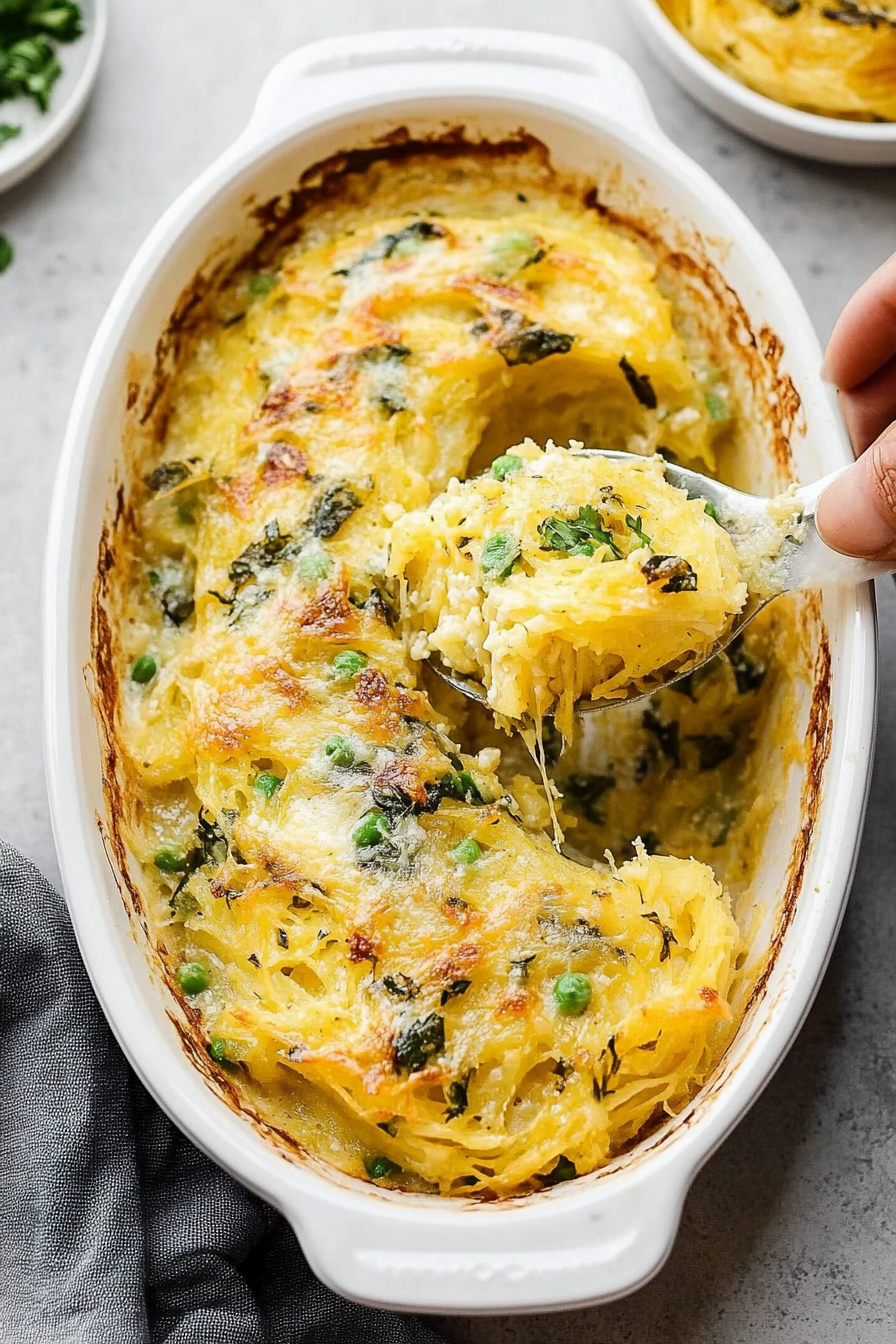
Easy Baked Spaghetti Squash and Cheese
If you’ve ever stood in your kitchen, craving something cozy but still want to keep things light and healthy, this recipe is about to become your best friend. I remember the first time I tried spaghetti squash, thinking it would be a strange, stringy vegetable that wouldn’t satisfy my pasta cravings. Boy, was I wrong! The smell alone when it’s roasting is enough to bring everyone to the kitchen, and the taste? So much better than I expected. It’s funny — it’s kind of like the love child of roasted pumpkin and al dente pasta. My kids ask for this all the time, and honestly, I love that I can serve something so delicious—and still feel good about what we’re eating. Plus, it’s surprisingly simple and costs barely anything. This one’s a lifesaver on busy nights when I need a quick, nourishing dinner that everyone will love. If you’re ready to embrace a new veggie that’s just as versatile as your favorite noodles, let’s get roasting!
What is spaghetti squash?
Think of spaghetti squash as a magical, healthy vegetable that transforms into lookalike spaghetti when cooked. Its name comes from its unique texture—once roasted or cooked, the flesh pulls apart into long, thin strands that resemble pasta. The name “spaghetti squash” perfectly captures what makes this squash so special. Unlike pasta, it’s naturally low-carb, gluten-free, and packed with nutrients, making it a fantastic swap for your usual carbohydrate-heavy dishes. It’s essentially a winter squash in the gourd family, but with a playful, noodle-like twist. You can slice it, roast it, shred it, or even microwave it if you’re in a pinch. Its mild, slightly sweet flavor makes it incredibly adaptable—dressed up with herbs, cheese, or simply a drizzle of olive oil, it shines on its own. If you love zucchini noodles but want something even heartier and more satisfying, this is your new go-to!
Why you’ll love this recipe?
There are so many reasons why this roasted spaghetti squash recipe is one of my favorites— and I think you’ll find the same once you try it. First off, the flavor—sweet, nutty, and slightly caramelized from roasting—it’s downright addictive. What I love most about this is how it’s both simple and versatile. You can serve it as a side, or make it the star of the show with your favorite toppings and sauces. It’s a real budget-friendly option, too. A single squash can serve the whole family, and when you master the method, it’s foolproof every time. Plus, it’s naturally gluten-free and low-carb, so it’s perfect for just about any diet or health-conscious choice. I’ve experimented with so many toppings—garlic, parmesan, marinara, pesto—and honestly, it works with everything. It’s a blank canvas, and that’s what makes it so fun to get creative with. Plus, it’s a sneaky way to get my kids eating more veggies. Who knew that a vegetable so simple could be so delightful?
How do you make spaghetti squash?
Quick Overview
This recipe is about as straightforward as it gets. You start by slicing a whole spaghetti squash in half, scoop out the seeds, then roast it until tender. Once it’s cool enough to handle, I use a fork to gently scrape the flesh into long, noodle-like strands. From there, you can toss it with your favorite sauce, some garlic and herbs, or even a sprinkle of cheese. The roasting process is what makes all the magic happen—caramelizing the edges and softening the flesh. The best part? It all takes about 45 minutes from start to finish, and you only need a handful of ingredients. Trust me, once you get the hang of roasting, you’ll want to keep a few squashes in your fridge—this dish is perfect for busy weeknights or lazy weekends!
Ingredients
For the Roasted Spaghetti Squash:
- 1 large spaghetti squash (about 3-4 pounds) — pick a firm, heavy one with dull skin for best results
- 2 tablespoons olive oil — extra virgin is best for flavor
- 1 teaspoon salt — kosher or sea salt gives it a nice crunch
- ½ teaspoon black pepper — fresh ground if you have it
Optional Toppings & Add-ins:
- Grated Parmesan or Pecorino cheese
- Fresh herbs like basil, parsley, or thyme
- Crushed red pepper flakes for a little heat
- Garlic—either roasted or minced fresh
- A squeeze of lemon for brightness
Step-by-Step Instructions
Step 1: Preheat & Prep Pan
Start by heating your oven to 400°F (200°C). Line a baking sheet with parchment paper or a silicone baking mat—it makes clean-up a breeze. Then, carefully cut the squash in half lengthwise. Be gentle—sometimes these squashes are stubborn! Use a sharp chef’s knife, and if needed, give it a little wiggle to get through the skin. Scoop out the seeds and stringy bits with a spoon—that part is compostable or can be rinsed and roasted for a snack. Brush the insides generously with olive oil, and sprinkle with salt and pepper. Place the cut side down on your prepared baking sheet. This setup will help the squash roast evenly and develop a lovely caramelized edge.
Step 2: Roast & Cook
Pop the squash into the oven and roast for about 40-45 minutes. The flesh should be tender when poked with a fork—like soft butter. The smell will be warm and slightly nutty, hinting at how delicious this will turn out. Check it around the 40-minute mark; every oven is different. Once done, remove from the oven and let it cool just enough to handle. If you’re in a hurry, a few minutes of cool-down time is enough—don’t burn yourself!
Step 3: Scrape & Shell
Use a fork to gently scrape the flesh into long, spaghetti-like strands. It should come away easily, almost like pulling apart a cloud of silky noodles. If the flesh isn’t pulling apart well, it might need a few more minutes in the oven. Trust your nose and fork here—the texture should be soft but not mushy. If you want it a little crispier, you can toss the strands with olive oil and give them a quick broil for 2-3 minutes, just enough to crisp up the edges.
Step 4: Assemble & Serve
Now comes the fun part! Toss your spaghetti squash strands with your favorite toppings—think garlic, herbs, lemon zest, or cheese—and stir gently. It’s perfectly fine if it’s slightly warm or room temperature. Serve it in bowls, sprinkle with extra cheese, and even add a drizzle of good-quality olive oil. I love finishing it with a handful of fresh basil or parsley just before serving. This dish is so flexible—you can make it as simple or as fancy as you want.
Step 5: Bonus Tips
If you’re making this ahead of time, store the cooked strands in an airtight container in the fridge for up to 3 days. Reheat gently in the microwave or skillet, tossing with a little extra olive oil or broth to keep it moist. When reheating, avoid overdoing it—no one wants mushy squash! If you avoid dairy, you can skip the cheese or replace it with nutritional yeast for a cheesy flavor without the dairy.
What to Serve It With
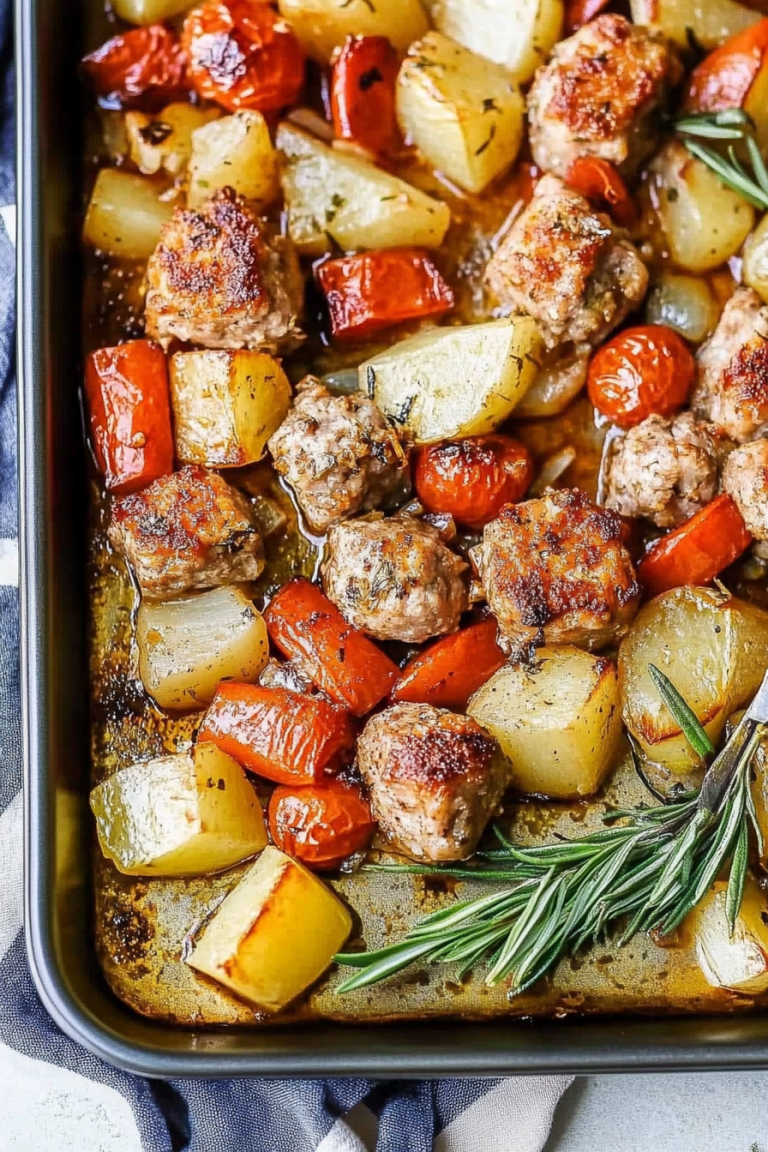
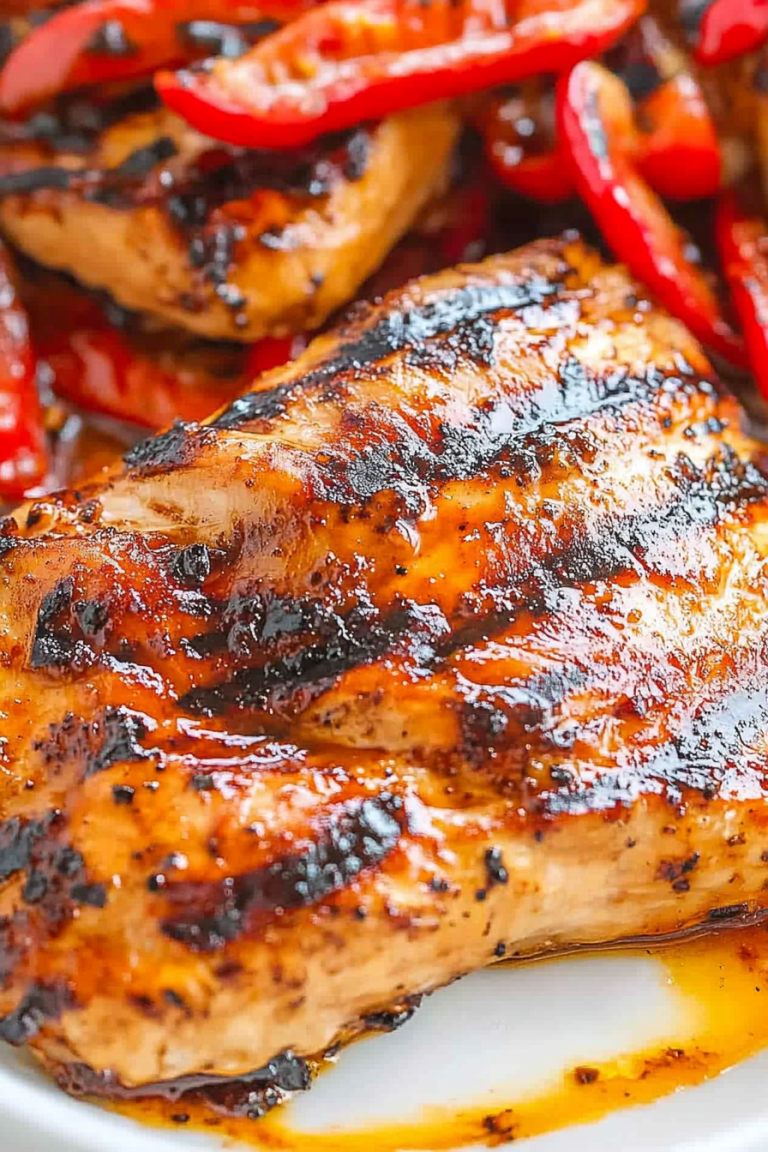
This dish pairs beautifully with grilled chicken or fish if you want a complete meal. For a meatless option, try mixing in roasted vegetables like bell peppers, zucchini, or cherry tomatoes for extra color and flavor. I also love serving it with a simple side salad—think arugula, shaved fennel, and a lemon vinaigrette. At brunch, spoon it over poached eggs and sprinkle with fresh herbs for an elegant touch. It’s also an excellent base for a veggie filling—think stuffed squash with spinach and cheese or layered with a spicy marinara for a hearty vegan version. Trust me, once you get comfortable with this method, you’ll be making it all the time. It’s one of those recipes that’s as forgiving as it is delicious, perfect for weeknights or lazy weekends alike.
Top Tips for Perfecting Your Spaghetti Squash
After countless times making this, I’ve picked up some tricks that really make the difference. First, when choosing your squash, go for one that’s heavy for its size and has a matte, dull skin—these tend to be the sweetest and most flavorful. For even roasting, try to cut the squash in even halves; uneven pieces won’t cook uniformly. I’ve learned to brush the insides generously with olive oil—this creates that gorgeous crispy edge that everyone loves. Don’t skip salting—salt not only seasons but helps draw out moisture, so the strands aren’t watery. My secret trick is to let the squash cool slightly before scraping—trust me, hot flesh can be tricky to handle, and the cooling step makes it cut and shred better. When it comes to toppings, feel free to experiment—like adding toasted pine nuts, a drizzle of balsamic, or even a splash of hot sauce for extra zing. If you want a creamier texture, toss in a spoonful of cream cheese or ricotta while mixing. I also tested roasted garlic mixed in, which adds a lovely mellow depth. The key here is patience and a little bit of love—your squash will turn out perfect every time, especially once you’ve played around with these tips.
Storing and Reheating Tips
If you have leftovers (I doubt it, but just in case!), store the shredded squash in an airtight container in the fridge for up to 3 days. It will stay fresh and won’t lose flavor. When reheating, I usually do it in a skillet over low heat with a splash of broth or olive oil, stirring gently—this keeps the strands from drying out or becoming mushy. Avoid nuking it on high for too long; just a couple of minutes will do. For freezing, portion the shredded squash into freezer-safe bags, squeezing out as much air as possible. It’s good for up to 3 months, and I’ve even taken it straight from the freezer to the skillet—no need to defrost. When you’re ready to eat, reheat and toss again with your favorite toppings. I’ve tested adding a fresh squeeze of lemon or a sprinkle of herbs after reheating—trust me, it makes all the difference. The texture holds pretty well, so this is a smart way to prep in advance for busy mornings or weeknight dinners.
Frequently Asked Questions
Final Thoughts
This roasted spaghetti squash recipe has quickly become a staple in my kitchen, and I honestly can’t imagine going back to plain old pasta all the time. It’s approachable, forgiving, and endlessly adaptable—plus, it’s a sneaky way to get more vegetables into your family’s diet without anyone noticing. The warm, caramelized aroma as it roasts is just intoxicating, and serving it topped with fresh herbs and a sprinkle of cheese feels like a little celebration every time. Whether you’re vegan, gluten-free, or just looking for a new way to enjoy a veggie, this dish checks all the boxes. I encourage you to experiment with toppings, flavors, and even side dishes—you’ll find your own perfect pairing in no time. Trust me, once you master the art of roasting spaghetti squash, you’ll be making it weekly, if not nightly! Happy baking—and I can’t wait to hear how yours turns out! Feel free to leave a comment, share your variations, or snap a pic—you’ve got this!
Roasted Vegetable and Chickpea Salad
Ingredients
Method
- Preheat the oven to 400°F.
- Chop zucchini and bell peppers into bite-sized pieces. Spread chickpeas, vegetables on a baking sheet.
- Drizzle with olive oil, sprinkle garlic powder, salt, and black pepper. Toss to coat evenly.
- Roast in the oven for 25-30 minutes until vegetables are tender and slightly caramelized.
- Remove from oven and let cool slightly. Mix with cherry tomatoes and garnish as desired.