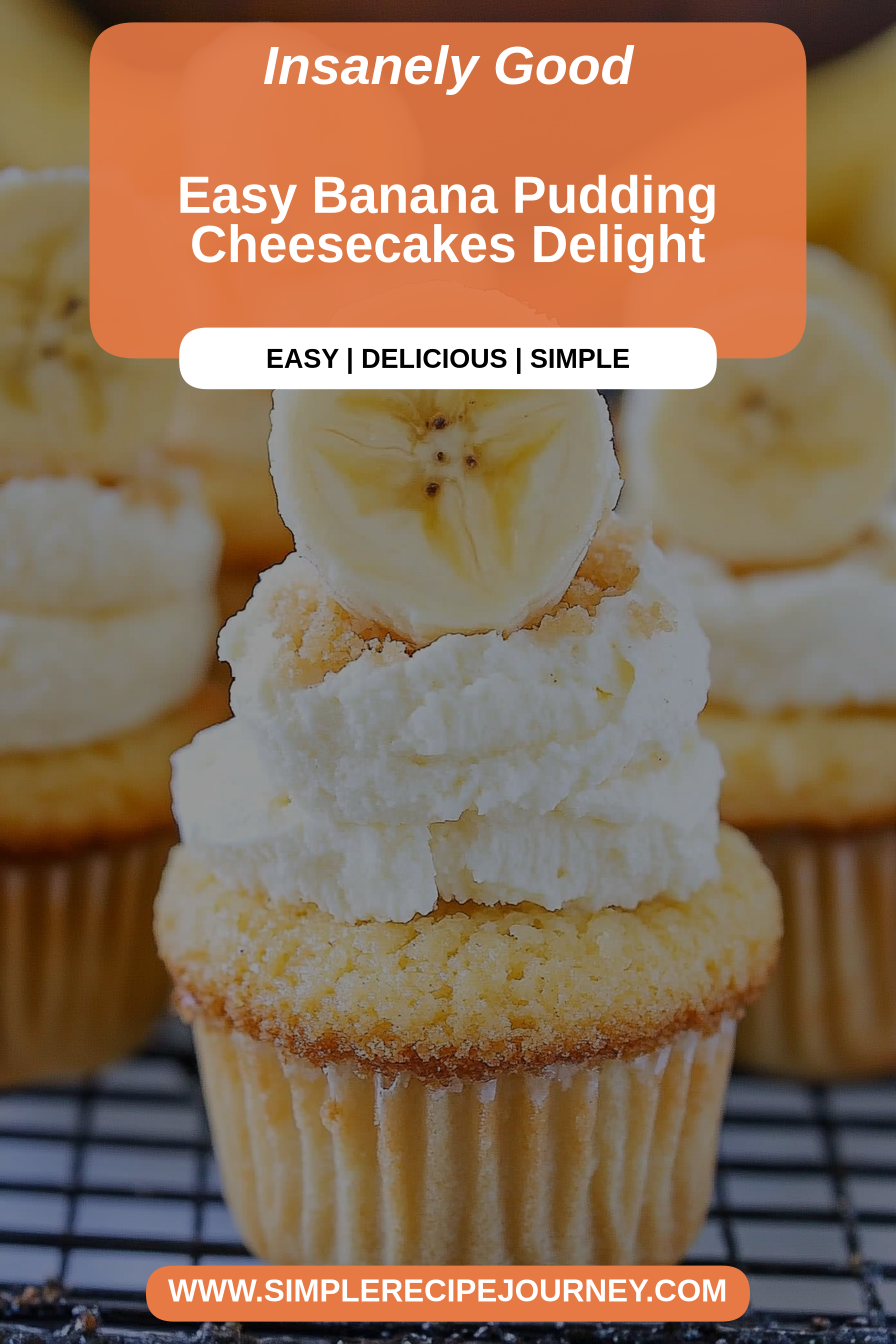
Easy Banana Pudding Cheesecakes Delight
Oh, where do I even begin with banana pudding? For me, it’s pure comfort in a bowl. It’s the taste of childhood, of lazy Sunday afternoons at my grandma’s house, the scent of ripe bananas mingling with sweet custard wafting through the air. It’s so much more than just a dessert; it’s a feeling. You know how some desserts are just…meh? This banana pudding is the absolute opposite. It’s the kind of thing that disappears from the table faster than you can say “seconds, please!” I’ve tried my fair share of banana puddings over the years, from the super fancy restaurant versions to the quick-and-easy boxed mixes. Honestly, some can be a little too gelatinous, or the bananas can get mushy and brown. But this recipe? This is the one. It strikes that perfect balance of creamy, sweet, and delightfully banana-y. It’s what I whip up when I need a guaranteed crowd-pleaser, or honestly, just when I’m craving something truly special that doesn’t require a ton of fuss. It’s like a warm hug, but in dessert form.
What is banana pudding?
So, what exactly *is* banana pudding? At its heart, it’s a classic Southern dessert that usually involves layers of vanilla wafer cookies, sliced fresh bananas, and a creamy, luscious custard or pudding. Sometimes people throw in a meringue on top and bake it, but my absolute favorite way, the way my family has always made it, is the no-bake, layered version. Think of it as a sophisticated, super-flavorful take on a trifle, but with those iconic vanilla wafers that soften just enough to become part of the creamy goodness. It’s not overly complicated, but the magic lies in the textures and the perfect harmony of sweet custard, tender bananas, and those slightly chewy, slightly dissolved cookies. It’s a dessert that feels both nostalgic and utterly timeless. It’s essentially sunshine and happiness, layered up and served cold.
Why you’ll love this recipe?
There are so many reasons why I keep coming back to this banana pudding recipe, and I just know you’re going to fall in love with it too. First off, the flavor is just out of this world. The custard is rich and creamy, with a beautiful vanilla essence that perfectly complements the sweet, ripe bananas. It’s not cloyingly sweet, which is a balance I really appreciate. Then there’s the simplicity. Honestly, you can whip this up pretty quickly, especially if you make the custard ahead of time. It’s a lifesaver on those busy weeknights when you need a special treat without spending hours in the kitchen. And let’s talk about cost-efficiency – the ingredients are super accessible and budget-friendly. You probably have most of them in your pantry already! What I love most about this is its versatility. You can easily adapt it. Want a richer flavor? Add a splash of heavy cream to the custard. Feeling adventurous? Try some toasted pecans or a dollop of whipped cream on top. This is also perfect when you’re craving something sweet at 10pm but don’t want to bake a whole cake. It hits the spot every single time. My kids ask for this all the time, and honestly, I’m always happy to oblige because it’s just *that* good.
How do I make banana pudding?
Quick Overview
The process is beautifully straightforward: we’ll make a silky smooth vanilla custard, layer it with ripe bananas and classic vanilla wafers in a dish, and then let it chill to perfection. The key is to let those flavors meld together in the fridge, allowing the wafers to soften just so, creating that signature melt-in-your-mouth texture. It’s a hands-off kind of dessert once it’s assembled, which I always appreciate. You get maximum deliciousness for minimal active cooking time.
Ingredients
For the Custard Base: For the Custard Base: For the Custard Base: For the Custard
You’ll need about 2 cups of whole milk – I find whole milk gives the richest flavor, but you can use 2% if that’s what you have. Make sure it’s cold! Then, we’ll use 4 large egg yolks. Don’t discard those whites; they’re perfect for meringues or other recipes. About 3/4 cup of granulated sugar for sweetness, adjust slightly to your preference. We also need 1/4 cup of cornstarch to give it that lovely, thick, pudding-like consistency. A pinch of salt really helps to balance the sweetness. And of course, 2 teaspoons of pure vanilla extract – always use the good stuff for the best flavor! If you want to get fancy, a tablespoon of unsalted butter stirred in at the end adds an extra layer of richness.
For the Filling:
This is where the star comes in! You’ll need about 3-4 ripe but firm bananas. I like them to have a few spots, but not be overly mushy. Slice them about 1/4 inch thick. About 2-3 sleeves of vanilla wafer cookies. Store-bought is perfectly fine here; they’re designed to soften beautifully. You can use any brand you like!
For the Topping (Optional but Recommended!):
You can go for a simple dusting of powdered sugar, or if you’re feeling ambitious, whip up some fresh whipped cream. For that, you’ll need 1 cup of heavy whipping cream, chilled. A tablespoon of powdered sugar, and another 1/2 teaspoon of vanilla extract.
Step-by-Step Instructions
Step 1: Preheat & Prep Pan
Alright, for this no-bake version, you don’t need to preheat an oven! Instead, grab a beautiful serving dish. A 9×13 inch baking dish works great, or even individual parfait glasses if you want to make it extra special. Make sure it’s clean and dry. We’re going to start by making the custard, so have your ingredients measured and ready to go.
Step 2: Mix Dry Ingredients
In a medium saucepan (make sure it’s heavy-bottomed to prevent scorching!), whisk together your granulated sugar, cornstarch, and salt. Whisk them really well to break up any lumps of cornstarch. This step is super important to ensure a smooth, lump-free custard. You want it to look like fine, loose sand.
Step 3: Mix Wet Ingredients
In a separate bowl, whisk the egg yolks until they’re smooth and slightly lighter in color. This helps them incorporate more evenly into the hot milk. Now, gradually whisk in about 1 cup of the milk into the egg yolks, creating a sort of temper. This helps to prevent the eggs from scrambling when they hit the hot saucepan. Keep whisking until it’s smooth and well combined.
Step 4: Combine
Pour the remaining milk into the saucepan with your dry ingredients. Whisk it well to combine. Then, gradually pour the tempered egg yolk mixture into the saucepan. Whisk everything together until it’s completely smooth.
Step 5: Prepare Filling
Now, we cook! Place the saucepan over medium heat. Stir constantly with a whisk or a heatproof spatula, scraping the bottom and sides of the pan. It will seem thin at first, but as it heats up, it will start to thicken. Keep stirring – this is the part where you need to be patient and attentive! Once it starts to bubble and thicken to a pudding-like consistency, about 5-8 minutes, continue to cook and stir for another minute or two to ensure the cornstarch is fully cooked. Then, remove it from the heat. Stir in the vanilla extract and the butter (if using) until smooth and glossy. Pour the hot custard into a clean bowl. To prevent a skin from forming on top, press a piece of plastic wrap directly onto the surface of the pudding. Let it cool at room temperature for about 30 minutes, then refrigerate until thoroughly chilled, at least 2-3 hours, or preferably overnight.
Step 6: Layer & Swirl
Once your custard is chilled and firm, it’s time to assemble! Spread a thin layer of the chilled custard on the bottom of your serving dish. Then, arrange a single layer of vanilla wafers over the custard. Top the wafers with a layer of your sliced bananas. Spoon another generous layer of custard over the bananas, making sure to cover them completely. Repeat the layers: wafers, bananas, custard. You can end with a final layer of custard, or if you have extra wafers, you can crumble some on top for texture. Gently tap the dish to settle the layers. The goal is to have everything nestled together nicely.
Step 7: Bake
Since this is a no-bake recipe, there’s no baking involved! The chilling time in the refrigerator is what allows the flavors to meld and the wafers to soften beautifully, creating that signature pudding texture.
Step 8: Cool & Glaze
Once assembled, cover the dish tightly with plastic wrap. Refrigerate for at least 4 hours, or preferably overnight. This chilling time is crucial. It allows the vanilla wafers to soften and absorb the custard, and all the flavors to really marry. If you’re making the optional whipped cream topping, whip the heavy cream with powdered sugar and vanilla extract until stiff peaks form just before serving. Dollop or spread this over the top of your chilled banana pudding. A sprinkle of crushed vanilla wafers or some extra banana slices can be a lovely finishing touch.
Step 9: Slice & Serve
When you’re ready to serve, gently spoon out portions. You’ll notice the pudding has set beautifully, and the wafers are soft and creamy. It’s best served cold, straight from the refrigerator. Enjoy that delightful blend of flavors and textures!
What to Serve It With
Banana pudding is truly a star on its own, but it also plays wonderfully with other dishes. For breakfast, imagine a small, individual ramekin of this creamy delight alongside a strong cup of coffee. It’s a sweet way to start the day without being too heavy. For brunch, it makes a beautiful finale. I love serving it in pretty glass bowls or small jars so you can see those lovely layers. Pair it with a light fruit salad or even some fluffy scrambled eggs and crisp bacon. As a dessert, it’s a classic. It follows a hearty meal beautifully, offering a sweet, comforting end. I’ve also found it’s perfect for cozy snacks. Picture this: curled up on the couch on a chilly evening, a bowl of this banana pudding, maybe a hot chocolate or a glass of milk. It’s pure bliss. My family has a tradition of making this for Easter and Thanksgiving, and it’s always a highlight. It’s also surprisingly good at potlucks because it transports well and is always a hit.
Top Tips for Perfecting Your Banana Pudding
Over the years, I’ve picked up a few tricks that I think really make this banana pudding shine. First, about the bananas: make sure they’re ripe but not *too* ripe. If they’re too soft, they can get mushy in the pudding. A few brown spots are good for sweetness, but avoid anything that’s turning black. When you slice them, about 1/4 inch thick is perfect – thick enough to have some texture but thin enough to soften nicely. For the custard, the biggest tip I can give you is constant stirring and using a heavy-bottomed pot. This prevents scorching and ensures a super smooth texture. Don’t rush the thickening process; just keep that whisk moving. If you do end up with a few lumps, you can always strain the custard through a fine-mesh sieve before letting it cool. For the vanilla wafers, I like to use a combination of whole wafers and some crushed ones. The whole ones soften into that delightful, almost cake-like texture, while the crushed ones add a bit more thickness and flavor throughout. Don’t be afraid to press them down a bit into the custard layers. My absolute favorite ingredient swap is using some good quality, slightly crushed graham crackers or even shortbread cookies if you can’t find vanilla wafers. They offer a slightly different, but equally delicious, flavor profile. When it comes to assembly, don’t be shy with the custard layers. You want enough to moisten all those wafers and surround the bananas. And the chilling time? It’s non-negotiable! Seriously, give it at least 4 hours, but overnight is truly best. This allows everything to meld and soften beautifully. If you’re making the whipped cream topping, make sure your cream and bowl are really cold. That’s the secret to getting those nice, stiff peaks that hold their shape.
Storing and Reheating Tips
This banana pudding is best enjoyed within a couple of days, but it holds up pretty well. If you have leftovers, store them in an airtight container in the refrigerator. It can usually last for about 2-3 days. The wafers will continue to soften, so the texture will change slightly, becoming even more pudding-like. For the best quality, I recommend eating it within the first two days. If you need to freeze it, it’s a bit trickier because of the bananas and wafers, and the texture can change upon thawing. If you do decide to freeze it, make sure it’s well-wrapped in plastic wrap and then aluminum foil, and try to freeze it before the wafers get too soft. Thaw it slowly in the refrigerator overnight. Honestly, though, it’s so quick to make that I usually just whip up a fresh batch if I want it again! For the glaze or whipped cream topping, it’s always best to add it right before serving, as it can make the pudding soggy if left on for too long.
Frequently Asked Questions
Final Thoughts
So there you have it – my go-to recipe for the most wonderfully creamy, dreamy banana pudding. It’s a recipe that’s brought smiles to so many faces at my table, and I truly hope it does the same for yours. It’s the perfect combination of simple ingredients coming together to create something truly special. If you love comforting, classic desserts that are always a hit, you absolutely have to give this a try. It’s proof that sometimes, the most delicious things are also the simplest. For those of you who adore this kind of creamy, layered goodness, you might also want to explore my classic chocolate pudding recipe or my no-bake cheesecake. They have a similar vibe of comforting indulgence. I can’t wait to hear how your banana pudding turns out! Please leave a comment below and let me know your thoughts, or share any fun twists you tried. Happy baking (or rather, happy assembling and chilling)!
Classic Banana Pudding
Ingredients
Method
- In a medium saucepan, whisk together the sugar, cornstarch, and salt.
- Gradually whisk in the whole milk until smooth. Cook over medium heat, stirring constantly, until the mixture thickens and comes to a gentle boil. Boil for 1 minute, stirring constantly.
- In a small bowl, whisk the egg yolks. Gradually temper the egg yolks by slowly whisking about 1 cup of the hot milk mixture into them. Pour the tempered egg yolk mixture back into the saucepan with the remaining milk mixture. Cook over medium-low heat, stirring constantly, until thickened, about 2-3 minutes. Do not boil.
- Remove from heat and stir in the vanilla extract and butter until the butter is melted and incorporated.
- Pour the custard into a clean bowl. Cover the surface directly with plastic wrap to prevent a skin from forming. Let cool at room temperature for 30 minutes, then refrigerate for at least 2 hours, or until thoroughly chilled.
- To assemble the pudding, spread a layer of vanilla wafers in the bottom of a 9x13 inch baking dish. Top with a layer of sliced bananas. Spoon a layer of chilled custard over the bananas. Repeat layers of wafers, bananas, and custard, ending with a layer of custard.
- Cover the dish with plastic wrap and refrigerate for at least 4 hours, or preferably overnight, to allow the wafers to soften.