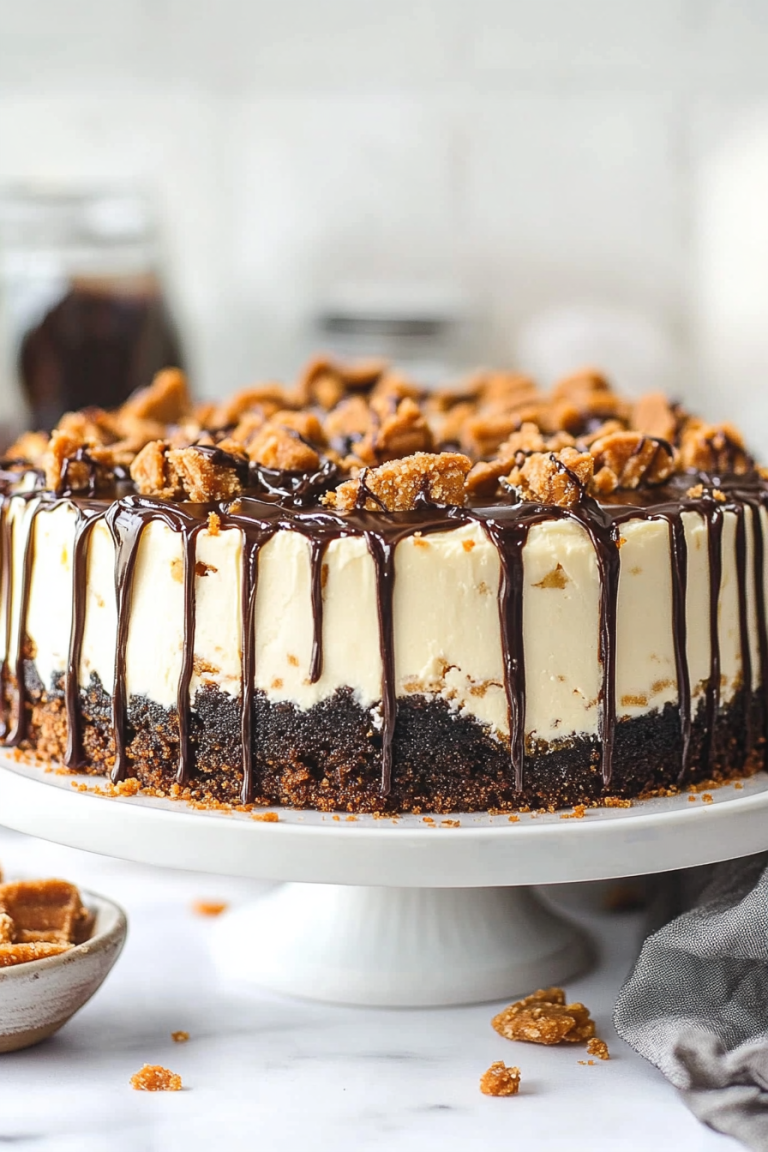
Easy Candy Bar Cake Recipe
There’s something about those gooey, chocolatey, caramel-laden bars that always bring me back to childhood in the best way. But what if I told you that you can get that same irresistible flavor in a dessert that’s so easy, it’s practically a weeknight wonder? That’s where this Snickers Poke Cake comes in—an indulgent, crowd-pleasing treat that tastes like a slice of heaven but comes together with minimal fuss. Honestly, I’ve made this more times than I can count, especially on nights when I need something sweet in minutes but still want a wow-factor dessert. My kids ask for this all the time, and I always do this little happy dance when I see the empty plate—because it’s THAT good. The best part? It’s a no-fail recipe that I’ve tinkered with endlessly, and trust me, it only gets better with every batch. Whether you’re serving it at a family dinner or need something to wow your friends, this Snickers Poke Cake will become your new go-to sweet fix.
What is a Snickers Poke Cake?
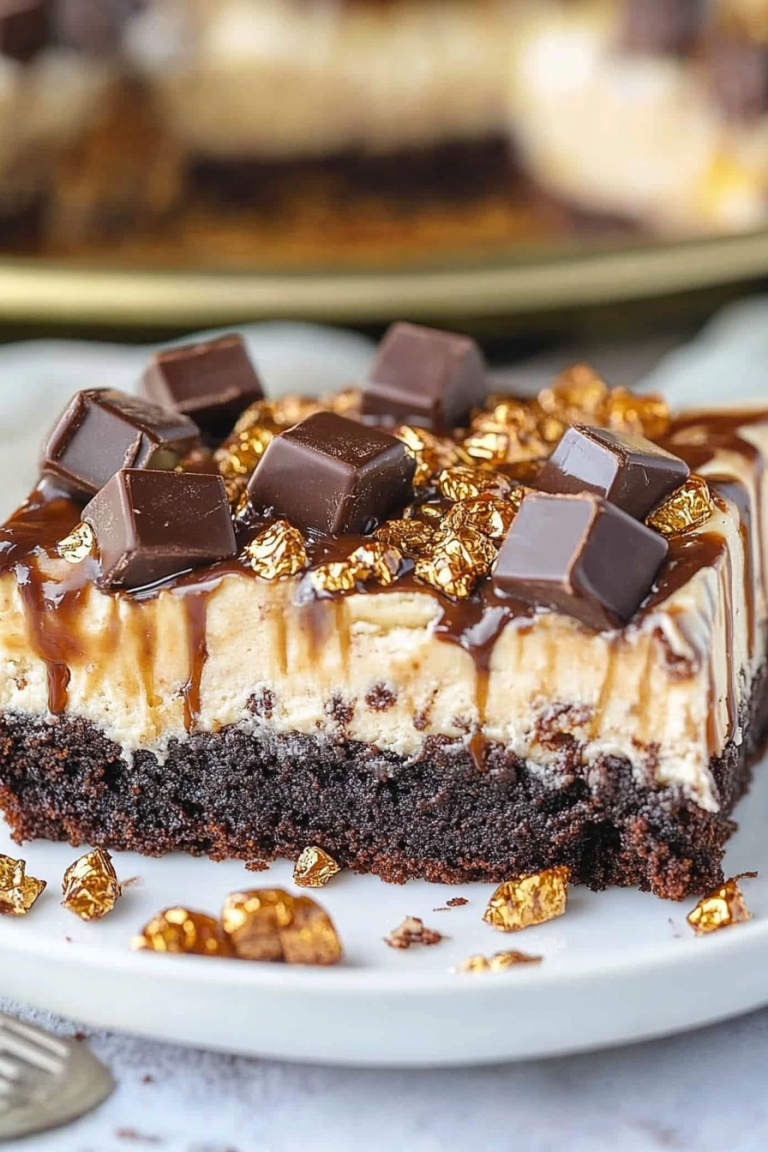
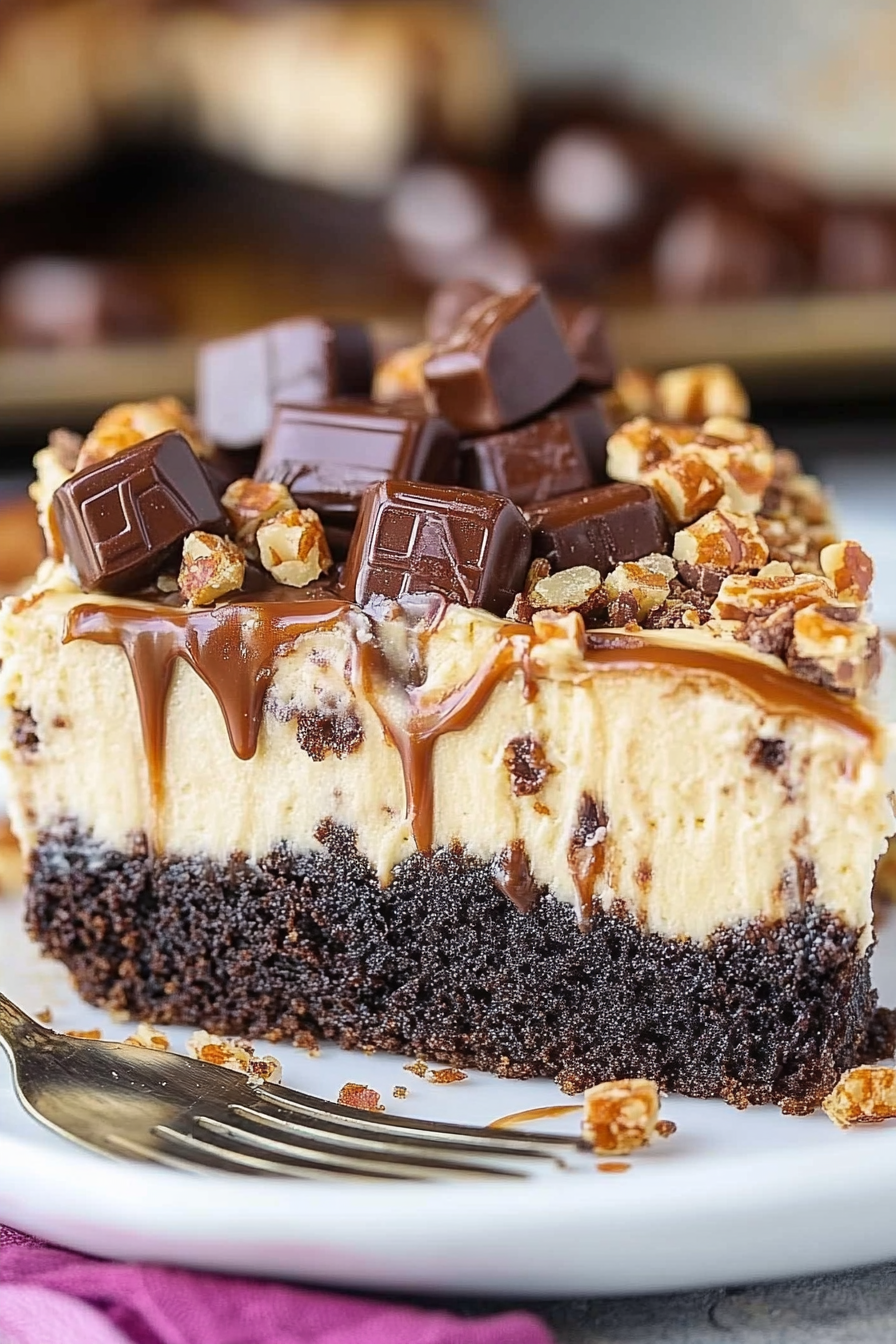
Think of it as a fun, playful twist on classic cake, infused with those iconic flavors of caramel, chocolate, and peanuts—like biting into a Snickers bar but in cake form. The term “poke cake” comes from the way you “poke” holes into the baked cake before filling it with a sweet, creamy mixture that seeps into every nook and cranny. It’s essentially a simple cake that’s been transformed into an over-the-top dessert by adding luscious fillings and toppings. The flavors mimic the beloved candy, but in a soft, moist cake that’s perfect for slicing into. It’s a bit nostalgic—like walking down candy aisle memory lane—yet still incredibly easy to whip up. Think of this as a crowd-pleasing treat that’s just as perfect for a casual family night as it is for a potluck or birthday. And I promise, once you make it, it’ll quickly become a staple in your dessert lineup.
Why you’ll love this recipe?
What I love most about this Snickers Poke Cake is how it combines those classic, irresistible flavors with a fuss-free approach. It’s a cake that’s moist and tender, packed with flavor, and topped with a rich, fudgy glaze that’s practically addictive. The best part? You don’t need any fancy ingredients or complicated techniques—just a handful of pantry staples, and you’re good to go. This is the kind of dessert that looks fancy but is actually super forgiving, making it great for bakers of all levels. Plus, it’s endlessly versatile. Want to add chopped peanuts on top? Go for it. Prefer a drizzle of caramel instead of chocolate glaze? Absolutely. Over the years, I’ve tested this with different types of chocolate and even swapped out the peanuts for pretzels (because salty-sweet is my weakness), and every version was a smash hit. Honestly, it’s one of those recipes that feels like a warm hug at the end of a hectic day, with everyone asking for seconds.
What makes it so special? Well, it’s that perfect combination of texture and flavor—moist cake, crunchy peanuts, gooey caramel, and smooth chocolate all wrapped into one. It’s a little bit nostalgic and a whole lot delicious. Plus, it’s budget-friendly, uses simple ingredients, and comes together faster than you can say “dessert time.” This one’s a lifesaver on busy nights when you need something quick but still want to impress everyone. If you love Snickers or are just a fan of decadent, multi-layered desserts, this cake will become a new favorite in your house.
How do I make a Snickers Poke Cake?
Quick Overview
This cake is honestly one of the easiest desserts you’ll ever make. It starts with a simple chocolate cake batter baked into a moist, tender layer. And here’s the fun part: after baking, you poke holes all over the cake—think of it as giving your cake little channels to soak up all that luscious caramel and chocolate goodness. Then, you pour a thick, silky caramel sauce—think softened Snickers candy melted down—into those holes, letting it seep deep into every crumb. Once cooled, I spread a rich chocolate ganache over the top and sprinkle with chopped peanuts for that perfect crunch. The end result? An insanely flavorful, showstopper cake that’s as pretty as it is delicious, and it’ll disappear faster than you can say “slice, please.” Trust me, it’s one of those recipes that’s guaranteed to get rave reviews and maybe even a few happy tears.
Ingredients
What are the ingredients to make this snickers-inspired masterpiece?
For the Main Cake:
- 1 box chocolate cake mix (or homemade chocolate cake if you’re feeling ambitious)
- 3 large eggs
- 1 cup whole milk or even almond milk for extra creaminess
- 1/2 cup vegetable oil
- 1 teaspoon vanilla extract
For the Filling & Topping:
- 1 cup caramel sauce (store-bought or homemade): I love using a good quality caramel—think melting Snickers in smooth form
- 1 cup heavy cream or evaporated milk for a richer glaze (optional, for extra lusciousness)
- 1 cup semi-sweet chocolate chips or chopped chocolate (for the glaze)
- 1/2 cup chopped peanuts or chopped Snickers bars for topping
Extras & Variations:
- Chopped pretzels or toasted coconut for a salty-sweet twist
- A drizzle of melted peanut butter instead of chocolate for a different flavor punch
Step-by-Step Instructions
Step 1: Preheat & Prep Pan
Set your oven to 350°F (175°C). Grease a 9×13-inch baking pan or line it with parchment paper—trust me, this step will make clean-up way easier. If you want extra protection from sticking, lightly dust with cocoa powder—the chocolate will thank you.
Step 2: Mix Dry Ingredients
If you’re using a cake mix, combine it with eggs, milk, oil, and vanilla as instructed on the box. Just whisk everything together until you get a smooth, slightly thick batter. I always do this with a big whisk—no lumps allowed, and it makes mixing way faster.
Step 3: Mix Wet Ingredients
If you’re homemade, blend your wet ingredients first—eggs, milk, vanilla—and then slowly add your dry ingredients. The batter should be thick but pourable, with a rich chocolatey smell that’s absolutely one of my favorites. Oh, and I’ve tested with almond milk too—it makes the cake even creamier, so give it a try if you’re feeling fancy.
Step 4: Combine
Pour the batter into your prepared pan and smooth it out with a spatula. Don’t worry if it looks a little uneven—that’s totally normal. Pop it in the oven and bake for about 25-30 minutes, or until a toothpick inserted in the center comes out with a few moist crumbs. You want it moist but not gooey.
Step 5: Prepare Filling
While the cake is cooling, warm your caramel sauce slightly—it’ll flow into those poke holes better. If you’re using store-bought, just give it a stir or microwave for 10-15 seconds. For an extra rich touch, gently heat the sauce until just melted and pourable. I love adding a splash of heavy cream to make it silkier, but it’s optional.
Step 6: Layer & Swirl
Once the cake has cooled to room temperature, use a skewer or fork to poke holes all over—about every inch or so. Pour your caramel sauce evenly over the cake, making sure to fill those holes. I like to do this in slow, deliberate strokes so it can seep into every nook and cranny. Then, spread a layer of chocolate glaze over the top—see next step for how to make it.
Step 7: Bake
This isn’t an extra bake, just an assembly step—once you’ve topped it with your glaze, let it set at room temperature for about 30 minutes. If you’re in a hurry, pop it in the fridge for 15 minutes, but I find letting it come to room temp keeps it from getting too firm.
Step 8: Cool & Glaze
To make the glaze, melt your chocolate chips with a little heavy cream until smooth. Pour it over the cooled cake, spreading it evenly with a spatula. Then sprinkle chopped peanuts or Snickers bits all over—this adds that perfect crunch and reinforces the candy flavor. Wait a few minutes for the glaze to firm up before slicing into beautiful squares.
Step 9: Slice & Serve
Use a sharp knife dipped in hot water for clean slices. Serve with a dollop of whipped cream or even a drizzle of caramel if you’re feeling extra. These slices are amazing warm, but I actually prefer them chilled—depends on your mood. And trust me, the smell alone will have everyone hanging around the kitchen waiting for a taste.
What to Serve It With
This Snickers Poke Cake is pretty much a dessert all by itself, but here are a few ideas for elevating it:
For Breakfast: A slice with a strong cup of coffee or a glass of cold milk turns this into a decadent start to your day. I’ve sometimes sprinkled a little crushed graham crackers or chopped roasted peanuts on top—my kids love that crunch.
For Brunch: Serve it alongside a fruit salad or yogurt parfaits. The richness balances perfectly with fresh berries or citrus slices.
As Dessert: Top with a big swirl of whipped cream or a dusting of powdered sugar. A scoop of vanilla ice cream on the side? Yes, please. It looks fancy enough for a special dinner but tastes like a cozy hug.
For Cozy Snacks: Cut smaller squares and pack them in a portable container for movie nights or weekend picnics. Everyone will thank you, I promise.
This cake is such a family favorite, I’ve even made it for school potlucks and birthday celebrations. It’s the kind of dessert that makes people ask for the recipe and keeps you in good graces for forever.
Top Tips for Perfecting Your Snickers Poke Cake
Over the years, I’ve learned quite a few tricks that make this cake even better:
Zucchini Prep: Though it’s not in the recipe, I’ve tried adding shredded zucchini once—trust me, it added moisture without changing the flavor. Just make sure to squeeze out excess moisture so your cake isn’t too dense.
Mixing Advice: Don’t overmix once you combine the wet and dry ingredients—that’s how the cake stays tender. Look for a smooth batter, but resist the urge to beat it until it’s perfectly silky.
Swirl Customization: When adding the caramel and chocolate, don’t be afraid to swirl them together for a marbled effect—looks pretty and tastes divine. Use a toothpick or skewer to create fun patterns.
Ingredient Swaps: Gluten-free flour blend works beautifully here—just swap out the regular flour in the same ratio. For a nuts-free version, skip peanuts and just top with a drizzle of caramel and extra chocolate.
Baking Tips: Always check the cake a couple of minutes before the timer—every oven is different. The toothpick test is your best friend. Also, let it cool completely before pouring on the glaze, or it’ll melt into the warm cake instead of setting beautifully.
Glaze Variations: For a different flavor, try adding a splash of peppermint extract or a tablespoon of peanut butter into your glaze. You can also dust the top with a little cocoa powder or even crushed Oreo cookies for extra flair.
From my experience, giving the cake time to set helps all those delicious flavors meld together nicely. I’ve made this when I was rushing, and then I’ve waited overnight—either way, it’s always loved. The only mistake I’ve learned from? Under-baking slightly—it makes slicing tricky. So, always check for doneness carefully.
Storing and Reheating Tips
This cake keeps surprisingly well, especially if you store it properly. Here’s what I do:
Room Temperature: If you’re serving it within a day, cover the cake with plastic wrap or an airtight container. It’ll stay moist for about 24 hours. Just keep it outside the fridge unless it’s really hot outside.
Refrigerator Storage: For longer storage, pop it into an airtight container—trust me, it won’t lose its moist texture. It’s good for up to 3 days this way. To serve, I let it come to room temperature for about 15 minutes—makes the flavors pop even more.
Freezer Instructions: Wrap individual slices tightly in plastic wrap, then foil, and freeze for up to 2 months. Thaw overnight in the fridge or at room temp for 30 minutes. The flavors are just as delicious, and the texture holds up beautifully.
Glaze Timing: I prefer to add the glaze after refrigeration for a shiny, firm finish, but if you want that shiny, melty look right away, add it while the cake is still slightly warm. Just beware the glaze sets quickly, so work fast!
Frequently Asked Questions
Final Thoughts
This Snickers Poke Cake is truly a recipe that feels like a warm hug on a plate. It combines all those beloved candy flavors with the simplicity of a no-fuss cake, making it a dessert that everyone will ask for again and again. Over the years, I’ve tested it in different variations—adding nuts, swapping out caramel, experimenting with chocolate types—and every version gets rave reviews. Honestly, the secret is in how moist and rich it turns out, thanks to the poke technique that lets the caramel seep deep into every bite. It’s perfect for casual family dinners, potlucks, or even when you just need a little pick-me-up. My advice? Make it ahead, let it sit overnight if possible, and watch how it transforms into pure happiness. I’d love to hear how yours turns out—feel free to share your tweaks or photos. Happy baking!
Snickers Poke Cake
Ingredients
Method
- Preheat oven to 350°F and prepare a 9x13 inch cake pan with non-stick spray.
- In a large bowl, combine flour, sugar, cocoa powder, baking soda, baking powder, and salt. Mix well.
- In a separate bowl, whisk together milk, vegetable oil, vanilla extract, and eggs.
- Add wet ingredients to dry ingredients and beat until smooth. Gradually add hot water and mix on low until combined.
- Pour batter into prepared pan and bake for 32 minutes or until a toothpick inserted comes out clean.
- Remove from oven, poke holes across the cake with a spatula end, and pour caramel mixture into the holes. Cool completely.
- Prepare whipped cream by whipping heavy cream, powdered sugar, peanut butter, and vanilla until stiff peaks form.
- Spread whipped cream over cooled cake, top with chopped Snickers, and drizzle with caramel and chocolate sauces.
- Refrigerate until ready to serve. Best enjoyed within 3 to 4 days.