Easy Cheese Board Ideas for Any Occasion
If there’s one thing I’ve learned over countless weekends of hosting friends and family, it’s that a gorgeous cheese board can truly steal the show. I remember the first time I tried building one—so intimidating! But honestly, once I got the hang of it, it became my go-to party trick. There’s something so inviting about a platter filled with an assortment of cheeses, crackers, fresh fruit, nuts, and just a handful of unexpected extras. It’s not just about the cheese; it’s about curating a little edible art that makes everyone gather around and nibble for hours. Honestly, it’s a lot like building a cozy nest—layered, welcoming, and just plain fun—and the best part? It’s surprisingly easy to put together. If you’ve ever felt overwhelmed by the idea, trust me, I’ve been there. I want to share all my tips and tricks to create a cheese board that’ll make your friends ask, “Where did you get this?” every single time. Plus, I’ll show you how to elevate your cheese game with simple, fresh ideas that are perfect for any occasion, from casual get-togethers to fancy celebrations. Ready to become a cheese connoisseur in your own kitchen? Let’s get started!
What is a cheese board?
A cheese board is basically a beautifully arranged tray or platter filled with a variety of cheeses, accompanied by everything from fruits and nuts to crackers and spreads. Think of it as a tiny, edible art installation that’s both very Instagrammable and downright delicious. It’s essentially a way to serve cheese that lets each guest customize their bites—some might go for the sharp cheddar, while others prefer a creamy brie. The whole idea is to offer a balanced mix of flavors, textures, and colors, making it as much a visual feast as it is a tasting one. The name “cheese board” actually comes from the traditional wooden or marble platter that holds all the goodies, but these days, it’s more about the vibe you create than the actual material. Whether you’re hosting a casual movie night or celebrating a special occasion, a cheese board is your best friend—flexible, fun, and endlessly customizable.
Why do you love this movie?
What I love most about building a cheese board is that it’s one of those culinary projects that anyone can do—no chef skills required! The flavor profiles are endless, and you can really tailor it to suit your mood, your guests’ preferences, or even the season. The first time I made one, I was worried it would take hours to assemble, but honestly, it’s quick and relaxing—kind of like decorating a pretty dinner table. Plus, it’s budget-friendly if you know where to shop; I always recommend hitting your local farmers’ market or specialty cheese shop for the best finds. The best part? It’s super versatile. Want a sweet and savory combo? Throw in some honey and figs. Going for a cozy, hearty vibe? Add in some crusty bread and charcuterie. My kids actually ask for this all the time during movie nights or weekend brunch, and I love how it spreads joy without any fuss. It’s really more than just food—it’s a way to create a warm, inviting atmosphere that makes everyone linger longer. I swear, once you make your first cheese board, it’ll become a regular feature in your home too.
How do you make a cheese board?
Quick Overview
Creating a cheese board is delightfully simple—you start by choosing a good variety of cheeses (think different textures and flavors), then add in accompaniments like fresh fruits, nuts, crackers, and maybe a few sweet or savory spreads. I always do this when I’m short on time but still want to impress. The key is balance—color, texture, and taste—and that’s where your personal touch shines. Don’t overthink it—just pick your favorites, arrange everything prettily, and add some garnishes like herbs or edible flowers for that wow factor. The real magic is in the mix of flavors and how everyone can pick and choose their perfect bites. Bonus: It’s totally flexible—use what you have or shop for a curated look. The best part? It’s a guaranteed hit, whether it’s a small dinner party or a casual afternoon with friends.
Ingredients
For the Cheeses: What are some good cheeses?
Choose 3–5 kinds of cheese—think soft (brie, camembert), firm (cheddar, gouda), blue (gorgonzola, Roquefort), and maybe a tangy goat cheese. Source from your local cheesemonger if possible; they have the best advice on ripeness and pairings.
For the Crackers & Bread:
Opt for an assortment—water crackers, sliced baguette, multigrain crisps—whatever suits your vibe. I always keep a few gluten-free options, too.
For Fruits & Veggies:
Fresh grapes, sliced pears, apple slices, figs, or berries add a burst of sweetness. I like to include some crunchy veggies like sliced cucumbers or cherry tomatoes for variety.
For Nuts & Dried Fruits:
Almonds, walnuts, dried apricots, or cranberries give texture and a little sweet-salty crunch.
Extras & Spreads:
Honey, fig jam, spicy mustard, chutney, or olive tapenade—these are the secret weapons to really elevate your platter.
Step-by-Step Instructions
Step 1: Preheat & Prep the Board
Pick a large, flat platter or wooden board. Give it a quick wipe if needed, then lay out your cheeses first—space them apart to make room for surrounding accompaniments. I like to bring everything to room temperature 30 minutes before serving—that way, the flavors come alive and the cheese isn’t too firm.
Step 2: Arrange Cheeses
Place your cheeses strategically—hard cheeses can go on the edges, soft cheeses in the middle, or however you like. Slice some ahead for easy snacking, but leave some whole for presentation. Think of it as setting a visual stage.
Step 3: Add Crackers & Bread
Arrange crackers around the cheeses—stack some in neat piles, scatter others loosely for a rustic feel. I like to include a few crackers already broken up—makes for easy tasting and looks inviting.
Step 4: Fill with Fruits & Veggies
Distribute little clusters of grapes, slices of apple, or figs between the cheeses and crackers. For color and freshness, add a few sprigs of herbs like thyme or rosemary. It makes everything pop visually!
Step 5: Sprinkle Nut & Dried Fruit Delights
Scatter almonds or walnuts over the board, and sprinkle dried apricots or cranberries into little dips or corners. It’s all about that textural contrast and pop of sweetness.
Step 6: Drizzle & Dollop
Finish by adding small bowls of honey, jam, or chutney, and perhaps a small dish of olives or pickles for a tangy surprise.
Step 7: Final Touches & Presentation
Garnish with fresh herbs, edible flowers, or a few crackers sprinkled around casually. Keep some cheese and accompaniments in small bowls so people can serve themselves easily. This part is about making it look lush but natural—messy-chic is perfect here.
Step 8: Serve & Enjoy
Serve your cheese board at room temperature for optimal flavor. Encourage your guests to mix and match, making each bite a little adventure. Trust me—nothing beats that first bite when everything comes together.
What to Serve It With
While a cheese board is pretty much a star on its own, pairing it with a few drinks and side dishes elevates the experience. For breakfast or brunch, try pairing with fresh orange juice or even a fizzy sparkling water with a squeeze of lemon. If you’re hosting a more elegant gathering, a crisp white wine or bubbly prosecco makes everything taste even better. When I serve it as a dessert, I love adding fresh figs with a drizzle of honey, maybe some dark chocolate chunks, and a light dessert wine—trust me, that combo disappears in minutes at my house. For casual snacking, I keep it super simple with a pitcher of iced tea or a cold craft beer. I’ve found that no matter the occasion, adding a few sweet accompaniments or a glass of wine makes the experience even more memorable. Honestly, I think one of the best parts about a cheese board is how it encourages everyone to just relax and graze—no formal plating needed. It’s cozy, inviting, and it always starts great conversations.
Top Tips for Perfecting Your Cheese Board
Over the years, I’ve picked up a few tricks that make my cheese boards look Instagram-ready and taste amazing.
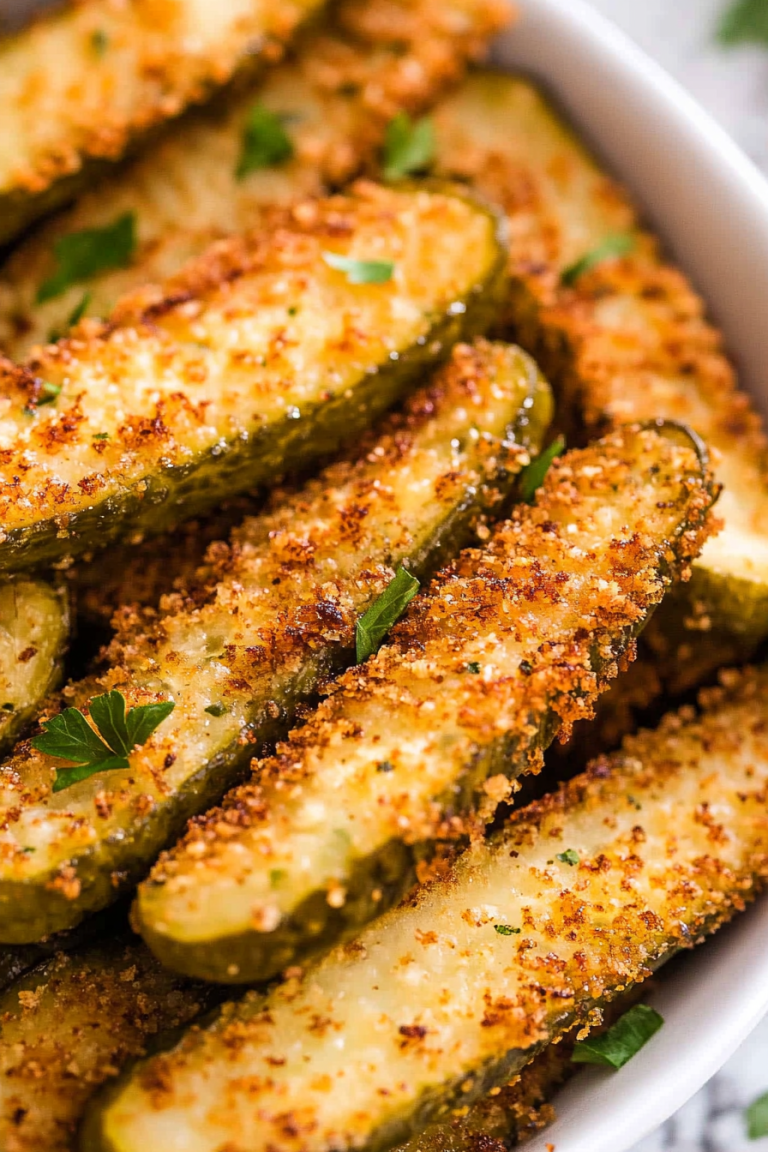
Zucchini Prep: While I don’t put zucchini on a cheese board, I’ve learned that thinly sliced veggies like zucchini or zucchini chips are great for casual grazing trays—just be sure to pat them dry to remove excess moisture, especially if you plan to include them in arrangements. Moisture can make your platter look messy or make some items soggy.
Mixing Advice: Avoid overstuffing your board; give each element room to breathe—clumping everything together makes it look cluttered. Use cheese knives, small tongs, or spoons for spreads; it’s tidier and more inviting.
Swirl Customization: When arranging cheeses, try swirling thin slices of hard cheeses or stacking rounds unevenly—this creates visual interest and makes guests more likely to explore every corner.
Ingredient Swaps: I love experimenting with non-dairy cheeses or adding roasted nuts instead of raw—they add different textures and flavors. Just keep the balance. Sometimes, I swap fresh figs for dried ones, depending on what’s available, and it always works.
Baking Tips: If you’re adding baked items like crostinis or breadsticks, do that just before serving to keep everything crisp. Oven temperature varies, so keep an eye on those crackers so they don’t burn.
Glaze Variations: Want to jazz up your cheese board? Use flavored honey—like lavender or chili honey—to drizzle on cheese or fruit. Applying the glaze just before serving keeps everything looking fresh and shiny. Trust me, a simple squeeze of honey can transform a plain cheese board into something spectacular.
My biggest lesson? Don’t stress about perfection. A little rustic charm goes a long way, and your guests will love your effort and creativity. Plus, making adjustments based on what’s in your fridge and what your family prefers keeps it fun and personal.
Storing and Reheating Tips
If you happen to have leftovers, don’t panic. Cheese can be stored in an airtight container in the fridge for up to a week—just bring it out to room temp before serving again for the best flavor. Fruits should be eaten within a couple of days for optimal freshness, especially berries or sliced apples which brown quickly. Wrap any leftover crackers in a resealable bag to keep them crisp—nothing ruins a cheese board like soggy crackers! If you want to save your cheese board for another day, freeze any leftover cheese—just be aware that texture might change slightly upon thawing. For glaze, if you want to keep it fresh and shiny, store it separately and add just before serving again. Trust me, a little planning ahead keeps your cheese board looking and tasting fantastic—even after a day or two!
Frequently Asked Questions
Final Thoughts
Bringing together a cheese board isn’t just about the food—it’s about creating an experience, a moment of joy that everyone can enjoy. With just a few simple ingredients and a little creative flair, you can serve up something truly special. Whether you’re celebrating a milestone, hosting friends, or just want to treat your family to something cozy, this platter will never disappoint. I’ve made countless cheese boards over the years, and each one feels a little different, a little more personal. The secret sauce is always a mix of hearty cheeses, fresh fruits, crunchy nuts, and a splash of love in the arrangement. So go ahead—grab your favorite cheeses, gather some colorful goodies, and have fun with it. I can’t wait to hear how yours turns out! Feel free to leave comments or snap pics—I love seeing everyone’s beautiful creations. Happy grazing!
Simple Cheese Board
Ingredients
Method
- Arrange the cheeses around the board. Add the crackers in between.
- Place bowls or piles of olives and grapes. Fill gaps with vegetables, fruits, nuts, and jam.
- Serve immediately and enjoy!