Easy Green Chilaquiles Recipe
Just thinking about chilaquiles makes my stomach rumble—that irresistible mix of crispy chips, tangy sauce, and melty cheese. I remember waking up on lazy weekend mornings, the smell of fresh tortillas and simmering salsa drifting through the house. It’s one of those comfort foods that instantly transports me back to my childhood, sitting around a bustling family breakfast table in Mexico. Over the years, I’ve tweaked my version, adding a little extra spice here, a splash of crema there, but honestly, it’s such a simple dish that the magic is all in the flavors and textures. What I love most about this is how forgiving and versatile it is—you can make it spicy, mild, vegetarian, or even add leftover chicken for a hearty twist. It’s such a lifesaver on busy nights or when I want something satisfying without a lot of fuss. And trust me—once you try this homemade version, you’ll wonder why you ever bought the pre-made stuff from the store. It’s honestly that good—crispy, saucy, cheesy, and utterly addictive.
What is chilaquiles?
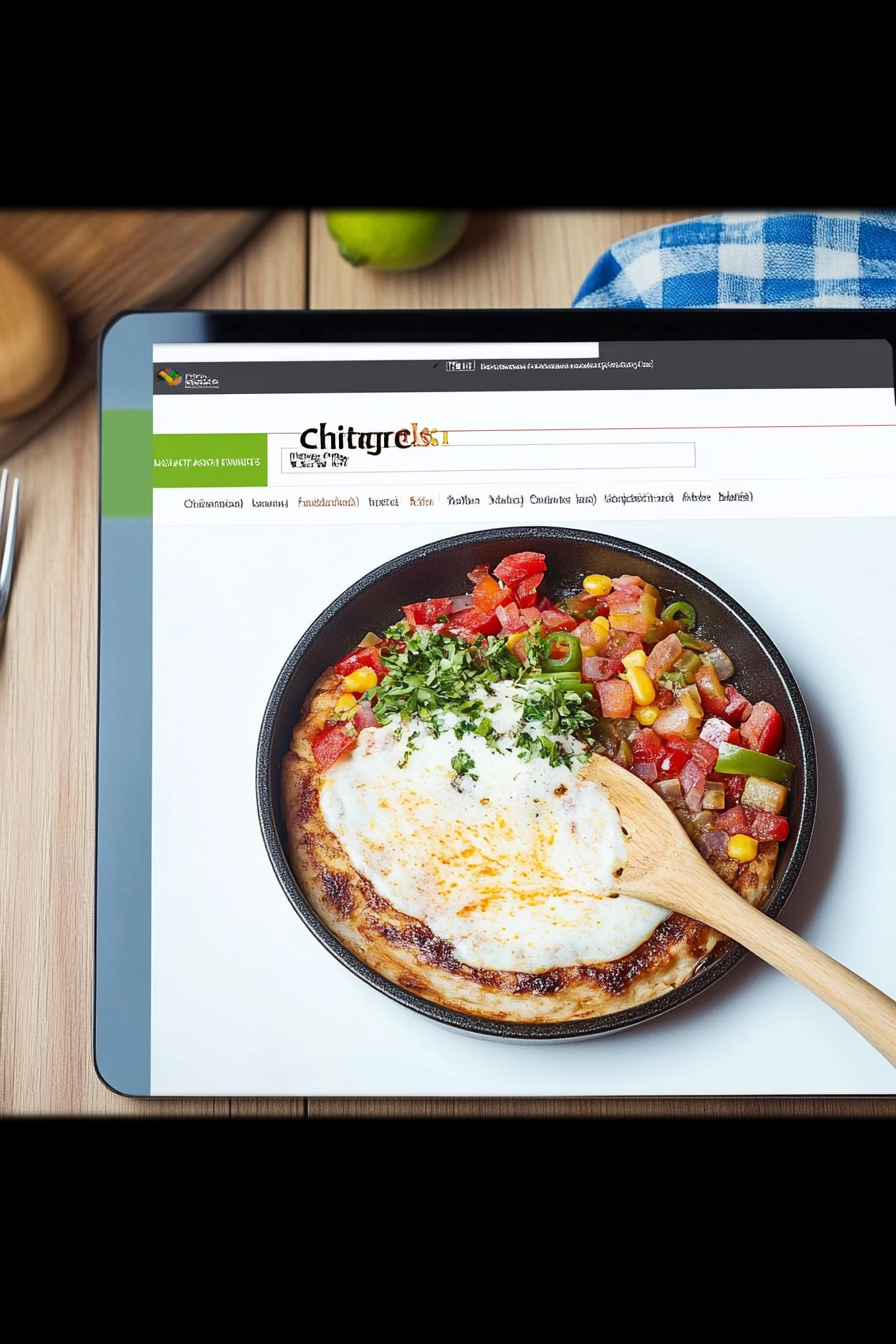
Think of chilaquiles as a beloved Mexican breakfast classic. The name itself means “chili-softened” in Nahuatl, and that pretty much sums it up. It’s essentially either fried corn tortilla chips simmered in a flavorful, slightly spicy salsa or sauce, then topped with cheese, crema, and all your favorite toppings. It’s the sort of dish that feels like a warm hug on a plate, comforting yet bursting with lively flavors. Some folks serve it with fried eggs on top, others add shredded chicken or beans for extra substance. It’s a “use-whatever-you-have” kind of meal, which makes it perfect for leftover tortilla chips or a slightly stale bag of tortillas lurking in your pantry. Picture crispy chips soaked up in a tangy, smoky sauce, topped with creamy cheese and fresh herbs—that’s chilaquiles. It’s the breakfast that’s so good, it often becomes lunch or dinner around here, too!
Why you’ll love this recipe?
What I love most about homemade chilaquiles is how effortless yet utterly satisfying it is. You don’t need fancy ingredients or hours in the kitchen—just some tortilla chips, a good salsa or chili sauce, and a few toppings, and you’re set. The flavor profile is bold—think smoky, spicy, and slightly tangy all at once. Plus, it’s a real budget-friendly recipe; most ingredients are staples you might already have in your fridge or pantry. I’ve made this with store-bought chips and homemade salsa, and both work great. And the best part? The tweaks are endless! Want it vegetarian? Skip the chicken. Craving extra heat? Add more chili. Prefer a creamier topping? A drizzle of sour cream or dollop of crème fraîche finishes it beautifully. What my family loves most is how versatile it is—everyone can customize their plate, making this a favorite for weekend brunch, weeknight dinners, or even a quick snack. It’s a dish I never get tired of making because it always hits the spot.
How do I make Chilaquiles?
Quick Overview
Making chilaquiles at home is surprisingly straightforward. I start with crispy tortilla chips—either homemade or store-bought—then simmer them gently in a flavorful salsa or chili sauce until they’re just tender but not mushy. Once coated and heated through, I finish with a handful of cheese and fresh toppings, then serve immediately. It’s best enjoyed fresh for that crispy-chewy contrast, but with a few smart tips, you can prep parts ahead for a quick meal. The magic is really in choosing the right salsa— smoky, spicy, and rich—that soaks into the chips perfectly. This dish is one of those “smile in every bite” recipes that I always do when I want something cozy but also exciting to eat. And honestly, once you master this, you’ll be surprised how effortlessly you can whip it up whenever the craving hits.
Ingredients
For the Main Salsa:
– 2 cups roasted tomatoes or canned fire-roasted tomatoes (for that smoky flavor)
– 1-2 dried chilies (like pasilla or guajillo) soaked and blended, or 1 cup of your favorite salsa
– 1 small onion, chopped
– 2 cloves garlic, minced
– Salt and pepper to taste
– A splash of chicken or vegetable broth or water if needed for thinning
For the Chips:
– 4 cups tortilla chips (preferably thicker ones for crunch, homemade or store-bought)
– Alternatively, take some corn tortillas, cut into wedges, and fry or bake until crispy if homemade
For Toppings and Garnishes:
– 1 cup shredded cheese (queso fresco, Oaxaca, or mozzarella)
– Sour cream or Mexican crema
– Fresh cilantro, chopped
– Red onion sliced thin
– Fried or scrambled eggs (optional but highly recommended!)
– Sliced avocado or guacamole
– Pickled jalapeños or hot sauce for extra kick
Step-by-Step Instructions
Step 1: Preheat & Prep Pan
Start by heating up your skillet over medium heat. If you’re going to fry your own chips, this is the time to do it. Otherwise, have your store-bought chips ready—thick and sturdy ones work best for soaking up that salsa without turning to mush too quickly. Keep a little oil on hand in case you want to crisp up some extras or finish with a quick fry to boost crunch.
Step 2: Make the Salsa
If you’re feeling ambitious, roast fresh tomatoes, onion, and chilies in a hot skillet or oven until charred and fragrant—this step is key to that smoky flavor everyone loves. Blend everything smooth with garlic, salt, and a splash of water or broth to loosen it up slightly. If you’re in a hurry, grab a good jarred salsa or premade chili sauce, and give it a quick warm-up. The goal is to have a thick, vibrant sauce that coats the chips well.
Step 3: Simmer the Chips in Salsa
Pour your salsa into a pan and bring it to a gentle simmer—don’t boil vigorously, or your chips might overcook quickly. Add the tortilla chips and toss gently to coat all sides. Let everything cook together for about 3-5 minutes, just long enough for the chips to soak up the flavors but still keep that satisfying crunch. I always do a taste test here—trust your palate!
Step 4: Add Cheese & Toppings
Once the chips are nicely coated and heated through, sprinkle generously with cheese. Cover the pan a minute or two to melt it thoroughly. Meanwhile, prepare your toppings—sliced red onions, cilantro, avocado, and a dollop of sour cream are my go-to choices. If you like eggs, scrambled or fried, do those next, and place them on top before serving. This is where the dish really comes alive, in every colorful, cheesy topping.
Step 5: Serve Immediately
Chilaquiles are best served hot and fresh—nothing beats that crispy chip texture paired with melty cheese and fresh toppings. Serve straight from the pan, or plate individual portions, garnished with sliced radishes, a squeeze of lime, or hot sauce. Every bite should feel like a little celebration, warm and bursting with flavor.
Step 6: Optional Variations & Extras
Want to get fancy? Top with shredded cooked chicken or leftover carne asada. For a vegetarian version, load up with beans or more veggies. Love it spicy? Add a dash of your favorite hot sauce or extra chili powder. Trust me, the key is to keep tasting and adjusting as you go—it’s the only way to get that perfect balance of heat, acidity, and richness.
Step 7: Finishing Touch & Presentation
Finish with fresh cilantro, a squeeze of lime, and a drizzle of crema or sour cream. I like to serve chilaquiles with a simple side of pickled vegetables or ripe avocado slices—stunning and delicious! Remember, this dish is all about feeling cozy and satisfied, so don’t skimp on the toppings. It’s the little touches that turn good into memorable.
What to Serve It With
This dish is so versatile that it can be breakfast, brunch, lunch, or dinner. For breakfast, I love pairing it with a fresh hot coffee or a glass of freshly squeezed orange juice—you can add a fried egg on top for extra heartiness. My kids ask for this all the time on weekend mornings because it’s so flavorful and easy to whip up. For brunch, serve it with a colorful fruit salad and maybe a sparkling agua fresca or a Bloody Mary if you’re feeling festive. If you’re craving something a little fancier for dinner, make it the star of a Mexican-themed night with sides like black beans, Mexican rice, or street corn. And honestly, it’s equally comforting as a late-night snack—just reheat gently to keep the chips crispy if needed.
Top Tips for Perfecting Your Chilaquiles
After countless batches, I’ve learned a few tricks that make all the difference. First, for crispy chips that hold up, I prefer thicker-cut tortilla chips or homemade fried tortillas—store-bought can be a little limp otherwise. When making your salsa, roasting the tomatoes and chilies gives that authentic smoky depth, but a good quality jarred chili sauce is a real timesaver and still tasty. If your salsa is too thin, just simmer it longer or add a little masa harina (corn flour) to thicken it up naturally—trust me, it’s a game-changer. When adding cheese, cover the pan to help it melt evenly, and don’t be shy with the toppings—they really make the dish pop visually and flavor-wise. For spice lovers, stir in a dash of hot sauce or chopped jalapeños right before serving. I tested this with almond milk in my crema, and honestly, it made it even creamier—try it! One mistake I used to make was over-soaking the chips, turning them soggy—so now I always keep a close eye and remove the dish from heat as soon as everything is heated through. It’s the little adjustments that turn good chilaquiles into the best they can be.
Storing and Reheating Tips
If you’re lucky enough to have leftovers (which rarely happens at my house!), here’s how I store and reheat chilaquiles. Keep any leftover in an airtight container in the fridge—these are best eaten within 1-2 days. To reheat, I prefer the oven or a skillet—just spread it out and warm over medium heat until steaming, and you can even toss it in a little fresh salsa if it seems dry. For the crunch factor, I’ll pop it under the broiler for a minute or two—watch it closely so it doesn’t burn. Freezing is an option, but the chips tend to lose some of their crispness, so I don’t recommend it unless you’re fine with a softer texture. If you want to add fresh toppings, do so right before serving, especially the crema and herbs—that way, everything stays fresh and flavorful. Trust me, nothing beats digging into a plate of reheated chilaquiles that still have that vibrant, comforting flavor. It’s the kind of dish that tastes even better the next day if you’re patient enough to reheat properly.
Frequently Asked Questions
Final Thoughts
There’s something so nostalgic and comforting about homemade chilaquiles. It’s a dish that’s as flexible as it is flavorful—perfect for lazy weekends or quick weeknights. The smoky salsa soaking into crispy chips, topped with cheese, herbs, and a squeeze of lime—every bite tastes like a little celebration. I’ve shared my secrets and tips from feeling my way through countless tries, and honestly, I think you’re going to love how easy and forgiving this recipe is. Once you get the hang of it, it becomes a go-to for any meal of the day. There’s a warmth, a familiarity that makes you feel right at home—no matter where you’re making it from. So go ahead, give it a try, and don’t forget to experiment with your favorite toppings! I can’t wait to hear how yours turns out. Happy baking—and yes, I call it baking even though it’s more like “assembling with love.”
Classic Chicken Tacos
Ingredients
Method
- Heat olive oil in a skillet over medium heat. Add chopped onions and cook until translucent.
- Add chicken breast pieces, cumin, paprika, and cook until chicken is thoroughly cooked and browned.
- Warm tortillas in a separate pan or microwave.
- Assemble tacos by placing chicken, lettuce, tomatoes, and cheese in each tortilla.
- Serve immediately with your favorite salsa or hot sauce.