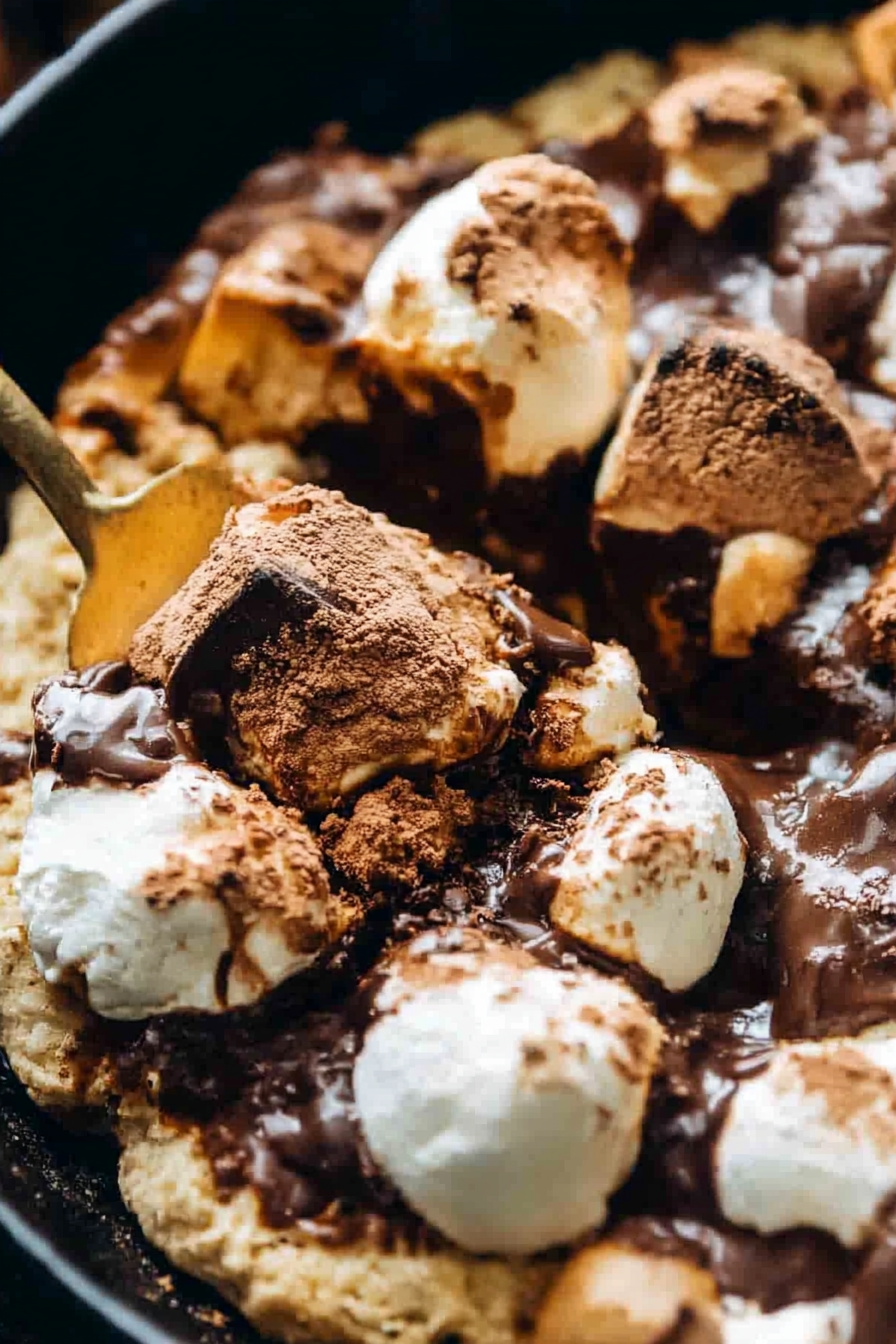
Easy S’mores Deep Dish Bowls for Two
There’s something undeniably magic about a good s’more. Maybe it’s the way the chocolate melts perfectly into the marshmallow, or how the graham cracker becomes just crispy enough without losing its crunch. I remember childhood summers spent camping with my family, huddled around a crackling fire, eagerly waiting for that golden toast on the marshmallows and the inevitable “Did it melt enough?” debates. Even now, those moments are my go-to comfort—kind of like a sweet, melty hug in every bite. Honestly, s’mores are one of those treats that feel so simple, yet they pack so much joy. I’ve tried countless recipes over the years, but I keep coming back to this classic method because it’s foolproof, easy to customize, and absolutely addictive. Plus, it’s just as perfect for an impromptu backyard gathering as it is for cozy nights in. Trust me on this — once you learn how to make them right, you’ll be craving s’mores all year round. Let’s dive into why these gooey treats are total game-changers and how to make them at home, no campfire required.
What is s’mores?
S’mores are essentially a childhood icon—think of it as the chocolatey, marshmallowy lovechild of a cookie and a candy bar. The name “s’mores” is a sweet contraction of “some more,” a testament to how irresistible these treats are once you’ve had one. Traditionally, it’s made by roasting marshmallows over an open flame until they’re gooey and golden, then sandwiching the melted marshmallow and a piece of chocolate between two graham crackers. It’s a simple yet brilliantly tasty little stack that’s become a symbol of camping adventures, summer nights, and shared laughter around the fire. But don’t worry, you don’t need to be camping to enjoy these—they’re just as wonderful for making at home, on your stovetop, or even in the oven. Think of s’mores as a super-easy, fun, and nostalgic treat that instantly transports you back to childhood and sunshine-filled summer evenings. They’re cozy, sweet, effortlessly fun, and best of all—completely customizable!
Why you’ll love this recipe?
What I love most about making s’mores at home is how adaptable they are—there’s a version for everyone. Got a sweet tooth? Double up on the chocolate or add a drizzle of caramel. Want a healthier twist? Try using dark chocolate or gluten-free graham crackers. This recipe is my lifesaver on busy nights when I need a quick pick-me-up, or when friends unexpectedly show up and I want to serve something homemade and crowd-pleasing. Plus, it’s budget-friendly—just a handful of ingredients, and you can make dozens of s’mores in minutes. The smell alone is enough to make anyone’s mouth water—think toasted marshmallows mingling with melting chocolate and toasted graham crackers—that aroma brings everyone to the kitchen faster than you can say “another round, please!” What I love most is how easy it is to make the kids’ eyes light up or turn this into a fun family project. This isn’t just a recipe; it’s a little moment of happiness that gets better every time you make it. And trust me, once you get the hang of it, you’ll find yourself craving s’mores even when it’s not summer or when fire pits aren’t in sight.
How do I make s’mores?
Quick Overview
Making s’mores at home is surprisingly simple and quick. Whether you’re using a stovetop, oven, or even an air fryer, the key is to get that marshmallow perfectly toasted—from lightly golden to irresistibly gooey—without burning it. Then, just layer it with a piece of chocolate on a graham cracker, slap on the top cracker, and gently press down until the chocolate starts to soften and melt. The result? A warm, melty, sweet treat that’s messy and wonderful. The best part? You can customize it so easily—swap out the chocolate, try different crackers, or even add a splash of flavored syrup. This recipe’s straightforward approach makes it perfect for quick indulgence or impressing friends at your next backyard gathering—no campfire needed.
Ingredients
For the Marshmallows: What is the best way to describe Marshmallows?
<—a good-quality marshmallow—large or mini, your choice—they should be fresh and soft. I always keep a bag of jumbo marshmallows handy because they toast beautifully and give that perfect gooey center. If you’re feeling adventurous, try flavored or organic marshmallows for an extra twist.
For the Chocolate:
<—standard milk chocolate bars or chocolate chips—whatever melts nicely. I like good old Hershey’s bars, but dark chocolate or even caramel-filled chocolates are fun to try. Just make sure your chocolate is small enough to fit comfortably between your crackers.
For the Crackers:
<—Graham crackers are classic, but I’ve used digestive biscuits and even sturdy cookie slices for different flavor profiles. Look for ones without artificial flavors—they make a difference!
Step-by-Step Instructions
Step 1: Preheat & Prep Pan
If you’re using your stove or oven, preheat to a low broil or medium heat. Line a baking sheet with parchment paper or a silicone mat for easy cleanup. If you’re toasting marshmallows over a flame (which I love for that smoky flavor), have a skewer ready and a steady hand. The key is patience—you want the marshmallow to toast evenly without catching fire.
Step 2: Toast the Marshmallows
Place marshmallows on a skewer or metal roasting stick, and toast over the flame or under the broiler. Keep a close eye—this part can go from perfect to burnt quickly. I always do this in short bursts, rotating the marshmallow to get even toasting. When it’s golden and just starting to melt, it’s ready. This is the best scent ever—sweet, caramelized, and a little smoky.
Step 3: Prepare Chocolate & Crackers
While marshmallows cool just a tad, lay out your graham crackers and break your chocolate into small enough pieces to fit on top of each cracker. For neatness, I often use slightly warmed chocolate or chocolate chips that melt just a little when pressed—deliciously gooey.
Step 4: Assemble!
Place the toasted marshmallow on one cracker, immediately top with a piece of chocolate (or a few if you’re feeling decadent), then gently press the second cracker on top. Hold for a few seconds until the chocolate begins to soften and melt into the marshmallow. If you want extra melty goodness, pop the assembled s’mores in a warm oven for a minute or two, just enough to soften everything beautifully.
Step 5: Serve & Enjoy
This is the fun part! Serve immediately—grab a napkin because these get melty fast. For the best experience, eat with your hands and enjoy that first sticky, sweet, chocolatey bite. Honestly, I think I’ve eaten a dozen in one sitting—no regrets.
Step 6: Make it Your Own
Want to jazz things up? Try drizzling caramel or peanut butter over the marshmallow before putting the top cracker on. Or sprinkle crushed graham crackers on top of the melted chocolate for extra crunch. The possibilities are endless — and I encourage you to experiment!
Step 7: Oven & Microwave Hacks
If you’re baking these in the oven, arrange your assembled s’mores on a cookie sheet and broil for 1-2 minutes. Keep a close eye—they’ll get melty fast. For microwave, microwave 15-20 seconds until gooey—careful not to overdo it, or the marshmallow turns into a hard, rubbery mess.
Cooling & Serving
Let your s’mores rest for a minute so they set slightly; otherwise, they might fall apart when you bite into them. Serve on a plate with a napkin or even a little dish of fruit for a fresh contrast.
What to Serve It With
Honestly, a warm s’more pairs beautifully with a cold glass of milk, hot chocolate, or even a cup of coffee if you’re feeling fancy. For brunch-style fun, serve them with fresh berries or sliced bananas — the fruity sweetness blends so well with the rich chocolate and toasted marshmallow. Big family dinners? I love wrapping mine in parchment and packing a handful for picnic-style snacking. And at my house, we almost always turn these into “s’mores night” with friends where everyone gets to customize their own—some go heavy on the chocolate, others sprinkle sea salt or add chopped nuts. It’s a recipe that just seems to bring everyone together, no matter the age. And once you master the basics, you’ll find endless ways to make it uniquely yours, whether you’re baking over a stove, in the oven, or even in the microwave for a super quick treat.
Top Tips for Perfecting Your S’mores
Over the years, I’ve learned a few tricks to elevate your s’mores game. First, use fresh, soft marshmallows—older ones tend to toast unevenly or turn tough once melted. When toasting marshmallows, I always keep them moving, turning slowly so they toast evenly without catching fire. This took some practice, but now I can get that perfect golden glow every time. For the chocolate, I’ve tested melting it directly in the oven or microwave before assembly—trust me, softened chocolate spreads so much more easily, making your s’more far more luscious. If you want to get fancy, try layering broken-up chocolates, caramel bits, or even peanut butter cups for a flavor explosion. Baked s’mores are awesome, but don’t forget that a quick toast on the stove is unbeatable for that instantly melty feel. Also, don’t overdo it on the marshmallow—it should be just toasted enough to be gooey, not scorched. And when applying the glaze or drizzle, wait until the s’mores have cooled just slightly—this keeps everything looking neat and prevents the chocolate from sliding off. Honestly, a little trial and error makes perfect, so don’t worry if your first batch isn’t Instagram-worthy. It’s all about that messy, delicious realness everyone loves.
Storing and Reheating Tips
If you happen to have leftovers (which, let’s be honest, isn’t usually the case), here’s how to keep them fresh. For a day or two, store your s’mores in an airtight container at room temperature—just make sure they’re kept away from moisture and humidity, or they’ll get soggy. If you want to keep them longer, pop them in the fridge in a sealed container for up to three days. Just know that the marshmallow might stiffen a bit and the chocolate may firm up—still tasty, just a bit different. Freezing is also an option; wrap the assembled s’mores tightly in plastic wrap and foil, then freeze for up to a month. Thaw at room temperature or briefly warm in the oven to bring back some gooeyness. For reheating, a quick microwave blast (about 10-15 seconds) can revive that melty feel, but be cautious—overdoing it can turn everything into a sticky, melted mess. I’ve found that the best way to keep that perfect gooey texture is to reheat gently and serve immediately. Trust me, a warm, freshly reassembled s’more is just the best comfort ever.
Frequently Asked Questions
Final Thoughts
There’s a reason s’mores are a beloved classic—they’re joyful, nostalgic, and utterly delicious. I’ve made countless batches over the years, and each time, they bring that warm, fuzzy feeling of childhood right into my adult kitchen. Whether you’re gathered around a campfire or simply craving something sweet on a weeknight, these gooey, melty delights never disappoint. The beauty of s’mores is how forgiving and customizable they are—more chocolate, less marshmallow, a sprinkle of sea salt, or even a dash of flavored syrup. Once you learn the basics, you’ll find yourself experimenting just for fun and sharing them with everyone you love. So, gather your ingredients, fire up your stove or oven, and get ready for a treat that’s pure happiness in a bite. I can’t wait to hear how yours turn out—be sure to share your variations and stories in the comments! Happy baking, and may your s’mores be forever gooey and perfect.
Classic S'mores Dip
Ingredients
Method
- Preheat oven to 375°F. Spread chocolate chips evenly in a baking dish.
- Bake for 10-12 minutes until chocolate is melted and bubbly. Remove from oven.
- In a microwave-safe bowl, melt butter and marshmallows together until smooth. Stir into melted marshmallows and spread over melted chocolate.
- Serve immediately with graham crackers for dipping.