How to Bake Delicious Cherry Brownies
There’s something about the burst of cherry in a rich, fudgy brownie that just hits differently. I remember my grandma’s kitchen on cool Sunday afternoons, the smell of cocoa filling the air while she mixed batter with a loving flourish. Her cherry brownies were a family secret — I swear everyone in my house would dip in for second helpings before anyone could even blink. Honestly, I think these brownies are the reason I fell for baking in the first place. It’s a little bit nostalgic, a little bit playful, and totally addictive. Whether you’re craving a treat after dinner or a quick dessert on a busy weeknight, cherry brownies are the answer. They’re so simple to whip up, yet the flavor? Pure magic. I always do this when I want comfort, but with a little twist. Trust me, once you try these, they might just become your new favorite too.
What is a cherry brownie?
Think of cherry brownies as the lovechild of your favorite chocolate dessert and a summer’s day picnic. It’s essentially a fudgy, dense brownie swirled with bright, juicy cherries – usually fresh or thawed frozen ones – nestled right into the batter. The name is pretty straightforward: cherry, for the fruit, and brownies, for the decadent chocolate base. What’s fun about these is how they balance that deep chocolate richness with the tangy surprise of cherries. It’s like having dessert and fruit in one bite, making it equally perfect for a quick snack or a fancy party centerpiece. The best part? You don’t need any fancy ingredients—just your trusty pantry staples and a handful of fresh cherries. They’re one of those recipes that look impressive but are so unbelievably easy to make.
Why you’ll love this recipe?
What I love most about cherry brownies is how versatile and forgiving they are. The flavor combo — rich chocolate plus tart cherries — is a real crowd-pleaser. The smell alone when they’re baking? It’s like a hug from the oven. Plus, they’re a total time-saver, especially when I’m craving something sweet but don’t want to turn my kitchen upside down. The batter comes together in minutes, no fancy gadgets needed, and you only need one or two bowls. For budget-conscious bakers, the ingredients are staples like cocoa, sugar, and flour, so no need for special shopping trips. I’ve also tested this with different cherry varieties—like maraschino, frozen tart cherries, and fresh—in fact, I found that frozen cherries work perfectly and save me a trip to the store during the off-season. These brownies are super adaptable too: love a little crunch? Add chopped nuts. Looking for extra sweetness? Drizzle honey over the glaze. And somehow, they disappear in minutes at my house, especially when my kids find out there’s fudgy, cherry-studded goodness waiting.
How do I make Cherry Brownies?
Quick Overview
This recipe is all about simple, straightforward steps. You start by melting butter and chocolate, then whisking together eggs, sugar, and vanilla until silky. In a separate bowl, you combine flour, cocoa powder, and a pinch of salt. Fold everything together, throw in your cherries — either fresh or frozen — swirl it all in a pan, and bake until just set. The beauty here is how quick and forgiving the process is; you don’t need to be a professional baker to get perfect, gooey cherry brownies that look (and taste) like you fussed for hours. Once out of the oven, I love to add a glossy glaze or just dust with powdered sugar. These brownies taste like a decadent, summer-inspired treat—in any season.
Ingredients
For the Main Batter:
– 1 cup (2 sticks) unsalted butter, melted (trust me, I’ve tested using vegan butter and it still works wonders)
– 1 cup unsweetened cocoa powder (go for good quality, it makes all the difference)
– 2 cups granulated sugar (or coconut sugar for a slight caramel note)
– 4 large eggs, at room temperature
– 2 teaspoons vanilla extract
– 1 1/2 cups all-purpose flour
– 1/2 teaspoon salt (sea salt is my fave here)
For the Filling:
– 1 1/2 cups fresh cherries, pitted and halved (or frozen, thawed and drained)
– Optional: 2 tablespoons sugar to toss with cherries for added sweetness
– A squeeze of lemon juice (it brightens the cherries and enhances their natural tartness)
For the Glaze:
– 1 cup powdered sugar
– 2 tablespoons milk or cream
– A splash of vanilla or almond extract
– Food coloring or a few drops of lemon juice for a different flavor twist
Step-by-Step Instructions
Step 1: Preheat & Prep Pan
Set your oven to 350°F (175°C). Grease a square baking pan (9×9 or 8×8 works perfectly) with butter or line it with parchment paper. This keeps things easy to lift out later, and prevents sticking. I always do this first so I’m ready to go once the batter is mixed.
Step 2: Mix Dry Ingredients
In a medium bowl, whisk together the flour, cocoa powder, and salt. This ensures even distribution of the dry ingredients and prevents clumps in your batter. I tested this with a little sift, but a good whisk does the trick — trust me, it makes a difference in the final texture.
Step 3: Mix Wet Ingredients
In a large bowl, combine melted butter and cocoa powder—mix until smooth. Then add the sugar, eggs, and vanilla, beating until everything’s fully incorporated. The mixture will turn shiny and silky—that’s when you know you’ve done it right. It’s so soothing to see it come together after a quick whisking.
Step 4: Combine
Gradually fold the dry ingredients into the wet, just until combined. No overmixing here—stirring too vigorously can make the brownies dense, and we want that fudgy, melt-in-your-mouth texture. The batter will be thick but pourable. If it feels stiff, loosen it with a splash of milk.
Step 5: Prepare Filling
Toss the cherries with a tablespoon of sugar and a squeeze of lemon juice if you like. I do this because it amps up their natural tartness and prevents them from sinking to the bottom during baking. Set aside while you prepare the batter.
Step 6: Layer & Swirl
Pour half the batter into your prepared pan, then sprinkle with cherry halves across the surface. Top with remaining batter, and gently swirl with a knife or skewer to create a marbled effect. It’s all about the visual joy — the pattern looks pretty, but the last swirl also helps distribute the cherries evenly.
Step 7: Bake
Slide your pan into the oven and bake for about 30-35 minutes, or until the top is just set and a toothpick inserted in the center comes out with moist crumbs. I always start checking at 30, since overbaking can dry out these fudgy delights. Keep a close eye—you want that perfect, slightly gooey middle.
Step 8: Cool & Glaze
Let the brownies cool in the pan for at least 15 minutes—they’ll set up a bit, making slicing easier. If you’re glazing, mix the powdered sugar with milk and vanilla until smooth. Drizzle over the brownies while still warm for an irresistible shine.
Step 9: Slice & Serve
Use a sharp knife to cut into squares—wipe the blade between cuts for cleaner edges. Best served slightly warm or at room temperature. I love pairing these with a big glass of cold milk or a cup of robust coffee. They’re also lovely plated with a dollop of whipped cream or a scoop of vanilla ice cream — a truly sweet ending to any day.
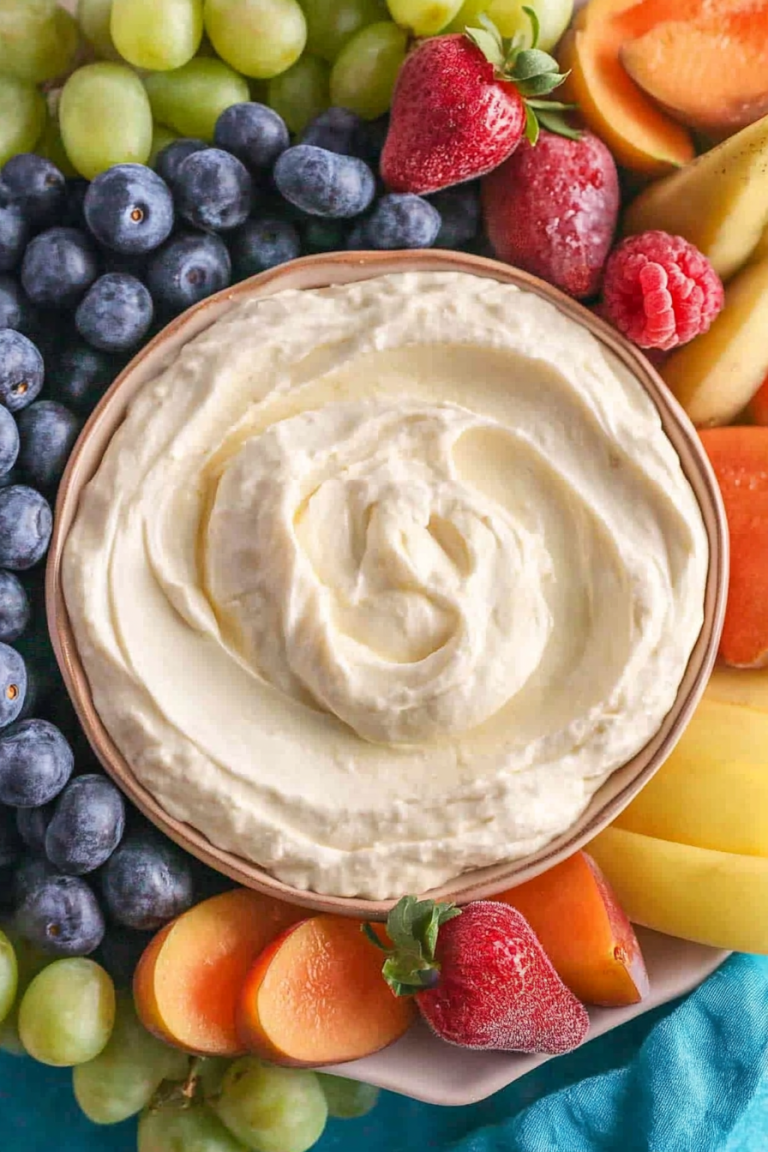
What to Serve It With
I’m a firm believer that cherry brownies shine brightest with the right accompaniments. For breakfast, slice and serve with a dollop of Greek yogurt and fresh berries — trust me, it’s a revelation. At brunch, top with whipped cream and a drizzle of honey, and serve alongside a glass of sparkling cider or fresh orange juice. As a dinner dessert, a scoop of vanilla or pistachio ice cream adorably melting on top turns these into a showstopper. And when I want a cozy snack, I just warm a piece and enjoy it with a cup of tea or hot cocoa. My family’s tradition is to pack a few in a tin and share them on lazy Sunday mornings — they never last long. Each bite reminds me of summer picnics and childhood happy hours, making every moment sweeter.
Top Tips for Perfecting Your Cherry Brownies
There’s a knack to making these brownies just right, but don’t worry—I’ve learned a few lessons along the way. First, always drain your frozen cherries well—extra moisture can make your batter too thin, leading to uneven baking. I learned this the hard way when my first batch came out a little too moist and dense—lesson learned! For a prettier swirled effect, use a skewer or a chopstick to gently swirl the batter after layering, but avoid overmixing; you want the cherries and batter to remain somewhat separate for that marvelous marbled look.
On ingredient swaps, I’ve tested coconut oil instead of butter, and while the flavor shifts slightly, it still tastes fantastic. If you want to make it gluten-free, arrowroot or oats (processed into flour) work well—just remember to adjust the quantities and keep an eye on baking time. Baking tips? Always check your oven’s temperature with a thermometer; I’ve found most homes run a tad cooler or hotter than their dials suggest. And when to pull it out? Look for a slightly gooey center—if the toothpick comes out with batter, give it a few more minutes, but don’t overbake, or you’ll lose that fudgy texture.
For the glaze, I prefer a simple powdered sugar and milk combo, but a splash of caramel or a dusting of cocoa powder makes a pretty presentation too. Play around with flavors—try orange zest or a sprinkle of sea salt on top for a sophisticated twist. These tweaks make baking so much more fun, and trust me, your kitchen will smell amazing every time.
Storing and Reheating Tips
Once cooled, store your cherry brownies in an airtight container at room temperature for up to two days. If I plan to keep them longer, I pop them in the fridge for three to four days, wrapped tightly. They stay moist and delicious, but I recommend bringing them back to room temp or warming slightly in the microwave for that just-baked feel. For freezing, wrap each square well in plastic wrap, then foil, and stash in a resealable bag — they can last up to a month. Thaw at room temp or briefly warm in the microwave. If you added a glaze, wait until they’re fully thawed before drizzling again — fresh glaze makes all the difference.
Frequently Asked Questions
Final Thoughts
These cherry brownies have become a staple in my kitchen—they remind me that some of the simplest ingredients come together to create a dessert that’s both comforting and exciting. I love how the tart cherries cut through the richness of the chocolate, making each bite lively and satisfying. Whether I’m baking for a family gathering or just treat myself after a long day, they never fail to bring smiles. If you try this recipe, I’d love to hear how it turns out—do you prefer fresh cherries, frozen, or maybe even cherry preserves? Don’t forget to share your own twists and photos! Remember, baking is all about those little experiments and personal touches. Happy baking, and I can’t wait to hear how yours turns out!
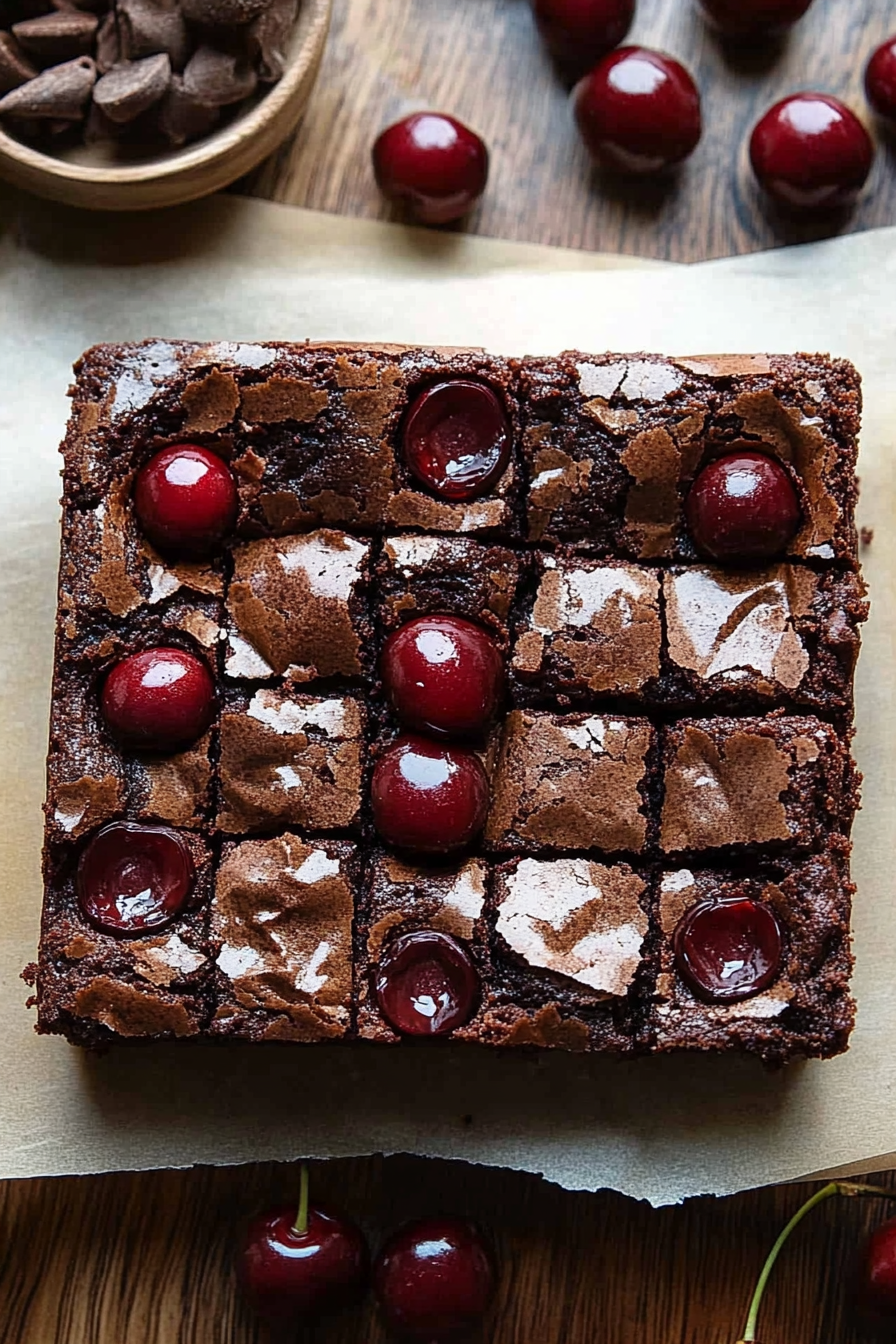
Chocolate Cherry Brownies
Ingredients
Method
- Preheat oven to 400°F. Line a baking sheet with parchment paper. Spread halved cherries on the sheet, sprinkle with sugar, and bake for 10 minutes. Set aside.
- Reduce oven temperature to 350°F. Spray a 9x9-inch baking dish with nonstick spray.
- Combine ½ cup chocolate chips and oil in a microwave-safe bowl. Microwave in 15-second intervals, stirring until melted.
- In a stand mixer, beat sugar, brown sugar, eggs, and vanilla on high for 5-6 minutes until light and doubled in size.
- Turn mixer to low and slowly pour in melted chocolate mixture, mixing until just combined.
- In a small bowl, whisk together flour, cocoa powder, and salt.
- Add dry ingredients to wet ingredients, mix until just combined. Fold in remaining chocolate chips and roasted cherries.
- Pour batter into prepared baking dish.
- Bake for 30-35 minutes until a toothpick inserted comes out with crumbs but no wet batter.
- Top with remaining roasted cherries. Cool before slicing and serving.