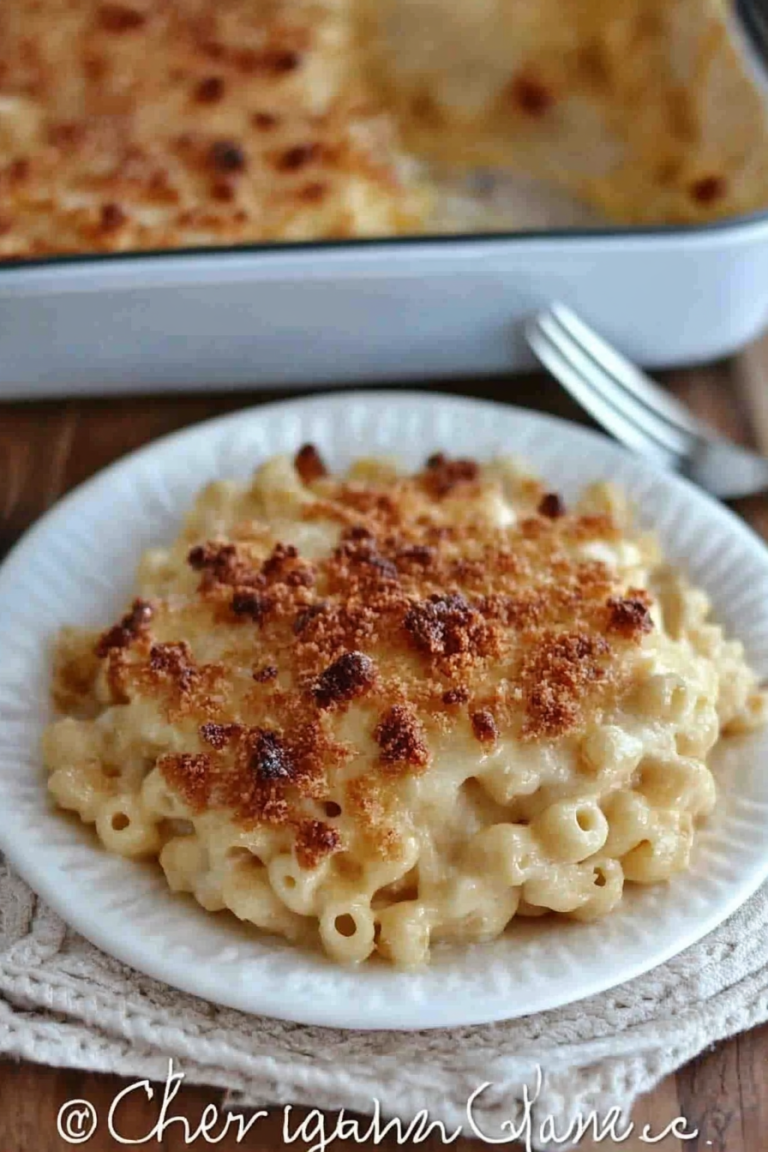
Savory Mac and Cheese with Gouda and Bacon
There’s just something about a bowl of warm, cheesy mac and cheese that instantly melts away any stress of the day. I remember as a kid, I’d sit at the kitchen table with a big spoon, fighting my little brother for the last cheesy bite. That gooey, creamy texture, mixed with that irresistible cheesy aroma — it’s a comfort food like no other. Over the years, I’ve experimented with different recipes, and I think I’ve finally nailed the perfect version that’s rich, flavorful, super easy to make, and guaranteed to disappear fast at my house. Honestly, this mac and cheese is what I turn to when I want something indulgent but still simple enough to whip up on a busy weeknight. Trust me — once you try it, it’s going to become your go-to comfort meal, too!
What Is Mac and Cheese?
Think of mac and cheese as that cozy, cheesy hug on a plate. It’s essentially pasta baked or simmered in a creamy cheese sauce — a dish that’s both nostalgic and downright delicious. Its origins are thought to trace back to European comfort foods, but here in America, it’s worn the crown as the ultimate family favorite. The name itself is straightforward: macaroni (short pasta tubes) and cheese (the star ingredient). But what really makes it special is the blend of cheeses, the texture of the sauce, and how it brings everyone to the table. My version is a little twist on traditional recipes — I like adding a touch of Dijon mustard and a sprinkle of crispy breadcrumbs on top for that perfect crunch. It’s a dish you can’t go wrong with — perfect for satisfying everyone, from picky kids to cheese lovers like me.
Why you’ll love this recipe?
What I love most about this mac and cheese is how it hits that sweet spot between creamy, cheesy, and comforting. The flavor is rich without being overpowering — think smooth, gooey cheese enveloping perfectly cooked pasta. It’s honestly like the dish I’ve been dreaming of since childhood, but made even better with a few tricks I’ve learned along the way. Plus, it’s crazy easy to make — if you can boil water, you can make this! The ingredients are budget-friendly, often things I already have sitting in my pantry and fridge, making it super economical too. And let’s talk versatility — you can add cooked bacon, extra veggies, spicy jalapeños, or even swap out cheeses to customize it exactly how you like. This recipe is a lifesaver when I’m short on time but craving something soul-satisfying. My kids ask for this all the time, and honestly, I don’t mind because I know it’s a winner! Honestly, this dish has become a staple at my house, perfect for cozy nights, potlucks, or just when I need a little comfort.
How to Make Mac and Cheese
Quick Overview
This recipe is my secret weapon for a quick, creamy, cheesy mess that everyone loves. You start by boiling your pasta until al dente, then making a luscious cheese sauce on the stove — it’s basically melting cheese into warm milk or cream, with a few flavor punchers thrown in. I like to mix in some Dijon mustard and a dash of smoked paprika for depth. Once the sauce is ready, you toss your cooked pasta in, layer everything in a baking dish if you want that crispy topping, sprinkle some bread crumbs, and pop it in the oven. The whole process is straightforward and forgiving — perfect for busy weeknights or lazy weekends. The magic comes from how everything melds together in the oven, developing that irresistible golden crust on top. Trust me, once you make this once, you’ll be hooked!
Ingredients
For the Pasta:
– 1 pound of your favorite pasta (elbow macaroni is classic, but penne or shells work too). I always do this when I’m in a hurry — no fancy pasta needed! Just avoid anything too thin or delicate, because they can get mushy.
What is the cheese sauce?
– 2 cups whole milk or heavy cream (I tested with almond milk and it actually made it even creamier, so go for what you love!)
– 3 tablespoons butter
– 3 tablespoons all-purpose flour
– 2 cups shredded cheddar cheese (sharp or mild, depending on your taste)
– ½ cup grated Parmesan cheese
– 1 teaspoon Dijon mustard
– Salt and freshly ground black pepper to taste
– A pinch of smoked paprika or cayenne for a little heat (totally optional but worth it!)
For the Topping (Optional but highly recommended):
– ½ cup breadcrumbs (panko breadcrumbs give a lovely crunch)
– 2 tablespoons melted butter
– A pinch of dried herbs or garlic powder for flavor
Step-by-Step Instructions
Step 1: Preheat & Prep Pan
Set your oven to 375°F (190°C). Grease a baking dish with butter or non-stick spray. Boiling pasta in salted water while you prepare your sauce will save time — I always do this when I have a busy evening ahead. Keep your pasta a bit undercooked because it’ll finish cooking in the oven.
Step 2: Mix Dry Ingredients
In a small bowl, mix your flour and a pinch of salt. This will help thicken your cheese sauce and prevent lumps. I’ve learned to whisk the flour into the melted butter quickly so it doesn’t clump — trust me, this makes all the difference.
Step 3: Mix Wet Ingredients
In a saucepan over medium heat, melt your butter. Once sizzling, whisk in the flour mixture and cook for about 1-2 minutes until smooth. Slowly pour in the milk or cream while whisking constantly. Keep the heat on medium, and continue whisking until the mixture thickens a little — about 5 minutes. Don’t rush this step; patience makes for a silky sauce.
Step 4: Combine
Lower the heat and stir in the Dijon mustard, paprika, salt, and pepper. Now, add the shredded cheeses gradually, stirring until each addition melts before adding more. The cheese should melt into that velvety goodness. If it’s clumpy, just keep stirring — it’ll come together. Avoid boiling once the cheese is in to prevent a stringy mess.
Step 5: Prepare Filling
Drain your pasta and toss it into the cheese sauce, making sure everything is coated beautifully. If you want to get fancy, stir in cooked bacon bits or sautéed veggies here. This is your base — the kind of dish that’s flexible for whatever you’ve got on hand.
Step 6: Layer & Swirl
If you’re baking this, pour the cheesy pasta into your prepared dish. For a lovely marbled look, I like spooning dollops of the cheese sauce and swirling it gently with a skewer or knife. It creates pretty ribbons of cheese — looks fancy, but totally effortless!
Step 7: Bake
Sprinkle your breadcrumb mixture evenly over the top. Bake uncovered for 20-25 minutes until bubbling around the edges and the topping turns golden. If you love a crispier crust, turn on the broiler for the last 2 minutes — but keep a close eye so it doesn’t burn.
Step 8: Cool & Glaze
Let your baked mac and cheese cool for about 5 minutes before serving. This helps it set a bit and makes for easier slicing. If you like, drizzle a little extra melted butter or sprinkle some chopped herbs on top for presentation. The smell alone at this point is enough to make everyone impatient!
Step 9: Slice & Serve
Your best bet is to use a sharp knife or spatula to cut perfect squares. Serve hot, maybe with a simple green salad, or even a slice of crusty bread. I love serving this family-style right on the tray — cozy and casual. And honestly, once you try it, I bet you’ll be making this weekly.
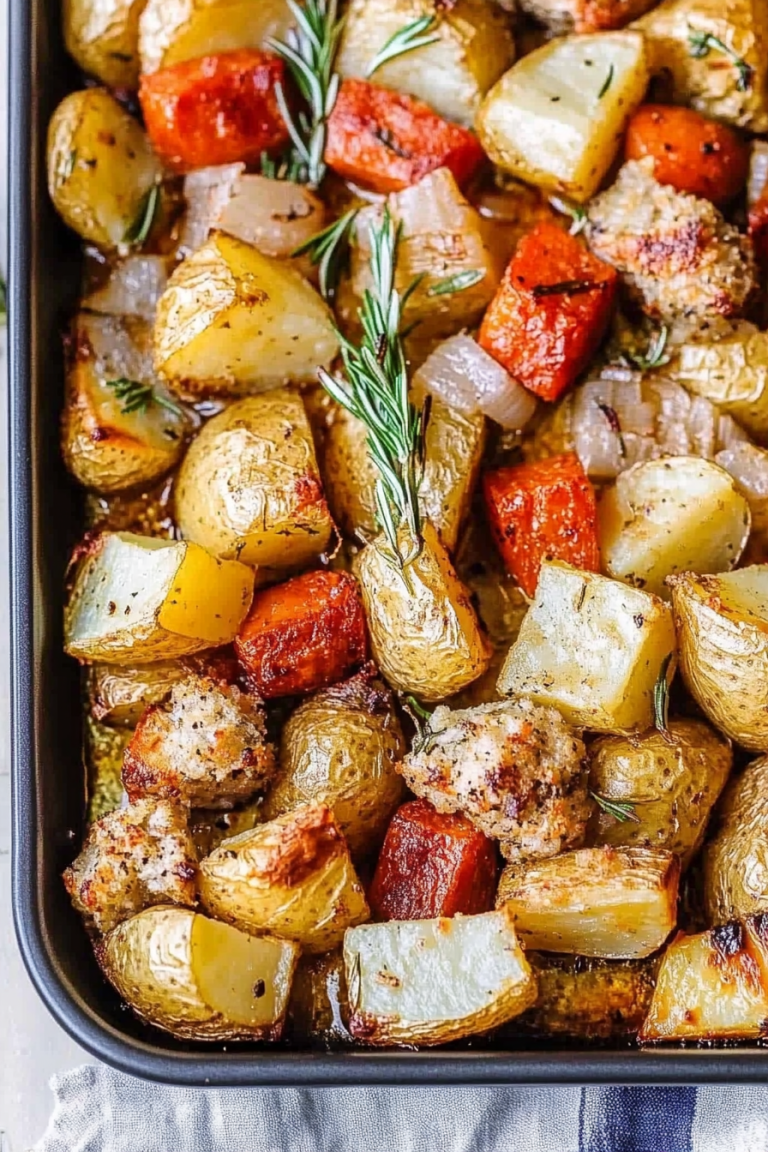
What to Serve It With
This mac and cheese is pretty much a meal in itself, but to make it even more special, I love pairing it with some fresh green salad — mixed greens tossed with a tangy vinaigrette pair perfectly to cut through the richness. For brunch or a lazy weekend, I’ll sometimes serve it with roasted veggies or a simple garlic bread. If I have leftovers, I like slicing it up and sticking it in the oven with a little extra cheese on top — it gets crispy and even more irresistible. My kids are totally happy eating it just as it is, but I also love adding sliced tomatoes or a sprinkle of chopped chives for extra freshness. Honestly, this dish is a whole vibe — comfort food that hits all those nostalgic notes while still feeling fresh and homey.
Top Tips for Perfecting Your Mac and Cheese
If you’ve ever had lumpy cheese sauce or pasta that’s come out too soft or undercooked, don’t worry — here are some of my tried-and-true tips to make sure your mac and cheese is perfection every single time:
Zucchini Prep: I sometimes sneak in grated zucchini to boost nutrition and keep it super moist. Just squeeze out any excess moisture after grating — you don’t want watery sauce!
Mixing Advice: Always add the cheese gradually and stir continuously. Avoid overheating once the cheese is in, or you risk curdling or stringiness. Patience is key—think velvety, not stringy!
Swirl Customization: For a prettier marbled effect, I use a toothpick or skewer to swirl the cheese in dollops on top before baking. It looks fancy but is so easy to do.
Ingredient Swaps: Love smoky flavor? Swap out some cheddar for smoked gouda. Want a sharper punch? Mix in a bit of blue cheese or Pepper Jack. Just keep the ratios balanced, so the sauce stays creamy.
Baking Tips: Always test for doneness by probing the center with a toothpick — it should come out hot and gooey but not runny. Middle rack is best for even heat. Watch adding the topping — too early and it may burn; too late, and it won’t crisp up.
Glaze Variations: For a sweet or spicy twist, sprinkle some hot sauce or honey into the glaze before baking. Or, replace breadcrumbs with crushed potato chips for an extra crunch. My best tip? Keep tasting and adjusting — cooking is just like life; sometimes, it’s all about the little tweaks!
Over the years, I’ve learned a ton about perfecting this dish. The biggest lesson? Trust your senses. Milk should be warm, cheese should melt smoothly, and the aroma… oh, the aroma should make your kitchen feel like a cozy paradise. Don’t rush the sauce stage — that’s where the magic happens. And don’t be afraid to experiment — I’ve tried all kinds of cheeses, and every variation has its own charm. Just keep it creamy, cheesy, and full of love, and you’ll end up with a dish that makes everyone’s eyes light up.
Storing and Reheating Tips
This mac and cheese is just as good the next day — if you have any leftover, that is! Store leftovers in an airtight container in the fridge for up to 3 days. I prefer letting it cool completely before putting it away, so the cheese doesn’t get too watery. When reheating, I sprinkle a splash of milk or a little extra cheese, cover the dish with foil, and heat it in the oven at 350°F (175°C) for about 15 minutes until hot and bubbly. Microwave lovers can scoop out individual portions, add a tiny drizzle of milk, and microwave in 30-second bursts, stirring in between. If the top gets a bit dry, a quick splash of water or broth will bring it back to life. Some people even like to crisp it up in a hot skillet for a few minutes — and let me tell you, that added crunch is a game-changer!
Frequently Asked Questions
Final Thoughts
If you ask me, this mac and cheese isn’t just a dish — it’s a little piece of home, a warm hug on a plate. Every cheesy, creamy bite brings a smile, whether I’m making it for my family, feeding friends at a dinner party, or sneaking some leftovers for myself. It’s one of those recipes I’ve perfected over the years, combining ease, flavor, and nostalgia into one perfect package. My hope is that you love it just as much as I do — maybe even more after a few tweaks of your own! So go ahead, pull out that pasta, crank up the cheese, and get ready for a cozy, cheesy adventure. Can’t wait to hear how yours turns out! Really, just dive in and enjoy every gooey, flavorful bite.
Creamy Baked Mac and Cheese with Bacon
Ingredients
Method
- Cook macaroni according to package directions. Drain and set aside.
- In a large saucepan, melt butter over medium heat. Whisk in flour and cook for 1-2 minutes until mixture thickens. Gradually whisk in milk and cream, cook until bubbling.
- Add salt, pepper, mustard, Worcestershire sauce, shredded gouda and cheddar cheeses. Stir until cheese melts and sauce is smooth.
- Combine cooked macaroni with cheese sauce. Transfer to a greased baking dish.
- Process bread slices in a food processor until fine crumbs. Mix with melted butter and sprinkle over macaroni. Top with crumbled bacon.
- Bake in a 375°F oven for 25-30 minutes until golden brown and bubbly. Serve hot.