Speedy Pressure Cooker Chili Recipe
There’s just something about chili that feels like a warm hug on a chilly day, right? I remember the first time I made this in my trusty Instant Pot — it was after a long day at work, and I was exhausted but craving that deep, hearty flavor. The smell alone made everyone in my house come rushing to the kitchen, eager for dinner. And can I just say? It’s a game-changer. This Instant Pot chili isn’t just about saving time — though it does that too — it’s about that perfect balance of smoky, spicy, and tender ingredients. My kids ask for this all the time, and honestly, I love how easy it is to prep in just a few minutes. It’s become a family favorite for busy weeknights, leisurely weekends, and even potluck parties. Trust me, once you see how effortlessly this comes together, you’ll never want to go back to plain stovetop chili. It’s a recipe I’ve been tweaking for years, and I’m so excited to share it with you today — buckle up, because you’re about to fall in love!
What is Instant Pot Chili?
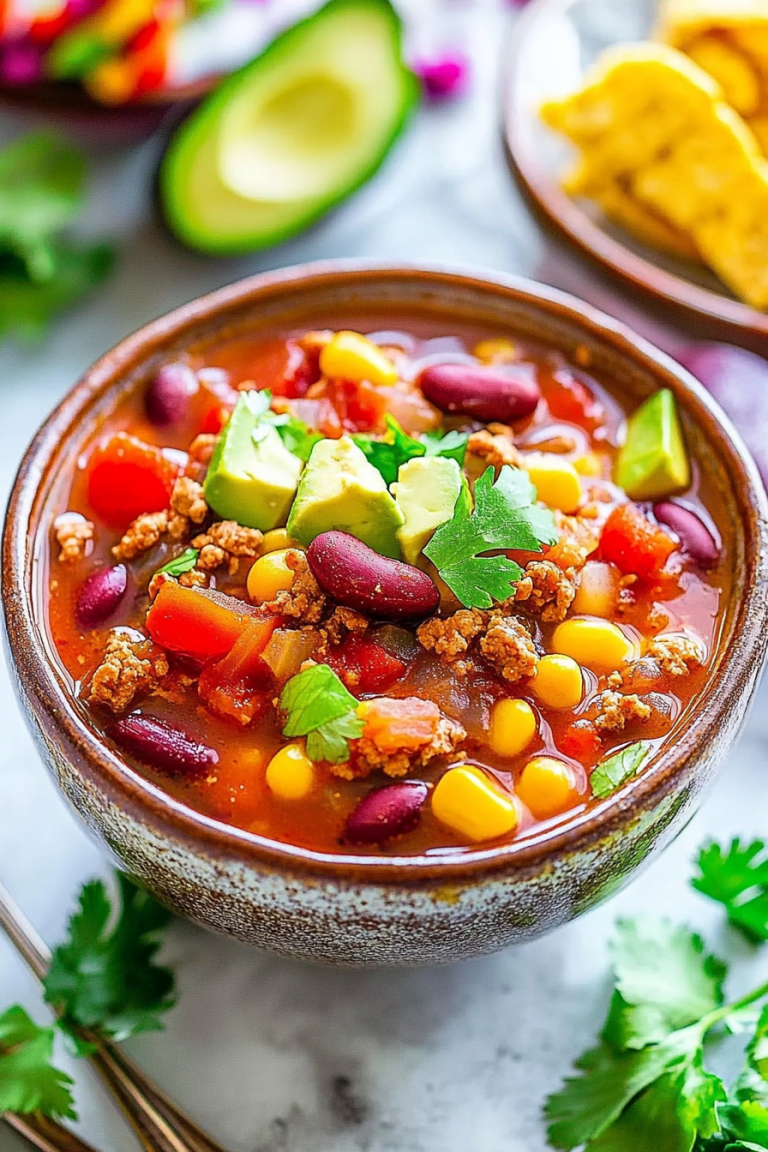
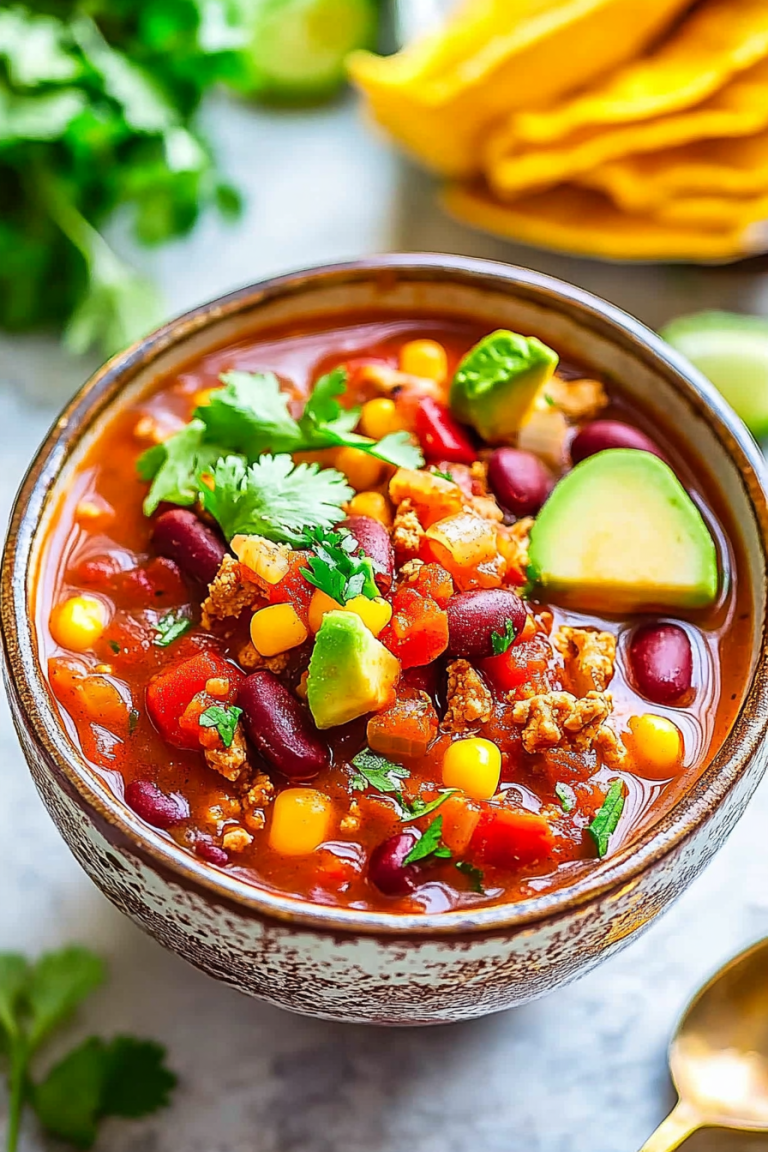
Think of Instant Pot chili as your cozy, all-in-one, fuss-free version of classic chili. It’s essentially a hearty stew made with ground meat, beans, tomatoes, and a blend of spices, but cooked under pressure to lock in flavor and tender goodness in a fraction of the traditional time. The name “chili” actually comes from the chiles used in the dish, but over the years, it’s become more about the comforting, spicy sauce that makes your taste buds dance. This version is a little bit like a warm-up for your soul — rich, slightly smoky, with just enough heat to keep things interesting, but adaptable to suit your spice preferences. What I love most about this recipe is how it all comes together in the Instant Pot — it’s almost like magic! You toss everything in, press a button, and in about 30 minutes, you have a bowl full of pure comfort. No fuss, no fussing, just deliciousness in a bowl. It’s perfect for cozy nights and lazy weekends when you want the best without the stress.
Why you’ll love this recipe?
Honestly? There are so many reasons to fall for this Instant Pot chili. First off, the flavor is unbeatable — a deep, smoky richness that develops from those caramelized onions and spiced ground meat, all sealed in within the pressure cooker. The second reason? It’s crazy simple. If you’ve ever been intimidated by traditional chili recipes that involve simmering for hours, this one’s a lifesaver. Just chop, toss, and forget. Plus, it’s super budget-friendly; hearty ingredients like beans, tomatoes, and ground beef don’t cost a bomb, and you probably already have some of these staples in your pantry. This chili is endlessly versatile, too — serve it over rice or with cornbread, make a big batch for freezing, or even turn it into chili tacos by topping warm tortillas with a spoonful. What I love most about this is how forgiving and adaptable it is. Over the years, I’ve tested it with extra peppers, different beans, and even a splash of beer — every variation just makes it better in my book. It’s a perfect staple that you can tweak to your mood and taste buds, making it your very own signature dish.
How do you make an Instant Pot Chili?
Quick Overview
This Instant Pot chili is as easy as it sounds — perfect for busy weeknights. You start by sautéing some aromatics in the pot, add ground meat and spices, then toss in canned tomatoes and beans. Close the lid, set it to high pressure for about 15-20 minutes, and let the magic happen. Once done, you do a quick release, and boom — cozy, flavorful chili ready to go! What makes this method special is how it develops so much flavor in such a short time. There’s no need for hours of simmering on the stove or crockpot fussing. It’s just toss, press, and wait while you relax in your kitchen. Plus, cleanup is minimal, which I always appreciate after a busy day!
Ingredients
For the Main Hearty Base:
- 1 lb ground beef or turkey — I prefer beef for that classic richness, but turkey works well for a lighter version.
- 1 can (14 oz) diced tomatoes with their juice — look for fire-roasted for extra smoky flavor.
- 1 can (15 oz) kidney beans or black beans — drained and rinsed.
- 1 medium onion, diced — I always do this first when I want to make the house smell amazing.
- 3 cloves garlic, minced — fresh garlic makes a huge difference.
- 2 tablespoons chili powder — adjust to your spice preference.
- 1 teaspoon smoked paprika — for that smoky depth.
- 1 teaspoon cumin — for that warm, earthy flavor.
- Salt and pepper to taste.
Optional but Recommended:
- 1 diced green chili or jalapeño — for a little extra kick.
- 1 teaspoon oregano or smoked herbs.
- Dash of hot sauce or cayenne pepper if you like heat.
For Toppings:
- Shredded cheese, sour cream, chopped cilantro, diced onions, jalapeños — the usual suspects that make each bite better.
Step-by-Step Instructions
Step 1: Preheat & Prep Pan
Turn your Instant Pot to sauté mode. Add a splash of olive oil, then toss in your diced onions and garlic. Let them cook gently until they’re fragrant and translucent — about 3-4 minutes. Don’t rush this step; building that aroma is key! I always do this first because it sets the foundation for that deep flavor you want in every spoonful.
Step 2: Mix Dry Ingredients
In a small bowl, mix your chili powder, cumin, smoked paprika, and salt. This helps evenly distribute those spices when you add the meat. It’s like seasoning the meat in advance — more flavor, less seasoning surprises later.
Step 3: Mix Wet Ingredients
In a separate bowl, combine the diced tomatoes with their juice. If using fresh tomatoes, it’s worth adding a tiny splash of water or broth to keep things juicy, but canned work perfectly here.
Step 4: Combine
Add the ground beef to the sautéed onions and garlic. Break it apart with your spoon or spatula. Cook until browned, about 5-7 minutes. Toss in the spice mixture, stir well, and cook for another minute so the flavors meld. Then, pour in the diced tomatoes and add the beans. Give everything a good stir to combine — don’t overmix, but make sure it’s all evenly coated.
Step 5: Prepare Filling
In the middle of your pot, create a little space and add optional chopped chili or jalapeños if you like it spicy. I love the visual pop of color and the extra heat. It’s completely optional, but trust me — it elevates the dish.
Step 6: Layer & Swirl
No fancy marbling here, but a gentle swirl helps distribute the flavors before sealing the lid. Make sure your lid is locked tight, and set the pressure valve to sealing position.
Step 7: Bake
Set your Instant Pot to high pressure for about 15 minutes. Once it’s done, do a quick release — carefully turn the valve to let the steam escape. The timer’s short but will give time for those flavors to deepen and the meat to become melt-in-your-mouth tender.
Step 8: Cool & Glaze
Open the lid, give it a gentle stir, and let it sit for a few minutes to settle. If you like a thicker chili, you can do a quick sauté to reduce some liquid. For a finishing touch, spoon in the toppings of your choice. I usually sprinkle shredded cheese and fresh cilantro — it brightens everything up!
Step 9: Slice & Serve
Serve your chili hot, straight from the pot or in beautiful bowls. It’s fantastic topped with a dollop of sour cream or a squeeze of lime. Pair it with cornbread, crusty bread, or just enjoy it solo. The leftovers? They taste even better the next day, after the flavors have a chance to mingle overnight. Trust me on this one — it disappears in minutes at my house, and I always make a double batch.
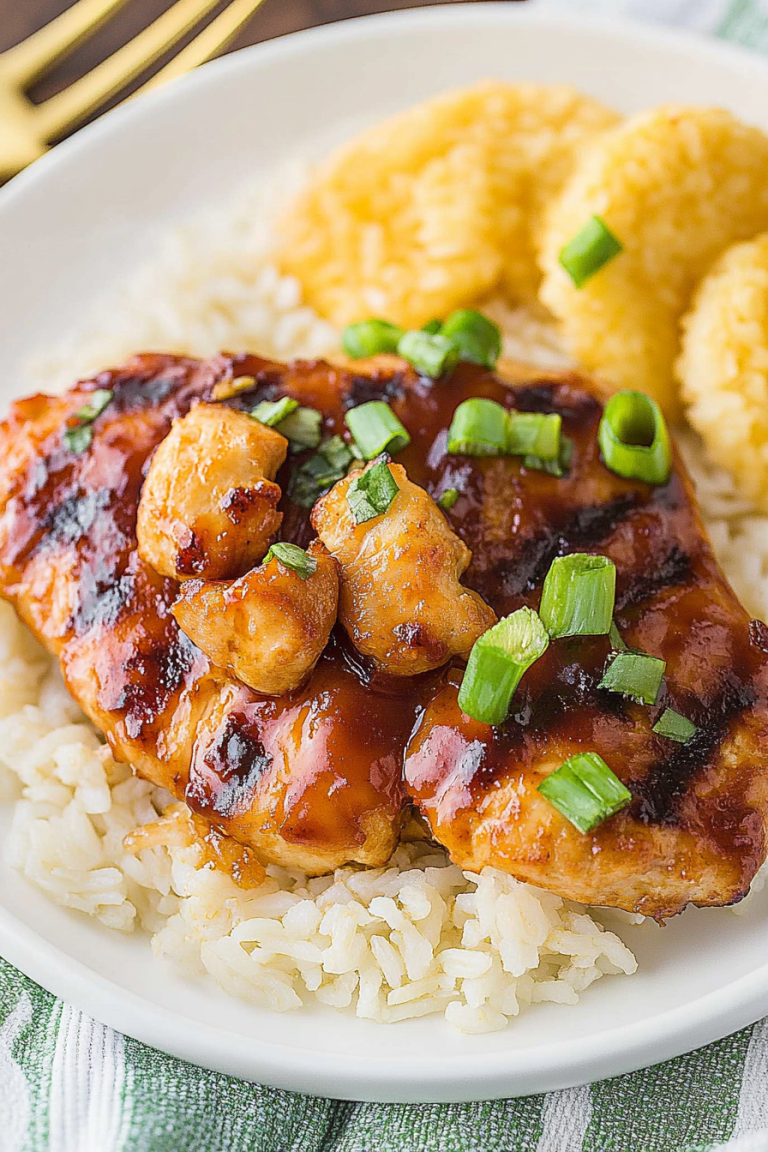
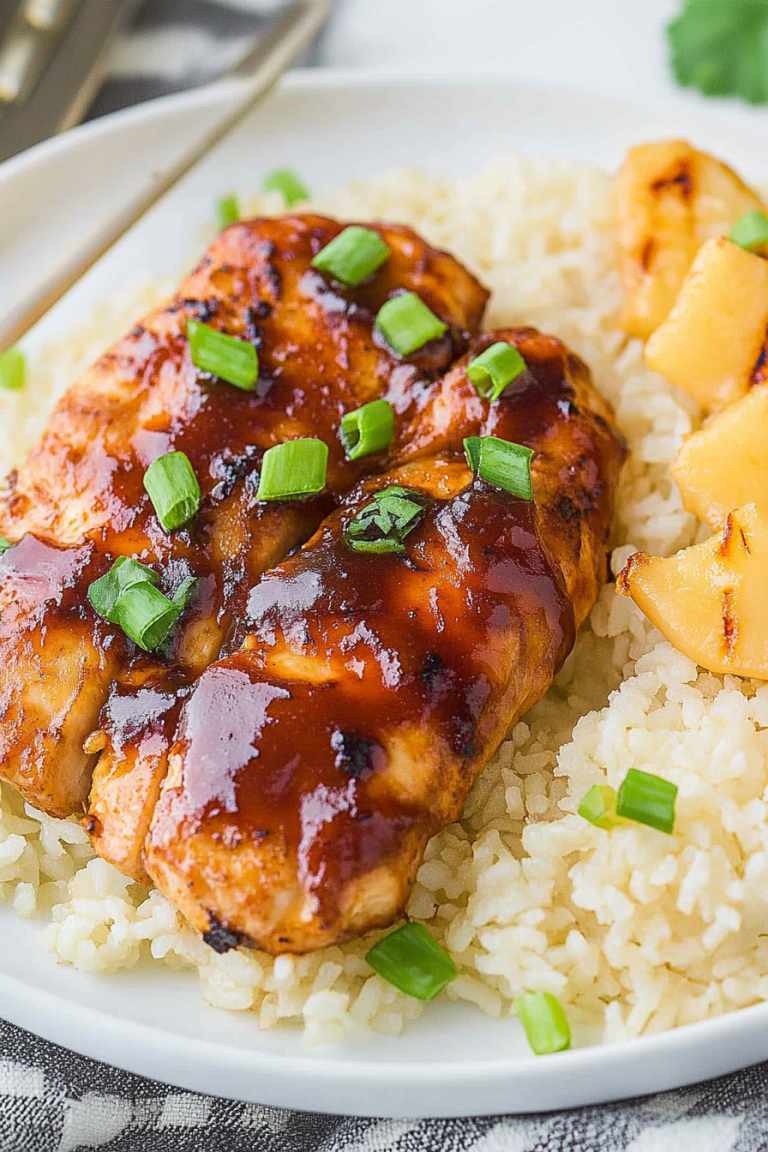
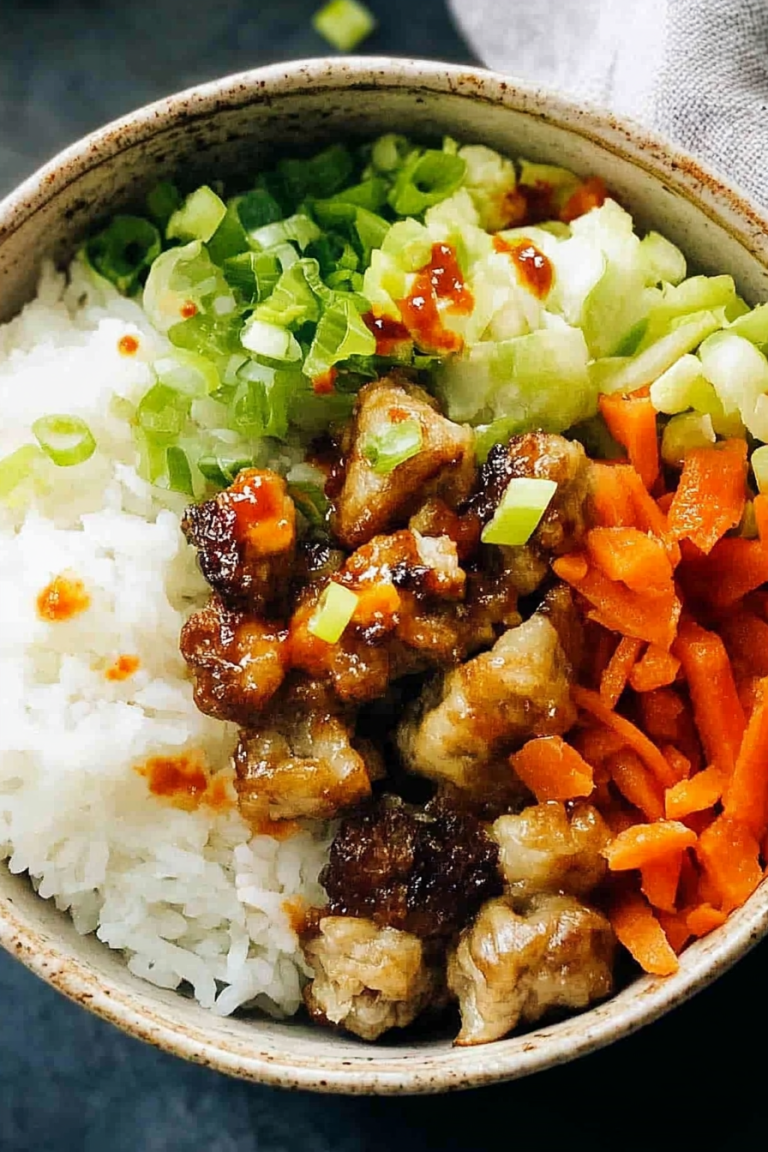
What to Serve It With
This chili is so versatile, it can be the star of your breakfast, lunch, or dinner lineup. For breakfast, try topping it with a fried egg and some avocado slices for a hearty start — I’ve done it before, and let me tell you, it’s a revelation. During brunch, serve it with homemade cornbread or warm tortillas, drizzled with a little fresh lime. For dinner, it’s perfect on its own, or spooned over brown rice or baked potatoes for extra heartiness. My family loves it as a cozy, casual dinner, but I also bring it to potlucks, where it’s always met with enthusiastic bowls of goodness. And if I have leftovers, I freeze it in individual containers — just reheat and enjoy, no fuss. This dish is a real crowd-pleaser, and it’s become my go-to for those busy nights when I want something satisfying, fast, and full of love.
Top Tips for Perfecting Your Instant Pot Chili
Here’s the scoop from years of experimenting in my kitchen. First, don’t overlook the importance of browning your meat well — that caramelized flavor makes all the difference. If you’re short on time, you can skip the sauté step and go straight to adding everything in, but I promise the flavor won’t be quite as deep. When mixing your spices, toast them briefly in the hot meat for a richer aroma. If you want more smoky flavor, toss in a bit of chipotle powder or smoked paprika. I’ve found that the amount of beans can be customized — I often add extra for a vegetarian version or mix in little corn kernels for a touch of sweetness. A helpful tip is to let the chili rest for about 10 minutes after cooking; it helps thicken the sauce and intensifies the flavors. For toppings, fresh herbs, cheese, and a squeeze of lime are my defaults, but I’ve tested it with hot sauce, chopped pickled jalapeños, and even a splash of beer in the initial cooking — it all works beautifully. Remember, every Instant Pot is different, so keep an eye on the timing—if it’s not quite tender enough, just add a few more minutes under pressure. Happy experimenting!
Storing and Reheating Tips
This chili keeps like a dream. Store leftovers in an airtight container in the refrigerator for up to 4 days — I usually use glass containers because they’re the easiest to reheat and contain all those flavors. If you want to keep it longer, freeze it in portions — about 2-3 months maximum. Just defrost it overnight in the fridge, then reheat on the stove or in the microwave. To reheat, I like to warm it slowly on the stovetop, stirring occasionally, and sometimes I add a splash of broth or water if it’s thickened too much. When reheating, taste for seasoning — sometimes a pinch of extra salt or spice brightens it right up. As for the glaze, I always prefer to add a fresh drizzle only when I serve it — especially if it’s been frozen or stored a few days. That way, it stays bright and fresh, much like the day I made it.
Frequently Asked Questions
Final Thoughts
This Instant Pot chili has truly become one of my favorite recipes to whip up when I want something hearty, flavorful, and stress-free. It’s one of those dishes that tastes even better the next day — if it lasts that long! I love how flexible and forgiving it is, and the whole house smells amazing while it cooks. Whether you’re cooking for a weeknight dinner, a cozy weekend meal, or a gathering with friends, this chili always hits the spot. Plus, it’s easily adaptable, so don’t hesitate to experiment with flavors or toppings. I really hope you try it and that it becomes a new staple in your kitchen like it is in mine. Feel free to share your modifications, questions, or just let me know how your version turns out — I love hearing from fellow chili lovers! Happy cooking, and enjoy every comforting, spicy spoonful.
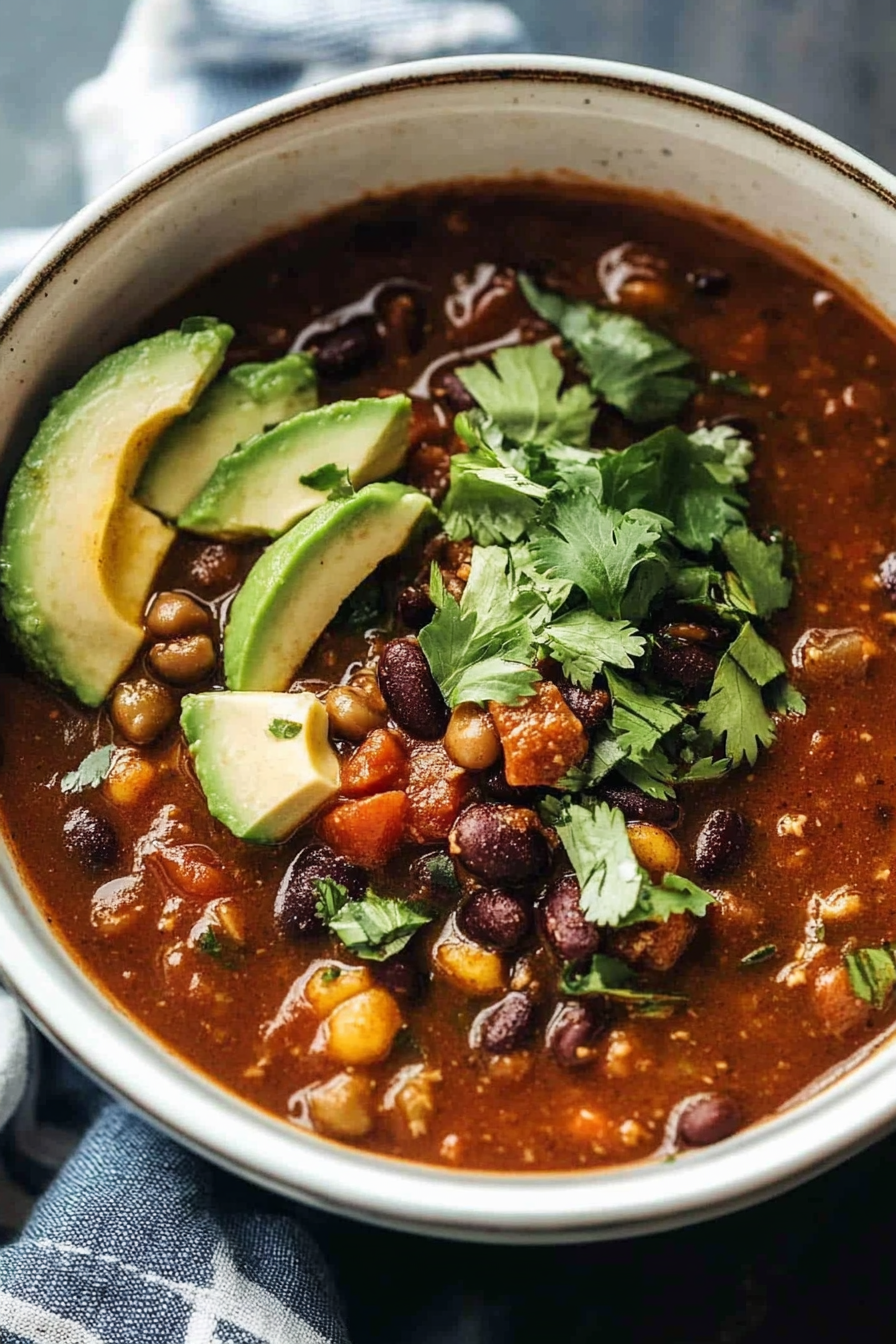
Instant Pot Chili with Vegetables
Ingredients
Method
- Set the Instant Pot to sauté mode. Add onions and garlic; cook until translucent.
- Add chopped bell peppers, tomatoes, chili powder, cumin, paprika, and salt. Stir well.
- Add black beans and corn. Pour in vegetable broth and stir to combine.
- Close the lid, set to manual high pressure for 15 minutes. Once done, let the pressure release naturally.
- Open the lid, stir the chili, and serve hot with optional toppings like shredded cheese or sour cream.