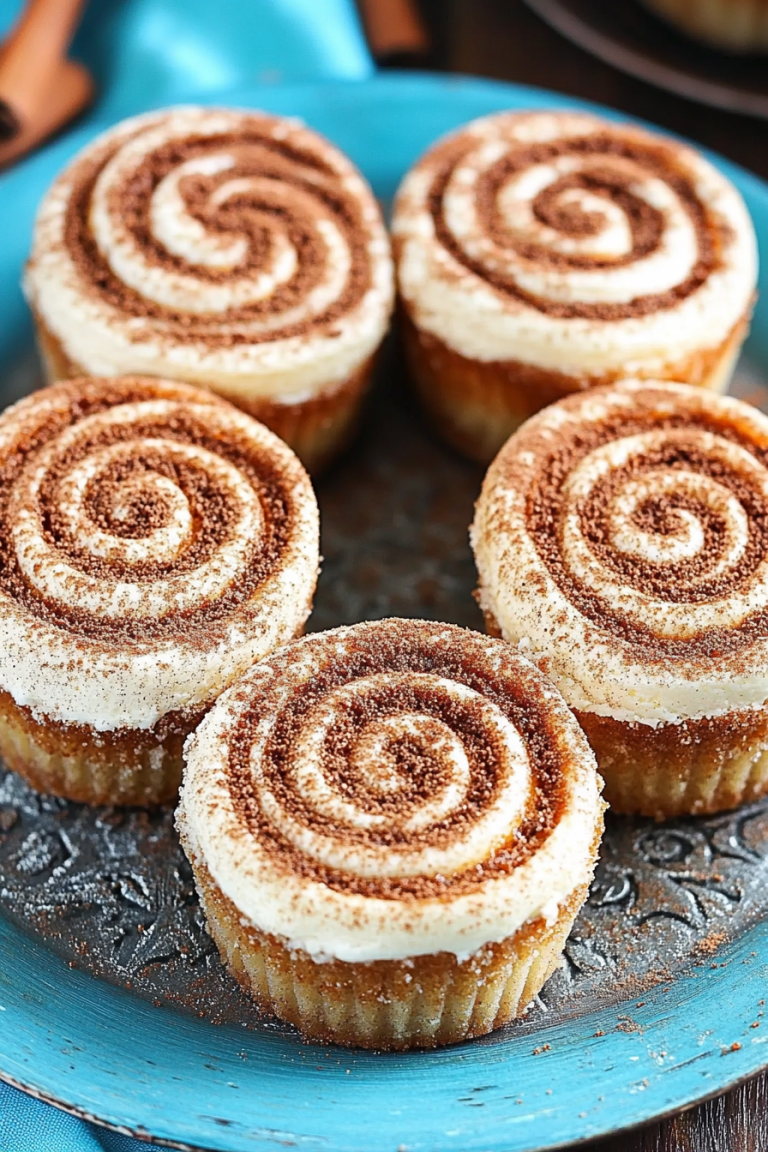
Sweet Caramel Apple Cookie Cups How To
I remember the first time I ever made these caramel apple cookies — it was a chilly fall afternoon, and I had just carved a bunch of apples from my backyard tree. The smell of cinnamon and fresh apples filled my kitchen, and suddenly, I knew I wanted to create something that would warm everyone up and make the house smell like comfort itself. These cookies are my go-to for cozy weekends, perfectly blending tart apples, gooey caramel, and a tender cookie base that’s almost like a hug in every bite. They’re so easy to whip up, and honestly, they’ve saved me on busy weeknights when I crave something sweet but don’t want to turn on the oven for hours. My kids ask for these all the time — and I don’t blame them. They disappear in minutes at my house, especially when served warm with a glass of cold milk or a cup of coffee. Trust me on this one: once you try making caramel apple cookies, they’ll become a staple in your baking rotation too. Ready to get cozy in the kitchen? Let’s do this!
What is Caramel Apple Cookies?
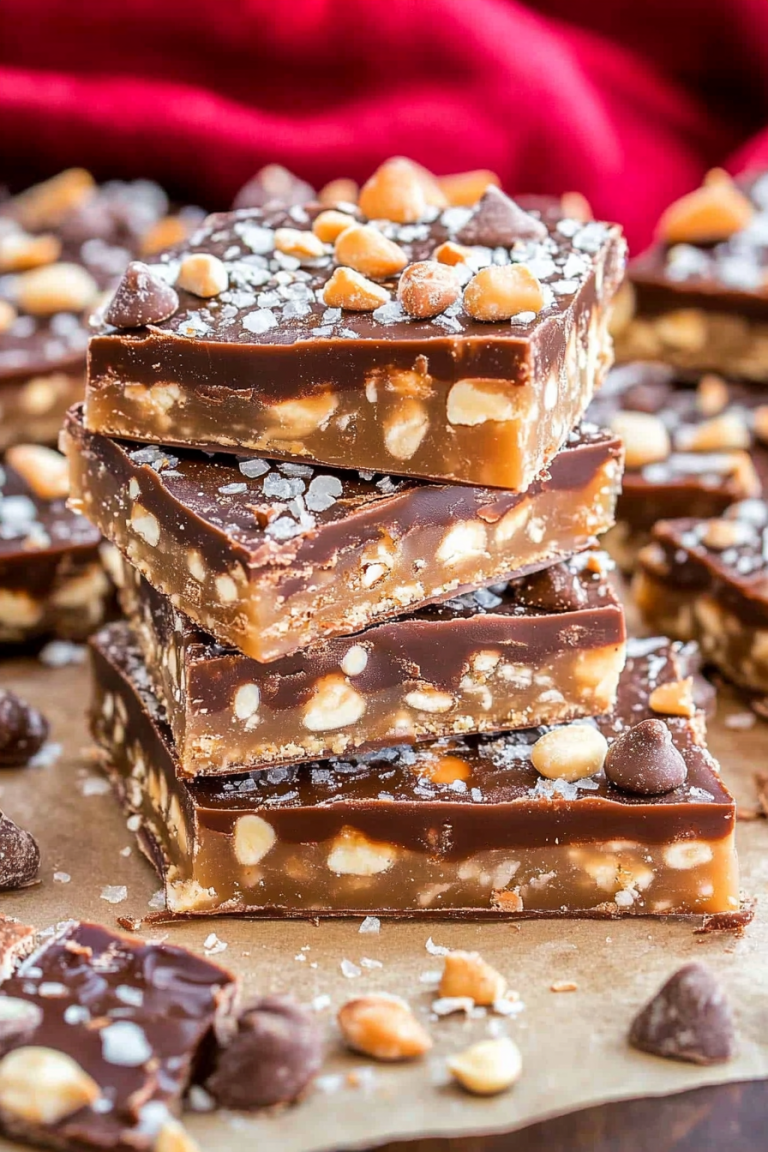
Think of caramel apple cookies as a delightful meeting of two classic treats—soft, chewy cookies and the irresistible flavors of caramel and fresh apples. It’s essentially a cookie dough infused with tiny bits of apple and swirled with gooey caramel, then baked to golden perfection. The name says it all: it’s a cozy, sweet, and slightly tart dessert that captures the essence of biting into a caramel-dipped apple, but in cookie form. The concept is pretty simple but oh-so-satisfying, making it perfect for both beginner bakers and seasoned chefs looking for a comforting, crowd-pleasing dessert. It’s the kind of recipe that tastes like fall in every bite, with the warmth of cinnamon, the slight crunch of baked apple edges, and pockets of caramel that melt in your mouth. I love how versatile it is, too — you can tweak the apples or caramel to suit different tastes or seasons. Basically, it’s like a warm hug wrapped in a cookie—who wouldn’t want that?
Why you’ll love this recipe?
What I love most about these caramel apple cookies is how they hit all the right notes—sweet, tart, chewy, and a little gooey, all in one. The flavor profile is just perfect: the bright tang of fresh apples balances out the rich, buttery cookie, with pockets of caramel giving that nostalgic, caramel-dipped apple sensation. And let me tell you, the smell alone when these are baking? Pure magic. It’s honestly hard to keep my family out of the kitchen until they’re fully cooled. They’re super simple, too — I’ve made these countless times, and they never fail. Trust me, they’re a lifesaver on busy nights when I need a quick dessert that impresses. Plus, the ingredients are budget-friendly, most of which I usually have at home already. The versatility here is a big win: serve them warm with a drizzle more caramel, or store for later and have a cozy snack on hand. These cookies are like comfort food in cookie form — I constantly find myself making a batch or two whenever the craving strikes. And don’t get me started on how they pair with coffee or tea — they’re addictive! If you’ve ever loved the combination of baked apples and caramel, you’re going to adore these.
How do you make caramel apple cookies?
Quick Overview
This recipe is a straightforward dance of combining buttery cookie dough with chopped apples and gooey caramel swirls. You start by prepping your apples and caramel, then fold everything into a simple cookie batter. The magic happens in the oven — they bake up soft and chewy with delicious pockets of caramel and apple bites. What makes this so special is how you get the perfect balance: a tender cookie that holds together without being dense, plus the luxurious caramel melt that turns every bite into an experience. These cookies come together quickly, which is perfect when you’re short on time but still crave something homemade and special. I promise, once your kitchen fills with that warm, cinnamon-scented air, you’ll be hooked! This method is forgiving, and I’ve even experimented with freezing the dough for later — perfect for last-minute gatherings or just whenever the craving hits.
Ingredients
For the Main Cookie Batter:
– 2 cups all-purpose flour (I always use unbleached for a richer flavor)
– ½ teaspoon baking soda
– ½ teaspoon salt
– 1 teaspoon ground cinnamon (because everything’s better with cinnamon)
– ¾ cup unsalted butter, softened
– 1 cup brown sugar (light or dark, I’ve tested both and love how it adds richness)
– ½ cup granulated sugar
– 1 large egg
– 1 teaspoon vanilla extract
– 1 cup finely chopped fresh apples (Granny Smith work beautifully—tart and firm)
For the Filling:
– 1 cup caramel bits or chopped caramel candies (Go for quality, melt easily, and taste amazing)
– 2 tablespoons milk or cream (to help the caramel melt smoothly)
– Optional: a pinch of sea salt for sprinkling on top
For the Glaze (optional but highly recommended):
– ½ cup powdered sugar
– 2-3 teaspoons milk
– ½ teaspoon vanilla
– Extra caramel drizzle for topping
Step-by-Step Instructions
Step 1: Preheat & Prep Pan
Start by preheating your oven to 350°F (175°C). Line a baking sheet with parchment paper or silicone baking mats — this prevents sticking and makes cleanup a breeze. If you want perfectly round cookies, you can also get out a cookie scoop and keep your hands slightly damp to prevent sticking when shaping the dough.
Step 2: Mix Dry Ingredients
In a medium bowl, whisk together the flour, baking soda, salt, and cinnamon. This ensures everything is evenly distributed, leading to consistent baking. Trust me, this step makes all the difference in how evenly your cookies rise and stay fluffy.
Step 3: Mix Wet Ingredients
In a large bowl, cream the softened butter, brown sugar, and granulated sugar until it’s light and fluffy — about 2-3 minutes with a hand mixer or stand mixer. Add the egg and vanilla, beating until well combined. I always taste the batter at this point just to make sure it’s sweet enough for my liking — because who can resist that? Then, gently fold in the chopped apples.
Step 4: Combine
Gradually add the dry ingredients to the wet, mixing on low speed just until they’re combined. Overmixing here can lead to dense cookies, so I always stop just when the flour streaks disappear. The batter will be thick and a little sticky, which is perfect.
Step 5: Prepare Filling
In a small saucepan, melt the caramel bits with the milk or cream over low heat, stirring constantly until smooth. You want a thick, pourable caramel sauce — if it’s too runny, just cook it a little longer. You can add a pinch of sea salt here if you like salty-sweet combos. Let it cool slightly so it doesn’t run out when you layer the cookies.
Step 6: Layer & Swirl
Scoop out dollops of cookie dough onto your prepared baking sheet. Using the back of a spoon or a piping bag, spread a little melted caramel over each cookie dough mound. Then, add a few more spoonfuls of dough on top and gently swirl it around with a toothpick or skewer to create marbled patterns. Don’t worry if it’s not perfect — the rustic look is what makes these extra charming!
Step 7: Bake
Pop them into your preheated oven and bake for about 10-12 minutes. The edges should be lightly golden, and the centers still soft — that’s what keeps them chewy. If you prefer crispier cookies, leave them for a minute or two longer, but I love them just slightly underdone so the insides stay moist and delicious.
Step 8: Cool & Glaze
Once baked, let the cookies cool on the baking sheet for about 5 minutes before transferring to a wire rack. If you’re using the glaze, whisk together powdered sugar, milk, and vanilla until smooth, then drizzle or spread over the cooled cookies. I often wait until they’re just warm to add extra caramel drizzle on top for that picture-perfect look.
Step 9: Slice & Serve
The best part? biting into one of these warm cookies and discovering pockets of caramel and bits of tart apple. Serve them slightly warm or at room temperature. For an extra indulgence, add a little sea salt on top while they’re still warm — it really elevates all the flavors.
What to Serve It With
Honestly, these cookies are a celebration on their own, but I love pairing them with a big mug of hot coffee or a comforting glass of cold milk. For brunch, I serve them alongside cinnamon-spiced oatmeal or a tangy apple cider. If I really want to impress, I’ll plate them on a wooden board with fresh apple slices and a little extra caramel for dipping—they’re beautiful and delicious that way. These cookies also make an incredible after-dinner treat, especially when topped with a dollop of whipped cream or a dusting of crushed nuts. And on cozy days, I hide a few for myself — because they taste just as good the next day, especially warmed up in the microwave for 10 seconds. Trust me, once you get the hang of making these, they’ll become your go-to fall or anytime treat. My family asks for these all year round now—I swear, they’ve become a little tradition around here!
Top Tips for Perfecting Your Caramel Apple Cookies
After baking these a dozen times, I’ve picked up a few tricks I’d love to share. First, when chopping the apples, choose firm, crisp varieties like Granny Smith or Honeycrisp—they hold up well during baking and add that tart punch I love. Before using, I always toss the chopped apples in a teaspoon of lemon juice; it keeps them bright and prevents browning. To avoid overmixing, I only stir the dry ingredients into the wet until just combined — this keeps the cookies tender.
Swirling the caramel can be a little tricky; I find that reheating the caramel slightly makes it more pourable and creates prettier, more even swirls. You can also experiment with adding a splash of bourbon or vanilla extract to the caramel or batter for a nuanced flavor. Don’t forget, the secret to that perfect chewy consistency is baking just until the edges turn golden but the centers are still soft—trust me, underbaking slightly pays off.
For ingredient swaps, you can try using coconut sugar instead of brown for a different sweetness profile, or almond flour for a gluten-free take (though I recommend tweaking the ratio slightly). As for the glaze, if you want more shine or sweetness, just add a pinch more powdered sugar or melt a little extra caramel to drizzle on top after baking. Honestly, each little tweak brings its own magic, and I’ve loved every experiment. The key is patience and tasting as you go—baking is like creating your own little piece of magic.
Storing and Reheating Tips
I’ve learned the hard way that these cookies are best enjoyed fresh but will stay delicious for a few days if stored properly. Keep them in an airtight container at room temperature for up to 3 days — just make sure to keep the caramel drizzle or glaze separate or add it just before serving to keep everything looking shiny and fresh. If you want to make them last longer, pop them into the fridge for up to a week, sealed tightly. I also freeze a batch for future cravings — just wrap each cookie individually in plastic wrap, then stash them in a freezer bag. When you’re ready to enjoy, let them thaw at room temperature for about 15-20 minutes or microwave for 10 seconds for that just-baked warmth. I do recommend adding the glaze or drizzle after thawing, because those toppings tend to get a little sticky when frozen. This way, you can enjoy a taste of fall any time of year, even if apples are out of season. Playing around with how you store and reheat them can make all the difference in preserving their soft, chewy texture and caramel goodness.
Frequently Asked Questions
Final Thoughts
There’s something truly special about these caramel apple cookies — they’re more than just dessert; they’re a warm hug in cookie form, a nostalgic nod to fall days and apple picking adventures. From their simple ingredients to the intoxicating aroma that fills your kitchen, every step feels cozy and rewarding. Whether you’re making them for family, friends, or a quiet moment just for yourself, I promise they won’t disappoint. I’ve shared countless batches with neighbors and took them to potlucks, and each time, they’re met with smiles and scraped plates. So, try these out — tweak the apples or caramel to match your mood — and let the comforting flavors take over. I’d love to hear how yours turn out, so don’t forget to leave a comment or share your variations. Happy baking, and may your kitchen be forever filled with the sweet smell of caramel apple goodness!
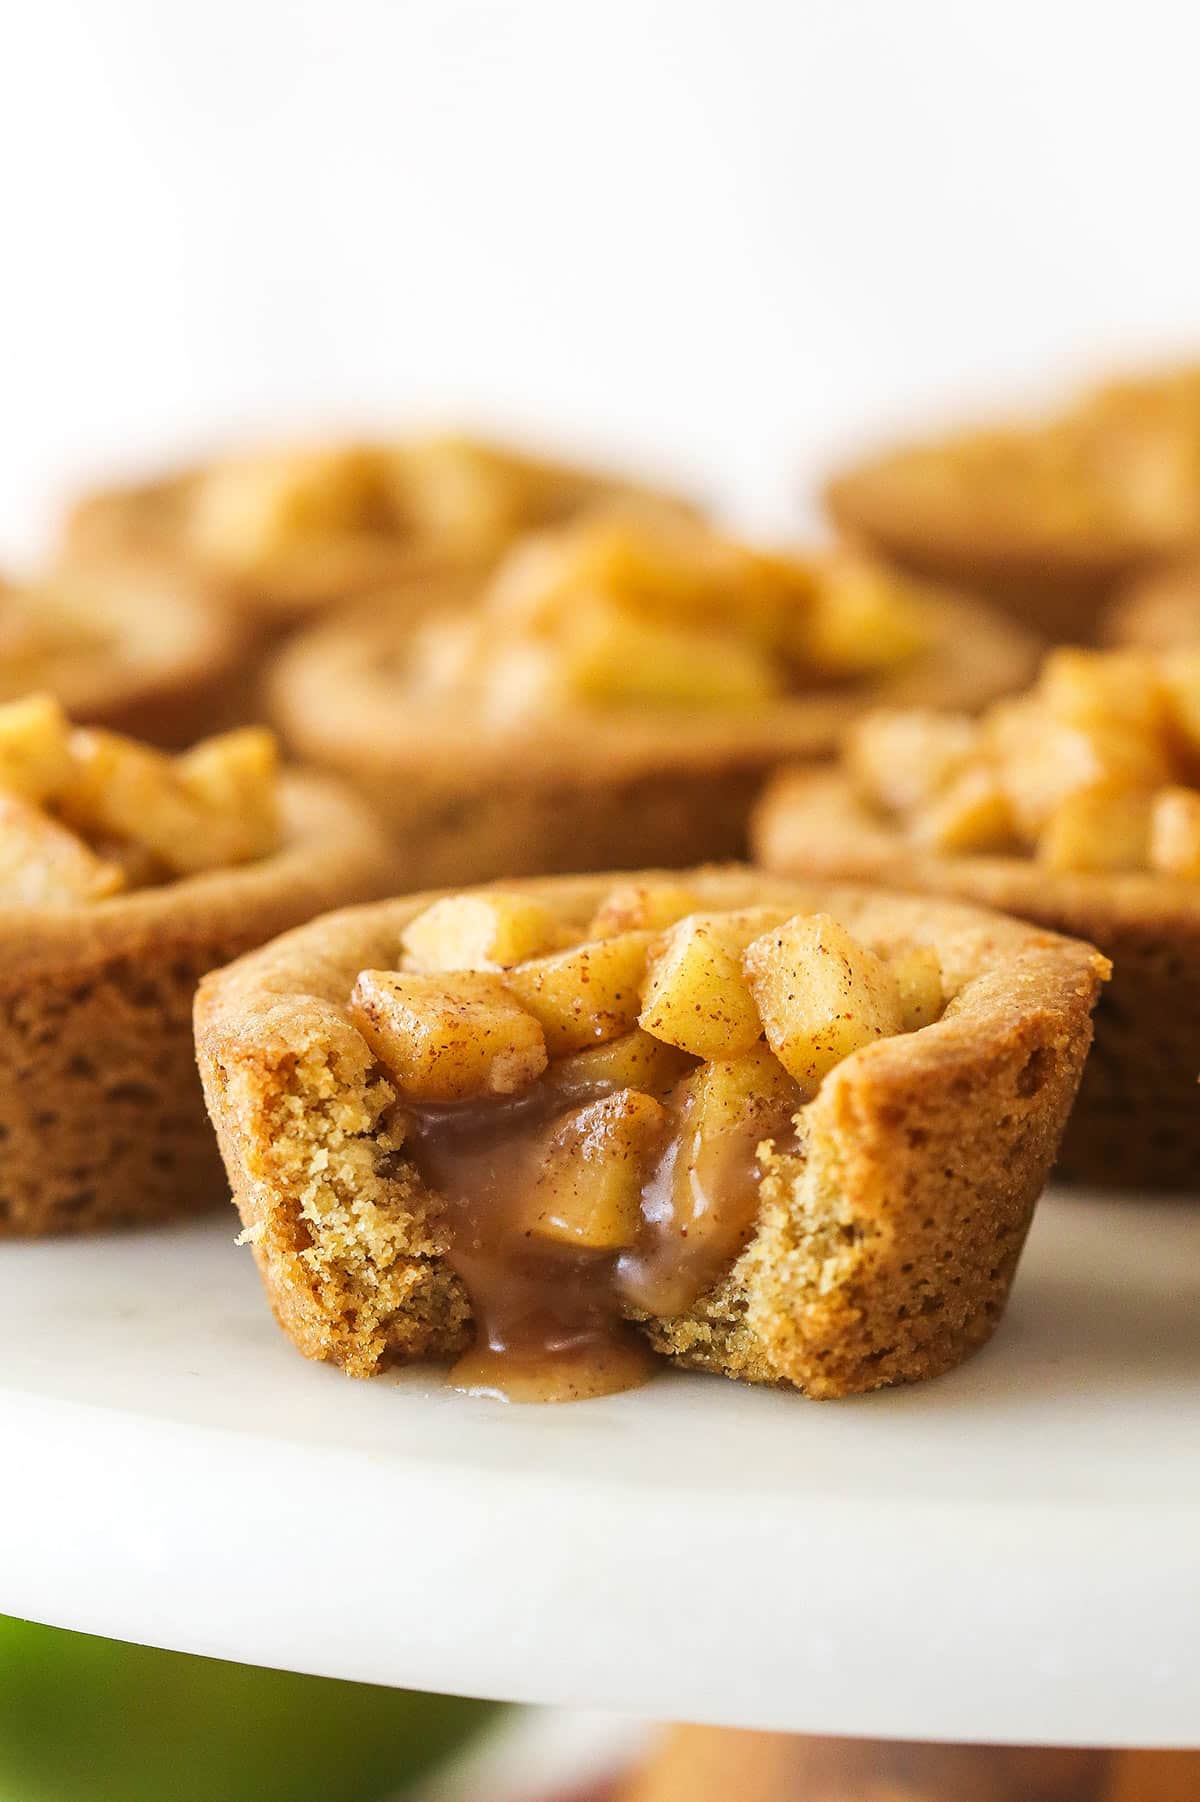
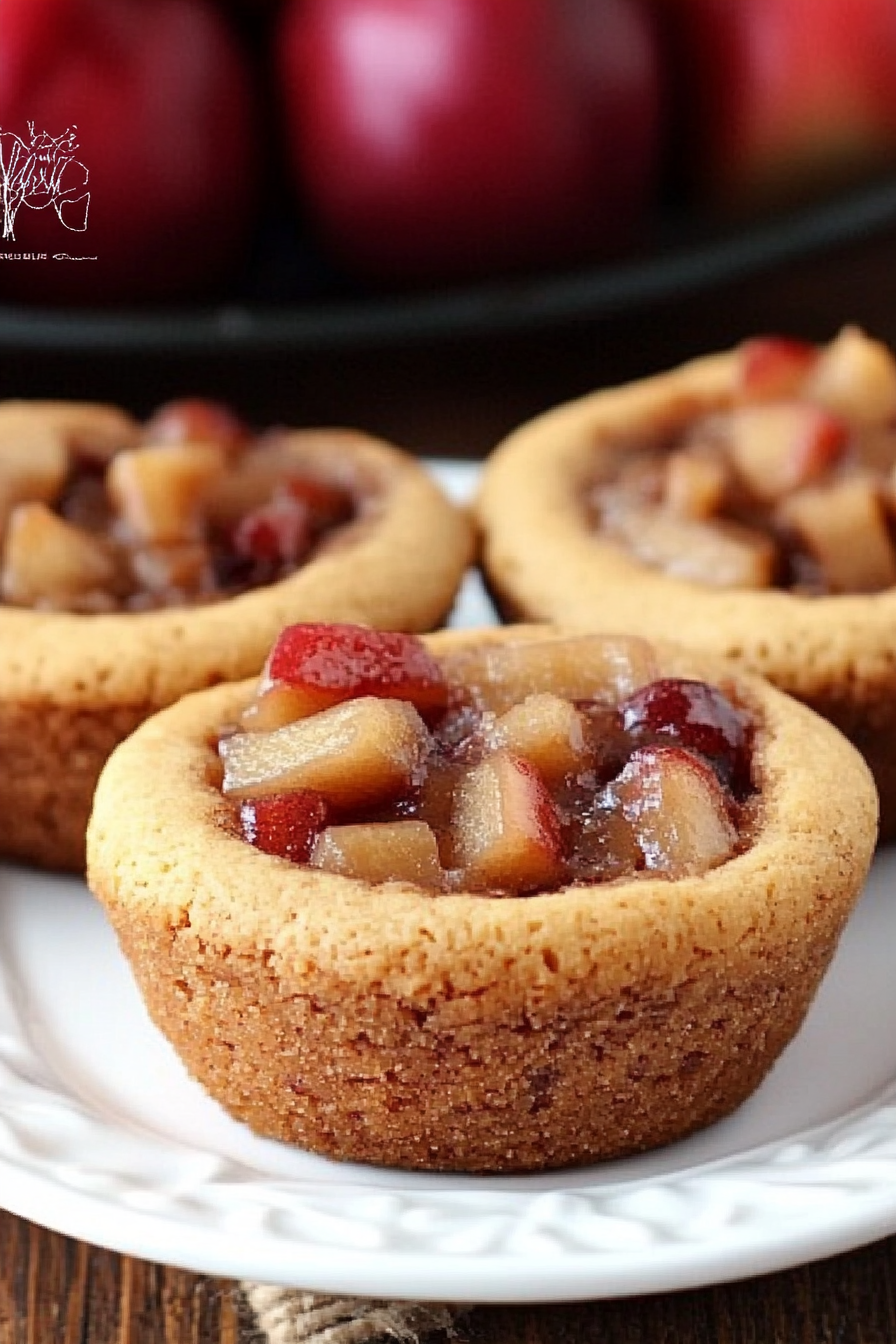
Caramel Apple Cookie Cups
Ingredients
Method
- Spray a cupcake pan with non-stick cooking spray. Preheat oven to 350°F.
- In a medium bowl, combine flour, baking soda, cinnamon, cornstarch, and salt. Set aside.
- Beat butter and sugars in a large bowl for 2-3 minutes until light and fluffy.
- Add egg and vanilla; beat until well combined.
- Gradually add dry ingredients to wet ingredients; mix until thick dough forms.
- Form dough into 2 tablespoon balls. Press into cupcake cups, forming a cup shape.
- Bake for 10-12 minutes until golden. Cool on a rack. Press centers while warm if necessary.
- Prepare caramel sauce as per instructions and cool.
- Cook apples with cinnamon, nutmeg, brown sugar, and butter for 10 minutes. Cool.
- Fill each cookie cup with about half a tablespoon of caramel, then top with cinnamon apples. Drizzle additional caramel if desired.
- Serve slightly warm. Store in an airtight container for up to 24 hours.