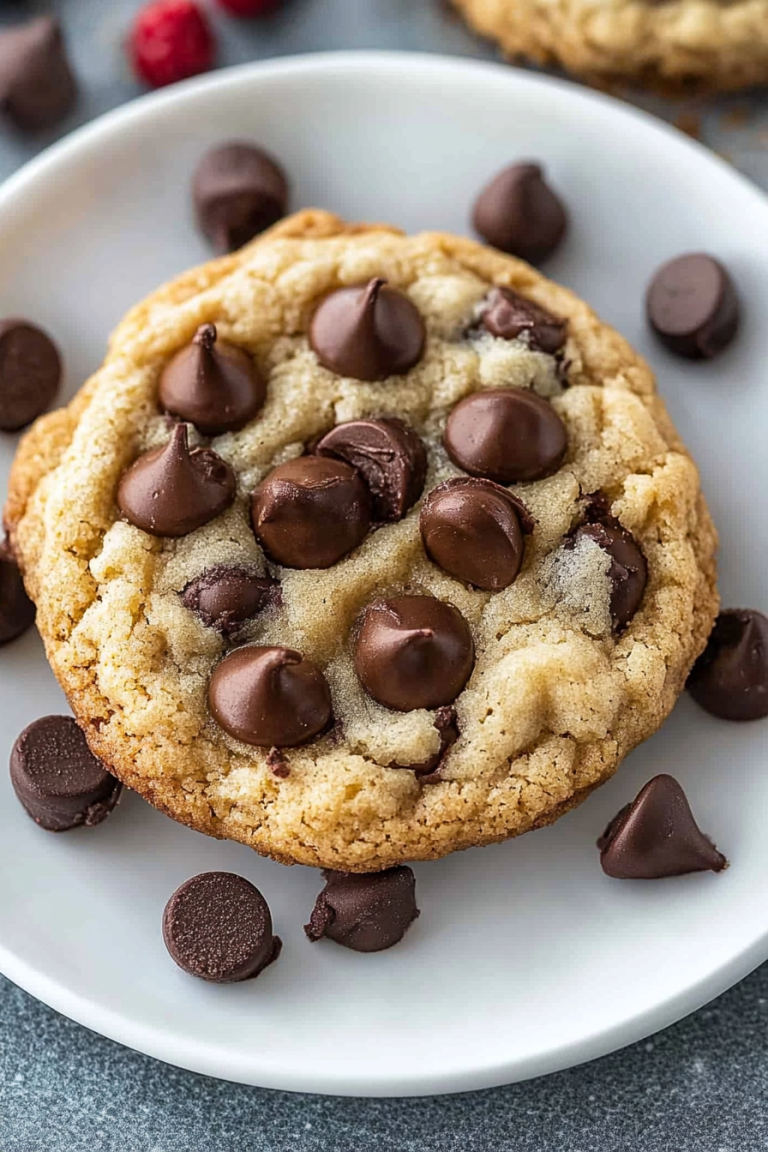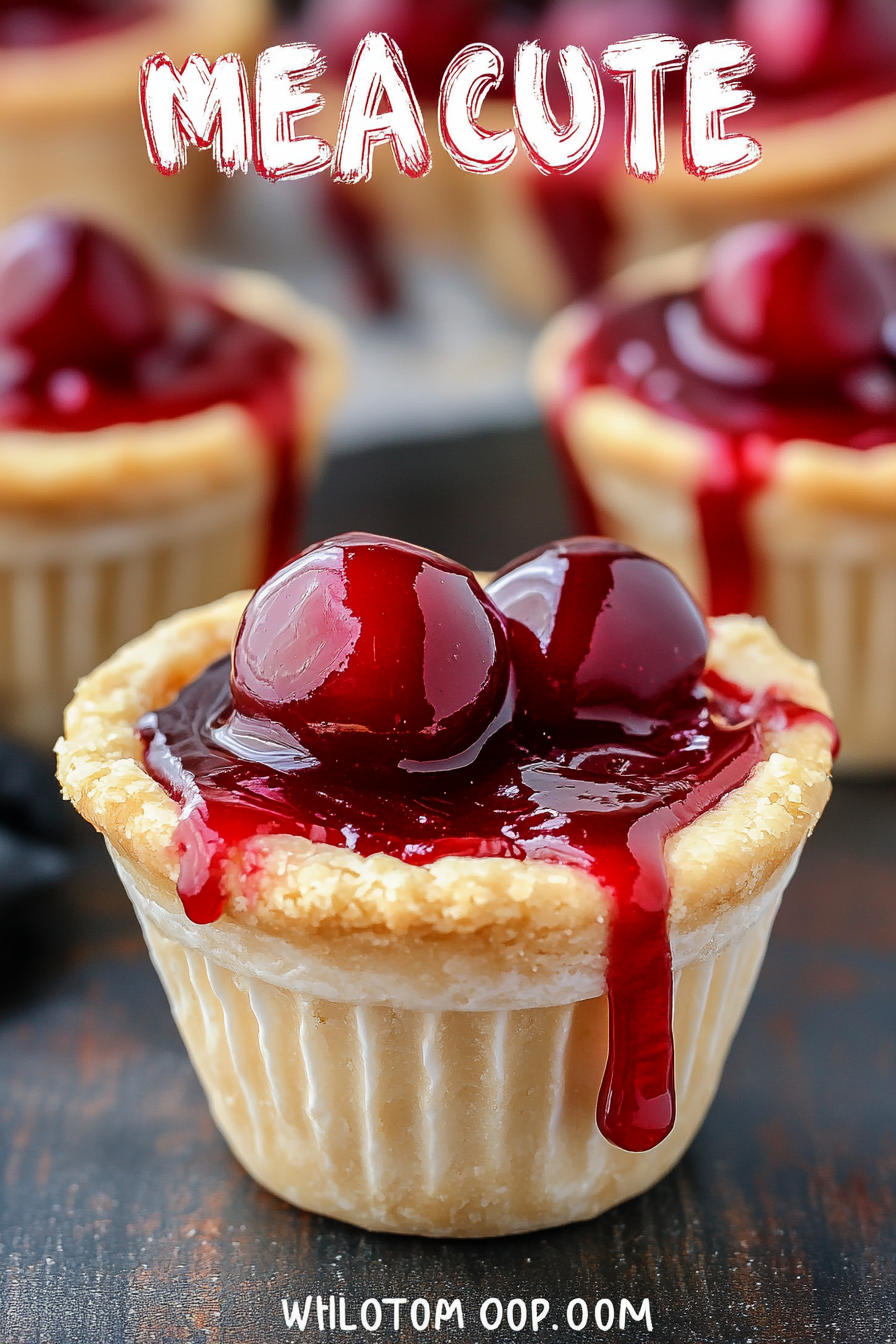
Sweet Cherry Pie Cookie Cups How To
There’s just something about biting into a warm, flaky pastry filled with sweet-tart cherries that instantly transports me back to summer evenings at my grandma’s house. I remember how the scent of baking fruit and buttery dough would fill the entire kitchen, making everyone drift closer in anticipation. I’ve made many desserts over the years, but these cherry pie cups hold a special place in my heart—partly ‘cause they’re so darn easy, and partly because they taste like a little piece of childhood magic. Honestly, I love how you can whip them up in under an hour, and they’re perfect whether you’re craving a sweet treat at 10 p.m. or needing a quick dessert for friends. Trust me, once you try these, they’ll become a regular in your recipe box too. This one’s a lifesaver on busy nights, and I always do this when I want something comforting but don’t want all the fuss of a big pie. Ready to bake up some happiness? Let’s do this!
What is a cherry pie cup?
Think of cherry pie cups as adorable little handheld pies—think past mini muffins or cupcake-sized desserts—that pack all the juicy, flaky goodness of a classic cherry pie into a fraction of the time. The name is pretty straightforward: crisp pastry cups filled with sweet, tangy cherries, topped with a hint of glaze or crumb topping. It’s essentially like a cherry pie, but in a cup—you get all that luscious fruit paired with a buttery, tender crust, but without rolling out a big old pie crust or waiting for hours. These little bites are perfect for when you want that dessert craving satisfied quickly and effortlessly. I always say they’re like the love child of a cherry tart and a muffin—sweet, portable, and totally irresistible. Plus, they’re great for kids, potlucks, or even a fancy brunch spread. It’s a simple dish, but it brings so much joy every single time.
Why you’ll love this recipe?
What I love most about cherry pie cups is how they somehow manage to be comforting, cheerful, and elegant all at once. They’re bursting with that signature cherry flavor—so vibrant and fresh that everyone asks for seconds—and the pastry is flaky enough to melt in your mouth. And here’s the best part: this recipe is such a breeze to make. No rolling dough for ages, no fussing over perfect edges. I’ve tested this with store-bought puff pastry, and it’s still just as amazing—perfectly flaky and buttery. Plus, ingredients are budget-friendly and easy to find at almost any grocery store, making these a go-to when I want a quick treat without breaking the bank. I should mention, they’re incredibly versatile, too—feel free to swap in strawberries, blueberries, or even wild raspberries if you’re feeling adventurous. What I love most about this is how adaptable it is—big or small, sweet or tangy, everyone at my table always asks for more. They’re just the right size for a snack, dessert, or even a special breakfast if you’re feeling indulgent. Honestly, once you make a batch, they disappear in minutes—every single time!
How do I make a cherry pie cup?
Quick Overview
This recipe walks you through creating those perfect flaky pastry cups, filling them with a luscious cherry mixture, and baking until golden. The beauty is that it’s all about layering simple ingredients—store-bought pastry, fresh or frozen cherries, a touch of sugar, and a quick glaze—and assembling everything quickly. The filling is vibrant and juicy, and the crust stays tender and crisp. What makes this so special is how straightforward it is; you only need a few basic steps, and you’ll end up with irresistibly cute little pies that look like you fussed for hours. It’s the kind of recipe that’s as fun to make as it is to eat—perfect for cozy weekends or last-minute gatherings.
Ingredients
For the Main Batter:
– 1 package of puff pastry or pie crust (thawed if frozen, no need to roll out too thin)
– 1 egg (for brushing, optional but adds a nice golden finish)
– 1-2 tablespoons of sugar (for sprinkling on top, optional)
For the Filling:
– 2 cups fresh or frozen cherries (pitted, if fresh)
– 1/4 cup granulated sugar (adjust based on sweetness of cherries)
– 1 tablespoon cornstarch (to thicken up the juice)
– 1 teaspoon lemon juice (brightens the flavor)
– A pinch of salt (to balance the sweetness)
For the Glaze:
– 1/4 cup powdered sugar
– 1-2 teaspoons milk or lemon juice
– Optional: a few drops of vanilla or almond extract for extra flavor
Step-by-Step Instructions
Step 1: Preheat & Prep Pan
Start by preheating your oven to 375°F (190°C). Grease a muffin tin or line it with paper liners—it makes removal a breeze! If using puff pastry, thaw it according to package directions. I like to keep my ingredients ready so I can move quickly—trust me, having everything within arm’s reach makes this so much easier and more fun. Once preheated, set your prep station up with cut pastry circles, a bowl for the cherry filling, and your glaze ingredients.
Step 2: Mix Dry Ingredients
If you’re making a little crumb topping or sprinkling sugar on top, this is the time to measure it out. Otherwise, focus on mixing your cherries with sugar, cornstarch, lemon juice, and salt—this combo will give you that glossy, jammy filling that seals every bite with sweet juiciness. Be gentle here so as not to break the cherries apart too much. I always taste the mixture at this stage—just a quick lick—to make sure it’s sweet enough.
Step 3: Mix Wet Ingredients
If you’re brushing your pastry with an egg wash for that golden glow, beat the egg in a small bowl now. This step is totally optional, but it really takes the look from rustic to polished. I love how the egg wash helps the pastry get that shiny, professional finish. Keep in mind, if you’re adding some vanilla or almond extract to your glaze, now’s the time to measure it out too.
Step 4: Combine
Lightly flour your surface and roll out your pastry slightly if needed—just enough to cut out circles that fit your muffin wells. If you’re using pre-cut store-bought pastry rounds, skip this step. Place each circle into a muffin cup—press gently to form a little cup shape. Then, spoon in your cherry filling, filling each cup about 2/3 full to leave room for expansion. Be careful not to overfill—nobody likes a spill in the oven! For an extra touch, I like swirling a little of the leftover pastry scraps on top for that decorative edge.
Step 5: Prepare Filling
Now, spoon your cherry mixture into each pastry cup, making sure to evenly distribute the juicy goodness. If you want to be fancy, sprinkle a tiny bit of extra sugar or cinnamon on top of each before baking for added flavor. I’ve experimented with adding a splash of bourbon or vanilla to the filling—trust me, subtle enhancements make a difference!
Step 6: Layer & Swirl
If you’re feeling artistic, swirl a little bit of extra pastry or sprinkle some streusel topping on top for crunch. Alternatively, just leave them simple. Either way, they look cute and inviting. Sometimes I even add a tiny slice of almond or a whole cherry on top for visual pops—that’s totally optional but adorable.
Step 7: Bake
Pop those beauties into the oven and bake for 20-25 minutes, or until they’re puffed and golden. Keep an eye on them around the 20-minute mark—every oven is different. You want the crust to be nicely browned and the filling bubbling just slightly. If they brown too quickly, tent with foil and lower the temperature a bit. The smell alone will make everyone gather in the kitchen!
Step 8: Cool & Glaze
While they’re baking, mix up your glaze—powdered sugar, milk or lemon juice, and vanilla if you like. After removing your cherry pie cups from the oven, let them cool for about 10 minutes; this helps everything set. Drizzle the glaze over each one with a small spoon or piping bag. The glaze adds a lovely sweet shine and seals in the cherry juices, making each bite even more irresistible.
Step 9: Slice & Serve
Serve these warm or at room temperature. I love to add a dollop of whipped cream or a scoop of vanilla ice cream alongside—totally optional, but it takes it to the next level. If you’re planning to serve at a gathering, I suggest serving them on a pretty plate with fresh mint for a little pop of color. Everyone always asks for seconds, and I don’t blame them!
What to Serve It With
These cherry pie cups are so versatile that they can suit pretty much any occasion. For a cozy breakfast, pair them with a strong cup of coffee or a chai latte—trust me, the sweet-tart filling makes mornings special. They’re perfect for brunch, especially when you’re serving a spread of eggs, bacon, and fresh fruit; these little cups add a sweet touch that everyone loves. After dinner, they shine as an easy dessert, especially when topped with whipped cream and some grated white chocolate. My family also loves grabbing them as casual snacks with glasses of cold milk or sparkling water with a splash of citrus. The best part? They’re so portable—no plates or forks needed! I often stash a few in the fridge for quick morning bites or late-night cravings. They’re also great for picnics—just pack them airtight and enjoy that burst of cherry goodness outdoors. I’ve even made a batch with some mixed berries for variety—super yum! Honestly, they’re like a little hug in each bite, and I know your family will ask for them all the time, just like mine.
Top Tips for Perfecting Your Cherry Pie Cups
Over the years, I’ve learned a few tricks that make this recipe even better. First, always use pitted cherries—fresh or frozen. Frozen cherries save time and taste just as good, especially when they’re in season! If you want a super thick filling, add a bit more cornstarch, but don’t go overboard—you don’t want it gloopy. When working with pastry, I’ve found that keeping it cold helps keep it flaky—I keep my pastry in the fridge until I’m ready to cut. If your crust is too soft, pop it back in the fridge for a few minutes before proceeding. For a pretty swirl on top, use a piping bag or just layer thin strips diagonally for a lattice look. As far as ingredient swaps, I’ve made this vegan by substituting the egg wash with almond milk or coconut oil, and it still turns out fantastic. If you prefer a less sweet filling, just cut back on the sugar—trust me, the cherries still shine. When baking, place your pan in the middle of the oven—that’s the secret to even browning—and always set a timer. The moment you see that golden hue, pull them out and start glazing—they look so tempting! A little experiment goes a long way—try adding a splash of balsamic vinegar or a sprinkle of cinnamon in the filling for unexpected depth. Even after dozens of batches, I’m still playing around and discovering new flavors—it’s part of the fun!
Storing and Reheating Tips
These cherry pie cups are best enjoyed fresh, but they store pretty well too. Let them cool completely before storing—if you plan on eating them the next day, place them in an airtight container at room temperature for up to 24 hours. If you want to keep them longer, pop them in the fridge (up to 3 days). To reheat, just microwave for about 20 seconds or warm in the oven at 350°F (175°C) for 10 minutes—they’re just as good warm and the crust stays flaky. If you’re freezing them, wrap each in plastic wrap or foil, then store in a zip-top bag for up to a month. When you’re ready to eat, thaw overnight in the fridge and reheat gently. I’d advise against glazing before freezing because the glaze might get a little dull—wait until you reheat to add that shiny finish again.
When it comes to glazing, I’ve found that adding the glaze right before serving keeps that glossy, fresh look—plus, it prevents sogginess. Trust me, a little planning makes this dessert even more enjoyable and fuss-free!
Frequently Asked Questions
Final Thoughts
Honestly, these cherry pie cups are one of those recipes I constantly turn to when I want something quick, delightful, and just a little bit special. They remind me of childhood summers but are sophisticated enough to impress guests. Every time I bake them, I feel like I’m sharing a secret—these little cups are so easy to love! The combination of flaky pastry and juicy cherries creates a perfect harmony—the kind of treat that instantly brightens any day. Plus, they’re versatile enough to adapt to whatever you have in your pantry or fridge. If you try making these, I hope they bring as much joy to your family as they do to mine. Happy baking! And don’t forget to leave a comment below or share your own twists—I love hearing how everyone makes these their own!
Cherry Pie Cups
Ingredients
Method
- Preheat oven to 350°F. Spray mini muffin pans with nonstick baking spray or grease and flour the pans.
- Place one cookie dough ball in each muffin pan cavity. Bake for 18-22 minutes until fully baked.
- Cool 5-10 minutes, then press the cookie into a cup using the back of a wooden spoon or a ½ teaspoon.
- Cool completely before removing. Carefully loosen and pop out the cookie cup with a butter knife.
- Fill each cookie cup with cherry pie filling.
- To make glaze, whisk powdered sugar and 1 tablespoon heavy whipping cream, adding more cream until desired consistency is reached. Drizzle over the filled cups.
- Store in an airtight container in the refrigerator for up to 3 days. Do not freeze.