Sweet Holiday Trees A Simple Treat
There’s something about the holiday season that just calls for edible decorations that bring joy — and these candy Christmas trees are no exception. I remember the first time I made them; it was during a particularly cold December, and I wanted something fun to do with my kids. We piled all kinds of colorful candies onto toothpicks, pretending they were tiny, edible Christmas trees. The smell of chocolate and peppermint filled the kitchen, and my house instantly felt cozy and festive. My friends always ask me for this recipe because it’s surprisingly easy, and it tastes incredible — kind of like an edible holiday craft your whole family can enjoy. Honestly, these trees disappeared in minutes at my house, and I know they’ll do the same at yours. Whether you’re looking for a cute gift idea or a sweet centerpiece for your holiday table, I promise, once you try making your own candy Christmas trees, it’ll become a holiday tradition you’ll look forward to every year.
What is candy Christmas tree?
Think of candy Christmas trees as miniature, edible holiday sculptures—sweet, colorful, and delightfully simple to assemble. The name pretty much describes what they are: tiny trees made from stacked confections, decorated with sprinkles, candy canes, and everything festive. It’s essentially a fun twist on traditional holiday decor, but instead of just looking pretty, these trees are crunchy, chewy, and downright addictive. They’re perfect for kids’ parties, family gatherings, or even as a sweet, no-bake gift. The idea originated from the nostalgic memories of decorating real Christmas trees, but this version is quick, no fuss, and totally customizable. Think of it as a playful art project and a sweet treat all in one—kind of like building a tiny candy forest that everyone can nibble on!
Why you’ll love this recipe?
What I love most about these candy Christmas trees is how effortless they are — no baking required! It’s a stress-free project that packs a punch in the flavor department. The moment you unwrap the candies and start stacking, your whole house smells like winter wonderland, and the vibrant colors instantly lift your mood. Plus, they’re super budget-friendly; most of the ingredients are pantry staples or easily accessible candies from the store. These trees are incredibly versatile, too. You can make them as fancy or as simple as you like; add some edible glitter for that touch of magic, or keep it classic with red and green candies. I also like how customizable they are — changing the flavor of the candies or experimenting with different toppings makes each batch unique. And honestly, what’s better than a project everyone can enjoy, from kids to grown-ups? It’s a festive, feel-good activity that makes the season just that much sweeter.
Plus, these candy Christmas trees aren’t just pretty—they’re a crowd-pleaser. My family always asks for seconds, and I love tossing in a few extra candies or using themed sprinkles to match whatever party I’m decorating for. They’re also a hit as a quick homemade gift — wrapped in clear cellophane with a cute ribbon, it’s a sweet surprise that everyone appreciates. If you’re ever short on time but want something delightful, these trees are honestly a lifesaver on busy nights, and I promise you’ll get asked to make them year after year. Once you master the basic idea, you’ll probably be experimenting with flavors, toppings, and sizes—you know, turning a simple idea into your own little holiday masterpiece!
How do I make candy Christmas trees?
Quick Overview
This project couldn’t be easier: you start by stacking candies onto skewers or toothpicks to form the shape of a tiny tree, then decorate it with sprinkles, candy canes, and edible glitter. The key is in the layering—think of it as building a candy tower with a little creative flair. You’ll melt some chocolate or candy melts to act as a glue, helping the decorations stick and giving the trees a finished, polished look. Once assembled, just chill them in the fridge until set, then add a final splash of glitter or mini candies for that perfect holiday sparkle. This is a no-bake project that’s perfect for last-minute decorating or kid-friendly fun. Once you get the hang of it, you’ll see how easy and addictive it is to customize your own candy Christmas trees!
Ingredients
For the main structure:
– Assorted colorful candies (M&Ms, gummy candies, mini chocolate bars)
– Ice cream or cake cones (to serve as the tree base, optional)
– Wooden skewers or sturdy toothpicks
– Melted chocolate or candy melts (for glue and coating)
For Decoration:
– Sprinkles, edible glitter, or sugar crystals
– Candy canes or peppermint sticks
– Mini marshmallows or coconut flakes (for snowy effect)
– Small holly or holiday-themed icing decorations (optional)
Step-by-Step Instructions
Step 1: Preheat & Prep Pan
Before you start, lay out all your candies and other ingredients. If you’re going to make little trees on cones, set those out too. Have a baking sheet or platter ready for your assembled trees, and line it with parchment paper for easy clean-up. No oven preheating necessary here, but if you want to melt some chocolate, have a microwave-safe bowl ready. Oh, and a damp paper towel nearby—to wipe your fingers or tidy up drips—that’s always handy!
Step 2: Mix Dry Ingredients
Nothing fancy here—just gather your candies and decorations. If you’re using large candies, consider chopping them into smaller, more manageable pieces. This helps with layering and makes it easier for little hands to build. I always test a small piece first to see how the texture works with the chocolate or glue, making adjustments if needed. The goal is to have a colorful mix that’ll make your trees pop visually and taste amazing.
Step 3: Mix Wet Ingredients
If you’re melting chocolate or candy melts, do this in short bursts in the microwave, stirring each time until smooth. Trust me, this part is crucial—overheating can cause it to seize up, and that’s no fun! Almond or coconut oil can be added to thin it out if needed, but I’ve tested with just the chocolate alone, and it works beautifully. You want a consistency that’s pourable but not runny, like thick syrup—perfect for sticking candies and giving your tree some stability.
Step 4: Combine
Dip the base of your candies into the melted chocolate, then gently press onto the skewer or toothpick to build your layers. Don’t overdo it—less is more, and piling too high too quickly might cause the candies to slide. I like to layer in a pyramid shape, starting with a broad bottom and narrowing as I go up. If some candies wobble, just hold them in place a few extra seconds to set. It’s a little like building a mini candy skyscraper—patience, and a gentle hand!
Step 5: Prepare Filling
This is where you decide whether you want a snowy effect with coconut flakes or a colorful sprinkle explosion. For the filling, I usually mix sprinkles with a little melted white chocolate or royal icing, so it adheres nicely. You could also add a dash of peppermint or mint extract to your glaze mixture if you want to add that festive aroma. When I make these, I always experiment—sometimes I add crushed candy canes for that extra zing, especially if I know the kids will love it!
Step 6: Layer & Swirl
Once your base is built, add some decorative touches—maybe a little star made from an icing tip or a candy cane perched jauntily on the top. To make the trees look more authentic, swirl the candies slightly to imitate branches or pine needles. I like to use a toothpick or skewer to gently swirl the candies for a natural look. This step is where your creativity shines—feel free to play with patterns and colors! Remember, imperfect is part of the charm—they’ll look adorable no matter what.
Step 7: Bake
Good news: there’s no oven involved unless you want to melt the chocolate beforehand. Once your layers are assembled and decorated, pop them into the fridge for about 30 minutes or until the chocolate or candy melt hardens. If you’re using cones, you can place the trees on top of them for a more tree-like appearance—just ensure they’re chilled so everything sticks well. Timing can vary depending on your ingredients, so keep an eye on the fridge, not the oven!
Step 8: Cool & Glaze
After chilling, you can give the trees a final coat of melted chocolate or a drizzle of white icing for that snowy look. Use a fork or piping bag for a cleaner finish, and sprinkle with more glitter or sprinkles while still wet. This is the magical moment where your trees transform into tiny holiday works of art. Ensure they’re completely cool before handling too much, to prevent any breakage.
Step 9: Slice & Serve
Once ready, carefully transfer your trees onto a serving platter. These are best enjoyed at room temperature, so if they’ve been chilling in the fridge, let them sit out for a few minutes. You can set them in mini cupcake liners or arrange them with some holly leaves for presentation. Kids love digging into these—the crunch of candy, the sweetness of chocolate, and the pop of color make each bite a little festive celebration. And, trust me, a quick dusting of powdered sugar looks like snow, making them even more adorable!
What to Serve It With
Oh, the possibilities! For breakfast, serve these with a cup of hot cocoa—think of them as a festive cereal alternative that feels like candy-coated morning magic. My kids love to have these as a sweet treat after school, especially when we’re trimming the real tree; it’s like a mini holiday party in every bite.
When it’s time for a cozy brunch, arrange them on a platter along with cinnamon rolls and spicy mulled cider. They make adorable table decor, too! If you’re craving a traditional dessert, pairing these with a scoop of vanilla ice cream or a dollop of whipped cream adds an extra layer of indulgence. And during family movie nights, I toss a few into a bowl—crunch, chew, and sweet all at once.
Honestly, I’ve found they’re just as lovely as a casual snack as they are a centerpiece for Santa’s visit. My tradition is to stash a few for myself while the kids aren’t looking — don’t worry, they never notice because they’re too busy grabbing more!
Top Tips for Perfecting Your Candy Christmas Trees
Having made these dozens of times, I’ve picked up little tricks that’ll help you get them just right. First, when working with candies, try to avoid overly oily or greasy candies; they don’t stick as well. If candies seem too soft or sticky, pop them in the fridge for a few minutes before building. I’ve learned that pressing candies into the chilled chocolate or melt helps them stay put (trust me, patience is key here!).
For swirling or decorating, I recommend using a toothpick or skewer to guide the placement—this gives your trees a more natural, piney look. If you want a snowy effect, sprinkle coconut flakes immediately after glazing, while the chocolate is still a bit tacky. It’s all about timing.
Ingredient swaps are also fun! Gluten-free friends can substitute gluten-free candies or colored sugar crystals. I’ve tested coconut sugar in the glaze for a richer flavor, and it worked beautifully. For extra flavor, a few drops of peppermint or vanilla extract in the melted chocolate really elevates the whole thing.
Oven placement isn’t an issue here, but I do recommend refrigerating or freezing the assembled trees to set the chocolate well—that way, they hold their shape better if you’re packaging them as gifts. And don’t forget: always let your decorated trees sit at room temperature for a few minutes before serving. That way, the chocolate’s got just the right snap, and the candies stay glossy and bright.
In my experience, the biggest lesson is to have fun with it—these trees are part edible craft, part holiday magic. I’ve made tiny tweaks each year, and each batch feels more personal and special. So don’t stress about perfection, and enjoy every sweet, colorful moment in the process!
Storing and Reheating Tips
These candy Christmas trees are best enjoyed fresh, but with a little care, they can last quite a while. If you have leftovers or want to prepare some ahead of time, store them in an airtight container at room temperature for up to 2 days. Just keep them in a cool, dry place away from direct sunlight—they’ll stay shiny and crisp that way.
If you need to refrigerate, wrap each tree carefully in plastic wrap and store in a container to prevent moisture or candies from sticking. They’ll last about a week in the fridge, but I find that the candies sometimes soften a tad, so I prefer enjoying them sooner rather than later. For freezing, wrap the trees individually in plastic wrap, then place in a freezer-safe bag or container for up to 3 months. To serve, let them thaw at room temperature for about 15-20 minutes, allowing the candies to regain some of their original crunch and shine.
When it comes to glazing, wait to add the final layer until just before serving for the best gloss and sparkle. If you want to re-glaze after storing, gently re-melt some chocolate, and give your trees a quick pop in the fridge afterward to set. They’ll look as festive and tasty as day one!
Frequently Asked Questions
Final Thoughts
Wow, I really hope you give these candy Christmas trees a shot! They’re one of those magical recipes that bring a little extra joy to the holiday table. Not only are they a feast for the eyes, but they also let you indulge without guilt — because really, what’s Christmas without a little sweetness? Over the years, these little trees have become a staple in my holiday traditions, so I encourage you to personalize them: add your favorite candies, experiment with colors, or even make them themed for a specific occasion. The best part? Watching kids and adults alike light up when they see these tiny edible trees, eager to sample each colorful branch.
So, grab your candies and skewers, and start building your own holiday forest. Whether you decorate a table, gift them, or just keep them as a special treat for yourself, I promise these candy Christmas trees will make your season a little merrier. Happy baking, and I can’t wait to see your beautiful creations! Drop a comment below if you try this recipe—I love hearing about your holiday adventures and variations. Cheers to a sweet and joyful holiday season!
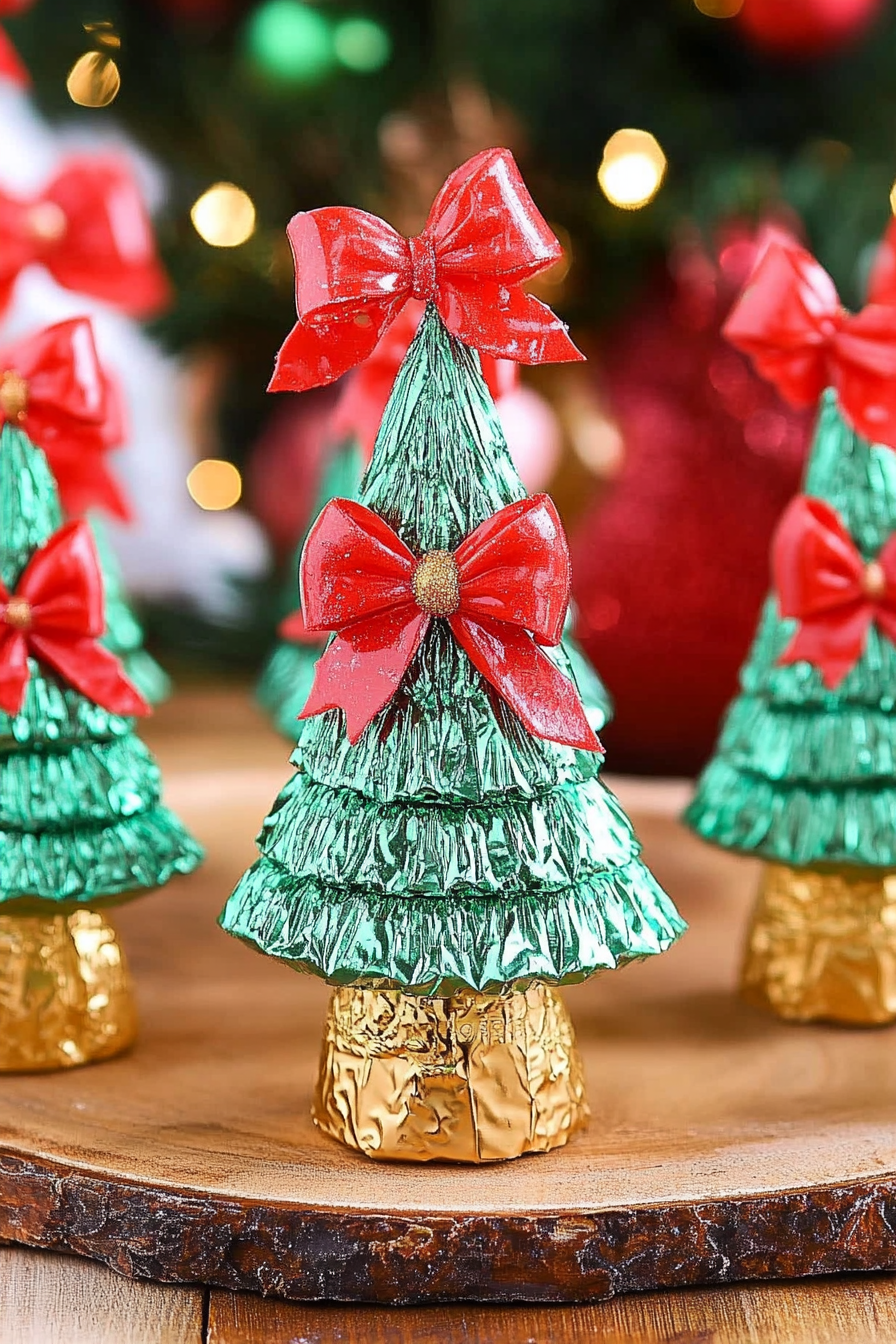
Holiday Christmas Candy Trees
Ingredients
Method
- Preheat your glue gun.
- Start by putting glue on top of a Rolo, with the small, flat end pointing up.
- Immediately sit a mini Reese’s on the glue, with the smaller, flat end pointing up. Hold it down until the glue is set (a couple of seconds is fine).
- Put glue on top of the Reese’s that you just glued to the Rolo, and put another mini Reese’s on top of it, facing the same way. Press and hold for a few seconds to set the glue.
- Put glue on top of the Reese’s you just glued and place a Hershey’s Kiss right on top of it. Hold it down for a few seconds.
- Put a small dab of glue on the back, middle of the bow, and place it on the crease where the last Reese’s and Kiss meet. Press and hold into place for a few seconds.