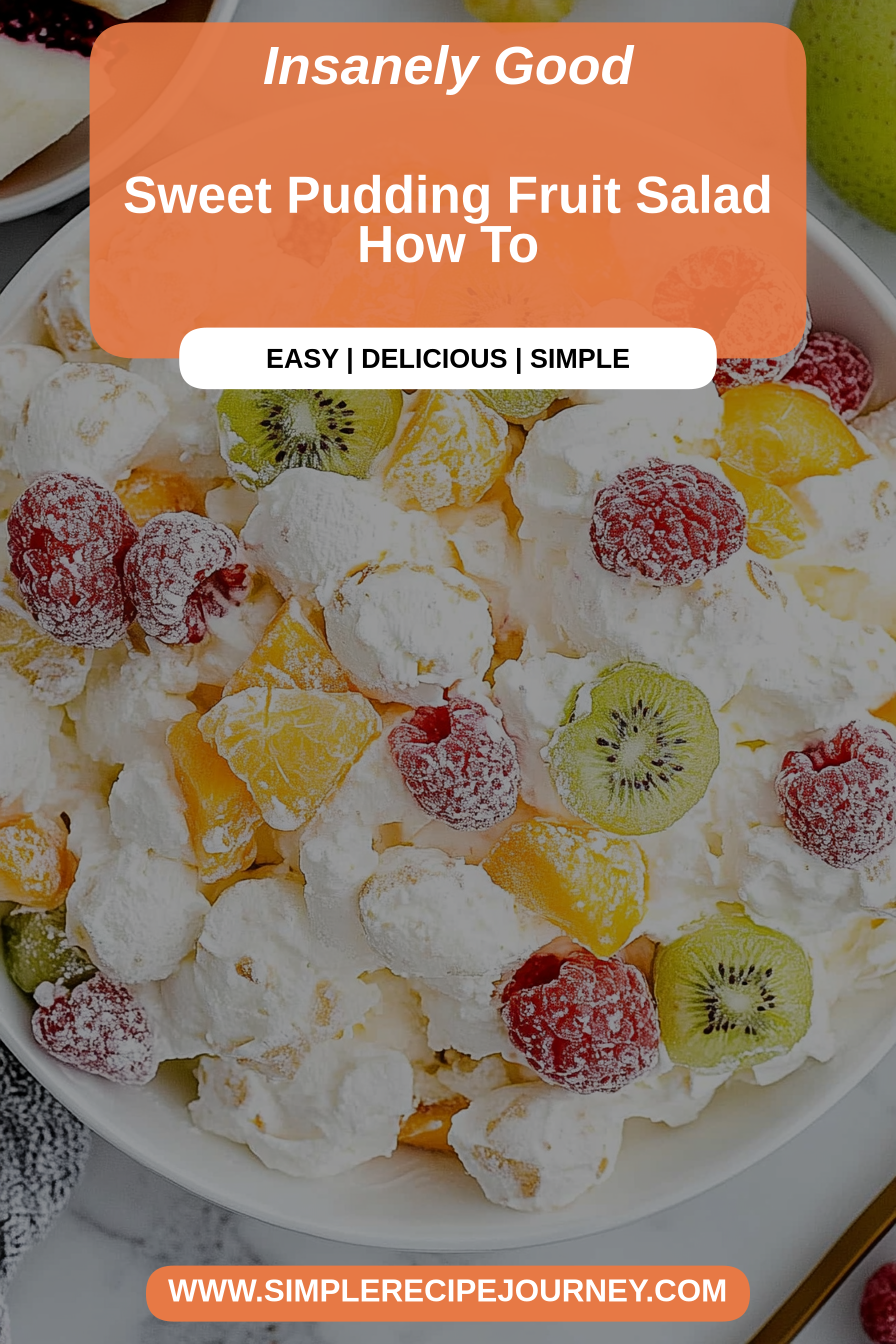
Sweet Pudding Fruit Salad How To
There’s something about a good fruit salad that instantly makes me think of lazy summer mornings, church potlucks, and my grandma’s laugh echoing through the kitchen. But you know what? I’m a sucker for a twist on the classic, and this pudding fruit salad is exactly that — a creamy, sweet, fruit-packed treat that disappeared in minutes at my house. It’s basically a little bowl of childhood happiness, but with a silky pudding that ties everything together. I’ve made this countless times, and it never fails to bring oohs and aahs from family and friends. Trust me, once you try it, it’ll be your go-to for picnics, potlucks, or even a simple dessert to brighten up a weeknight. And the best part? It’s crazy easy to throw together — no fancy techniques required — just fresh fruit, a few pantry staples, and a little bit of love.
What is a Pudding Fruit Salad?
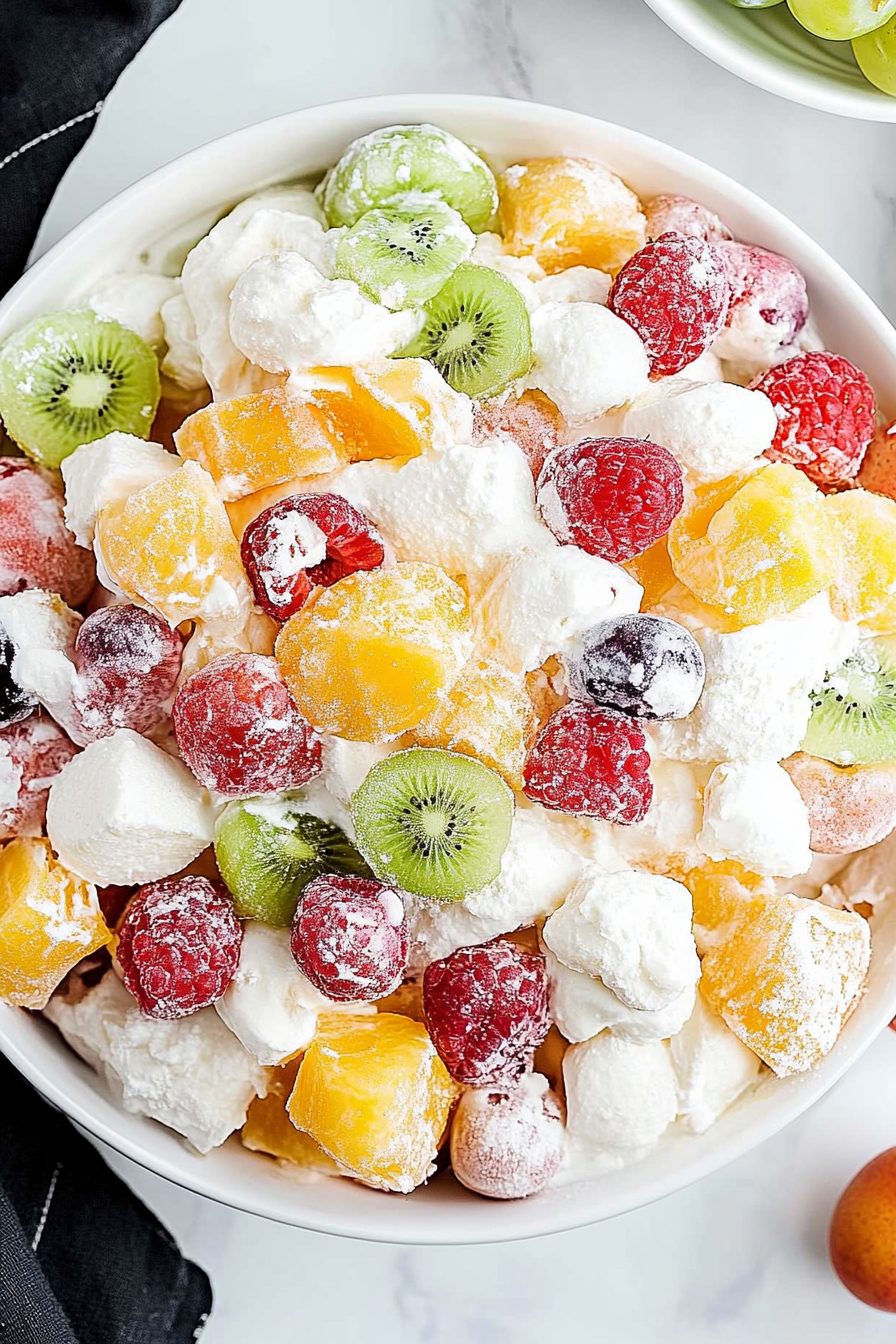
Think of pudding fruit salad as the lovechild of a fruit cocktail and a creamy dessert — it’s essentially a bowl of fresh, vibrant fruit coated in a luscious pudding dressing. The name says it all: pudding gives this salad its smooth, velvety texture, making each bite irresistibly satisfying. It’s a little bit nostalgic, a little bit festive, and all-around delicious. Originally, this kind of salad might have been just canned fruit and Jell-O, but I like to elevate it with fresh fruit and homemade pudding. It’s sort of like a fruit parfait, but in a big bowl meant for sharing. Think of it as a flexible canvas—you can customize the fruit, add nuts or coconut, even tweak the pudding flavor to suit your mood. It’s a sweet, cool treat you’ll find yourself returning to time and again.
Why you’ll love this recipe?
What I love most about pudding fruit salad is how versatile and forgiving it is. Honestly, it’s one of those dishes that always turns out just right, even if you’re short on time or missing a single ingredient. The flavor? Oh, it’s simply irresistible. The rich, vanilla pudding (or whatever flavor you fancy) pairs perfectly with the juicy, ripe fruit — it’s a harmony of smooth and crisp, sweet and tangy. Plus, it’s so simple to make: just toss, mix, and chill. I’ve done this with everything from strawberries and grapes to pineapple and peaches. My kids actually ask for this all the time, especially when they want something sweet but don’t want me to fuss in the kitchen. And in terms of budget, it’s super affordable—no fancy ingredients here, just good ol’ supermarket staples. It’s great as a light dessert, a refreshing snack, or even a lighten-up side dish for summer barbecues. Honestly, once you make it, you’ll see why I keep coming back for more!
How do I make a fruit salad?
Quick Overview
This pudding fruit salad is the easiest treat you’ll ever throw together. Basically, you prepare a simple pudding (store-bought or homemade), chop up your favorite fresh fruit, and then gently fold everything together. The magic happens when it all chills in the fridge — that’s when the flavors meld and the pudding thickens just right. The trick is to pick the ripest, juiciest fruit you can find, and don’t skip the chilling part — it makes all the difference in texture and flavor. Once ready, serve it in bowls, drizzle with a little extra fruit syrup or whipped cream, and enjoy! It’s perfect for when you want a no-fuss dessert that feels special.
Ingredients
For the Main Batter:
– 1 large package of vanilla pudding mix (preferably instant)
– 3-4 cups of cold milk (dairy or plant-based, like almond or coconut milk)
– Optional: 1 teaspoon vanilla extract for extra flavor
For the Filling:
– 2 cups strawberries, sliced
– 2 cups grapes, halved (red or green)
– 1 cup pineapple chunks (fresh or canned, drained)
– 2 ripe peaches or nectarines, sliced
– Any other fruit you love — kiwis, blueberries, bananas (add last to avoid browning)
For the Glaze:
– Honey or agave syrup (optional, for drizzling)
– Whipped cream or coconut cream (for topping)
– Extra fruit juice or syrup for a quick drizzle
Step-by-Step Instructions
Step 1: Preheat & Prep Pan
No actual preheating needed here! Just grab a large mixing bowl, and if you want a more chilled presentation, prepare a serving dish or individual bowls. Rinse all your fruit thoroughly, and set aside. For bananas, I usually slice them last or toss them with a little lemon juice to prevent browning.
Step 2: Mix Dry Ingredients
Open your pudding mix and whisk it with the cold milk according to package instructions — usually about 2 minutes of vigorous whisking for a smooth, thick pudding. I like to add a teaspoon of vanilla extract here because it enhances the flavor, but it’s totally optional. Once it’s thickened, pop it in the fridge for about 10 minutes while you prepare the fruit.
Step 3: Mix Wet Ingredients
While the pudding chills, chop up your fruit. The key here is to cut everything into bite-sized pieces — not too big, not too tiny. The fruit’s natural juices help make this salad taste vibrant and fresh. If you’re feeling fancy, sprinkle a little sugar or honey over the fruit to boost sweetness or add a dash of lime juice for a tangy twist.
Step 4: Combine
Take the pudding out of the fridge and fold it gently into your chopped fruit. Be careful not to overmix — you want a mottled, marbled look, not a uniform mush. The pudding should coat everything lightly, so adjust the pudding quantity if needed. If you feel it’s a little thick, stir in a splash of milk to loosen it up.
Step 5: Prepare Filling
If you like, you can add extras — crushed nuts, shredded coconut, or mini marshmallows if you want a fun texture. I love tossing in some chopped pecans or a handful of shredded coconut for a little crunch and extra flavor. Mix gently again, then set aside.
Step 6: Layer & Swirl
For a fancy presentation, layer the fruit and pudding in a glass trifle dish or serve it in individual bowls. You can do swirls or marbling — just scoop some pudding, then fruit, then drizzle and swirl with a spoon. I love to make it look artistic; it’s like a mini dessert art project.
Step 7: Bake
No baking here! Just pop your unfinished masterpiece into the fridge and let it chill for at least an hour — longer if you want the flavors to really meld. This step is crucial because it’s when the pudding firms up and the fruit juices mingle, making every spoonful perfectly refreshing.
Step 8: Cool & Glaze
When you’re ready to serve, give it a gentle stir if needed, then top with whipped cream, a drizzle of honey, or extra fruit syrup if you feel fancy. A little sprinkle of toasted coconut or chopped nuts on top adds a nice crunch and visual appeal. Serve chilled and enjoy!
Step 9: Slice & Serve
If you’re using a big bowl, just spoon it out generously. For prettier plates, serve individual slices with a bit of extra fruit on top. I like to add a sprig of mint or a few extra berries for a pop of color. It’s super versatile — perfect for a quick treat or a show-stopping dessert for guests.
What to Serve It With
This pudding fruit salad is so flexible, I’ve served it in all kinds of ways. For breakfast, I like to add a dollop of Greek yogurt or a sprinkle of granola for crunch. It’s also a hit at brunch — just serve in small glasses or ramekins with a little fresh mint and a side of cinnamon rolls.
As an after-dinner dessert, a scoop of vanilla ice cream alongside makes it extra indulgent. My kids ask for this all the time after school — I sometimes make a bigger batch just so I can have leftovers to snack on later. It’s perfect for summer picnics, BBQs, or even a festive holiday table when you want something light but satisfying. I’ve found that adding things like shredded coconut or chopped nuts really boosts texture, and a splash of citrus juice elevates the flavor beautifully.
Top Tips for Perfecting Your Pudding Fruit Salad
Getting this dish just right has taken me a few tries — but don’t worry, that’s part of the fun. Here are a few lessons I’ve learned along the way:
Zucchini Prep: Not applicable here, but if you want to sneak in some veggies, grated zucchini can actually add moisture! Just squeeze out as much excess water as possible before mixing it in.
Mixing Advice: Avoid overmixing the pudding and fruit — you want a beautiful marbled look, not an unappetizing uniform mush. Use a gentle folding motion to keep the textures intact.
Swirl Customization: For a more dramatic effect, layer your fruit and pudding in clear glasses, then swirl with a toothpick or skewer for a marbled design that’s gorgeous and fun to eat.
Ingredient Swaps: Swap vanilla pudding with chocolate or banana-flavored pudding for a twist. Fresh berries can be replaced with mango or kiwi. Have fun experimenting!
Baking Tips: Remember, no actual baking—just chilling! The key is to give it at least an hour to set — trust me, the fruit will taste even better once the flavors meld.
Glaze Variations: Instead of a glaze, try topping with toasted coconut or crushed cookies for extra crunch. Or, drizzle caramel or chocolate syrup for a richer finish.
This recipe has been a game-changer for me. I’ve learned to always use the most fragrant, ripe fruit I can find because that’s what makes this salad stand out. Avoid overly watery fruit like melon unless you drain it well; otherwise, your pudding can get a little runny. I also tested this with almond milk, and surprise — it made the pudding even creamier. Trust me on this one: a good, chilled pudding makes all the difference. And don’t forget to taste as you go — a little more vanilla or a splash of lemon juice can elevate the whole thing. It’s these small tweaks that turn good into unforgettable.
Storing and Reheating Tips
This salad is best enjoyed fresh, but sometimes I’ve had leftovers that still tasted pretty good the next day. Just store it in an airtight container in the fridge for up to 2 days. If I know I’ll have leftovers, I keep the fruit separate and fold in the pudding just before serving to keep it from getting soggy. For longer storage, I sometimes freeze individual servings in small containers, then thaw in the fridge overnight — note that the texture might change slightly, but it’s still tasty. If the pudding thickens too much after refrigeration, just stir in a splash of milk to loosen it up. When it’s time to serve again, a quick stir and a fresh fruit topping can make it look and taste just as inviting as when first made.
Frequently Asked Questions
Final Thoughts
This pudding fruit salad has become my secret weapon for easy, crowd-pleasing desserts that feel special without any fuss. Its creamy sweetness pairs perfectly with fresh, juicy fruit — it’s a reminder that great treats don’t have to be complicated or fancy. I love how adaptable it is, letting you swap ingredients, add your favorite toppings, or customize flavors to suit any occasion. Whether I’m making it for a weekday snack or a festive gathering, it always gets rave reviews. Honestly, I think what makes this so memorable is the balance: the melt-in-your-mouth pudding, the burst of fresh fruit, and that little touch of homemade love. I hope you try it, tweak it, and fall in love just like I did. And I’d love to hear your variations, or see your photos — post away and share the joy. Happy baking!
Fresh Fruit Pudding Salad
Ingredients
Method
- Add the whipped topping to a large mixing bowl.
- Sprinkle the vanilla pudding mix over the whipped topping and whisk until smooth.
- Fold in the grapes, strawberries, marshmallows, pineapple, and mandarin oranges. Mix gently until evenly coated.
- Cover and refrigerate for at least 1 hour before serving to allow flavors to meld.