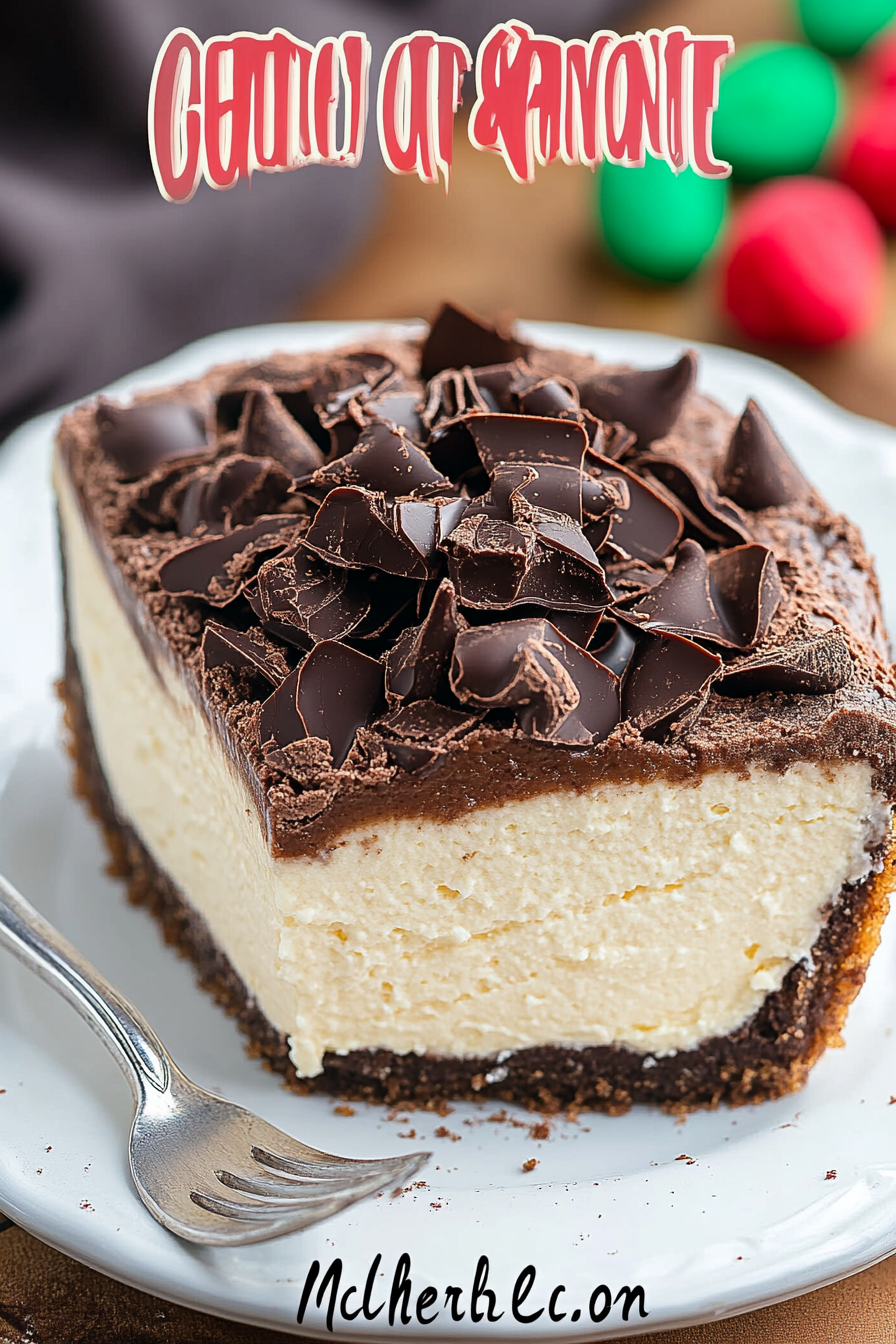
Swirled Chocolate Cheesecake Pie Delight
Oh, friends, if there’s one dessert that consistently makes my heart sing, it’s a truly phenomenal chocolate cheesecake. Not just any chocolate cheesecake, mind you, but the kind that’s impossibly creamy, decadently rich, and has that perfect, subtle tang that balances all that glorious chocolate. I remember the first time I tasted a chocolate cheesecake that was *this* good. I was a kid, and it felt like I’d stumbled upon a secret treasure. It wasn’t just cake; it was an experience! For years, I’ve been chasing that memory, tweaking and tasting, until I finally landed on this recipe. It’s become my go-to for birthdays, holidays, or honestly, just a Tuesday night when life feels a little too… well, plain. It’s the kind of dessert that makes people close their eyes and hum with delight. Forget those dry, crumbly imposters; this chocolate cheesecake is the real deal, and I can’t wait to share it with you.
What is chocolate cheesecake?
So, what exactly *is* this marvel of a chocolate cheesecake? Think of it as the sophisticated, utterly irresistible love child of a classic New York-style cheesecake and a rich, dark chocolate cake. It’s essentially a velvety smooth filling made with cream cheese, eggs, sugar, and a generous amount of high-quality cocoa powder or melted chocolate, all cradled in a buttery, crumbly crust, usually made from graham crackers or chocolate cookies. It’s baked low and slow to achieve that signature silky texture and rich flavor. Unlike a regular cake that might be airy and light, a cheesecake is dense, luxurious, and meant to be savored. It’s the kind of dessert that demands your full attention and rewards you tenfold. This particular chocolate cheesecake isn’t overly sweet; it’s got a deep, nuanced chocolate flavor that’s just divine.
Why you’ll love this recipe?
I know you will love this chocolate cheesecake, but I don’t know why.flavor is out of this world. We’re talking deep, dark chocolate goodness that’s intensely rich without being cloying. It has that perfect balance of sweet and creamy, with just a hint of tang from the cream cheese that cuts through the richness beautifully. Then there’s the simplicity. Now, I know cheesecake can sometimes feel intimidating, but I promise, this recipe is surprisingly straightforward. I’ve streamlined the process over the years, and I’ve made it so many times that I can practically do it with my eyes closed. The steps are logical, and the result is always, always worth it. It’s much easier than you might think, and when you pull this beauty out of the oven, you’ll feel like a baking rockstar. And let’s talk about Cost-efficiency: What is the best way to measure cost-efficiency?. While it tastes like a million bucks, the ingredients are pretty standard. You probably have most of them in your pantry right now! Compared to buying a fancy dessert from a bakery, making this at home is a huge money-saver, especially if you’re feeding a crowd. Finally, its versatility is another huge plus. You can dress this chocolate cheesecake up or down. Serve it plain for that pure chocolate bliss, or go wild with toppings like fresh berries, whipped cream, or a drizzle of raspberry sauce. It’s fantastic for a special occasion dessert, but honestly, I’ve happily devoured a slice (or two!) with just a cup of coffee on a quiet afternoon. It’s a true crowd-pleaser that never disappoints. It’s the kind of dessert that makes me feel like a culinary hero, and I hope it does the same for you!
How to Make Chocolate Cheesecake
Quick Overview
Making this decadent chocolate cheesecake is all about building layers of flavor and achieving that signature silken texture. We’ll start with a simple cookie crust, then whip up a rich chocolate cream cheese filling, and bake it gently until it’s just set. The key is patience during the cooling process, which allows the flavors to meld and the cheesecake to firm up perfectly. It’s truly a straightforward process, and the stunning results will make you feel like a seasoned baker, even if it’s your first time tackling a cheesecake. This method is designed to minimize common cheesecake pitfalls, ensuring a smooth, creamy, and utterly delicious outcome every single time.
Ingredients
For the Crust:
2 cups chocolate cookie crumbs (about 25 chocolate sandwich cookies, finely crushed)
6 tablespoons unsalted butter, melted
2 tablespoons granulated sugar
For the Filling:
3 (8-ounce) packages cream cheese, softened to room temperature
1 ¼ cups granulated sugar
¼ cup unsweetened cocoa powder (Dutch-processed is great for a deeper flavor)
1 teaspoon vanilla extract
½ teaspoon salt
3 large eggs, at room temperature
For the Glaze (Optional but Highly Recommended!):
4 ounces semi-sweet or dark chocolate, finely chopped
½ cup heavy cream
Step-by-Step Instructions
Step 1: Preheat & Prep Pan
First things first, let’s get our oven ready. Preheat it to 325°F (160°C). Now, grab a 9-inch springform pan. This is crucial for easy removal later. You’ll want to give the sides and bottom a good spray with non-stick cooking spray. For an extra layer of protection against leaks, especially if you’re using a water bath (which I highly recommend for ultimate creaminess!), wrap the outside of the pan tightly with a couple of layers of heavy-duty aluminum foil. Make sure it’s completely sealed so no water can seep in.
Step 2: Mix Dry Ingredients
In a medium bowl, combine the chocolate cookie crumbs, granulated sugar, and melted butter. Give it a good stir with a fork until everything is evenly moistened and resembles wet sand. This is what gives our crust its delightful texture and flavor. Press this mixture firmly and evenly into the bottom of your prepared springform pan. I like to use the bottom of a measuring cup or a flat-bottomed glass to get it nice and compact. Pop this into the freezer while you get started on the filling – chilling the crust helps it hold its shape during baking.
Step 3: Mix Wet Ingredients
Now for the heart of our cheesecake! In a large bowl (or the bowl of your stand mixer fitted with the paddle attachment), beat the softened cream cheese on medium speed until it’s completely smooth and creamy, with no lumps. This is a super important step – lumpy cream cheese makes for a lumpy cheesecake! Gradually add the granulated sugar and cocoa powder, beating until just combined and smooth. Then, stir in the vanilla extract and salt. Scrape down the sides of the bowl to make sure everything is incorporated. We want a super smooth, luxurious base for our chocolatey goodness.
Step 4: Combine
Here’s where we bring it all together. Add the eggs, one at a time, beating on low speed *just* until each egg is incorporated. Be careful not to overmix here! Overmixing can incorporate too much air, which can lead to cracks in your cheesecake. Once the last egg is mixed in, stop beating. You should have a gorgeously thick, chocolatey batter. If you used a stand mixer, give it a final gentle stir with a spatula to ensure everything at the bottom is mixed in. The batter should be smooth and rich.
Step 5: Prepare Filling
The filling is already prepared in Step 4! It’s a rich, velvety mixture of cream cheese, sugar, cocoa, vanilla, salt, and eggs, all blended to perfection. The goal here is that incredibly smooth, luscious consistency that makes cheesecake so irresistible. Don’t skip softening your cream cheese; it’s the secret to that lump-free, creamy texture. And remember, gentle mixing once the eggs are in is key to a crack-free top. This chocolate filling is where all the magic happens, promising that deep, satisfying chocolate flavor in every bite.
Step 6: Layer & Swirl
Take your chilled crust out of the freezer. Gently pour the chocolate cheesecake batter over the crust, spreading it evenly with a spatula. If you want to add a little extra flair, you can pour some of the filling, then drizzle some melted chocolate or a ganache on top and swirl it gently with a toothpick for a marbled effect. However, for a pure, unadulterated chocolate cheesecake experience, I often just pour the batter as is. The smooth, even surface is often just as stunning. The goal is a uniformly thick layer for even baking.
Step 7: Bake
Now for the patient part! Place the foil-wrapped springform pan into a larger roasting pan. Carefully pour hot water into the roasting pan, creating a water bath (bain-marie), until it comes about halfway up the sides of the springform pan. This water bath is your best friend for achieving that incredibly smooth, crack-free, evenly cooked cheesecake. Bake for 55-75 minutes, or until the edges are set but the center still has a slight wobble when you gently shake the pan. It will continue to set as it cools. If your cheesecake starts to look too brown on top, you can loosely tent it with foil.
Step 8: Cool & Glaze
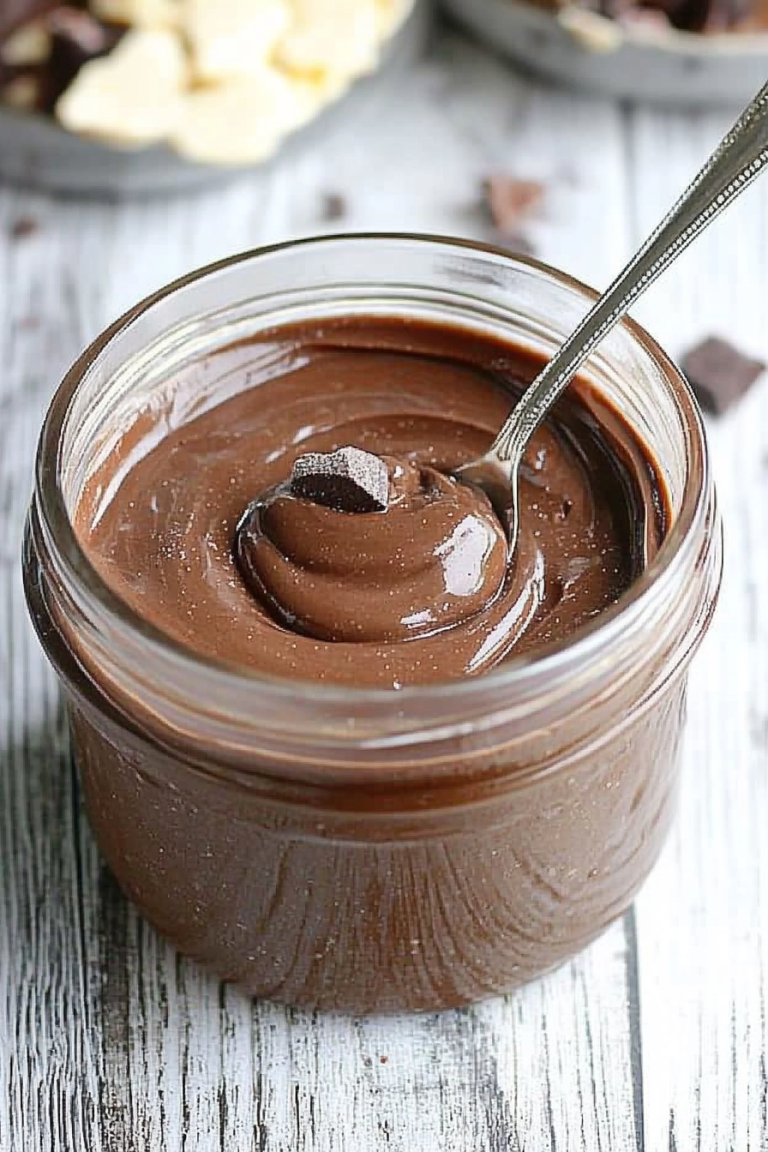
This is arguably the *most* important step for cheesecake success! Once baked, turn off the oven, crack the oven door open a few inches, and let the cheesecake cool inside the oven for about 1 hour. This slow cooling prevents drastic temperature changes that can cause cracking. After an hour, carefully remove the cheesecake from the oven and let it cool completely on a wire rack at room temperature. Once completely cool, cover it loosely with plastic wrap and refrigerate for at least 6 hours, or preferably overnight. This chilling time is essential for the cheesecake to firm up and develop its full flavor. For the glaze: gently heat the heavy cream in a small saucepan until it just begins to simmer. Pour it over the finely chopped chocolate in a bowl. Let it sit for 2-3 minutes, then whisk until smooth and glossy. Let it cool slightly before drizzling over your perfectly chilled cheesecake.
Step 9: Slice & Serve
Once your chocolate cheesecake is thoroughly chilled, carefully run a thin knife around the edge of the pan before releasing the springform sides. This ensures a clean release. Use a sharp, thin knife dipped in hot water and wiped dry between each slice for the neatest cuts. Serve chilled. A dollop of freshly whipped cream, a scattering of fresh berries, or a sprinkle of chocolate shavings are always welcome additions. Enjoy the moment!
What to Serve It With
This chocolate cheesecake is a star all on its own, but it also plays wonderfully with others! For a delightfulbreakfast treat that feels like a holiday, a slice alongside a strong, dark roast coffee is pure heaven. The bitterness of the coffee complements the richness of the chocolate so well. If you’re planning a special brunch, elevate it with a side of fresh, vibrant berries – raspberries or strawberries are fantastic. A light dusting of powdered sugar or a drizzle of chocolate ganache makes it look extra elegant. As an indulgent dessert, it’s a showstopper. I love pairing it with a rich red wine like a Port or a Zinfandel; the fruit notes in the wine really bring out the chocolate. A scoop of vanilla bean ice cream is another classic for a reason! And for those simple, cozy snacks when you just need a comforting treat, a thick slice with a tall glass of cold milk is absolute perfection. My kids actually prefer it with just milk – they say it reminds them of their favorite chocolate milkshake!
Top Tips for Perfecting Your Chocolate Cheesecake
I’ve learned a thing or two about making cheesecakes over the years, and I’m happy to share my hard-won wisdom to help yours turn out absolutely flawless! For the crust, make sure those cookie crumbs are really fine – pulsing them in a food processor is the easiest way to get that even texture. Don’t skimp on pressing it firmly into the pan; a loose crust can crumble apart. When it comes to mixing the filling, room temperature cream cheese is non-negotiable. If it’s cold, you’ll end up with lumps, no matter how long you beat it. And remember my mantra: gentle with the eggs! Beat them in on low speed, just until they disappear. Overbeating introduces air, which leads to cracks. If you’re worried about cracks, don’t be! A water bath is your best friend here. It insulates the cheesecake, allowing it to bake gently and evenly, preventing those dreaded fissures. For baking, don’t be afraid of the wobble in the center; that’s exactly what you want. The cheesecake will continue to cook as it cools. The slow cooling process, first in the oven with the door ajar, then at room temperature, and finally in the fridge, is crucial for that creamy, dense texture. Trust me on this one – patience pays off big time! If you’re feeling adventurous with swirl customization, I’ve found that adding a spoonful or two of melted chocolate or even some fruit puree and swirling it gently with a skewer can create beautiful patterns. Just don’t over-swirl, or the colors will blend too much. For ingredient swaps, if you don’t have chocolate cookies, graham crackers work too, but you might want to add a tablespoon or two of cocoa powder to the crumbs for an extra chocolatey kick. And if you’re out of heavy cream for the glaze, a mix of milk and butter can work in a pinch, though it won’t be quite as rich. Lastly, for glaze variations, you can add a teaspoon of espresso powder to the glaze for an extra mocha kick, or even a touch of chili powder for a Mexican chocolate vibe!
Storing and Reheating Tips
Properly storing your magnificent chocolate cheesecake is key to enjoying it for days to come. If you’re lucky enough to have leftovers (which is rare in my house!), you can keep it at room temperature for a maximum of 2 hours. After that, it really needs to be refrigerated to stay safe and delicious. For refrigerator storage, cover the cheesecake tightly with plastic wrap or place it in an airtight container. It will stay wonderfully fresh for about 4-5 days. The texture actually improves after a day or two as the flavors meld and it firms up even more. If you need to store it for longer, freezing is a great option. You can freeze the entire cheesecake (before adding glaze) or individual slices. Wrap it very well in plastic wrap, then in a layer of aluminum foil, or place it in a freezer-safe container. It should keep well in the freezer for up to 2-3 months. To thaw, transfer it to the refrigerator overnight. For the glaze, it’s best to add it just before serving, especially if you’re planning on refrigerating or freezing. A chilled cheesecake with a set glaze is divine. If you’ve frozen it with the glaze already on, it should still be fine, but the texture might be slightly different.
Frequently Asked Questions
Final Thoughts
There you have it – my absolute favorite chocolate cheesecake recipe. It’s the kind of dessert that brings people together, sparks joy, and makes even the most mundane day feel a little bit magical. I truly believe that everyone should have a go-to, incredibly satisfying chocolate cheesecake recipe in their back pocket, and I’m so happy this could be yours. It’s more than just a dessert; it’s a reminder of happy times, shared moments, and the simple pleasure of something truly delicious. If you’re a chocolate lover, or even if you just appreciate a beautifully made, luxuriously creamy dessert, you *have* to give this a try. You might find, like I did, that it becomes a cherished recipe for years to come. For those who enjoy this decadent treat, I also highly recommend checking out my decadent flourless chocolate cake or my creamy no-bake cheesecake for more dessert inspiration. I can’t wait to hear what you think of this chocolate cheesecake! Please leave a comment below with your thoughts, any variations you tried, or how quickly it disappeared from your kitchen. Happy baking, everyone!

Decadent Chocolate Swirl Cheesecake Pie
Ingredients
Method
- Preheat oven to 325°F (160°C).
- In a 9-inch microwave-safe pie dish, melt 8 tablespoons of butter. Sprinkle graham cracker crumbs over the melted butter and stir with a fork. Press the mixture evenly into the bottom and up the sides of the pie dish to form the crust. Freeze for at least 30 minutes, or until firm.
- In a large bowl, beat softened cream cheese with a hand mixer or stand mixer until fluffy and smooth. Add 0.5 cup of sugar, sour cream, and vanilla extract, and beat until smooth. Add the eggs and mix well until no lumps remain. It's important to use room temperature ingredients for a smooth cheesecake.
- Pour the cheesecake filling into the prepared crust.
- In a small bowl, melt the remaining 2 tablespoons of butter. Stir in 1 teaspoon of sugar and cocoa powder until combined. Drop spoonfuls of this chocolate mixture in rows across the cheesecake filling. Use a toothpick or the back of a butter knife to create the swirl pattern by dragging it horizontally and then vertically through the chocolate.
- Bake for 30-40 minutes, or until the edges of the cheesecake are set and slightly golden brown, and the center has a slight wobble. Cool completely to room temperature, then cover with plastic wrap and chill in the refrigerator for at least 5 hours, or preferably overnight, before serving.