Simple Baked Chicken Dinner Recipe
You know those nights when dinner time sneaks up faster than you expected, and you just want something hearty, cheesy, and comforting without spending hours in the kitchen? That’s exactly when I pull out my favorite chicken bake recipe. It’s one of those dishes that somehow turns a simple pantry raid into a celebration — creamy, flavorful, and heavy enough to satisfy even the biggest appetites. I always do this when I need a quick family dinner that feels special — my kids ask for this all the time, and I can’t blame them. The smell alone brings everyone to the table, eager for that first bite. Plus, it’s a lifesaver on busy nights when the last thing I want to do is fuss over complex recipes. Honestly, this chicken bake has become a kind of family legend in my house — and I promise, once you try it, it might become yours too!
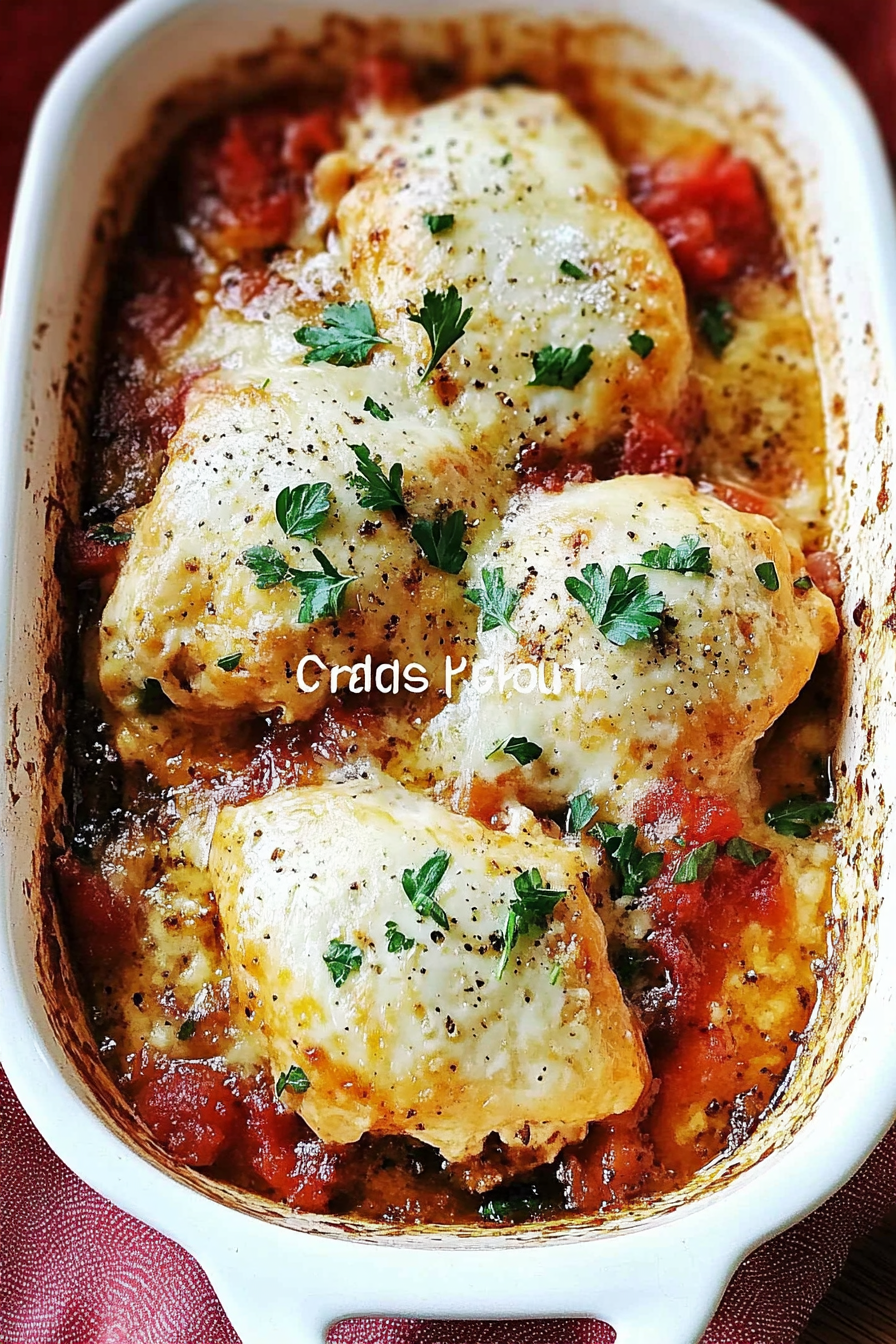
What is chicken bake?
Think of chicken bake as a cozy casserole, but with a little twist. It’s essentially shredded chicken baked under a blanket of creamy sauce, melty cheese, and crispy toppings. The name “chicken bake” is pretty straightforward — it’s a baked dish with chicken that’s so good, you’ll want to make it again and again. Its concept is pure comfort food: tender bites of cooked chicken mingling with gooey cheese and a hint of herbs, all baked to golden perfection. What I love most is that it’s incredibly forgiving — you can customize the ingredients, swap in whatever you’ve got lying around, and still come out with a dish that’s utterly delicious. Think of it as that warm hug after a long day, and honestly, it’s perfect for both a casual weeknight dinner or a special gathering with friends. The best part? It’s a one-dish wonder that makes clean-up a breeze!
Why you’ll love this recipe?
Oh man, let me count the reasons why this chicken bake has stolen my heart (and my stomach!). First, the flavor — it’s packed with savory goodness. The chicken gets super tender from slow cooking or roasting, then smothered in a cheesy, herbaceous sauce that’s just addictive. Trust me, I’ve tested this with a splash of cream, and it made it even creamier! What I really love about this recipe is how simple it is. You don’t need fancy ingredients or hours of prep. A few pantry staples, some cooked chicken, and a handful of cheese are all you need to whip this up. Plus, it’s budget-friendly — I always use leftover cooked chicken or a rotisserie bird to keep costs down. Versatility is another huge win. You can add veggies, spice it up with hot sauce or curry powder, or even make it gluten-free with the right flour swaps. It’s one of those recipes that adapts to your mood and ingredients, and it’s always a hit. Honestly, once you get the hang of it, it’s become my “go-to” comfort dish — and I bet it’ll be yours too.
How do I make chicken bake?
Quick Overview
This chicken bake comes together fast — all you need is cooked chicken, a creamy sauce base, and cheese. You layer everything in an oven-safe dish, swirl the filling to create pretty marbled patterns, and bake until golden and bubbly. The magic is in the simple mixing and layering — no complicated techniques here! This dish is perfect because it’s all about combining flavors easily, then letting the oven do its job. While it seems indulgent, it’s surprisingly easy and forgiving. So, whether you’re a seasoned cook or a newbie, trust me, you’ll love how fuss-free and satisfying this is.
Ingredients
For the Main Batter:
- 2 cups cooked chicken, shredded or chopped (rotisserie is a timesaver!)
- 1 cup all-purpose flour (or gluten-free alternative)
- 1 teaspoon baking powder
- 1 teaspoon garlic powder
- 1/2 teaspoon smoked paprika (optional, for smoky flavor)
- 1/2 teaspoon salt
- 1/2 teaspoon black pepper
- 1 cup milk (dairy or almond, I tested with both!)
- 1/2 cup shredded cheese (cheddar, mozzarella, or a mix)
For the Filling:
- 1 cup cooked vegetables like spinach, mushrooms, or roasted peppers (optional but adds color and nutrients)
- 2 tablespoons sour cream or Greek yogurt (for creaminess)
- 1 teaspoon chopped fresh herbs (parsley, thyme, or dill)
For the Glaze:
- 1 egg, beaten (for that beautiful golden top)
- Optional: a sprinkle of parmesan or extra cheese
Step-by-Step Instructions
Step 1: Preheat & Prep Pan
Set your oven to 375°F (190°C). Lightly grease a baking dish — I love using glass because it heats evenly and looks pretty on the table. While it preheats, make sure your cooked chicken is shredded or chopped into bite-sized pieces. I usually keep some shredded rotisserie chicken in my fridge for moments like this—instant flavor boost!
Step 2: Mix Dry Ingredients
In a large bowl, whisk together the flour, baking powder, garlic powder, smoked paprika if you’re using it, salt, and pepper. I’ve learned to do this first because it makes sure everything is evenly distributed — no raw flour clumps in the batter, and that spices are spread throughout.
Step 3: Mix Wet Ingredients
In another bowl, mix your milk and the beaten egg until well combined. If I’m feeling extra indulgent, I sometimes stir in a spoonful of sour cream or Greek yogurt at this stage. It makes the batter super creamy and tender.
Step 4: Combine
Pour the wet mixture into the dry ingredients and stir gently just until combined. Don’t overmix — a few lumps are okay. Overmixing can make the bake dense, and that’s not what we want. You’re aiming for a smooth-ish batter with a few tiny lumps for fluffiness.
Step 5: Prepare Filling
In a separate bowl, mix shredded chicken with the sour cream and herbs. If you’re adding veggies, toss them in now. I like to keep it simple but feel free to experiment—think chopped spinach or roasted peppers for pops of color and flavor.
Step 6: Layer & Swirl
Pour half of the batter into your prepared dish. Spread the chicken filling evenly over it, then dollop the remaining batter on top. Using a knife or skewer, swirl the batter and filling together in gentle circles for a marbled effect. It not only looks pretty but releases those amazing flavors as it bakes.
Step 7: Bake
Pop it into the oven and bake for about 30-35 minutes, or until the top is golden brown and a toothpick inserted in the center comes out clean. Keep an eye on it because all ovens are a little different. If you see it browning too quickly, cover loosely with foil to prevent burning.
Step 8: Cool & Glaze
Once out of the oven, let it cool for about 10 minutes. This helps everything set and makes it easier to slice. Brush the top with the beaten egg for a shiny, crispy crust. If you want, sprinkle some extra cheese or parmesan for that irresistible cheesy crust.
Step 9: Slice & Serve
Cut into squares or rectangles, serve with a simple green salad, and enjoy! I love serving this with a side of fresh tomatoes or a dollop of sour cream for added richness. It’s fantastic warm or at room temperature, making it perfect for leftovers or packed lunches.
What to Serve It With
This chicken bake isn’t just a stand-alone hero — it pairs beautifully with so many things. For breakfast, imagine slicing a warm square and pairing it with a bright, citrusy orange juice and a hot cup of coffee. It’s surprisingly satisfying — my kids go crazy over it for brunch, especially with a side of crispy bacon or fresh fruit. At dinner, a fresh arugula salad tossed with lemon vinaigrette balances its richness perfectly. If I want to dress it up as a fancy dessert-inspired meal, I drizzle a little honey or serve it with a side of roasted veggies. And on a cozy day in, I pair it with a bowl of warm soup or even just a simple glass of cold milk. Honestly, this dish is so versatile—I always end up making extra to have on hand since it’s just as good reheated as fresh. Plus, it’s a real crowd-pleaser, so I often double the recipe for family gatherings or casual get-togethers—everyone leaves with a satisfied smile!
Top Tips for Perfecting Your Chicken Bake
Over the years, I’ve picked up a few tricks that make this dish turn out even better. First, always cook your chicken ahead of time — I swear, using leftover roast chicken or a quick boiled breast saves so much time and adds flavor. If you’re short on time, a store-bought rotisserie is your best friend here. When mixing the batter, avoid overmixing — I’d say mix just until combined and leave it lumpy; it keeps the bake light and fluffy. For the swirl, don’t be shy — use that knife or skewer to create a pretty marbled pattern, but keep it gentle so everything stays layered nicely.
Ingredient swaps are fun, too. Want it spicy? Add a dash of hot sauce or red pepper flakes. Not a cheese fan? Toss in some nutritional yeast or a handful of chopped herbs instead. For a gluten-free version, swap the flour for almond or rice flour — just remember, baking times might vary slightly. Speaking of baking times, always keep an eye on the top — if it’s browning too fast, cover loosely with foil to avoid burning. Lastly, glazing with the beaten egg gives it that shiny, crispy top, but you can skip it or swap with a little brushed butter if you prefer a softer crust. Trust me on this — making small adjustments based on your tastes and pantry is what makes this dish truly yours. I’ve learned to experiment over time, and it’s made me love this recipe even more. The key is to keep it simple but flavorful, and remember that the imperfect ones are often the tastiest!
Storing and Reheating Tips
What’s even better about this chicken bake is that it stores well. If you have leftovers, let it cool completely, then cover tightly with plastic wrap or store in an airtight container. At room temperature, it’s best eaten within 2 hours, but in the fridge, it keeps beautifully for up to 3 days. To reheat, just pop a piece in the microwave for a minute or two, or reheat in the oven at 350°F (175°C) for about 15-20 minutes until warmed through and crispy on top again. If it’s been in the fridge, I like to sprinkle a little extra cheese or herbs before reheating to freshen it up. Freezing works too—wrap individual portions tightly in foil or plastic, and they’ll be good for up to 2 months. When you’re ready to eat, thaw overnight in the fridge and reheat as mentioned. Just be aware that the texture may change slightly—so for the crispiest top, I recommend adding the glaze or cheese after reheating and giving it a quick broil for that golden finish. Trust me, leftovers are almost as good as the first time!
Frequently Asked Questions
Final Thoughts
This chicken bake has truly become one of those recipes I keep coming back to, especially on those days when I need something warm, satisfying, and foolproof. It’s the kind of dish that makes my kitchen smell like home — cheesy, savory, totally inviting. I love how adaptable it is; I’ve made it with different vegetables, cheeses, and spice levels, and each version feels fresh and exciting. Honestly, it’s a recipe that’s stolen a little space in my regular lineup because it’s so easy to toss together, feeds a crowd, and somehow tastes even better as leftovers. If you try it, I’ll bet a slice becomes a staple in your house too. I’d love to hear your variations or tips — share in the comments! Happy baking!
Baked Chicken with Vegetables
Ingredients
Method
- Preheat the oven to 375°F. Rub the chicken breasts with olive oil, salt, pepper, and thyme.
- Place the chicken breasts in a baking dish and surround with carrots and cherry tomatoes.
- Bake in the preheated oven for 35 to 40 minutes or until the chicken is cooked through and vegetables are tender.
- Remove from oven and let rest for 5 minutes before serving.