Autumn Energy Bites How to Make Them
There’s something about that first cool breeze, a pumpkin spice latte in hand, and the warm scent of cinnamon that screams fall to me. But honestly, the thing I look forward to most during this season isn’t just the cozy sweaters or crunchy leaves—it’s whipping up a batch of these pumpkin energy bites. They’re kinda like a bite-sized hug for your taste buds—soft, sweet, a little spicy—and packed with wholesome ingredients. My kids ask for these all the time, especially after school when they’re looking for a healthy snack that actually tastes indulgent. I always do this when I need something quick, nutritious, and genuinely satisfying. The best part? They disappear in minutes at my house! I’ve made these countless times, tinkering with flavors, and trust me on this—once you make them, you’ll be hooked. They’re perfect when you’re craving something sweet at 10 pm but don’t want to bake a whole dessert. Plus, they’re so easy to customize with whatever seeds, nuts, or dried fruit you have on hand. Let’s get into it—I promise you’ll love these pumpkin energy bites as much as my family does!
What are pumpkin energy bites?
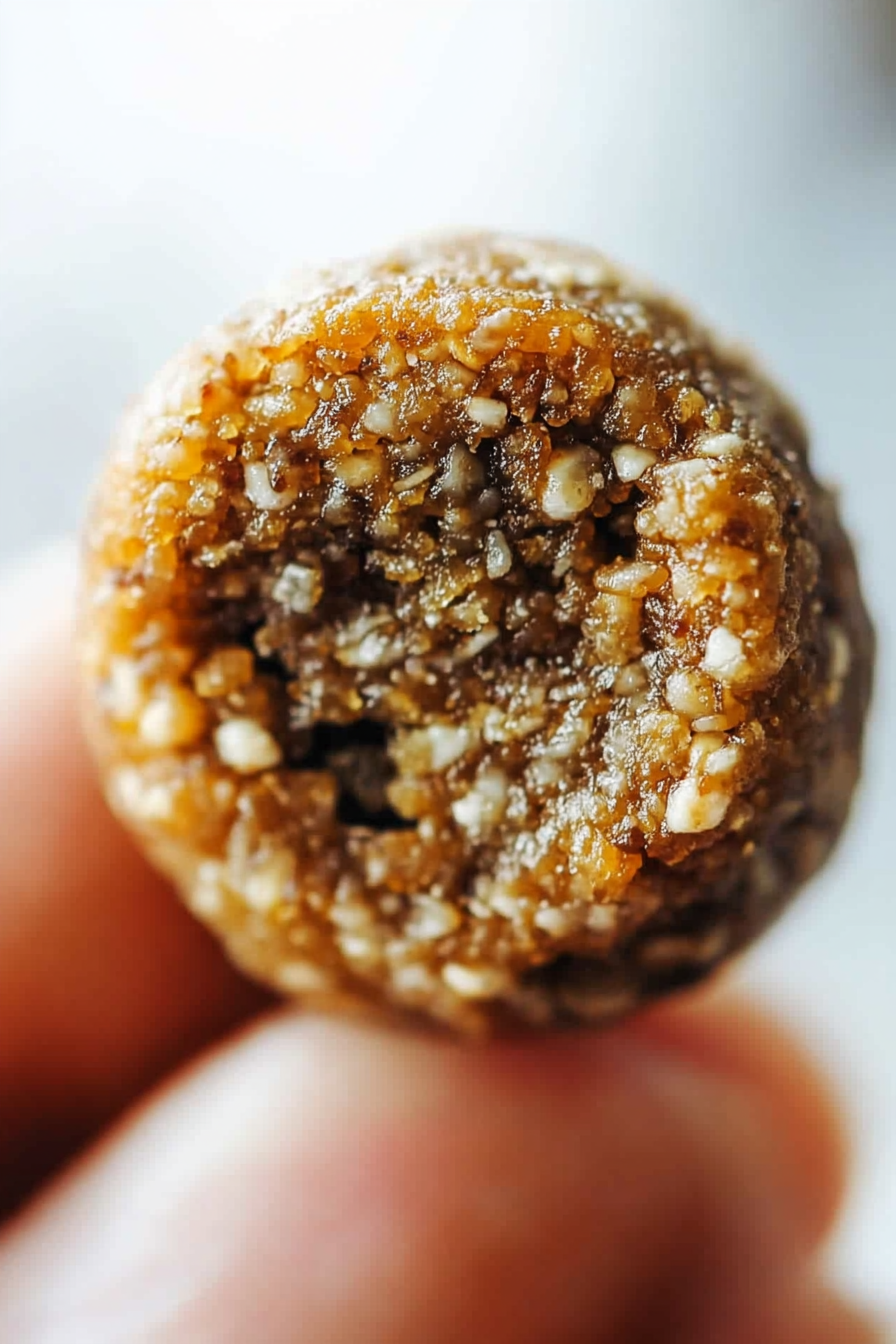
Think of pumpkin energy bites as little no-bake treats that pack a punch of flavor and energy—kind of like a healthier version of a cookie, but made in minutes. They’re essentially a mix of wholesome ingredients—like oats, pumpkin puree, nuts, and spices—that you roll into bite-sized balls and chill until firm. The name “pumpkin energy bites” pretty much says it all: pumpkin is the star ingredient, giving them that gorgeous autumn hue and a subtle, sweet earthiness. It’s sort of a cross between a snack bar and a cookie, but with a natural, nourishing twist. This recipe started out as a way to use up leftover pumpkin from my fall baking adventures, and now I make it every year, just to keep my energy levels up during busy seasons. It’s perfect for backpacks, office snack drawers, or even a quick breakfast when you’re running out the door. Think of these as a portable, wholesome treat that tastes as good as it looks—and yes, I totally sneak them for myself a little too often!
Why you’ll love this recipe?
What I love most about these pumpkin energy bites is how they hit all the right notes—flavor, convenience, and versatility. First, the flavor profile is just fall in a bite: warm cinnamon, a touch of ginger, and that lovely pumpkin plays so well with the nuttiness of seeds and the sweetness of optional honey or maple. It’s really something magical—comforting yet energizing. If you’re like me, you want snacks that are quick to whip up but don’t compromise on what you put into your body. These bites are budget-friendly too—you only need pantry staples like oats, nuts, and dried fruit, and a bit of pumpkin, which I always have on hand during the season. Plus, they’re super customizable: you can swap in almonds, sunflower seeds, or even chopped dried apricots if you want a little twist. What I really love is how forgiving this recipe is—I’ve tested it with coconut flakes, chia seeds, and even a splash of vanilla, and it’s always delicious. It’s a lifesaver on busy nights or when you need a quick pick-me-up, and the kids love how fun they are to eat! Honestly, once you get the hang of rolling these, you’ll be making batch after batch—perfect for gifting or just keeping on hand whenever those afternoon cravings hit.
How do I make pumpkin energy bites?
Quick Overview
This recipe is all about simplicity. You start by mixing your dry ingredients—oats, seeds, spices—then stir in pumpkin puree, honey or maple syrup, and a splash of vanilla. Once you have a sticky, well-combined dough, you roll it into small balls, press in any add-ins or toppings if you like, and chill them until firm. No baking, no fuss, just a few minutes of mixing and two hours of patience (which is totally worth it!). The magic lies in how everything comes together into a cohesive, soft bite that’s just sweet enough. Once chilled, they’re ready to serve—and trust me, they get gobbled up in a flash. This method is forgiving, so don’t worry about perfect shapes—it’s all about the flavor and texture.
Ingredients
For the Main Batter:
- 1 ½ cups old-fashioned oats (gluten-free if needed, but I love the chewy texture)
- ½ cup pumpkin puree (canned works perfectly, just make sure it’s pure pumpkin, not pie filling)
- ½ cup chopped nuts or seeds (walnuts, pecans, sunflower seeds—whatever you prefer)
- ¼ cup honey or maple syrup (to keep things natural and sticky)
- 1 tsp cinnamon (warm and cozy flavor)
- ½ tsp ginger powder (adds a little zing)
- 1/4 tsp nutmeg or allspice (optional but I love the depth)
For the Filling:
- Lined with extra pumpkin or chopped dried fruit for extra ooey-gooey goodness.
For the Glaze (optional):
- ½ cup powdered sugar mixed with 1-2 teaspoons of milk or cream (add vanilla for extra flavor)
- Or melted chocolate for a decadent touch
Step-by-Step Instructions
Step 1: Preheat & Prep Pan
Nothing fancy here—just line a baking sheet with parchment paper. Since these don’t go in the oven, we’re just chilling them, so no oven preheat needed. But I do keep my fridge nearby, because these are best when they’re cold and firm.
Step 2: Mix Dry Ingredients
In a large bowl, toss together the oats, seeds, and spices. I always do this first, so the flavors get evenly distributed. The smell alone from cinnamon and ginger just makes me eager to keep going!
Step 3: Mix Wet Ingredients
In a smaller bowl, stir together pumpkin puree, honey, and vanilla. I like to warm the honey slightly if it’s thick—makes it easier to stir in and coats everything better. Add a splash of milk if the mixture seems stiff.
Step 4: Combine
Pour the wet into the dry and mix well. It’ll be thick and sticky—perfect for rolling. If it feels dry, I add a tiny splash of water or milk. If it’s too wet, a little more oats helps balance it out. Trust your nose and feeling here—this is the fun part!
Step 5: Prepare Filling
If you’re going for extra gooeyness or a fun swirl, hold some of the mixture aside to fold in dried fruit or chocolate chips later. I sometimes press a tiny piece of chocolate into the center of each ball for an extra special treat.
Step 6: Layer & Swirl
Roll the mixture into balls about 1 inch in diameter. If you want to get fancy, stack a little more pumpkin mixture on one side of the ball and swirl it around gently. I love creating a marbled effect—it looks beautiful and feels even more delightful to eat!
Step 7: Bake
No baking needed—just pop these in the fridge or freezer. I usually refrigerate for at least 2 hours until they’re firm. If you’re in a rush, they’ll set faster in the freezer, about 30 minutes.
Step 8: Cool & Glaze
Once firm, I drizzle or dunk them in a simple glaze or melted chocolate. It’s optional but makes them look really pretty and adds an extra layer of flavor. Let the glaze set for about 15 minutes in the fridge.
Step 9: Slice & Serve
Serve these straight from the fridge—they’re best cold. I like stacking a few on a plate, maybe with a sprinkle of cinnamon on top. They make a beautiful, irresistible treat for any season, especially fall!
What to Serve It With
These pumpkin energy bites are so versatile, I usually have them around for every occasion. For breakfast, I’ll pair them with a steaming mug of coffee—they’re like little bites of fall to start my day. When I have friends over for brunch, I sprinkle some chopped pecans and serve alongside apple cider or spiced tea. As a dessert, I love to top them with a drizzle of caramel or a dollop of whipped cream, especially when I want something sweet but healthy-ish. For those cozy nights in, these are perfect with a mug of hot cocoa or a glass of cold milk. They’re also fantastic packed in lunchboxes or taken on nature walks—the portability makes them my number-one snack. My family’s favorite way to enjoy them is just straight from the fridge, the coldness making the flavors pop. Honestly, I keep a stash in the freezer for when hunger strikes—I’d be lost without these simple, wholesome bites!
Top Tips for Perfecting Your Pumpkin Energy Bites
Getting these just right takes a little practice, but once you “nail” the method, they’re foolproof. Here are some secrets I’ve learned over years of making this recipe:
- Zucchini Prep: Although it’s pumpkin, if you’re using fresh zucchini instead, squeeze out as much moisture as possible before mixing. Excess water can make the bites too sticky or fall apart.
- Mixing Advice: Don’t overmix once you add the wet ingredients—they can turn into a gluey mess if you’re not careful. Just fold and toss until everything looks well coated. The perfect texture should be moist but not runny.
- Swirl Customization: For a prettier look, if you’re making layered or marbled bites, try layering the different mixtures in small bowls and swirling gently with a toothpick or skewer.
- Ingredient Swaps: I’ve experimented with almond butter instead of honey and loved the results—plus, it adds a richer flavor. Just adjust the moisture if needed. Using mashed banana works too, but it adds a different flavor profile.
- Baking Tips: Keep your fridge nearby and refrigerate the bites at least 2 hours—this helps them set properly and makes them easier to handle. If they feel too crumbly, a splash more honey or syrup might help bind them better next time.
- Glaze Variations: For a festive touch, mix in spices like cardamom or a dash of chili powder—trust me, it adds a little unexpected kick. You can also dust them with cocoa powder or shredded coconut instead of glaze, depending on your mood.
Over the years, I’ve adapted and tweaked this recipe to suit my taste and pantry. Sometimes, I add a handful of coconut flakes for tropical flair, or sprinkle hemp seeds on top for extra nutrition. The key is to keep things simple and have fun with it—these bites are forgiving and just as pretty as they are delicious.
Storing and Reheating Tips
Once you’ve made these pumpkin energy bites, you’ll want to keep them fresh for as long as possible. Here’s what I do:
- Room Temperature: They can last up to 24 hours in an airtight container at room temp, but I prefer refrigerating them to keep the texture perfect and prevent melting if you’ve added chocolate glaze.
- Refrigerator Storage: Store in an airtight container for up to a week. Layer with parchment paper to prevent sticking, especially if you drizzle with glaze or chocolate.
- Freezer Instructions: For longer storage, freeze in a sealed container or zip-top bag for up to 3 months. I like to keep individual servings in small bags—super handy when you want just a couple. Thaw in the fridge or at room temp for a quick treat.
- Glaze Timing: If you’re adding glaze or chocolate, best to do it after they’re fully cooled and chilled. If you freeze them unglazed, add the topping once they’re fully thawed—you won’t want the freezing process to affect the outlook of your pretty glaze.
Nothing beats the convenience of having these on hand, whether for a last-minute snack or a sweet moment at the end of a busy day. With proper storage, they stay fresh and delicious—ready whenever you are.
Frequently Asked Questions
Final Thoughts
If you’re looking for a wholesome, fuss-free snack that screams fall and feels just as cozy as it tastes, these pumpkin energy bites are your new best friend. They’re endlessly adaptable—add your favorite nuts, seeds, or dried fruit—and they taste even better than they look. I’ve made these dozens of times, and my family’s trick is to store a batch in the fridge and whip up a fresh round whenever the mood strikes. They’re perfect for breakfast on-the-go, a snack on busy afternoons, or a sweet surprise after dinner. My tip? Keep some in the freezer, so they’re ready in minutes for when that craving hits. Don’t be surprised if your friends start asking for the recipe—these are totally addictive in the best way. I hope you love making and eating these as much as I do. Happy baking, and I can’t wait to hear how yours turn out!
Pumpkin Energy Bites
Ingredients
Method
- Pulse all ingredients except chocolate chips in a food processor until well-mixed.
- Add chocolate chips and pulse a few more times until they are in small pieces.
- Scoop mixture and roll into balls. Freeze until solid and store in the freezer or refrigerator.