Effortless Sheet Pan Enchiladas Recipe
There’s a little magic in the air when I make enchiladas—maybe it’s the smell of sizzling spices filling my kitchen or the way my family races to the table the minute I start rolling tortillas. I remember those lazy Sunday afternoons when my grandma would yell from her backyard garden, “Come on in, I’ve got something special for dinner!” And oh, my friend, enchiladas are just that. They’re comfort, flavor, and a little bit of love wrapped up in each chewy, cheesy bite. I’ve made these countless times, tweaking the filling here, perfecting the sauce there, and I swear, the smell alone brings everyone to the kitchen. Whether you’re craving a cozy weeknight dinner or impressing friends over a casual get-together, these enchiladas are a tried-and-true crowd favorite that never fail to make everyone ask for seconds. Trust me, once you get the hang of rolling these up and drenching them in that luscious sauce, they’ll become a staple in your home too—pretty much a family secret I’m letting you in on today!
What is an Enchilada?
Think of enchiladas as a tortilla hug—specially rolled up around all kinds of tasty fillings, then smothered in sauce and baked until bubbly. The word “enchilada” comes from the Spanish word “enchilar,” meaning “to chili,” which perfectly captures how these dishes are all about spicy, savory flavor. It’s essentially a Mexican classic that’s super versatile. You can fill them with everything from shredded chicken and cheese to beans, vegetables, or even just cheese for a simple, meatless version. The beauty of enchiladas is how easy and forgiving they are—this is a dish that welcomes you whether you’re a seasoned cook or just starting out. Think of it as a big, cheesy, spicy hug from your kitchen to your belly, and honestly, once you try them, they might just become your go-to dinner for busy weeknights or lazy weekends. They’re warm, comforting, and always worth the slight mess these rolled beauties create on your baking sheet!
Why you’ll love this recipe?
What I love most about making enchiladas at home is how forgiving and customizable they are. You can really make them your own, whether that’s adding extra jalapeños for heat, swapping out chicken for mushrooms, or even playing around with different cheese blends. Plus, let’s be honest—nothing beats the smell of a baking dish of enchiladas filling the house with spicy, cheesy goodness. They’re also surprisingly easy, especially once you get the hang of rolling—no fancy skills required, just a love for comfort food. And if you’re watching your budget, this dish is perfect because it relies on simple ingredients like tortillas, cheese, and pantry staples. My kids ask for these all the time—they even love when I sneak in some spinach or zucchini in the filling; it’s like sneaking veggies into their favorite comfort food! This recipe is a lifesaver on busy nights when I want something hearty but don’t want to spend hours in the kitchen. And trust me on this—once you master the sauce, it’s all downhill from there. You’ll have everyone raving, and you might even find yourself dreaming about the next batch before the first one’s gone!
How do I make Enchiladas?
Quick Overview
Making enchiladas really isn’t complicated—think of it as assembling flavor-packed rolls that bake into bubbly perfection. Start by preparing the filling, then roll them up in tortillas, smother everything in a homemade or store-bought enchilada sauce, sprinkle with cheese, and bake until golden and melty. The best part? You can prep these ahead of time, refrigerate, and bake whenever the craving hits. It’s also a great way to clear out leftovers and keep everyone happy with minimal fuss. Once you get the hang of layering, you’ll be surprised how fast these come together, and they’re even better the next day—perfect for leftovers or even freezing for future easy dinners!
Ingredients
For the main filling:
– 2 cups cooked chicken, shredded (rotisserie chicken works wonders here)
– 1 cup diced onions
– 1 cup chopped spinach or zucchini (optional, but adds lovely freshness)
– 1 cup shredded cheese (cheddar, Monterey Jack, or a blend)
– 1 tsp cumin and chili powder for a smoky punch
– Salt and pepper to taste
– A splash of olive oil for sautéing
For the enchilada sauce:
– 2 cups tomato sauce or pureed tomatoes
– 1/2 cup chicken broth (or vegetable broth)
– 1 tbsp chili powder
– 1 tsp garlic powder
– 1/2 tsp cumin
– Salt and pepper
– A pinch of cinnamon (trust me, it adds depth)
For the topping and assembly:
– 8-10 corn or flour tortillas
– 1 cup shredded cheese (again, whatever you like)
– Fresh cilantro, sliced jalapeños, or extra sour cream for serving (optional but highly recommended)
Step-by-Step Instructions
Step 1: Preheat & Prep Pan
Set your oven to 375°F (190°C). Grab a big baking dish—this is where all the magic happens. Lightly grease it or line it with parchment paper if you like, just to make cleanup a breeze. Also, dice that onion and shred your chicken if it’s not already cooked. I always do this when the kitchen smells amazing already—I get excited for the layers of flavor ahead.
Step 2: Mix Dry Ingredients
Mix your spices—cumin, chili powder, garlic powder, cinnamon, salt, pepper—in a small bowl. This combo isn’t just for flavor; it’s what gives the filling and sauce that authentic enchilada kick. Keep it handy so you can season as you go.
Step 3: Mix Wet Ingredients
In another bowl, stir together your tomato sauce with broth, and pour in your spice mixture. If you want things extra flavorful, toss in a pinch of sugar or a squeeze of lime for brightness. Trust me, the sauce on these is what makes ’em special—rich, spicy, and just the right amount of tangy.
Step 4: Combine
In a large bowl, toss the cooked chicken, sautéed onions, spinach (if using), and half of the shredded cheese. Season with salt and peppers. This filling is the flavor burst center of every enchilada. Be gentle, so the filling stays tender and moist. It’s the kind of step where you can get creative—sometimes I add corn or roasted peppers, depending on what I have lying around.
Step 5: Prepare Filling
Warm your tortillas a little so they won’t crack when rolling—this is my secret trick, especially with corn tortillas. Wrap them in a damp towel and microwave for about 30 seconds. It’s the difference between a frustrating roll and a smooth one. If you’re feeling ambitious, lightly fry a few tortillas for a crispier texture. I’ve tried it both ways, and honestly, the soft ones are my favorite for that melt-in-your-mouth feel.
Step 6: Layer & Swirl
Spread a thin layer of sauce on the bottom of your baking dish—this helps prevent sticking. Then, take a tortilla, fill it with a scoop of the chicken mixture, roll it up tightly, and place seam-side down in the dish. Repeat with the rest, lining them up snugly. Pour the remaining sauce all over the top, making sure every little roll is covered. Finish with the rest of the cheese sprinkled on top. If you want, you can create a marbled swirl of sauce and cheese for a pretty presentation—my kids love helping with that part!
Step 7: Bake
Pop the dish into the oven and bake for about 20-25 minutes, until bubbling and golden on top. Keep a close eye—every oven is a little different, and you want that cheese to just melt perfectly. When the smell makes your stomach growl, you know you’ve nailed it!
Step 8: Cool & Glaze
Once out of the oven, let the enchiladas cool for five minutes—this helps everything set and makes slicing easier. If you love a glossy finish, drizzle a little extra enchilada sauce or a squeeze of lime on top before serving. Sometimes I add a light dusting of powdered chili for an extra punch or scatter chopped cilantro. This is the stage where your creation really shines!
Step 9: Slice & Serve
Use a sharp knife to cut through the enchiladas, cleaning the blade between cuts for neat squares. Serve hot with your favorite sides—more on that below! I like garnishing with sour cream, sliced jalapeños, and freshly chopped cilantro. Honestly, these go from simple dinner to showstopper in minutes. Make sure everyone gets a generous helping of that cheesy goodness—trust me, it disappears in minutes at my house.
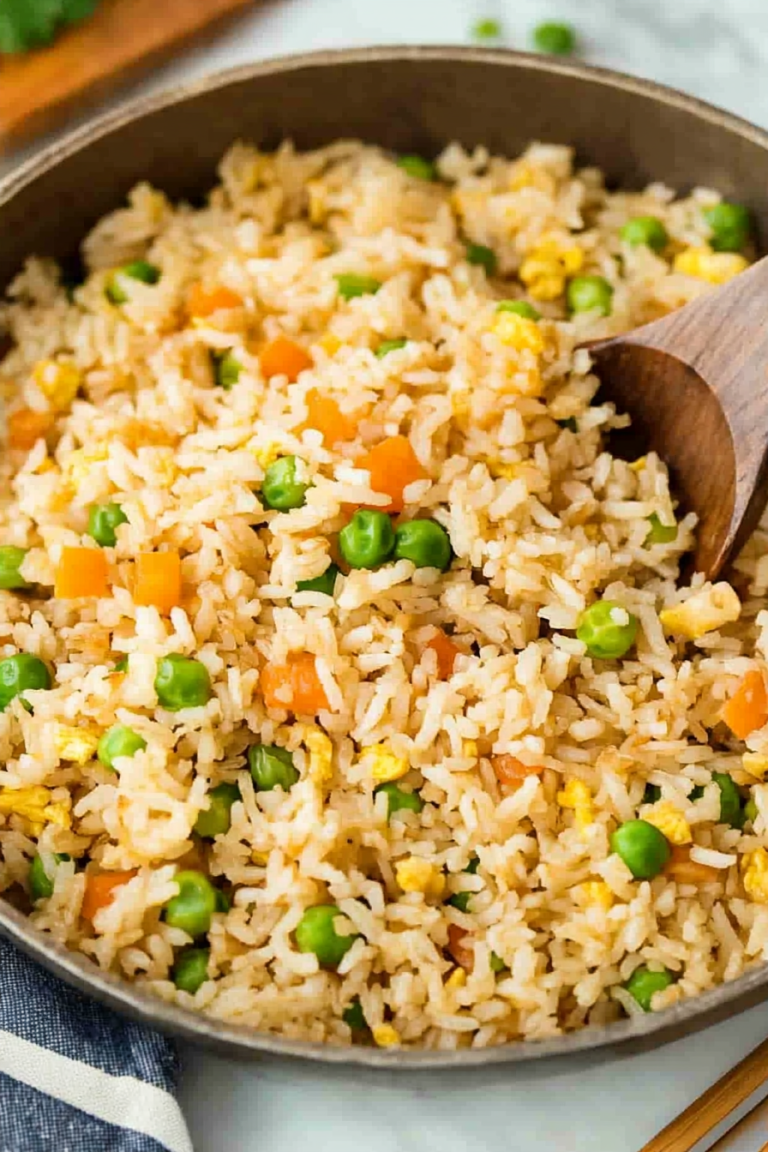
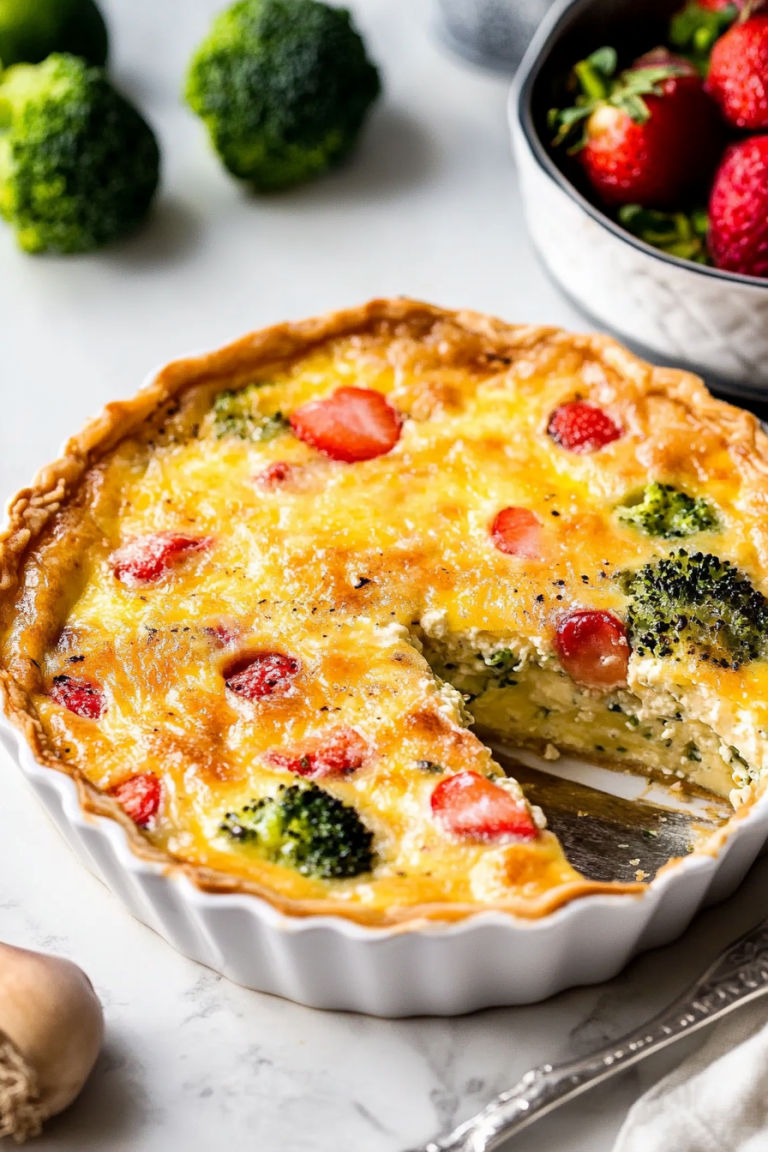
What to Serve It With
Enchiladas are so versatile—they’re perfect for breakfast, brunch, or dinner. For a quick breakfast twist, serve with a fried egg on top and a side of black beans. They’re also brilliant for a casual brunch—pair them with fresh fruit and mimosas. As a dinner, I love serving these with a crisp side salad, some Mexican rice, or even just tortilla chips with guacamole. My family often dips into extra salsa or sour cream, which adds that tangy burst every bite needs. When I want to turn it into a crowd-pleaser, I whip up some homemade Spanish rice and a side of refried beans. These enchiladas are also a hit as leftovers—they reheat beautifully in the oven or microwave, staying just as flavorful and cheesy. Honestly, I’ve made a batch to take to friends’ houses, and it’s always a hit. The aroma alone kind of becomes a tradition—everyone asks, “Are these the famous enchiladas?” and I smile because, yes, I finally nailed it!
Top Tips for Perfecting Your Enchiladas
After making these dozens of times, I’ve picked up a few tricks I swear by. First, don’t skip warming the tortillas—they’re way easier to roll without cracking, and it’s a little extra step that pays off. When filling, avoid overstuffing—if you cram too much in, the roll might split, and the filling will leak out in the oven. But if you’re feeling adventurous, adding a bit of leftover cooked rice or even mashed beans makes the filling more filling and stretch it further without losing flavor. If you want a super cheesy top, sprinkle extra cheese on during the last five minutes of baking—melts beautifully and gives that perfect gooey layer. I’ve tried different cheeses—trust me, Monterey Jack gives a smooth melt, while cheddar offers more punch. For the sauce, I tested with different brands of tomato sauce and even homemade pureed tomatoes, and honestly, fresh made or good-quality canned tomatoes make all the difference. As for baking, oven positioning matters—middle rack for even heat, and keep a close eye during the last few minutes so it doesn’t burn. Oh! And my biggest lesson—if you want thick, glossy sauce on top, simmer it a little longer so it thickens up nice and rich. The little tweaks make all the difference, but honestly, this recipe works every time with a little love and patience!
Storing and Reheating Tips
If you have leftovers—or you’re planning ahead—storing enchiladas is simple. Let them cool slightly, then transfer to an airtight container. In the fridge, they stay fresh for up to 4 days. Covering them tightly keeps the moisture in and prevents drying out. To reheat, pop them in the oven covered with foil at 350°F (175°C) for about 15-20 minutes or until heated through. If you want crisp edges again, remove the foil during the last few minutes. Freezing is also an excellent option—you can wrap slices individually in plastic wrap, then place in a freezer bag for up to 3 months. When ready to enjoy, defrost in the fridge overnight and reheat as above. Be aware that the sauce might be a little runnier if frozen and thawed, but I just spoon excess off or add a bit more cheese for richness. If you prepared the enchiladas with extra sauce or toppings, wait to add the glaze or cheese on top before reheating so it stays fresh and gooey. This way, every bite feels just as special as the first time around.
Frequently Asked Questions
Final Thoughts
Honestly, making enchiladas from scratch has become one of my favorite kitchen routines. The process is simple, yet it feels like such a special treat—especially when those bubbling, cheesy rolls come out of the oven. I love how adaptable they are—experimenting with different fillings, sauces, and toppings keeps things exciting. Plus, the way your home smells during baking? Pure comfort. This dish is more than just food; it’s memories, family, and warmth wrapped up in one bite. Whether you’re cooking for a busy weeknight or gathering friends for a laid-back dinner, these enchiladas play the perfect host. I can’t wait for you to try this recipe and hear how it becomes part of your family’s favorites. Don’t forget to leave a comment with your tweaks or photos—happy baking, and enjoy every delicious, cheesy moment!

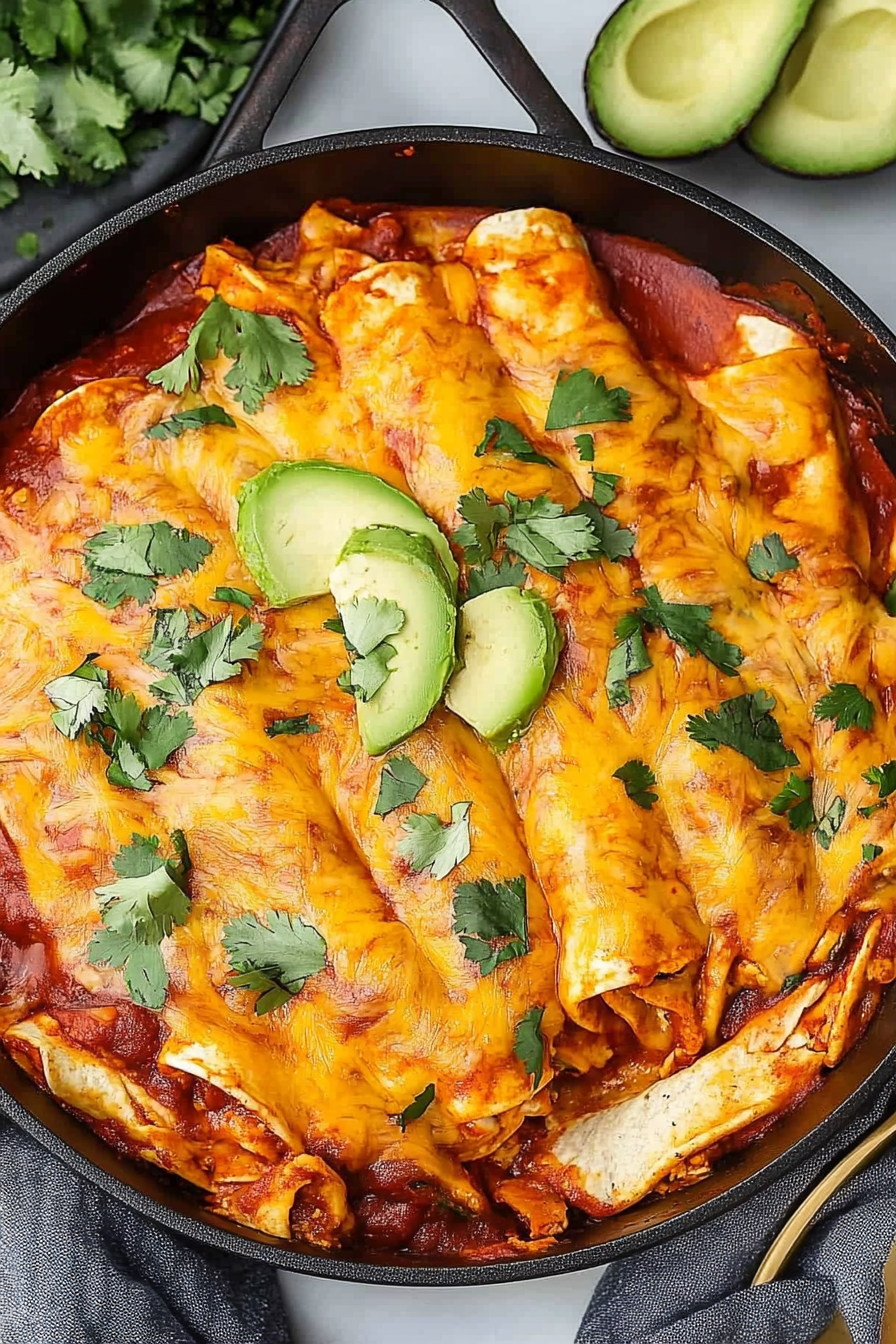
Simple Chicken Enchiladas
Ingredients
Method
- Preheat oven to 425°F.
- Place a large heavy-duty skillet over medium-high heat and add olive oil. When hot, add diced onions and sauté for 2-3 minutes until translucent.
- Add green chilies, chili powder, cumin, paprika, garlic powder, salt, and black pepper to the skillet. Stir to combine spices with onions.
- Pour in red enchilada sauce and stir to incorporate spices. Add shredded chicken and stir evenly to coat.
- Cook sauce and chicken for 3-4 minutes, just until sauce starts to simmer.
- Turn off heat. Gently fold in tortilla strips until evenly coated.
- Top mixture with shredded cheese. Bake in oven for 10-12 minutes until cheese melts and bubbly.
- Garnish with cilantro and avocado slices. Serve warm.