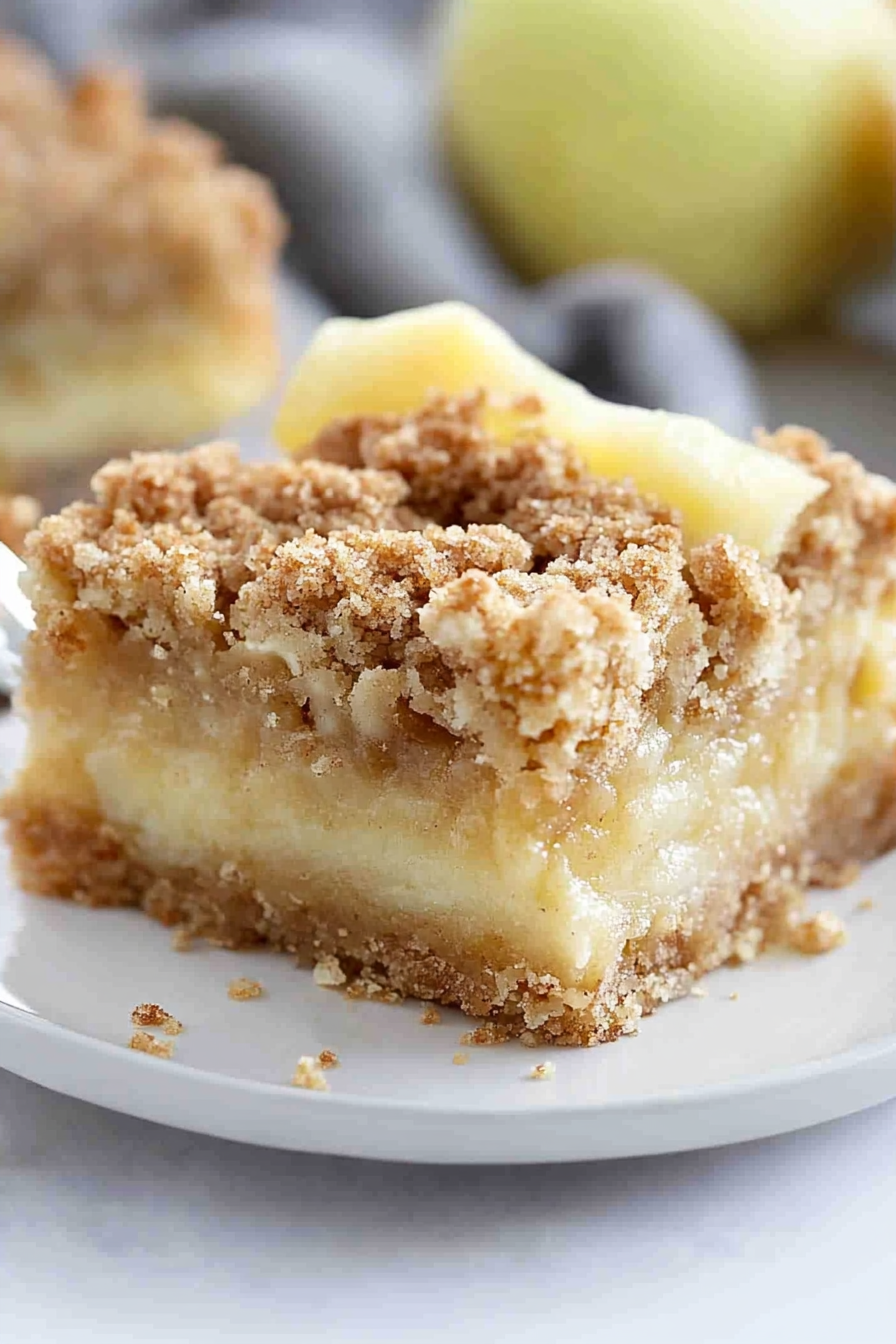
Easy Apple Cream Cheese Bars Delight
You know those days when you need something sweet but don’t want to spend hours in the kitchen? Or those mornings when the smell of warm apples and cinnamon fills your whole house and instantly makes everything feel cozier? That’s exactly how I feel every time I whip up these apple bars. They’re honestly my secret weapon—kind of like a cross between a crisp and a bar cookie, but so much easier to throw together. I always do this when I want a dessert that looks fancy but is totally foolproof. Plus, my kids ask for these all the time—they’re practically begging for a batch every weekend. The best part? The aroma alone will bring everyone running, and trust me, once they taste that tender apple filling layered beneath a buttery crumble, they’re hooked. This is hands-down my go-to treat when I want something comforting, quick, and totally satisfying. Honestly, I can’t keep these a secret—they disappear in minutes at my house! So, grab your apples, and let’s get baking. You’ll see what I mean when I say these apple bars are a total game-changer.
What is an Apple Bar?
Think of apple bars as a charming hybrid between a buttery crumble and soft, tender apple pie—without all the fuss of a pie crust. It’s essentially a layered treat where sweet, spiced apples sit beneath a crumbly topping, baked until golden and bubbling. The name “apple bars” is pretty descriptive; it’s a handheld, portable version of that classic apple dessert. I love making these because they’re like a warm hug in every bite—crisp on top, gooey with apple goodness inside. They’re also super versatile, which means you can make them as simple or fancy as you want. Whether I’m whipping these up for a quick afternoon snack or serving them as a dessert after a cozy dinner, they always win points. The best part? No special skills needed—just a handful of ingredients, and you’re set. These apple bars remind me of baking with my grandma, with all that warm cinnamon and fresh apple scent wrapping around you. It’s nostalgic, comforting, and honestly, just so delicious.
Why you’ll love this recipe?
What I love most about these apple bars is how effortlessly they come together—they’re truly a “set it and forget it” kind of treat. You don’t need fancy tools or complicated techniques, which makes them perfect for busy weeknights or lazy weekends. The smell alone will have your house smelling like a cozy bakery—warm cinnamon, sweet apples, and a buttery topping—that’s what I call instant happiness. Plus, these bars are budget-friendly; most of the ingredients are pantry staples like flour, sugar, and apples. I also love how flexible they are—switch out the apples for pears, add a handful of nuts, or even throw in some raisins for a personal twist. They’re equally amazing served warm with a dollop of whipped cream or just plain—they’re that good. What sets these apple bars apart from a typical apple crisp or pie is the size and convenience—they’re perfect for grabbing a square on the go or sharing with friends. Trust me, once you make these a few times, they’ll become your new family favorite. They’re simple, nostalgic, and honestly, addictive.
How do I make Apple Bars?
Quick Overview
This recipe is all about layering and baking—think of it as assembling a quick apple crumble in a pan. First, you make a simple apple filling with sliced apples and warm spices. Then, you prepare a buttery, crumbly streusel topping. After layering everything in your baking dish, it’s just a matter of popping it into the oven until bubbling and golden. The trick to perfect apple bars is not overmixing the topping—leave it crumbly and light—and making sure your apples are sliced evenly for uniform baking. This one’s a lifesaver on busy nights or whenever you want a dessert that comes together in under an hour. The smell alone makes your whole house feel festive—like a little slice of autumn. Serve it warm with a scoop of vanilla ice cream or a drizzle of caramel, and I promise you, these will disappear fast.
Ingredients
For the Main Batter:
– 2 cups all-purpose flour (I like unbleached for a richer flavor)
– 1 cup granulated sugar
– 1 teaspoon baking powder (just to help the topping crisp up)
– ½ teaspoon salt
– 1 teaspoon cinnamon (because apples deserve it!)
– ½ cup cold unsalted butter, cut into small cubes (really helps the topping spread evenly)
For the Filling:
– 4-5 large apples (Granny Smith or Fuji are perfect for balance between tart and sweet)
– ¼ cup granulated sugar
– 1 teaspoon cinnamon
– 1 tablespoon lemon juice (keeps the apples from browning and adds brightness)
– 1 tablespoon cornstarch (to thicken the juices as it bakes)
For the Glaze (optional but recommended):
– ½ cup powdered sugar
– 1 teaspoon vanilla extract
– 1-2 teaspoons milk or cream (to get a drizzle-worthy consistency)
Step-by-Step Instructions
Step 1: Preheat & Prep Pan
Set your oven to 350°F (175°C). Grease a 9×9-inch square baking dish with butter or non-stick spray—this makes removal a breeze. If you like, line it with parchment paper for easy cleanup. I always do this because nothing’s worse than struggling to lift a hot, sticky bar out of the pan!
Step 2: Mix Dry Ingredients for Topping
In a large bowl, whisk together the flour, sugar, baking powder, salt, and cinnamon. This dry mix forms the base of your crumble. I find it’s easiest to use a fork or pastry cutter to blend in the cubes of butter until the mixture resembles coarse crumbs—this is what helps give the topping that perfect crispy texture.
Step 3: Prepare the Apples
Peel (or don’t peel—up to you), core, and slice the apples fairly thin, about ¼-inch thick. Toss them in a bowl with the sugar, cinnamon, lemon juice, and cornstarch until coated evenly. This step is key because it prevents the filling from being runny and ensures even baking.
Step 4: Make the Batter & Assemble
In a separate bowl, you can skip a separate batter—these bars are all about the layering. Simply spread the apple mixture evenly into the prepared pan. Then sprinkle the crumbly topping all over the apples, pressing it down lightly so it sticks. Don’t overthink the layering—just make sure the apples are covered well, and the topping is fairly even for a pretty presentation.
Step 5: Bake
Pop the dish into your preheated oven and bake for about 40-45 minutes. Keep an eye on it—once the topping is golden brown and the filling is bubbling around the edges, you know it’s ready. An oven thermometer helps, but honestly, your nose does most of the work—you’ll smell that sweet, spicy aroma wafting through your house.
Step 6: Cool & Glaze
Let your apple bars cool for about 15 minutes—that way, the filling firms up a bit and slicing is easier. If you’re feeling fancy, mix up the glaze and drizzle it on while the bars are still warm. It melts into those crispy edges and makes each bite even more irresistible.
Step 7: Serve & Enjoy
Slice into squares with a sharp knife, serve warm or at room temperature. I love a scoop of vanilla ice cream or a dollop of whipped cream on top—trust me, this elevates it to dessert perfection. I’ve even frozen leftovers (if there are any!), and they heat up beautifully in the microwave, still deliciously gooey.
What to Serve It With
This apple bars recipe naturally lends itself to cozy moments. For brunch, serve with a hot cup of coffee or tea, maybe with a dusting of powdered sugar for prettiness. As a dessert, pair it with vanilla ice cream or caramel sauce—my kids actually ask for this with a drizzle of warm caramel on top. If you’re feeling extra indulgent, a little dollop of whipped cream or even a sprinkle of toasted nuts adds a lovely crunch. On a lazy Sunday, I sometimes just cut a big square and walk around munching—kind of my way of turning a treat into a casual, all-day affair. It’s a dessert that feels fancy enough for guests but homemade enough for that lazy family movie night. Honestly, these apple bars have been my family’s favorite for years because they strike that perfect balance of comforting and delicious.
Top Tips for Perfecting Your Apple Bars
After making these dozens of times, I’ve gathered a few secrets. First, don’t skip the lemon juice—it really brightens the apples and keeps them from browning. When you prep the apples, aim for uniform slices so everything bakes evenly—nobody wants a crunchy apple chunk and a mushy one! For the topping, I learned that not overmixing is the key—leave it crumbly, almost like coarse sand. If you want a more caramelized, deeper flavor, sprinkle a tiny pinch of sea salt over the topping before baking—that’s my secret trick! Also, if your apples tend to be extra juicy, toss them with a little extra cornstarch or even a spoonful of flour to absorb excess moisture. Baked too long? No worries—just keep an eye, so the topping doesn’t burn. I tested these with a combo of spiced brown sugar and regular sugar, and honestly, both work beautifully depending on your mood. The glaze, too, can be customized—add a splash of lemon juice, or a dash of cinnamon for extra warmth. I’ve made adjustments like adding chopped walnuts for crunch, or swapping the powdered sugar glaze for a simple honey drizzle. Trust me, it’s all about making this recipe your own and tasting as you go!
Storing and Reheating Tips
These apple bars stay fresh surprisingly well—at room temp, you can keep them covered with foil or a towel for about a day or two. If you want to keep them longer, store in an airtight container in the fridge for up to five days. Just bring them to room temperature or give them a quick zap in the microwave—they’re just as good reheated! For freezing, wrap slices individually in plastic wrap and then in foil, so they don’t pick up freezer odors. They’re perfect for grabbing from the freezer when you need a sweet pick-me-up—just give them a quick thaw and reheat. I do recommend adding the glaze after reheating, especially if it’s been frozen, so everything stays looking and tasting fresh. If you’re bringing these to a gathering, serve them at room temp—frostings and glazes look prettier and taste better when they’re not cold. I’ve found that the secret is not to overthink reheating—these bars are flexible, forgiving, and just as delicious whether hot or cold. Plus, they reheat so quickly, it’s almost like magic!
Frequently Asked Questions
Final Thoughts
If you’re craving that perfect balance of crispy, tender, and sweet, these apple bars are calling your name. They’re a real crowd-pleaser at gatherings, a cozy weekend treat, or just a little slice of comfort after a long day. Over the years, I’ve made dozens of batches, tweaking and testing, and each time, they turn out just as delicious. The aroma alone makes everyone smile, and once you take that first bite, it’s hard to stop. If you want to elevate these even more, try adding chopped nuts or a splash of bourbon to the filling—trust me, it’s worth it! I hope you love making and sharing these as much as I do. They remind me of home, of lazy Sunday afternoons baking with family, and of those special, slow mornings with coffee and warm apple smells swirling around. Happy baking! Don’t forget to leave a comment with your variations or pictures—I love hearing how yours turn out. Now, go ahead and create some cozy magic in your own kitchen!
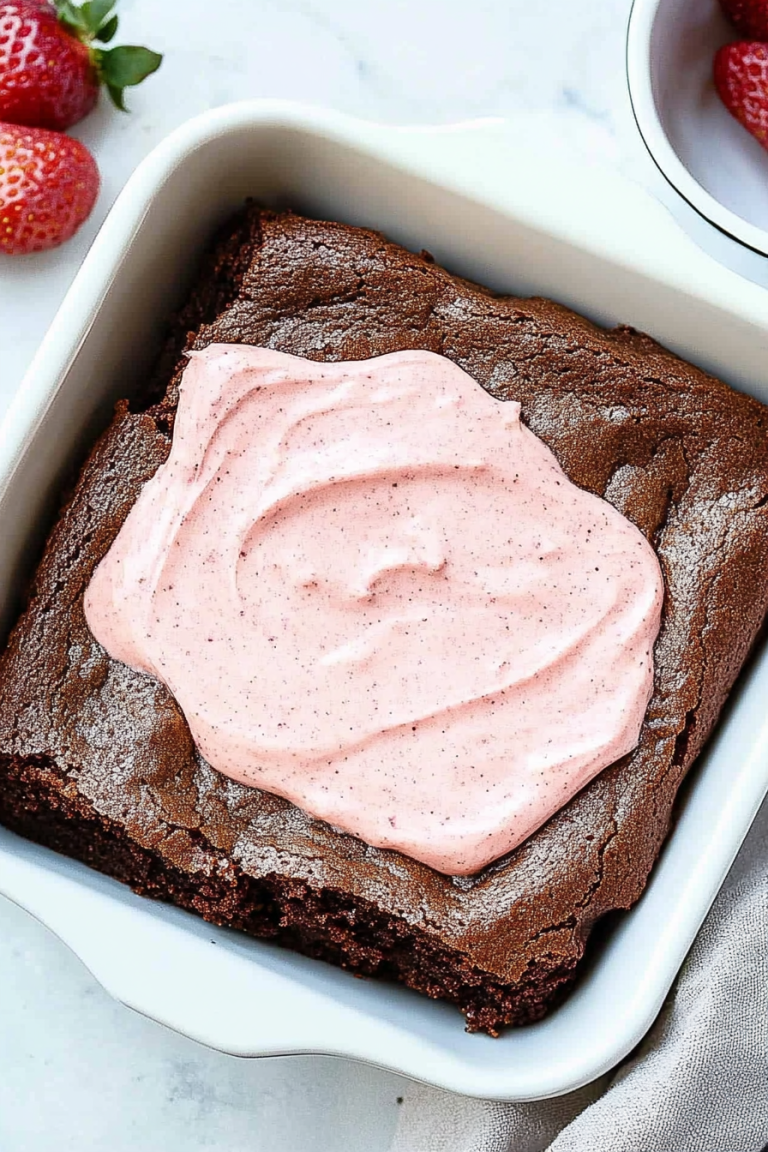
Apple Bars with Cream Cheese
Ingredients
Method
- Preheat oven to 350°F. Spray a 9x13-inch baking dish with nonstick cooking spray. Set aside.
- In a large bowl, combine flour, brown sugar, oats, cinnamon, baking powder, and baking soda.
- Pour melted butter over the mixture and mix until crumbly. Set aside 2 cups for topping.
- Press remaining mixture into the prepared baking dish.
- Bake for 18-20 minutes until golden brown.
- In a large bowl, beat cream cheese, sugar, and vanilla until smooth. Add eggs one at a time.
- Combine apples, flour, brown sugar, and cinnamon.
- Layer apple mixture over baked crust.
- Spread cream cheese mixture over apples.
- Sprinkle reserved oat mixture over top and bake for 40-45 minutes.
- Let cool, then drizzle with caramel topping before serving.