Easy Sicilian Rice Ball Casserole Delight
There’s something about layered flavors and cheesy, gooey goodness that just hits the spot, isn’t there? I remember my grandma making a dish similar to this when I was a kid—she called it “Lazy Rice Bake,” but honestly, it feels a lot more elegant when you call it a Rice Ball Casserole. It’s one of those recipes that’s super forgiving, smells amazing while baking, and disappears faster than you can say “second helping.” I always do this when I need comfort food that’s easy to throw together after a busy day—because who doesn’t love a warm, cheesy casserole that’s basically a hug in food form? Plus, it’s a total family pleaser. My kids ask for this all the time, and honestly, it’s great for leftovers or even a quick bring-to-work lunch. Trust me, once you try it, it’s going to become your go-to for cozy weeknights. And the best part? You probably already have everything you need in your fridge and pantry. Let’s dive into making this cheesy, flavorful masterpiece together!
What is rice ball casserole?
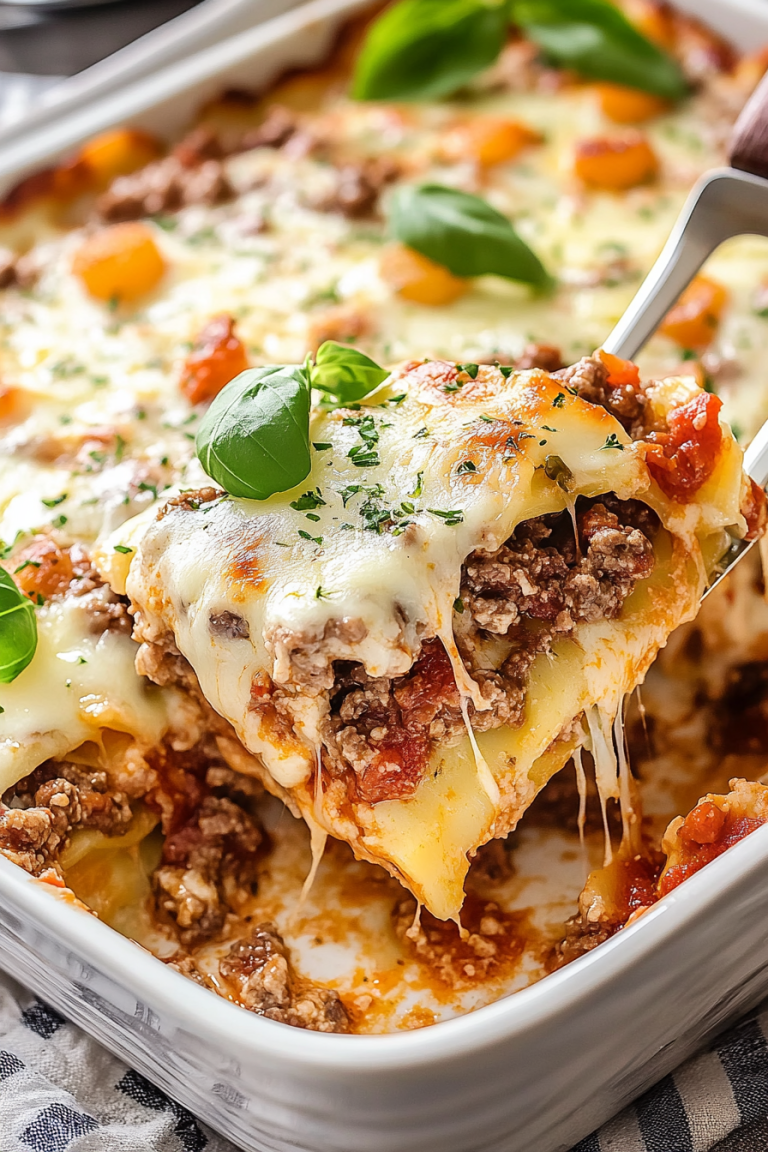
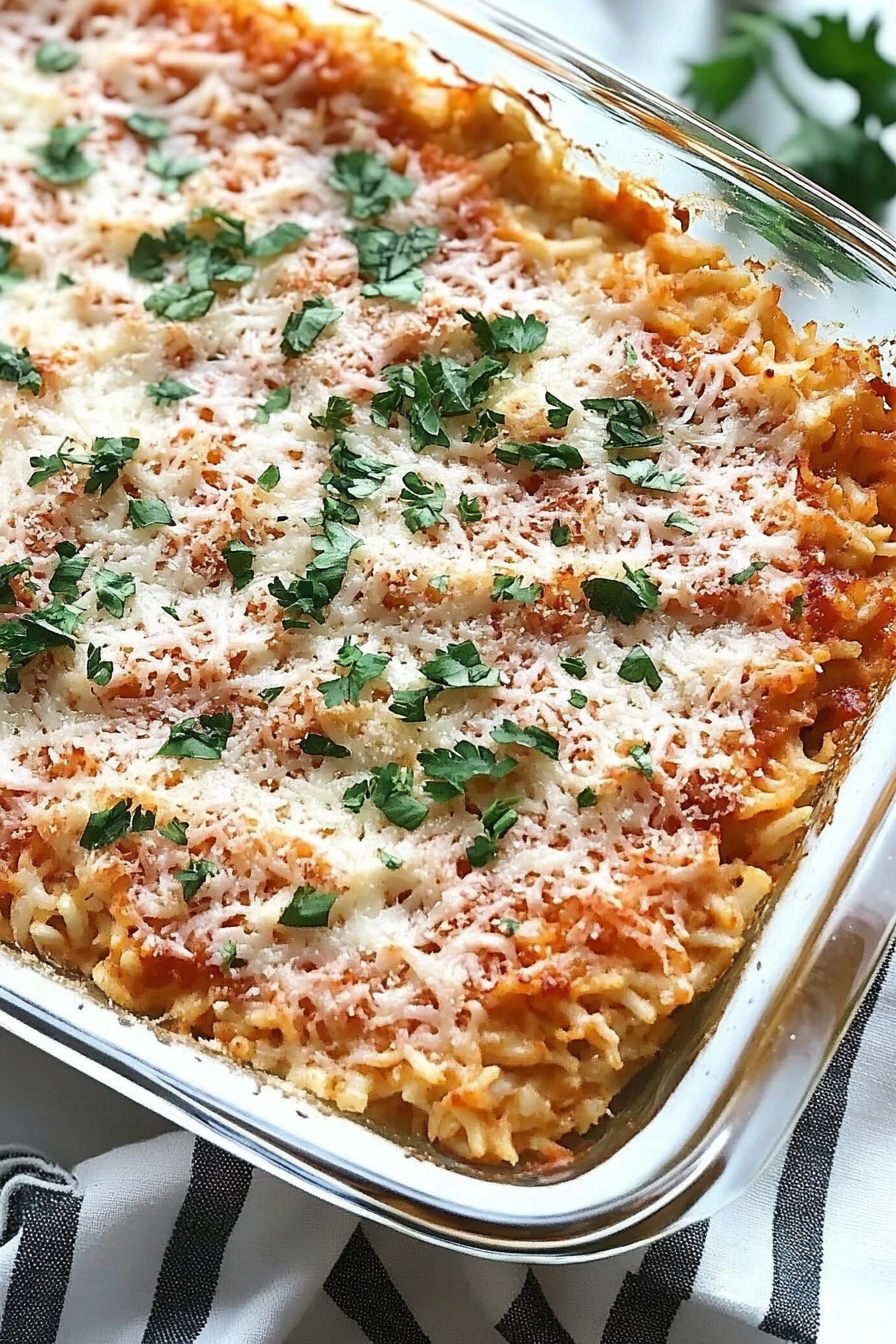
Think of Rice Ball Casserole as a warm, hearty dish where fluffy rice meets gooey cheese, savory vegetables, and crispy toppings—all baked to perfection. It’s essentially a casserole, but with a twist—those little rice balls are like bite-sized treasures hidden in the layers, adding a fun texture and flavor punch. The name probably comes from how the rice is shaped into balls or scooped into layers that resemble balls in some recipes, but honestly, you can think of it as a comfort food lasagna made with rice instead of pasta. It’s a dish that’s versatile, adaptable, and full of flavor, making it perfect for feeding a crowd or just yourself on a lazy Sunday. Whether you’re into classic cheese and peas, or like adding in some spicy sausage or shredded chicken, this dish is a blank canvas I’ve loved experimenting with over the years. And if you love good, filling casseroles, this one’s a must-try! It’s like a warm blanket you can eat—that’s what makes it so special.
Why you’ll love this recipe?
There are so many reasons why I keep coming back to this Rice Ball Casserole—it’s basically my kitchen’s secret weapon for busy weeknights. First off, the flavor is out of this world. It’s cheesy, savory, and just a little bit crispy on top—my whole family can’t get enough. What I love most about this is how simple it is; I’ve tested this with canned vegetables, leftover cooked chicken, even different cheeses, and it’s always a hit. Plus, you can customize it to suit your taste or what’s in your fridge — it’s super forgiving! Budget-wise, it’s friendly too—mostly pantry staples and some fresh ingredients, which means I don’t have to break the bank to feed everyone. And the versatility? Oh, it’s endless. Whether you want to add a spicy kick, make it vegetarian, or turn it into a make-ahead dish, this casserole handles it all beautifully. I genuinely believe that the magic of this dish is in how cozy and satisfying it is—perfect for chilly nights, comforting comfort-food cravings, or just making a weeknight feel a little more special. And honestly, once you make it, you’ll see how it becomes a family favorite that you’ll keep making over and over.
How do I make rice ball casserole?
Quick Overview
This dish starts by cooking your rice in a flavorful broth or just plain water—whatever suits your mood. Then, you mix up a creamy, cheesy custard-like base with eggs, milk, and seasonings. Pour half into a baking dish, layer on your cooked rice in the form of little balls or scoops, then sprinkle on cheese, herbs, or veggies—whatever you love. Cover it all with the remaining custard and top with extra cheese or breadcrumbs for crunch. Pop it in the oven, and in about 30 to 40 minutes, you get a bubbling, cheesy casserole that’s guaranteed to make your taste buds do a happy dance. The beauty of this method is how forgiving it is—overmix, undercook, forget a step, and it still turns out fantastic. It’s hearty, filling, and perfect for scooping up with a spoon—easy enough for weeknights, fancy enough for a family dinner. And the smell while baking? Well, that’s pretty much my cue that dinner is served and everyone’s eager to dig in.
Ingredients
For the Main Batter:
– 2 cups cooked rice (white, brown, or jasmine—your choice)
– 3 large eggs
– 1 cup milk (or cream for extra richness)
– 1 cup shredded cheese (cheddar, mozzarella, or a mix)
– 1 teaspoon salt
– ½ teaspoon black pepper
– 1 teaspoon garlic powder or minced garlic
– 1 tablespoon chopped fresh herbs (parsley or chives)
For the Filling:
– 1 cup cooked vegetables (peas, corn, sautéed spinach)
– ½ cup cooked protein (shredded chicken, cooked sausage, or ham)
– Optional: diced cooked bacon or sautéed mushrooms for added flavor
For the Glaze:
– ½ cup shredded cheese (for topping)
– ¼ cup bread crumbs or crushed crackers
– A drizzle of melted butter or olive oil
– Additional herbs or paprika for color
Step-by-Step Instructions
Step 1: Preheat & Prep Pan
Set your oven to 375°F (190°C). Grease a 9×13-inch baking dish generously—you don’t want anything sticking, especially once it’s all bubbly and cheesy. I like to use butter or non-stick spray for easy clean-up. While your oven heats, gather all your ingredients—trust me, it makes the process flow way smoother!
Step 2: Mix Dry Ingredients
In a large mixing bowl, whisk together the eggs, milk, salt, pepper, garlic powder, and herbs. This is your custard base, so make sure it’s well combined—sometimes I do this step right in the measuring cup to speed things up. The mixture should look silky and inviting, kind of like a runny pudding. This step guarantees that the casserole will be creamy and evenly flavored.
Step 3: Mix Wet Ingredients
Next, stir in your shredded cheese into the custard mixture. I love using a mix of mozzarella and cheddar—it melts so beautifully and adds that perfect stretch. If you’re feeling fancy, toss in some grated Parmesan for extra flavor. Mix until the cheese is evenly distributed throughout the custard. This creates that irresistible cheesy custard that soaks into every grain of rice.
Step 4: Combine
Add your cooked rice and filling ingredients into the bowl. Gently fold everything together—you want the rice evenly coated but not overmixed. If you overmix, the rice can break down and turn mushy, so I always do this gently, almost folding like a delicate salad. If the mixture seems too thick, a splash more milk helps loosen it up.
Step 5: Prepare Filling
If using fresh vegetables and cooked protein, stir them into the rice mixture now. This is where you can get creative—adding a dash of hot sauce or paprika can kick things up a notch. I usually toss in frozen peas or chopped spinach—both are quick and don’t add much prep time. Make sure everything is evenly distributed so every bite gets a little of this and that.
Step 6: Layer & Swirl
Pour half the custard mixture into your prepared pan. Then, scoop in the rice in small mounds or spread it out evenly. I love making little rice “balls”—it looks pretty and gives each bite a fun surprise. Pour the remaining custard over the rice, then sprinkle your cheese and herbs on top. If you like a crispy burst on top, add breadcrumbs or extra cheese for that golden finish. I always swirl my cheese a bit for a marbled effect—trust me, it looks gorgeous when sliced!
Step 7: Bake
Pop the casserole into your preheated oven. Bake uncovered for about 35-40 minutes, or until the top is golden and bubbly. The smell alone will have everyone hustling to the kitchen! If your cheese isn’t browning the way you want, a quick broil for 2-3 minutes works wonders—just stay close, so it doesn’t burn. The edges should be crisp, and the center set but still moist.
Step 8: Cool & Glaze
Once out of the oven, let it rest for about 10 minutes. This helps everything set up so you get neat slices instead of a gooey mess. Meanwhile, melt some extra cheese or butter and brush it on top for a shiny finish—this is optional but makes for a picture-perfect presentation. You can also sprinkle some fresh herbs or a dash of paprika for color—they make the dish pop!
Step 9: Slice & Serve
Use a sharp knife to cut clean slices—my favorite way is to wipe the blade between cuts for neat squares. Serve hot, maybe with a simple side salad or some steamed veggies. Trust me, this dish is best served warm, and leftovers should be reheated gently to keep that cheesy goodness intact. I like to sprinkle a little extra herbs on each slice—it’s more inviting and really ties everything together.
What to Serve It With
This casserole is pretty much a meal in itself, but I love pairing it with some crunchy greens or a fresh tomato salad to cut through the richness. For breakfast or brunch, a dollop of sour cream or a poached egg on top is heavenly. When I want something a little more decadent, I’ll serve it with roasted vegetables or even a simple fruit salad on the side—the sweetness complements the savory nicely. In our family tradition, I sometimes add a side of garlic bread or pickles for that perfect balance of flavors. During holiday gatherings, I might even doll it up with some cooked bacon bits or a drizzle of hot sauce—makes it feel special but still easy to prepare. Honestly, this dish has become a “bring-a-dish” staple because it travels well and always gets rave reviews. Perfect for family dinners, potlucks, or just treating yourself after a long day.
Top Tips for Perfecting Your Rice Ball Casserole
Over the years, I’ve learned a few tricks to elevate this dish from good to unforgettable. First, when cooking your rice, I recommend cooking it a little less than usual—just shy of fully tender—so it stays fluffy and doesn’t get mushy once baked. I always refrigerate the cooked rice for at least 30 minutes before mixing; it firms up a bit and makes layering easier. If you’re adding vegetables, squeeze out excess moisture—frozen peas are fine, but fresh zucchini or spinach can hold water and make the casserole watery if you’re not careful. I’ve tested this with almond milk, and honestly, it made the custard even silkier—try it if you’re dairy-free! For the swirling effect, I use a fork to gently make patterns in the cheese on top—so pretty and appetizing. About ingredient swaps: swap cheddar for pepper jack if you want a spicy kick, or go vegan with plant-based cheese. When baking, oven placement matters—middle rack gives even heat; keep an eye on it near the end to prevent burning. The glaze is optional but adds a beautiful glossy top and extra flavor—try mixing in a little smoked paprika or herbs for variety. After many iterations, I learned that letting it rest a bit before slicing really helps keep the layers intact, so don’t skip that step. Honestly, this dish is a little masterpiece of flavor and comfort—hope you love it as much as I do!
Storing and Reheating Tips
This casserole keeps surprisingly well, and I’ve tested leftovers many times. For short-term storage, cover it tightly with foil or plastic wrap and keep it at room temperature for up to 2 hours. If you’re making it ahead or saving leftovers, pop it into an airtight container and refrigerate for 2-3 days. To reheat, the microwave works great—cover it with a damp paper towel to keep it from drying out, and heat in 30-second bursts until hot and cheesy again. For a more crispy top, re-bake in the oven at 350°F (175°C) for about 10 minutes. If freezing, wrap it tightly in plastic, then foil, and store for up to 2 months. Thaw overnight in the fridge and reheat as above. I usually add a light drizzle of extra cheese or a sprinkle of herbs after reheating, just to keep it looking fresh. A trick I love is adding a splash of cream or milk when reheating—this helps restore the moisture and creaminess. Just be sure not to overdo it, or it can turn soupy. This dish is pretty flexible and forgiving, which makes it even more of a lifesaver on busy days.
Frequently Asked Questions
Final Thoughts
If you’re looking for a cozy, satisfying dish that’s comforting without demanding hours in the kitchen, this Rice Ball Casserole is your new best friend. It’s versatile, customizable, and hits all the right notes—cheesy, creamy, a little crispy on top, and packed with flavor. I’ve made this countless times, tweaking ingredients here and there, and every time it turns out just as delightful as the first. It’s perfect for a family dinner, a potluck, or even leftovers for lunch the next day. Honestly, once you try it, I suspect it’ll become your go-to too. I love how it makes the house smell like a cozy imaginary hug from my childhood, but with a modern twist. So grab your ingredients, get inspired, and cook like you’re sharing a warm kitchen chat with a good friend. Happy baking—and can’t wait to hear how yours turns out! Don’t forget to leave a comment with your favorite add-ins or variations—I love hearing your ideas too!
Mediterranean Chicken and Rice Bake
Ingredients
Method
- Preheat oven to 375°F. Season chicken thighs with oregano, thyme, salt, and pepper. Heat olive oil in a skillet over medium heat and brown chicken on both sides, about 5 minutes per side. Remove and set aside.
- In the same skillet, sauté red onion and garlic until fragrant, about 2 minutes. Add chopped bell peppers and cook for another 3 minutes.
- In a baking dish, combine rice, cherry tomatoes, sautéed vegetables, sliced olives, and chicken broth. Mix well.
- Place browned chicken thighs on top of the rice mixture. Cover with foil.
- Bake in the preheated oven for 45 minutes or until rice is tender and chicken reaches an internal temperature of 165°F.
- Remove foil, sprinkle crumbled feta cheese over the top, and bake uncovered for an additional 5 minutes.
- Serve hot garnished with fresh herbs if desired.