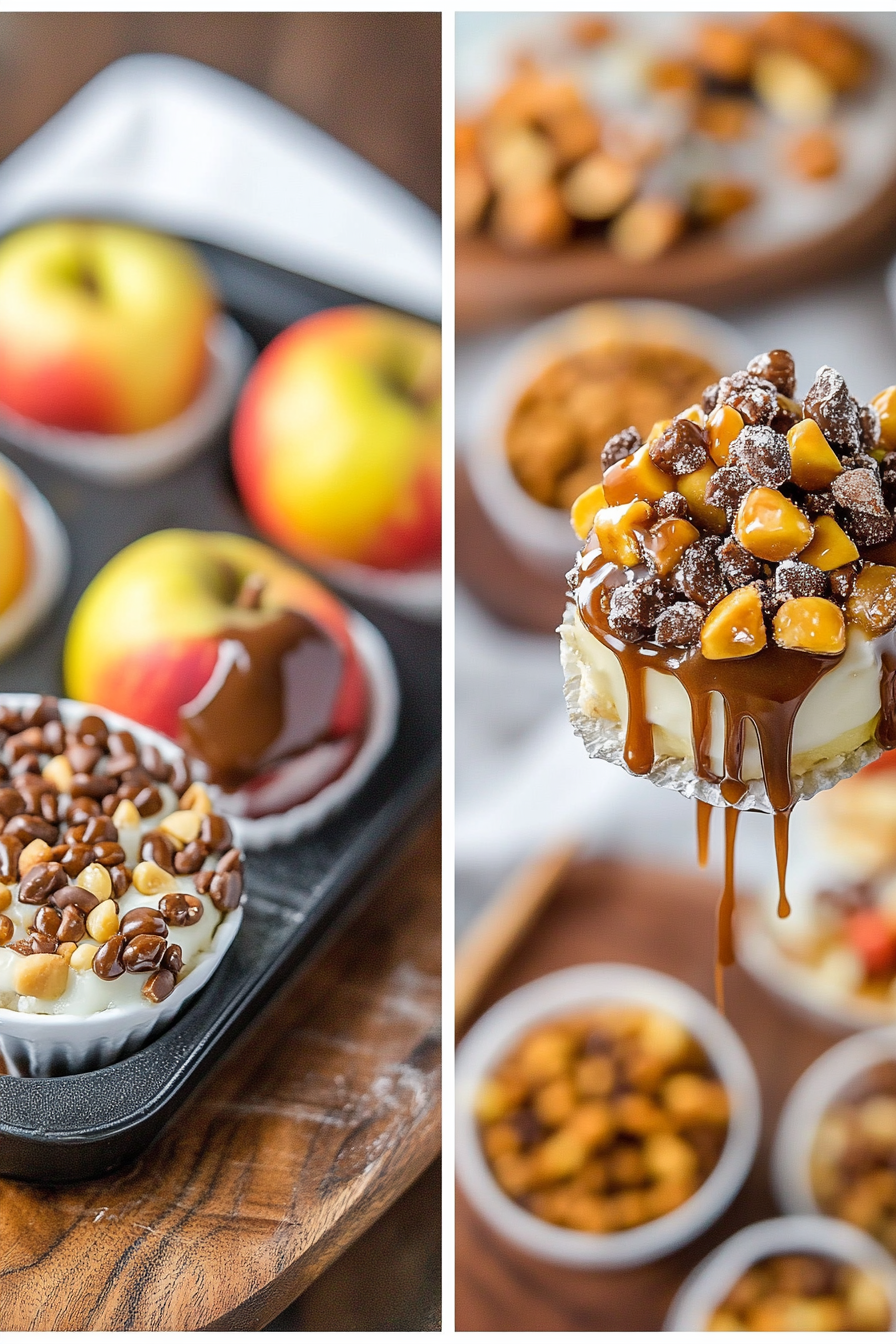
Sweet Autumn Board Ideas
There’s just something about biting into a crisp, juicy apple topped with that luscious, golden caramel that makes my heart skip a beat. I remember sitting at my grandma’s kitchen table as a kid, watching her dip apples into bubbling caramel with such care, her hands covered in sweet goo. It’s one of those treats that’s simple yet indulgent — and honestly, it’s been my go-to when I need a little sweet comfort. My kids ask for this all the time, especially around Halloween and fall festivals. The smell alone — rich, buttery, with just a hint of vanilla — can fill the whole house. Trust me, once you master this caramel apple, it’s your new best friend for easy, show-stopping desserts or just a snack to satisfy that sweet tooth. And the best part? It’s surprisingly fuss-free. No fancy equipment needed, just a few ingredients, a little patience, and—voila—you’ve got yourself a treat that’s better than anything in the store.
What is caramel apple?
Think of a caramel apple as the ultimate combination of fruit and decadence. It’s essentially a fresh apple, usually on the tart side like Granny Smith, dipped in a rich, buttery caramel coating. The origins of this classic snack trace back to simple fairground treats, but over time, it’s become a beloved homemade comfort dessert. The “caramel apple” name is pretty straightforward—it’s literally an apple with a caramel coating, but it’s also about the experience. That first juicy bite, followed by the sweet, sticky caramel that clings to your fingers, is sheer childhood nostalgia. You can upgrade it with all sorts of toppings—crushed nuts, sprinkles, even a drizzle of chocolate. It’s a playful, versatile treat that screams fall, Halloween, or a cozy Sunday afternoon. Think of it as a portable, edible hug that you can customize endlessly to suit your mood or occasion.
Why you’ll love this recipe?
What I love most about this caramel apple is how effortlessly you can turn simple ingredients into something magical. The flavor? Oh, it’s pure caramel heaven — smooth, buttery, with just enough sweetness to satisfy those sugar cravings. Plus, the crisp apple inside gives a refreshing punch to balance the richness. It’s pretty foolproof, too — once you get the hang of making that perfect caramel, the rest is just dipping and decorating. This recipe is budget-friendly; fresh apples and a handful of pantry staples pretty much do the trick. And if you’re feeling creative, the options to jazz it up are endless. Want a fancy drizzle of dark chocolate on top? Or a sprinkle of sea salt for that perfect sweet-salty combo? Go for it! I’ve made this countless times, and it never fails to impress family, friends, or even myself — and honestly, it’s a lifesaver on busy nights when I need a quick dessert that looks fancy but is super easy.
How do you make caramel apples?
Quick Overview
This recipe is all about simplicity. You start with fresh, firm apples—preferably tart ones to balance the sweetness—then make a rich caramel sauce. Once the caramel reaches the perfect consistency, you dip the apples, let the excess drip off, and then add your favorite toppings or decorations. The key to success is careful temperature control when making the caramel and patience in letting it cool just enough so it hardens without becoming too brittle. You can also prepare the apples beforehand by washing and drying thoroughly — wet apples won’t let the caramel stick perfectly. And if you want a little extra flair, toss some nuts or sprinkles in at the last second. It’s a straightforward process that yields impressive, share-worthy results — perfect for everything from a quick treat to a festive party centerpiece.
Ingredients
For the main caramel coating:
– 1 cup (200g) granulated sugar (I love using organic for a richer flavor)
– 1/2 cup (120ml) heavy cream (full-fat gives the best richness, but I’ve tested with almond milk and it made it even creamier!)
– 4 tbsp unsalted butter (use real butter for depth)
– 1 tsp pure vanilla extract
– Pinch of salt (to enhance all those flavors)
For the Apples:
– 4-6 firm, tart apples like Granny Smith or Fuji
– Wooden sticks or lollipop sticks for dipping
– Optional toppings: chopped nuts, sprinkles, sea salt, melted chocolate
For the Glaze or Additional Toppings:
– Melted chocolate (dark, milk, or white)
– Chopped nuts or crushed cookies
– Colored sprinkles for fun
Step-by-Step Instructions
Step 1: Preheat & Prep Pan
Line a baking sheet with parchment paper or a silicone mat. Have your apples washed, thoroughly dried (this is crucial! Wet apples mean the caramel won’t stick). Insert sticks into the core of each apple — push gently but firmly so they stay put. Keep apples in the fridge until you’re ready to dip, because cold apples help prevent slipping when coating.
Step 2: Mix Dry Ingredients
Not much to do here since the caramel syrup is made directly on the stove. But, if you’re adding extras like nuts or sprinkles, get them ready now so you can sprinkle or dip quickly after coating the apples.
Step 3: Mix Wet Ingredients
In a heavy-bottomed saucepan, combine sugar and butter. Heat over medium, stirring constantly until the sugar melts and the mixture turns a deep amber — be patient, because rushing can cause burning. When you see that rich caramel color, carefully pour in the cream (it will bubble furiously, so pour slowly!). Stir until smooth, then add vanilla and a pinch of salt. Keep stirring until it’s shiny and deeply caramel-y.
Step 4: Combine
Once your caramel is smooth and at the right temperature (around 240°F / 115°C if you’re using a thermometer), hold the apple by the stick and dip it into the caramel, swirling to coat evenly. Let the excess drip off for a few seconds, then place on the prepared sheet. If you want, quickly add toppings now — crushed nuts or sprinkles adhere best when the caramel is still warm and sticky.
Step 5: Prepare Filling (Optional)
If you’re feeling fancy, you can add a layer of peanut butter or fruit preserves between the apple and the caramel for extra flavor. Or, for a more decadent treat, dip half of the caramel-coated apple in melted chocolate once cooled.
Step 6: Layer & Swirl
For a marbled look, dip multiple apples in different caramel batches or drizzle contrasting chocolates in swirls. Use a fork or piping bag to add decorative patterns or color contrasts.
Step 7: Bake (Optional)
Most caramel apples are best served after cooling, but if you want a little extra crunch, pop them in a 350°F (175°C) oven for just 5 minutes to set the caramel further. Watch them closely—you don’t want the caramel to melt completely or the apple to soften too much.
Step 8: Cool & Glaze
Let the caramel apples cool at room temperature until firm. If you used chocolate or added toppings, a quick chill in the fridge for about 15-20 minutes helps everything set perfectly. If you’re adding a glaze or drizzle, do so once the caramel has cooled but before serving.
Step 9: Slice & Serve
For a beautiful presentation, slice the apples just before serving. Use a sharp knife for clean cuts and wipe it clean between slices. Serve on a pretty platter with any extra toppings or a dusting of powdered sugar. These are irresistible when served with a cup of hot cider or coffee — perfect way to cozy up any day.
What to Serve It With
Caramel apples are such a versatile treat! For a fall brunch or a festive gathering, I love serving them alongside a warm apple cinnamon muffin or a simple cheese platter. They also make a stunning addition to a dessert table — piled high on a cake stand, drizzled with more chocolate, sprinkled with chopped pecans. When I make these with my kids, we often turn it into a little decorating party. Once cooled, I set up bowls of toppings — crushed cookies, rainbow sprinkles, sea salt — and let everyone get creative. These apples go from sweet snack to fancy dessert with just a sprinkle of decoration. I especially love serving them after a hearty roast dinner when everyone’s craving something sweet but still craving that homemade touch. And honestly, they’re just as good next-day if you keep them in an airtight container — though they disappear pretty fast at my house!
Top Tips for Perfecting Your Caramel Apple
Oh, where do I start? Actually, I’ve learned a ton by trial and error, so here are my top tips:
- Pick your apples wisely: Firm, tart apples like Granny Smith are the best because they hold up well and balance the sweetness. Softer apples tend to get mushy or bleed too much.
- Prepare the apples: Make sure they’re super dry — even a tiny bit of water will mess with your caramel sticking. I always do this step last minute to keep them crispy and cold.
- Watch your caramel closely: Rushing the sugar can burn it or cause it to seize. Use a candy thermometer if you’re unsure — I swear, it makes all the difference.
- Be patient when dipping: Hold the apple steady, swirl gently, and don’t rush to put it on the sheet — letting excess drip off benefits the texture and prevents pooling.
- Customize toppings: Nut lovers, sprinkle away! I’ve found chopped toasted pecans pair beautifully with caramel, but crushed cookies or a drizzle of white chocolate are just as delightful.
- For best results, chill the finished apples: Store in the fridge for up to 2 days. If you want to keep the caramel shiny and firm, avoid leaving them out in the warm air too long.
My biggest lesson? Patience is key — both in making the caramel and in waiting for it to cool properly. Also, don’t be afraid to get creative with toppings and decorations. It’s part of the fun!
Storing and Reheating Tips
Once your caramel apples are ready, you’ll probably want to save some for later — here’s how I do it:
- Room temperature: They’re best enjoyed fresh, but you can leave them at room temp for about a day if protected loosely with foil or a cake dome. Keep in mind, exposure to air can make the caramel a bit sticky over time.
- Refrigerator: Store in an airtight container lined with parchment paper — separate the apples so they don’t stick. They’ll stay fresh for up to 2 days, but the caramel might soften slightly.
- Freezer: Not my favorite for caramel apples because the texture can change, but if you must, wrap each apple tightly in plastic wrap, then in foil. Thaw in the fridge for about an hour before serving. The caramel can get a tad gooey after rewarming, so it’s best enjoyed as-is if frozen.
- Glaze and topping advice: If you want to add a chocolate drizzle after storing, do so after they’ve come to room temperature to avoid cracking or slipping.
In my experience, fresh is best — but if you’re making ahead, this method keeps them tasting great for a few days. Just remember, the sooner, the better for that just-made crunch and shine.
Frequently Asked Questions
Final Thoughts
Honestly, once you’ve made these caramel apples yourself, store-bought just can’t compare. They’re fun to make, customizable to suit your mood, and – let’s face it – addictive. I love that simple ingredients turn into this gorgeous, decadent treat that feels fancy but is really just a few minutes of stirring and dipping. Plus, it’s a fantastic activity to do with kids or friends — everyone loves decorating their own apple with sprinkles, chocolate, or nuts. Whether you’re celebrating fall, Halloween, or just craving a comforting snack, these caramel apples are sure to delight. I encourage you to experiment with flavors and toppings — you might find your new signature twist! Happy baking and indulging, and I can’t wait to hear how yours turn out. Remember to share your photos and stories — there’s nothing quite like the joy of homemade caramel apples!
Caramel Apple Delight
Ingredients
Method
- Core and slice the apples, then dip them quickly into Sprite to prevent browning.
- Melt the caramel candies in a microwave or double boiler until smooth.
- Melt white and milk chocolates separately using microwave, stirring every 30 seconds.
- Insert sticks into apple slices and dip into melted caramel, then dip into melted chocolates or drizzle as desired.
- Place dipped apples on a parchment-lined tray and allow to set then serve.