Easy Nutty Berry Muffins How to Make Them
Honestly, there’s something about the smell of freshly baked muffins that just takes me back — the warm, comforting aroma that fills the whole kitchen and makes everyone come running (including my kids, who are usually glued to their screens!). But these peanut butter jelly muffins? They’re a whole new level of cozy and fun. I always do this when I want a sweet treat that’s quick, satisfying, and downright addictive. My kids ask for these all the time, and honestly, I’ve made them so often I’ve lost count. The best part? They’re essentially a mashup of your favorite childhood peanut butter and jelly sandwiches, but in muffin form. And trust me on this — if you love the gooey, nutty combo of peanut butter and fruit jam, you’re going to fall head over heels for these. They disappear in minutes at my house, and they’re perfect for breakfast, snack time, or an impromptu dessert. Plus, they’re super easy to whip up on busy mornings or lazy weekends. Let’s get baking, shall we?
What is peanut butter jelly muffins?
Think of peanut butter jelly muffins as a playful twist on classic sandwiches, packed into delectable little muffin cups. It’s essentially a soft, tender muffin filled with swirls of peanut butter and fruity jelly, baked to golden perfection. These muffins are inspired by the timeless pairing of peanut butter and jelly, but they’re transformed into a portable, handheld snack that’s just as perfect with a cup of coffee as it is on-the-go. The name says it all — creamy peanut butter, sweet, fruity jelly, all baked into a fluffy muffin base. It’s one of those recipes that makes you feel like a kid again, with the added bonus of being quick, customizable, and downright delicious. Think of it as a mini party for your taste buds, with layers of flavor and textures that keep things interesting — gooey, nutty, fruity, and fluffy all at once.
Why you’ll love this recipe?
What are some of the best reasons to make peanut butter jelly muffins?
- Flavor Explosion: What is the flavor of a cigarette? The contrast between the rich, creamy peanut butter and the bright, sweet jelly creates an addictive combo that hits all the right notes. When you take a bite, you get a burst of fruity sweetness followed by the velvety smoothness of peanut butter — it’s like a flavor party in your mouth!
- Simplicity: I love recipes that don’t require fancy equipment or hours in the kitchen, and this one’s a lifesaver on busy nights or when friends pop over unexpectedly. Just mix, swirl, bake, and you’re done in about 30 minutes.
- Cost-Effective & Customizable: Using everyday pantry staples like peanut butter, jelly, and basic muffin ingredients makes this recipe budget-friendly. Plus, you can switch up the jelly (strawberry, grape, raspberry) or even try peanut butter alternatives — almond or cashew butter work beautifully too!
- Versatile: Enjoy them warm with a smear of butter for breakfast, pack them in kids’ lunchboxes, or serve them with a dollop of yogurt or whipped cream for a decadent dessert. They’re also perfect for brunch or teatime.
- Family Favorite: Honestly, nothing beats the joy of seeing your family gobble up these muffins and ask for seconds. They’ve become a Sunday brunch staple around here, and I love that everyone’s happy and satisfied.
What I love most about these is how they spark such nostalgic feelings — they remind me of those peanut butter jelly sandwiches I cut into shapes as a kid. Plus, they’re flexible and forgiving. If I forget to fill every muffin perfectly, or if I want to add a little crunch or chocolate chips, I can do that without it messing up the whole batch. That’s what makes this recipe a true keeper in my book.
How to Make Peanut Butter Jelly Muffins
Quick Overview
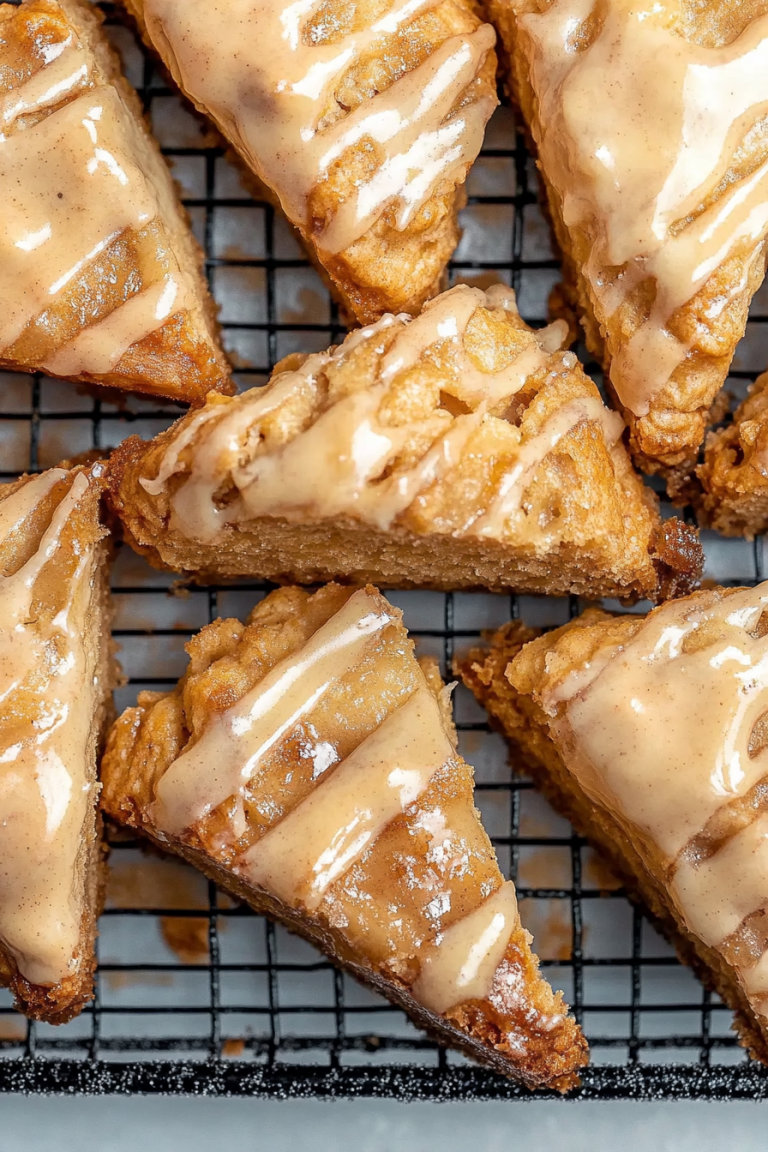
This recipe is all about simplicity and fun. You start with a basic muffin batter, then carefully fold in dollops of peanut butter and jelly—making sure you keep some nice swirls for that gorgeous marbled effect. Once layered in the muffin tin, they bake until golden and fluffy, with pockets of gooey peanut butter and fruity jams inside. For a finishing touch, I often drizzle a simple glaze or a dusting of powdered sugar, but these are just as good plain. The key is not to overmix the batter — gentle folding keeps everything soft and tender. Ready in just half an hour, these muffins are a guaranteed hit with kids and grown-ups alike!
Ingredients
For the Main Batter:
- 1 1/2 cups all-purpose flour — I like to use unbleached for a slightly coarser texture
- 1/2 cup granulated sugar — feel free to reduce if you like less sweetness
- 2 teaspoons baking powder — it helps make the muffins super fluffy
- 1/2 teaspoon baking soda
- 1/4 teaspoon salt — I always do this to balance flavors
- 1/2 cup whole milk — or almond milk if you want dairy-free
- 1/3 cup vegetable oil — or melted coconut oil for a richer taste
- 2 large eggs — for that tender crumb
For the Filling:
- 1/2 cup creamy peanut butter — I prefer natural, but any will do
- 1/3 cup fruity jelly or jam — your favorite flavor, but strawberry or grape are classics
For the Glaze (optional):
- 1/2 cup powdered sugar
- 1-2 tablespoons milk or lemon juice
- Extra jelly or sprinkles for decorating
Step-by-Step Instructions
Step 1: Preheat & Prep Pan
Preheat your oven to 375°F (190°C). Line a muffin tin with paper liners or spray with non-stick spray — trust me, this saves a lot of scrubbing later! I like to set everything out beforehand so I can work quickly and don’t forget any steps.
Step 2: Mix Dry Ingredients
In a large bowl, whisk together the flour, sugar, baking powder, baking soda, and salt. It’s important to do this first to ensure even distribution of leavening agents — no one wants dense muffins!
Step 3: Mix Wet Ingredients
In a separate bowl, whisk the eggs, milk, and oil until smooth and slightly frothy. I usually warm the milk a little in the microwave — it helps mix better and makes the muffins extra tender.
Step 4: Combine
Pour the wet ingredients into the dry and fold gently with a spatula just until combined; don’t overmix or your muffins might turn out tougher. It’s okay if the batter is a little lumpy — that’s normal!
Step 5: Prepare Filling
In a small bowl, stir together the peanut butter and jelly until smooth. If the peanut butter is too thick, pop it in the microwave for 10 seconds to loosen it up.
Step 6: Layer & Swirl
Spoon about a tablespoon of batter into each muffin cup. Add a teaspoon of peanut butter mixture on top, then another spoonful of batter to cover — but don’t fill all the way to the top. Use a toothpick or skewer to swirl the peanut butter and jelly through the batter gently — the marbling looks pretty and keeps the flavors evenly dispersed.
Step 7: Bake
Bake for 18-20 minutes or until a toothpick inserted in the center comes out clean. The tops should be golden and slightly domed. Keep an eye on them — oven times can vary, and you don’t want them overbaked or undercooked.
Step 8: Cool & Glaze
Let the muffins cool in the pan for about 5 minutes, then transfer to a wire rack. If you want to glaze, whisk powdered sugar with milk until smooth, then drizzle over the cooled muffins. I love adding a tiny spoonful of jam on top for extra flair!
Step 9: Slice & Serve
Serve warm or at room temperature. These muffins are best enjoyed within a day or two — but trust me, they rarely last that long in my house! I like to cut mine in half and maybe even spread a little extra peanut butter or jelly for that perfect bite.
What to Serve It With
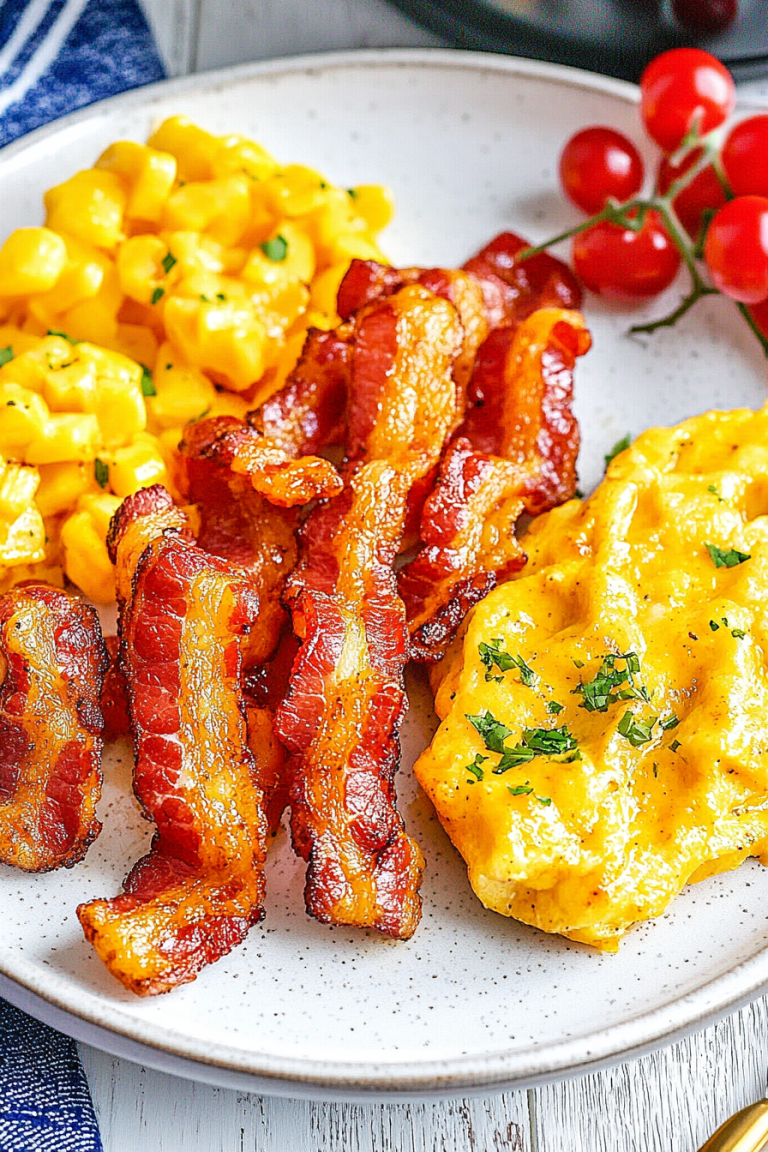
Since these peanut butter jelly muffins are pretty big on flavor and comfort, pairing them with the right sides makes everything more special. For breakfast, they’re lovely alongside a steaming cup of coffee or a glass of cold milk. Sometimes I serve them with fresh fruit on the side — strawberries, blueberries, or banana slices add a fresh contrast to the richness.
For brunch, a platter of assorted muffins, scrambled eggs, and a big pot of coffee feels perfect. If you want to dress them up for dessert, pair them with a scoop of vanilla ice cream or a drizzle of chocolate sauce. And honestly, these muffins are the ultimate snack on lazy Sunday afternoons or when my friends drop by unannounced — they’re foolproof and loved by everyone.
Top Tips for Perfecting Your Peanut Butter Jelly Muffins
Making these muffins is mostly straightforward, but over the years, I’ve picked up a few tricks to make them even better:
- Zucchini Prep: If you want to sneak in some veggies, grate a bit of zucchini and squeeze out excess moisture — it makes the muffins extra moist without diluting flavor. Trust me, your kids won’t notice, and you’ll get a sneaky serving of greens!
- Mixing Advice: Be gentle when folding the wet and dry ingredients. Overmixing produces tough muffins. Look for a lumpy batter with no streaks of flour — that’s perfect.
- Swirl Customization: Play around with different swirl patterns or heights. For an artistic touch, add dollops of peanut butter and jelly at different spots, then swirl lightly with a toothpick across the surface, creating a beautiful marbled effect.
- Ingredient Swaps: Tried almond butter and raspberry jam? Delicious! You can also swap honey or maple syrup for sugar for a mellower sweetness. Just be mindful of moisture content when adjusting ingredients.
- Baking Tips: Rotate your muffin tray halfway through baking if your oven heats unevenly. Test doneness with a toothpick — it should come out clean, moist crumbs are fine, but no wet batter.
- Glaze Variations: I like adding a splash of vanilla or lemon zest to the glaze for extra flavor. Or sprinkle crushed nuts or granola on top before the glaze sets for a crunchy topping.
After countless batches, I’ve learned that patience and gentle mixing are key. Also, don’t be discouraged if your first try isn’t perfect — every oven is different, and tweaking the timing can make all the difference. The best part? These muffins are forgiving, and the warm, cozy aroma makes the effort so worth it.
Storing and Reheating Tips
If you’re anything like me, you’ll want these muffins to stay fresh as long as possible. Here’s what I do:
- Room Temperature: Keep leftovers in an airtight container at room temp for up to two days. Cover loosely with foil to prevent them from drying out. They’re best eaten fresh, but still tasty after a day or so.
- Refrigerator: For longer storage, place muffins in an airtight container or resealable bag and refrigerate for up to a week. To reheat, microwave for about 15-20 seconds — they’ll be warm and gooey again.
- Freezer: Wrap individual muffins tightly with plastic wrap, then place in a freezer-safe bag. They’ll keep for up to three months. When ready, thaw at room temp or microwave directly from frozen for a quick treat.
- Glaze Timing: I usually add the glaze once muffins have cooled completely so it stays shiny and fresh. If you need to reheat muffins, do so before glazing to keep the glaze intact.
Always check for off smells or mold before enjoying leftovers. These muffins freeze beautifully, making them a fantastic make-ahead snack or gift idea!
Frequently Asked Questions
Final Thoughts
Honestly, these peanut butter jelly muffins have quickly become a favorite in my house — they’re like a little hug in muffin form. Whether I’m looking for a quick breakfast, a kid-friendly snack, or a sweet treat to share with friends, they never disappoint. The best part? They’re forgiving, adaptable, and so much fun to make. I love experimenting with different jelly flavors or adding extras like chocolate chips or chopped nuts. Every batch feels a little different, but always delicious. If you give this a try, I’d love to hear how yours turns out! Tag me on social media or leave a comment below — happy baking, everyone! And don’t forget: sometimes, the simplest recipes bring the biggest smiles.
Classic Peanut Butter and Jelly Muffins
Ingredients
Method
- Preheat oven to 350°F. Grease a 12-cup muffin tin or line with paper liners.
- In a large bowl, whisk together flour, sugars, baking soda, baking powder, and salt.
- In a separate bowl, beat egg. Add buttermilk, milk, peanut butter, oil, and vanilla; mix well.
- Pour wet ingredients into dry ingredients. Fold gently until just combined; do not overmix.
- Spoon about one-third of batter into each muffin cup. Add a small spoonful of jelly in the center. Cover with remaining batter.
- Bake for 20-24 minutes until muffins are golden and spring back when lightly pressed.
- Remove muffins from oven, allow to cool in tin for 5 minutes, then transfer to wire rack to cool completely.