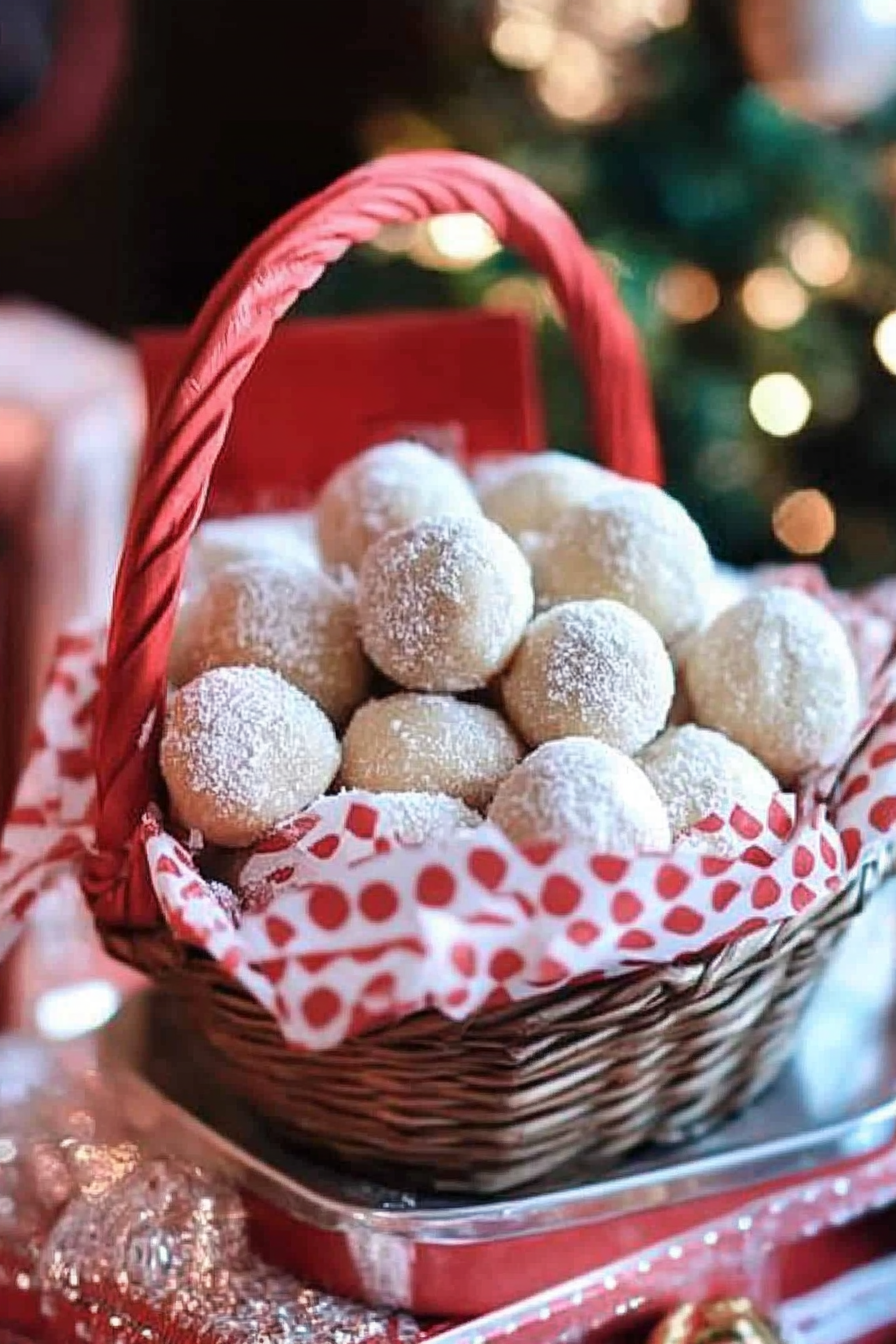
Buttery Snowball Cookies How to Make Them
There’s something about biting into a perfect snowball cookie that instantly takes me back to childhood. The buttery, melt-in-your-mouth texture, the sweet dusting of powdered sugar, and that gentle crunch as you bite through — it’s pure comfort food. Honestly, I could eat a dozen in one sitting without even blinking. I always do this when I want a quick treat to brighten my day or when I need a little something sweet after dinner. They’re surprisingly effortless to make, yet they look so fancy and elegant on a plate. My kids ask for these all the time — especially around the holidays — but I love whipping them up just whenever I need a little nostalgia fix. Trust me, once you try making these snowball cookies, they’ll become a staple in your baking repertoire. And the best part? You probably already have the ingredients at home. It’s one of those recipes that’s simple, comforting, and utterly delicious — a true family favorite in my house.
What is snowball cookie?
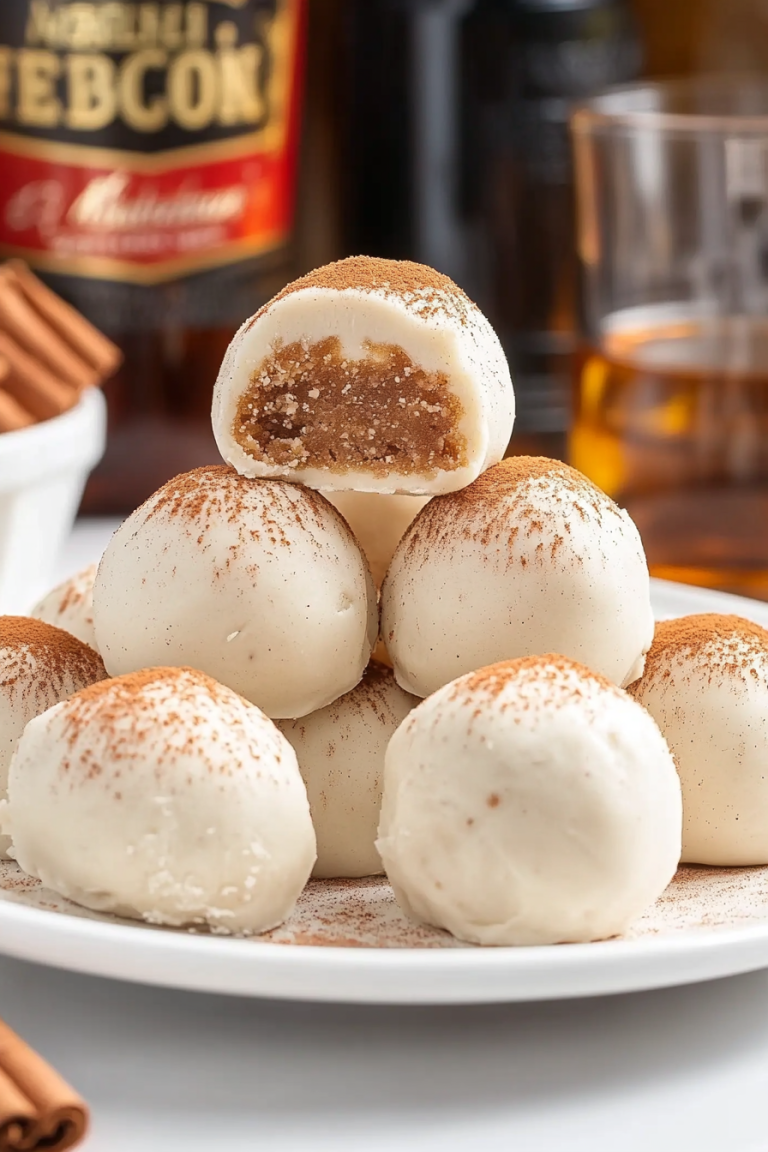
Think of snowball cookies as the ultimate melt-in-your-mouth treats, also known as Mexican Wedding Cookies or Russian Tea Cookies. The name is pretty perfect because once you bake them and toss them in powdered sugar, they look like tiny, snowy balls — just like little snowbanks! These cookies are essentially a buttery, crumbly shortbread dough packed with chopped nuts, often walnuts or pecans, although I’ve tested almonds too, and they’re equally fabulous. The magic happens when you bake them until lightly golden, then coat them generously in powdered sugar while still warm, which creates that beautiful, snowy exterior. It’s essentially a cross between a cookie and a delicate snowflake, perfect for sharing or just for indulging in a quiet moment with a hot cup of tea or coffee. My favorite thing about snowball cookies? You don’t need fancy equipment or a long list of ingredients — just good butter, nuts, vanilla, sugar, and a sprinkle of magic.
Why you’ll love this recipe?
What I love most about these snowball cookies is how they manage to be both decadently buttery and unexpectedly light. Their crumbly texture practically melts on your tongue, and the powdered sugar coating adds a sweetness that feels like a little hug. Plus, they’re so easy to make — I’ve made these countless times and it never fails to impress friends and family. They’re budget-friendly too, since the ingredients are simple and pantry staples. And the best part? They’re incredibly versatile. I love adding a pinch of cinnamon or a splash of almond extract in my dough for a flavor twist, but classic vanilla is just as fabulous. When I want a quick dessert that’s fancy enough to serve to guests but easy enough for a weeknight treat, these cookies always come through. Plus, they’re totally customizable — you can swap out the nuts, play with different coatings, or even dip them in chocolate for an extra indulgence. Honestly, what’s not to love? If you’re craving something sweet but don’t want to fuss, this recipe is your new best friend.
How do you make snowball cookies?
Quick Overview
This recipe comes together in just a few easy steps. You start by creaming butter and sugar, then mixing in your dry ingredients like flour and chopped nuts. After forming the dough into small balls, you bake them until lightly golden. While still warm, you toss them in powdered sugar, creating that irresistible snowy coating. It’s seriously that simple. The trick is not to overbake — just a slight golden hue is perfect. The result is delicate, buttery cookies that practically crumble at the touch and are coated in a sweet, powdery blanket. Once you get the hang of it, you’ll see how forgiving and adjustable this recipe is — perfect for a last-minute bake or a planned holiday treat.
Ingredients
For the Main Batter:
- 1 cup (226 g) unsalted butter, softened — The key to that tender crumb. I always use good quality butter; it makes all the difference.
- 1/2 cup (100 g) granulated sugar — For the perfect sweet base.
- 1 teaspoon vanilla extract — Or almond extract if you want a nuttier, more fragrant profile.
- 2 1/4 cups (280 g) all-purpose flour — I like to use unbleached flour for a richer flavor.
- 1 cup (120 g) finely chopped walnuts or pecans — Toasted slightly in a dry skillet beforehand adds extra flavor.
- 1/4 teaspoon salt — Enhances all those lovely flavor notes.
For the Filling:
- Optional: A pinch of cinnamon, or a handful of mini chocolate chips for a fun variation.
For the Glaze:
- Additional powdered sugar for dusting.
- Optional: A teaspoon of milk or cream for a quick glaze experiment, or a dash of cocoa powder for a chocolatey look.
Step-by-Step Instructions
Step 1: Preheat & Prep Pan
Crank your oven to 350°F (175°C). Line a baking sheet with parchment paper — trust me, this keeps everything from sticking and makes cleanup a breeze. I do this as soon as I start mixing — less mess, less stress.
Step 2: Mix Dry Ingredients
In a small bowl, whisk together your flour, salt, and nuts if you’re using them. Make sure they’re evenly distributed so every cookie has a little crunch and flavor. Sifting the flour first isn’t necessary but helps keep your dough smooth and free of clumps.
Step 3: Mix Wet Ingredients
In a larger bowl, cream together the softened butter and sugar until it’s light and fluffy. I do this with a hand mixer or a sturdy spoon if I’m feeling energetic. Add vanilla and mix just until combined. The smell of vanilla is truly heaven — it’s what makes these cookies irresistible.
Step 4: Combine
Gradually add your dry ingredients to the wet, mixing on low speed or folding gently with a spatula. Don’t overmix — you want a crumbly, workable dough, not a dense brick. If your dough is too crumbly, just add a tiny splash of milk or water — I’ve tested this trick after making the mistake of overloading on flour.
Step 5: Prepare Filling
If you’re adding extra flavorings or mix-ins, fold them into the dough now. For classical snowball cookies, just keep it simple with nuts. I like chopping mine finely so they distribute evenly without poking through the tender cookie.
Step 6: Layer & Swirl
Portion out small tablespoons of dough, rolling each into a smooth ball with your hands. Place on the baking sheet, spacing about 2 inches apart. Once baked, these will spread just a tad, so don’t overcrowd.
Step 7: Bake
Pop them into your preheated oven and bake for about 12-15 minutes. Keep an eye on them around the 12-minute mark — you want just a hint of golden around the edges. They should look puffed and slightly set but still soft.
Step 8: Cool & Glaze
Remove from the oven and let them sit on the pan for a few minutes. Then, transfer them to a wire rack or plate and while they’re still warm, toss them in powdered sugar. I usually do this in a shallow bowl — they stick a little, which makes the coating cling better.
Step 9: Slice & Serve
Once cooled and coated, these cookies are best enjoyed fresh but keep well in an airtight container for up to 3 days. If you like an extra snowy effect, add an additional dusting of powdered sugar just before serving. I serve mine with tea or coffee — they’re a perfect little pick-me-up after a long day or as a sweet finish to a festive meal.
What to Serve It With
These snowball cookies are incredibly versatile. For breakfast or brunch, I love pairing them with a hot cup of coffee or a frothy cappuccino — the buttery flavor balances the bitterness just right. They also work beautifully as a sweet finish after a hearty dinner, especially when served alongside a scoop of vanilla ice cream or a cup of rich hot chocolate.
My family loves having them during holiday celebrations, tucked in a little gift box or on a glazed platter. Sometimes I sprinkle a tiny dash of cinnamon sugar on top for an extra flavor boost. They’re also perfect for potlucks or cookie exchanges because everyone always asks for the recipe. For a casual afternoon snack, I just keep a jar full on the counter — it disappears in minutes around here!
Top Tips for Perfecting Your Snowball Cookies
Over the years, I’ve picked up a few tricks to ensure these cookies turn out perfectly every time. First, always use good, fresh butter — it makes a big difference in flavor and texture. I’ve tested these with both salted and unsalted butter; I prefer unsalted and add a pinch of salt to balance sweetness. When chopping nuts, I like to toast them lightly before chopping — it brings out their flavor and gives the cookies a richer crunch.
Be gentle when mixing the dough. Overmixing can make the cookies dense instead of crumbly. I’ve learned to fold ingredients carefully and stop as soon as everything is just combined. For the swirl design, I like to roll a few into balls and then give each a gentle, final pat to round them out — no flat cookies here! If your dough feels too sticky, pop it in the fridge for 15 minutes; that helps it firm up and makes rolling easier.
To get that classic snowball look, I recommend baking just until set and lightly golden around the edges. Then, when they’re still warm, roll them in powdered sugar — it sticks better and creates that signature snowy finish. If you want a more intense sweetness or a different coating, you can experiment with cocoa powder or even dip them in melted chocolate once cooled.
One thing I’ve learned is to store these cookies in an airtight container at room temperature. They stay fresh and crumbly for days. If you’re not planning to nibble on them all in one go, freezing is a great option. Wrap them carefully in plastic wrap and then in foil, and they’ll keep for up to a month. Thaw at room temperature before dusting with more powdered sugar if needed. These little details make all the difference in keeping them tasting fresh and delightful.
Storing and Reheating Tips
The key to keeping snowball cookies fresh is proper storage. I always store mine in an airtight container, either at room temperature for up to 3 days or in the refrigerator if I want them to last longer. Just make sure to keep the powdered sugar coating intact — I usually line the container with parchment paper to prevent sticking and mess. For longer storage, these cookies freeze beautifully. Wrap individual cookies tightly in plastic wrap, then place them in a resealable freezer bag or airtight container. They’ll last up to a month, and I’ve even reheated a few in the microwave for about 10 seconds for that just-baked feel. The powdered sugar might get a little clumpy after freezing, but a quick shake or dusting restores the snow-like appearance. I don’t recommend adding more powdered sugar before freezing — the coating can get weird when thawed. Instead, add a fresh dusting just before serving for maximum fluffiness and sweetness. Honestly, I think these cookies taste just as good straight from the freezer as they do fresh — they’re a little bite of pure comfort anytime.
Frequently Asked Questions
Final Thoughts
If you ask me, snowball cookies are the embodiment of cozy baking — simple ingredients, an irresistible taste, and a look that says “festive and adorable.” Since I first discovered this recipe, it’s been a staple at my family gatherings and holiday cookie plates. They make me nostalgic and bring a smile to everyone’s face. Plus, once you master the art of making these, you’ll want to experiment with all sorts of flavor twists and decorations. Whether you’re baking for a crowd or just need a little sweet pick-me-up, these cookies are a guaranteed hit. Give them a try — I promise they won’t last long in your house! I’d love to hear how yours turn out, so don’t forget to leave a comment or share your variations. Happy baking, my friend, and enjoy every bite of these snowy, buttery delights!
Classic Snowball Cookies
Ingredients
Method
- Preheat oven to 400°F and line baking sheets with parchment paper.
- Cream butter, powdered sugar, and almond extract until light and fluffy.
- In a separate bowl, whisk together all-purpose flour, almond flour, and salt.
- Gradually add dry ingredients to the butter mixture, mixing until combined.
- Form dough into 1-inch balls. Roll in powdered sugar and place on baking sheets.
- Bake for 11-13 minutes until edges are golden.
- Cool cookies for 5 minutes, then roll in powdered sugar again.
- Allow to cool completely on wire racks. Dust with additional powdered sugar if desired.