Easy Creamy Taco Dip Recipe
Oh, you guys. I’m so excited to share this recipe with you today. This isn’t just any taco dip; this is *the* taco dip. The one that graces our table at every single potluck, birthday party, and casual Tuesday night get-together. It’s the kind of dish that has people asking for the recipe before they’ve even finished their first scoop, and honestly, it’s a lifesaver on those nights when you need something seriously delicious but don’t have a ton of time. You know, the ones where the kids are practically hanging off your legs and dinner needs to magically appear? This taco dip is my go-to. It’s so much better than just plain old refried beans and cheese; it’s got layers of flavor and texture that make it utterly irresistible. Think of it as the more sophisticated, party-ready cousin to your average dip, but don’t let that fool you – it’s still ridiculously easy to throw together.
What is Taco Dip?
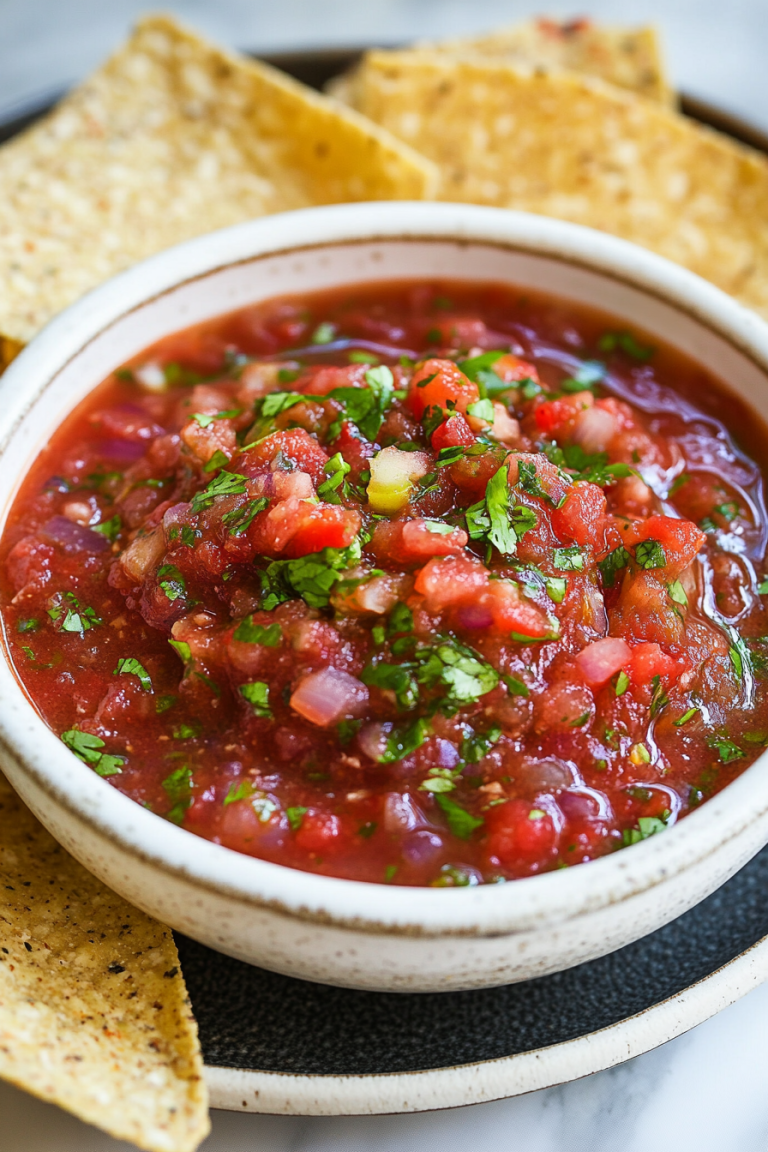
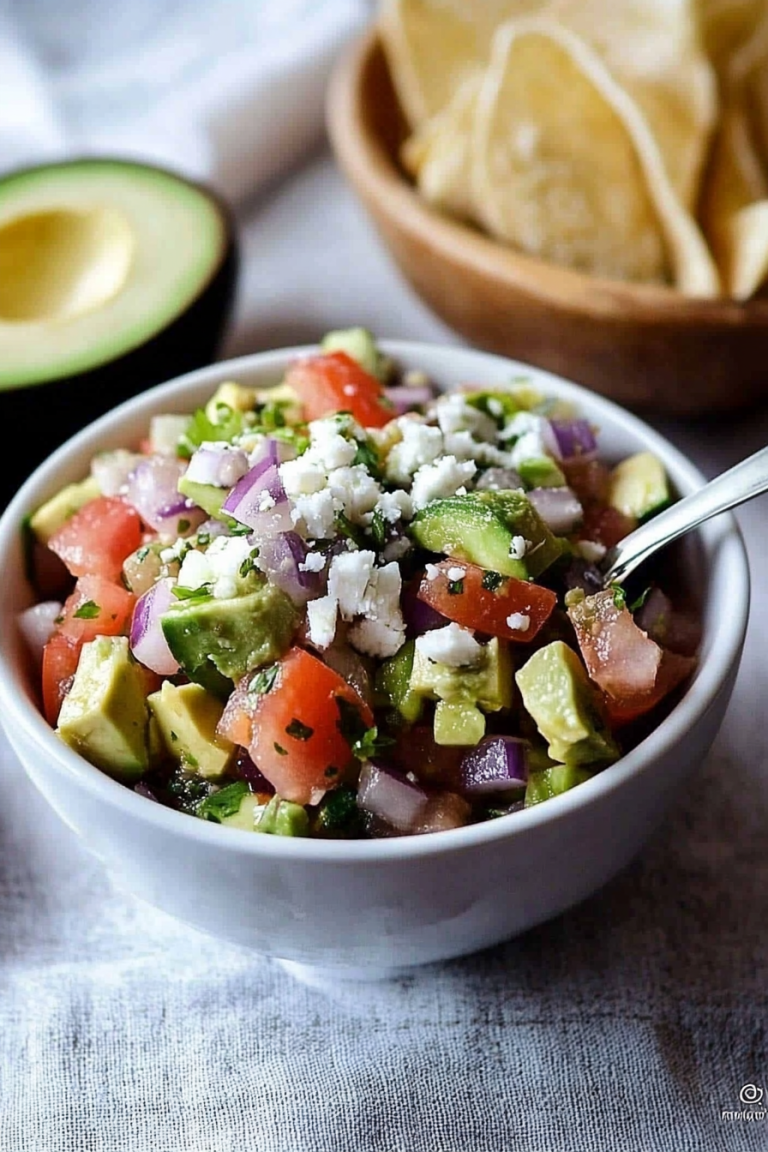
So, what exactly *is* this magical creation we call taco dip? At its heart, it’s a cold, layered appetizer, typically served with tortilla chips. The name itself is pretty straightforward, right? It’s a dip inspired by the flavors we all love in tacos. But this isn’t just a simple spread; it’s a symphony of deliciousness built in layers. Usually, you’ll find a creamy base, followed by seasoned meat or beans, and then topped with all sorts of goodies like lettuce, tomatoes, cheese, and sometimes even olives or sour cream. My version takes all those classic elements and elevates them just a little bit, adding in some secret weapons that make it truly sing. It’s basically a party in a dish, a way to get all those amazing taco vibes without the hassle of assembling individual tacos. It’s comfort food meets celebratory starter, and it’s always a massive hit.
Why you’ll love this recipe?
There are so many reasons why this layered taco dip has become my absolute favorite, and I just know you’re going to fall in love with it too. First off, let’s talk about the flavor explosion. We’re talking savory, creamy, zesty, and fresh all at once! The base is unbelievably rich and satisfying, the seasoned layer is packed with that familiar taco goodness, and then you get that cool, crisp crunch from the fresh toppings. It’s a texture party in every bite! And the best part? It’s unbelievably simple. I’ve made this countless times, and I can honestly whip it up in about 15-20 minutes, which is a godsend for busy evenings or last-minute guests. Plus, it’s super budget-friendly. Most of the ingredients are pantry staples or easily found at any grocery store, so you don’t have to break the bank to make something spectacular. It’s also ridiculously versatile. While I have my go-to toppings, you can totally customize it based on what you have on hand or what your family loves. It’s perfect for game days, holidays, picnics, or just when you’re craving something seriously tasty. Honestly, what I love most about this taco dip is the sheer joy it brings. It’s the kind of food that makes people happy, that sparks conversation, and that always, always disappears in minutes. It’s a crowd-pleaser in the truest sense of the word, and it’s incredibly forgiving, which is a huge win in my book.
How do I make [Recipe Name]?
Quick Overview
This layered taco dip is all about building flavor, one delicious layer at a time. You’ll start with a super creamy, tangy base, then add a savory seasoned filling, and finish with a vibrant medley of fresh, crisp toppings. It comes together quickly, no cooking required for the main components, making it a perfect make-ahead appetizer or a speedy weeknight delight. The key is good quality ingredients and just a little bit of layering magic to create a beautiful and delicious dish.
Ingredients
What is the creamy base?
2 (8 ounce) packages cream cheese, softened (use full-fat for the best texture, trust me!)
1 cup sour cream (again, full-fat is best here for richness)
1/4 cup mayonnaise (don’t skip this, it adds a lovely tang and smoothness)
2 tablespoons lime juice (freshly squeezed is always preferred for that bright zing)
1 teaspoon chili powder
1/2 teaspoon cumin
1/4 teaspoon garlic powder
Salt and freshly ground black pepper to taste
For the Savory Filling:
1 pound ground beef or turkey (your preference, I sometimes use a mix!)
1 packet taco seasoning (or your own homemade blend)
1/4 cup water (or a little more if your meat is very lean)
For the Fresh Toppings:
2 cups shredded lettuce (iceberg or romaine work well for crunch)
1 cup diced tomatoes (Roma tomatoes are great because they’re less watery)
1/2 cup sliced black olives (canned is fine, just drain them well)
1/2 cup shredded cheddar cheese
1/4 cup chopped red onion (optional, if you love a little bite)
Step-by-Step Instructions
Step 1: Prepare the Creamy Base
In a medium bowl, combine the softened cream cheese, sour cream, and mayonnaise. Using an electric mixer or a sturdy whisk, beat until the mixture is completely smooth and creamy. Stir in the fresh lime juice, chili powder, cumin, and garlic powder. Season generously with salt and pepper. Taste and adjust seasonings as needed – this is your foundation, so make sure it’s delicious! Spread this creamy mixture evenly into the bottom of a shallow serving dish or a 9×13 inch baking dish.
Step 2: Cook the Savory Filling
In a skillet over medium-high heat, brown the ground beef or turkey, breaking it up into crumbles as it cooks. Drain off any excess grease. Stir in the taco seasoning packet and the water. Bring to a simmer and cook for about 5-7 minutes, or until the sauce has thickened and coats the meat nicely. Let it cool slightly for a few minutes so it doesn’t melt the cream cheese layer.
Step 3: Assemble the Layers
Carefully spread the slightly cooled taco meat mixture evenly over the cream cheese base. Make sure you get it all the way to the edges. This is where the magic starts to happen, building all those wonderful flavors.
Step 4: Add the Fresh Toppings
Now for the fun part! Sprinkle the shredded lettuce evenly over the meat layer. Then, scatter the diced tomatoes, sliced black olives, shredded cheddar cheese, and chopped red onion (if using) over the top. Try to distribute them evenly so every scoop gets a little bit of everything.
Step 5: Chill and Serve
Cover the taco dip with plastic wrap and refrigerate for at least 30 minutes before serving. This allows the flavors to meld together and the dip to firm up slightly, making it easier to scoop. If you’re short on time, you can serve it immediately, but I find chilling really makes a difference.
Step 6: Present Your Masterpiece
When you’re ready to serve, remove the plastic wrap. You can garnish with a dollop of sour cream or a sprinkle of cilantro if you like. Serve with plenty of tortilla chips, crackers, or even vegetable sticks for dipping.
Step 7: Enjoy the Compliments!
This is the best part – watching everyone dive in and rave about how amazing it is! Don’t be surprised if you’re asked for the recipe multiple times.
What to Serve It With
This layered taco dip is such a star on its own, but pairing it with the right accompaniments just takes the whole experience to the next level. For those casual game days or movie nights, you absolutely cannot go wrong with a big bowl of sturdy tortilla chips. I love the scoop-style ones because they hold up to all those glorious layers. If you want a slightly healthier crunch, some sturdy raw veggies like bell pepper strips, cucumber slices, or carrot sticks are fantastic dippers too. For a potluck or a bigger gathering, I often set out a variety of dippers so there’s something for everyone. Think different kinds of tortilla chips – blue corn, multigrain – maybe some pita chips for something different, or even some sturdy crackers. If you’re feeling adventurous, sometimes I’ll even serve small portions of this taco dip as a topping for baked potatoes or loaded nachos – it’s that versatile! And don’t forget the drinks! A crisp, cold Mexican beer is a classic pairing, or you can’t go wrong with a refreshing margarita or a simple agua fresca to balance out the richness of the dip. It’s truly a dish that invites community and good times.
Top Tips for Perfecting Your Taco Dip
I’ve made this taco dip more times than I can count, and over the years, I’ve picked up a few tricks that really make it shine. First off, for the creamy base, make sure your cream cheese is *truly* softened. If it’s still a bit hard, you’ll end up with lumps, and nobody wants that! I usually leave mine out on the counter for about an hour, or you can give it a quick zap in the microwave (but watch it carefully so it doesn’t melt). When you’re cooking the ground meat, don’t be tempted to skip draining the grease. A little bit of grease can make the dip oily and affect the texture. I usually use paper towels to blot away any excess. For the fresh toppings, I always try to dice my tomatoes fairly small and pat them a little with a paper towel if they seem watery. This prevents the dip from getting too soggy, especially if it’s going to sit out for a while. And for the cheese, shredding your own from a block makes a world of difference compared to pre-shredded. It melts better and has a fresher flavor. I’ve also learned that it’s worth the extra effort to finely shred the lettuce. It distributes more evenly and gives you that perfect crunch in every single bite. Don’t be afraid to taste and adjust seasonings for the cream cheese layer; that tangy, spiced base is the backbone of the whole dip, so get it just right for your palate! And a little tip: if you’re making this ahead of time for a party, I like to keep the lettuce separate and add it right before serving. This keeps it extra crisp and prevents it from wilting.
Storing and Reheating Tips
The great news about this taco dip is that it stores really well, which makes it fantastic for making ahead. Once it’s assembled, you can cover it tightly with plastic wrap and pop it in the refrigerator. It will keep its deliciousness for about 2-3 days. I find that the flavors actually meld together even more on the second day, which is pretty great! If you plan on storing it for more than a day, I highly recommend keeping the lettuce separate. When you’re ready to serve it again, just take the dip out of the fridge, add the fresh lettuce, and maybe a little extra sprinkle of cheese if needed. I wouldn’t recommend reheating the entire dip, as it’s meant to be served cold. However, if you did cook the meat and wanted to use that portion separately for something else, you could certainly reheat that. But for the assembled dip itself, chilling is key. If you happen to have any leftover dip after a party, just ensure it’s well-covered and it should be perfectly fine for a couple more days. The key to keeping it fresh is good airtight storage. I usually use a dedicated serving dish with a lid or press the plastic wrap right down onto the surface of the dip before adding another layer of wrap to seal in freshness.
Frequently Asked Questions
Final Thoughts
So there you have it – my ultimate layered taco dip recipe! It’s the kind of dish that brings pure joy to the table, and honestly, it’s become a staple in my kitchen for a reason. It’s so incredibly flavorful, ridiculously easy to make, and always a guaranteed hit with everyone, from picky eaters to seasoned foodies. It’s more than just a dip; it’s a celebration of simple, delicious ingredients coming together in perfect harmony. I truly hope you give this a try, especially on those nights when you need a guaranteed win. If you’re a fan of this, you might also love my recipe for {link to a related recipe like “Spicy Fiesta Chicken Salad”} or my {link to another related recipe like “Quick & Easy Guacamole”}. They’ve got that same vibrant, crowd-pleasing vibe! I can’t wait to hear what you think, and I’d love to see your creations! Let me know in the comments below how it turns out for you, and if you have any special toppings or variations you love to add. Happy dipping, everyone!
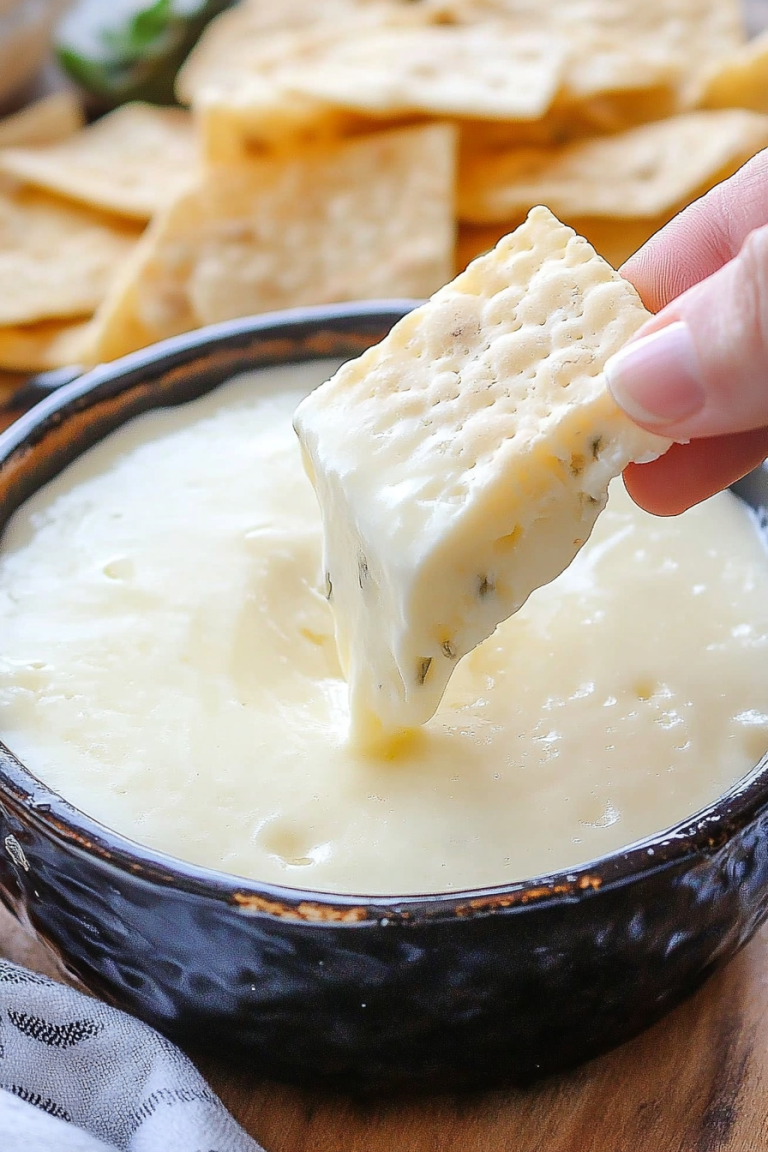
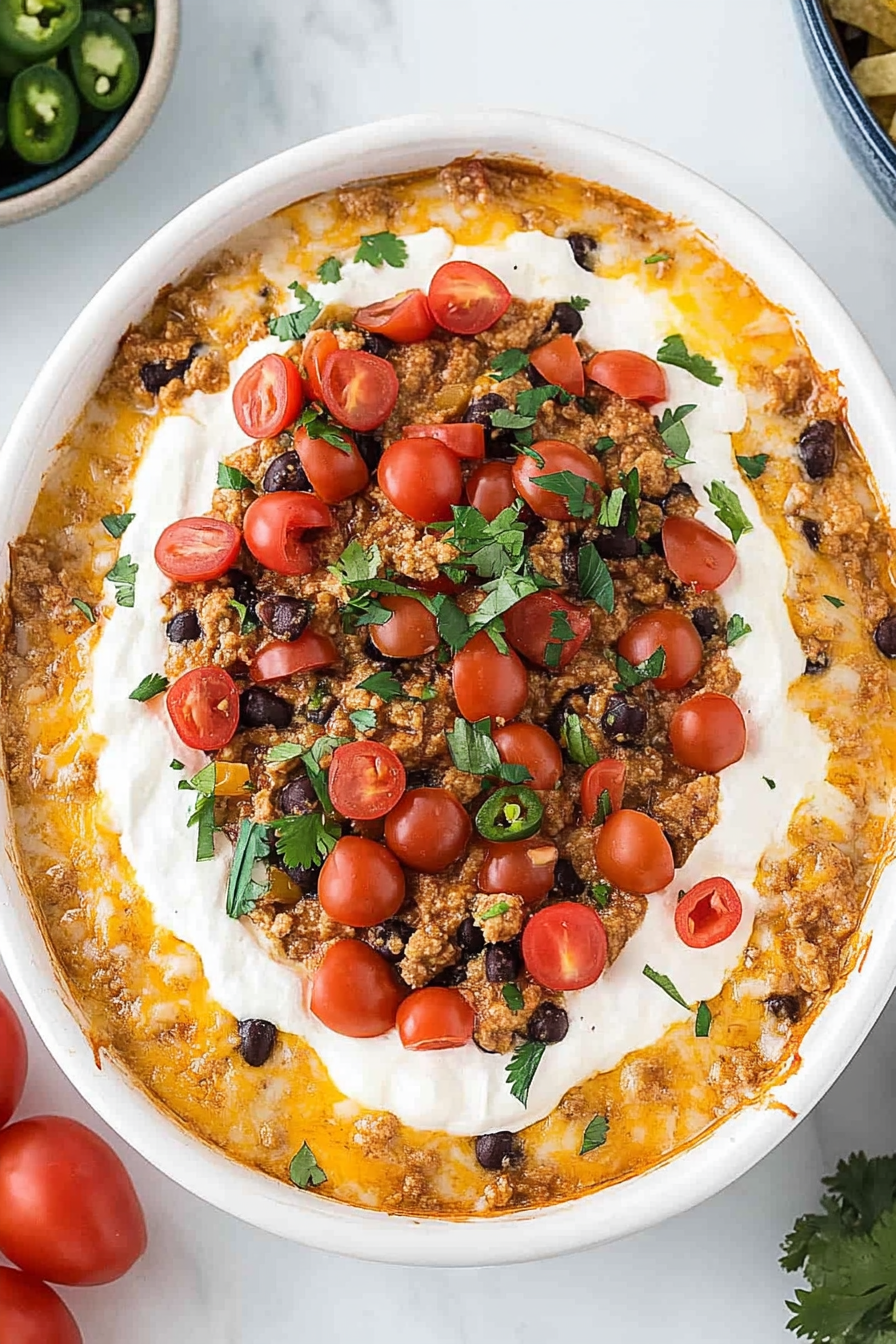
Cheesy Taco Dip
Ingredients
Method
- Preheat the oven to 375 degrees Fahrenheit.
- In a skillet, brown the ground beef over high heat. Drain excess fat if needed. Add chopped onions and cook for about 3 minutes.
- Lower the heat to medium. Stir in taco seasoning, cumin, broth or water. Mix well. Add green chiles and salsa. Cook for 2-3 minutes.
- Stir in the cream cheese until melted. Mix in 2 cups of shredded cheese. Season with salt and pepper to taste.
- Transfer the mixture to a baking dish, sprinkle remaining cheese on top, and bake for 20 minutes until bubbly and golden.
- Top with desired toppings like lettuce, tomatoes, olives, onions, cilantro, and jalapenos. Serve warm with tortilla chips.