Easy Pepperoni Pizza Pasta Recipe
If you’re anything like me, a good comfort food doesn’t have to be complicated. Growing up, nothing made me happier than the smell of pizza baking, but let’s be honest — pizza can be a bit of a hassle to make from scratch, especially on busy weeknights. That’s why I’m obsessed with this Pepperoni Pizza Pasta. It’s basically like taking all the best flavors of a cheesy pepperoni pizza and tossing them into a warm, hearty pasta dish. My kids ask for this all the time, and honestly, it’s one of those lifesaver recipes I keep bookmarked for when I need something quick, satisfying, and totally delicious. Plus, it’s crazy how I can whip this up in just about 20 minutes and still taste like I slaved in the kitchen for hours. The best part? It’s a crowd-pleaser, and it always disappears in minutes at my house. Trust me, if you’re craving pizza but don’t want to deal with the dough, this Pepperoni Pizza Pasta is the way to go!
What is a pepperoni pizza?
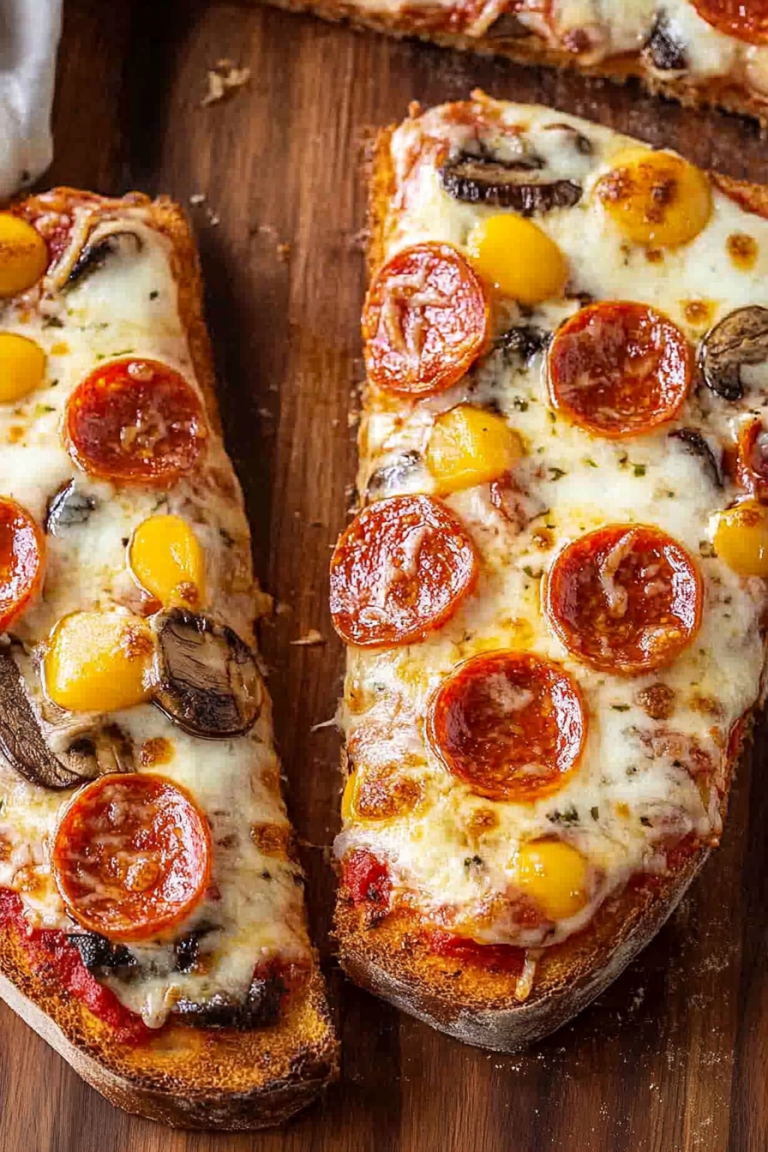
Think of Pepperoni Pizza Pasta as a cozy, cheesy mashup of two favorites: pizza and pasta. It’s essentially a creamy, tomato-based sauce loaded with gooey melted cheese, slices of spicy pepperoni, and plenty of Italian herbs. The idea started as a way to capture that irresistible pizza flavor without the fuss of making dough from scratch. Instead, you cook your pasta — usually penne or rotini — and toss it all together with a rich sauce. It’s like a comforting little bowl of everything you love about pizza, but in a more laid-back, weeknight-friendly form. What I love most about it is how adaptable it is — you can turn up the spice, add extra veggies, or swap out the cheese. It’s a simple dish that’s honestly become a family staple in my house — my kids call it “pizza in a bowl,” and I couldn’t be happier to hear that!
Why you’ll love this recipe?
There are so many reasons why this Pepperoni Pizza Pasta has earned a permanent spot in my weekly dinner lineup. First off, the flavor — oh, the flavor! Imagine the aroma of bubbling cheese, savory pepperoni, and fragrant basil filling your kitchen every time you make this. It hits all those nostalgic notes of childhood pizza nights, but with a little extra comfort. Honestly, what I love most about this is how quick and easy it is to make. No long waits for dough to rise, no complicated layering — just one pot, minimal prep, and bam, dinner is served. Plus, it’s budget-friendly. Those little pepperoni slices are affordable and give so much flavor, and the ingredients are staples I always keep on hand. And because it’s so versatile, you can tweak it to suit different tastes — add some chopped peppers, a sprinkle of red pepper flakes for heat, or switch up the cheese. I’ve tested this with everything from whole wheat pasta to gluten-free options, and it’s always a hit. Honestly, what I love most is how comforting and tummy-warming it is — perfect for chilly nights or when I just need a hug in food form.
How do you make pepperoni pizza?
Quick Overview
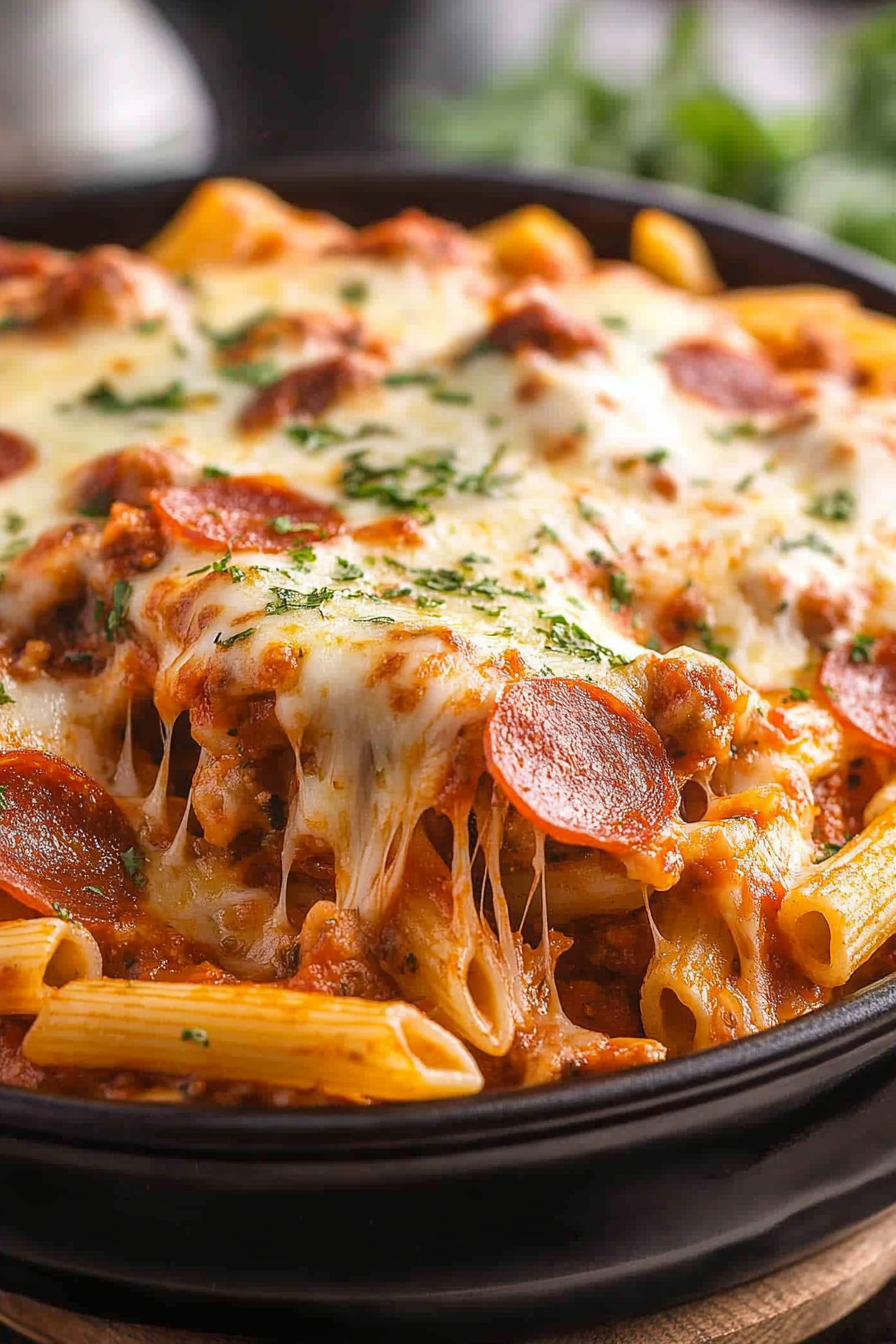
This dish comes together with just a few simple steps, making it perfect for busy nights. You start by cooking your pasta until al dente, then you make a quick, flavorful sauce combining tomato paste, garlic, herbs, and a splash of cream or milk for creaminess. Stir in plenty of shredded mozzarella, sliced pepperoni, and seasonings. All that’s left is to toss your cooked pasta into the sauce, give it a good stir, and top with a little more cheese and fresh basil if you like. It bakes for a few minutes to get bubbly and golden, and then you’re ready to dig in. I love how the ingredients meld together — it’s like pizza but in a bowl, and the flavor of the pepperoni really shines through. Plus, it’s easily adaptable — you can add veggies or swap out ingredients based on what’s in your fridge. Simple, satisfying, and downright addictive!
Ingredients
For the Main Pasta: For the main Pasta: For the main Pasta: For the main Pasta: For the main Pasta: For
– 1 pound (450g) of your favorite pasta (penne, rotini, or fusilli work great)
– Water and salt for boiling
– A drizzle of olive oil (optional, to prevent sticking)
For the Sauce:
– 2 tablespoons olive oil
– 3 cloves garlic, minced
– 1 teaspoon dried oregano
– 1 teaspoon dried basil
– 1/2 teaspoon red pepper flakes (optional, for a little kick)
– 1 can (6 oz) tomato paste
– 1 cup (240ml) chicken or vegetable broth
– 1/2 cup (120ml) heavy cream or milk
– Salt and pepper to taste
– 1 1/2 cups shredded mozzarella cheese
For the Filling & Topping:
– 8 ounces sliced pepperoni (more if you love extra, I do!)
– Fresh basil leaves (optional, for garnish)
– Extra mozzarella for topping
Step-by-Step Instructions
Step 1: Preheat & Prep Pan
Start by warming your oven to 375°F (190°C). Lightly grease a baking dish or casserole pan — I usually just give mine a quick spray of cooking spray. While the oven heats up, set a large pot of salted water to boil. This is the only way to make sure your pasta cooks perfectly — salty water makes all the difference!
Step 2: Cook the Pasta
Drop in your pasta and cook until just al dente, according to package instructions. Remember, it’ll finish cooking in the oven too, so don’t overdo it. Drain and set aside, tossing with a little olive oil if you want to prevent sticking while you prepare the sauce.
Step 3: Make the Sauce
In a large skillet or saucepan, heat 2 tablespoons of olive oil over medium heat. Add the minced garlic and sauté for about 30 seconds until fragrant — trust me, garlic scent cooking is the best! Pour in the tomato paste, broth, and cream, stirring until everything’s smooth. Toss in the oregano, basil, red pepper flakes, salt, and pepper. Let it simmer gently for 5-7 minutes, so the flavors meld and the sauce thickens just a bit.
Step 4: Combine & Stir
Add the shredded mozzarella into the sauce, stirring until melted and gooey. Tip: If you want it extra cheesy, sprinkle in a bit more on top later. Stir in the pepperoni slices — they’ll soften and release a savory aroma. Taste and adjust the seasoning — a pinch more salt or pepper can make all the difference.
Step 5: Toss the Pasta & Assemble
Gently fold the cooked pasta into the sauce, making sure every piece gets coated in that cheesy, flavorful goodness. Pour everything into your prepared baking dish. Spread a little extra mozzarella over the top, then sprinkle with more pepperoni or basil if you like. I always do this when I want that cheesy, bubbly topping straight out of the oven.
Step 6: Bake & Finish
Bake uncovered for 10-15 minutes or until the cheese is melted and slightly browned. The smell alone will have everyone in the house asking, “What’s for dinner?” Once out of the oven, let it cool for a couple of minutes — I know, it’s hard, but that cheese is hot! Garnish with fresh basil for a pop of color and flavor.
Step 7: Serve & Enjoy
Use a big spoon or tongs to serve this bubbling, cheesy goodness. It goes perfectly with a simple green salad or even a few slices of crusty bread. My family loves to scoop it right onto their plates and dive in — messy, cheesy, and completely satisfying.
What to Serve It With
Honestly, this Pepperoni Pizza Pasta is a meal in itself, but if you want to elevate it, I love pairing it with something fresh and crisp. For breakfast, try a side of scrambled eggs and a fresh fruit salad — it’s such a nice contrast to the cheesy richness. During brunch, a light mixed green salad with balsamic vinaigrette makes it feel a little fancy. If you’re thinking of serving it as a dinner, a chilled glass of sparkling water with lemon or a crisp white wine works beautifully. And, if you’re craving something sweet afterward, a drizzle of honey or a handful of chocolate chips stirred into a bowl of vanilla yogurt is enough to satisfy that sweet tooth! This dish is also perfect for casual weekend get-togethers or cozy family nights — the smell alone will bring everyone to the table.
Top Tips for Perfecting Your Pepperoni Pizza Pasta
Over the years, I’ve learned a few little tricks to make this dish even better. First, when prepping the pepperoni, I sometimes blot it with paper towels to remove excess oil — it prevents the dish from getting greasy. If you want a richer flavor, try using a blend of mozzarella and parmesan — it gives it extra depth. Trust me on this one: tossing the cooked pasta directly into the sauce helps everything cling better and meld flavors beautifully. For a slightly healthier twist, I’ve tested adding in sautéed bell peppers or mushrooms, which work surprisingly well with the spicy pepperoni. A big mistake I made at first was overbaking — keep an eye on it, and don’t walk away because those cheesy tops can go from perfect to burnt fast! One thing I do now is sprinkle a little red pepper flakes right before serving for that nice spicy kick, and chopped fresh basil just tastes like a slice of Italy. Oh, and if you want to make this ahead, assemble everything, cover tightly, and bake just before serving — the flavors only get better sitting overnight! This dish is honestly forgiving, adaptable, and always a hit in my house.
Storing and Reheating Tips
If you have leftovers or want to prepare ahead, cool your Pepperoni Pizza Pasta completely before storing. For fridge storage, pop it into an airtight container and plan to enjoy within 3-4 days. Reheat it in the microwave or on the stovetop — I prefer low heat and a splash of broth or milk to keep it moist. If freezing, tightly wrap individual portions or the whole dish with plastic wrap and foil, then freeze for up to 3 months. Let it thaw in the fridge overnight before reheating. Keep in mind, the cheese might get a little crumbly after freezing, but the flavor stays amazing! Trust me, heating it slowly helps keep that gooey, cheesy goodness intact. If you want to freshen it up, sprinkle a bit more cheese or basil before reheating — it makes a big difference. Just don’t skip the cooling step before storing, or else the dish can get soggy. A quick reheat and a sprinkle of fresh herbs, and it’s almost like new!
Frequently Asked Questions
Final Thoughts
This Pepperoni Pizza Pasta is one of those recipes that I keep coming back to, not just because it tastes incredible, but because it’s so forgiving and adaptable. It’s perfect for busy weeknights when I need something quick but crave that warm, cheesy, pepperoni goodness. Over the years, I’ve experimented with different cheeses, added veggies, and even tried different pasta shapes, and it’s always a hit. If you’re looking for a comforting dish that’s a little bit indulgent but easy enough to make any night — this is it. I hope you give it a try and find it becomes just as beloved in your house as it is in mine. Happy baking! And don’t forget to share your creations or your own tips in the comments — I love hearing how everyone makes my favorites their own.
Homemade Pepperoni Pasta
Ingredients
Method
- Cook the penne pasta in boiling water for 6 minutes. Drain and set aside.
- In a medium bowl, combine pasta sauce, tomato sauce, oregano, salt, and black pepper. Stir well and set aside.
- In a mixing bowl, combine cooked pasta, chopped pepperoni, turkey sausage, and half of the shredded mozzarella. Mix well.
- Transfer the mixture into a baking dish. Pour the prepared sauce evenly over the pasta mixture.
- Top with the remaining mozzarella cheese.
- Bake in a preheated oven at 375°F for 15-20 minutes until bubbly and golden on top.
- Remove from oven and let rest for 5 minutes before serving.