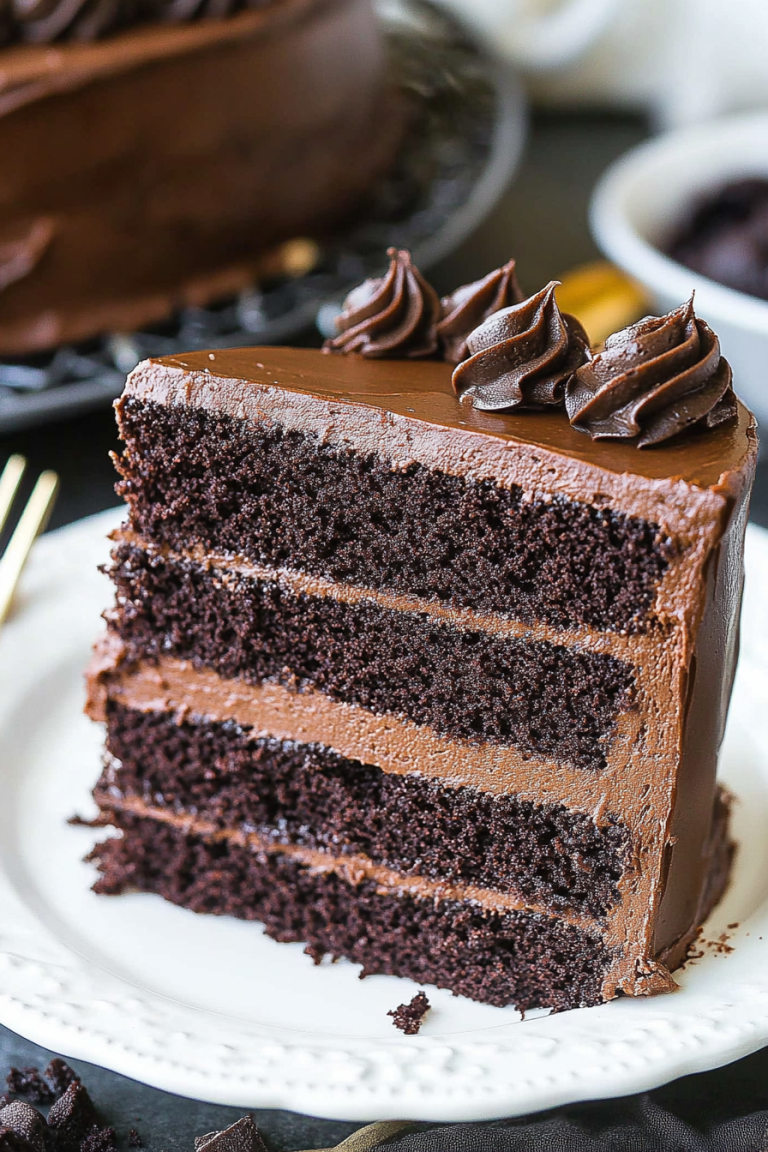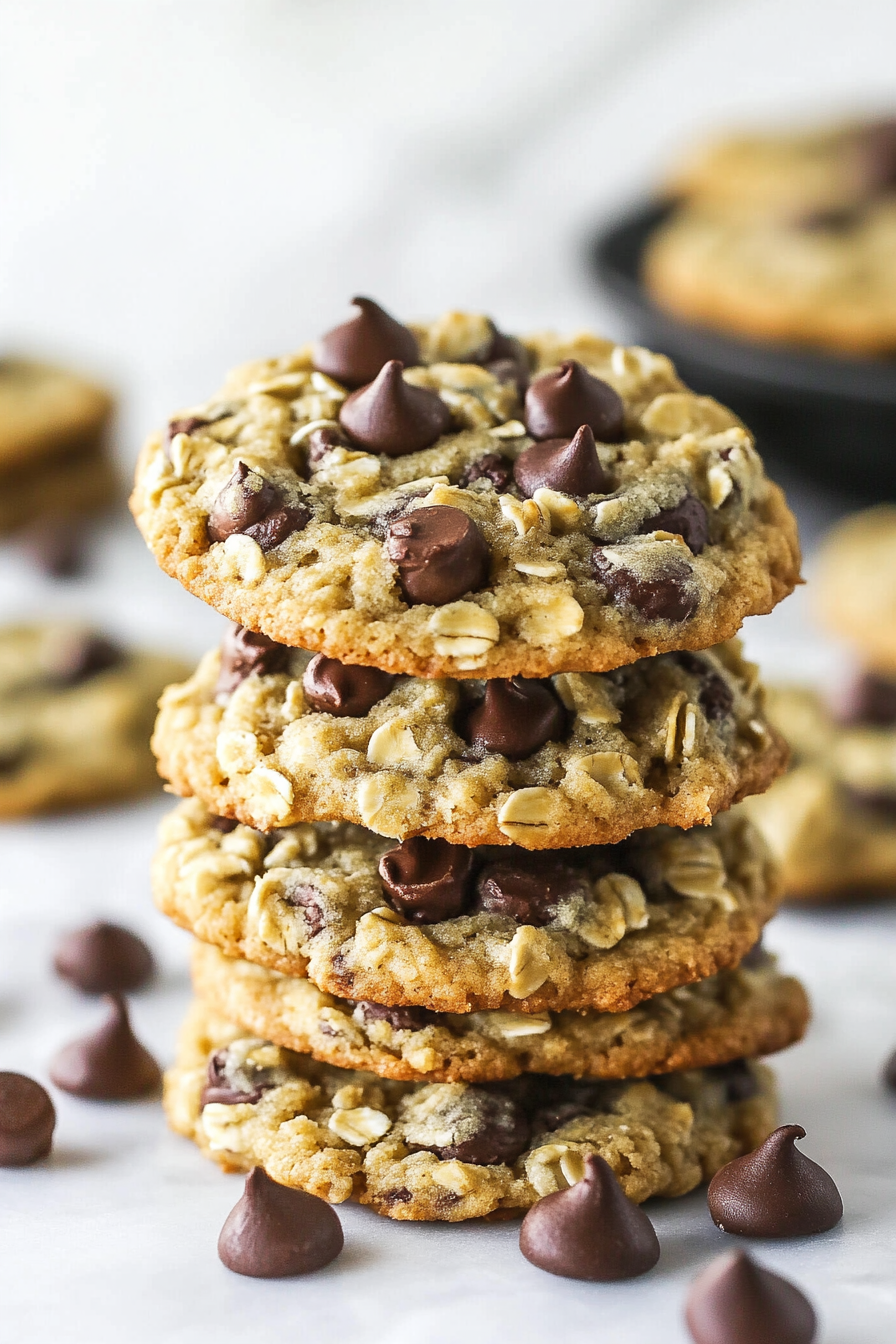
Easy Rolled Oats Chocolate Chip Cookies
There’s just something about the aroma of freshly baked oatmeal cookies that instantly takes me back to lazy Sunday mornings at my grandma’s house. The way the cinnamon smells mingling with melted butter, the chewy texture of oats, and those bits of gooey chocolate or sweet raisins—it’s genuinely comfort in every bite. I always do this when I want a little treat that feels homey, but I also want something quick and satisfying. Honestly, I’ve tested so many recipes over the years, but this one? It’s the one I keep coming back to. My kids ask for these all the time—they disappear faster than I can say “just one more.” And the best part? You can whip up a batch in under 30 minutes. These oatmeal cookies are a lifesaver on busy nights or when a sweet craving hits late at night. Trust me, the smell alone will draw everyone into the kitchen—you might as well double the batch!
What is Oatmeal Cookies?
Think of oatmeal cookies as the love child of hearty breakfast oats and sweet, comforting treats. They’re essentially chewy cookies packed with rolled oats, which give them that irresistible texture, combined with flavors that can range from classic cinnamon and raisins to gooey chocolate chips or chopped nuts. The name itself is pretty straightforward—these cookies are made with oats, a grain known for its wholesome charm and satisfying crunch. The concept is simple: blend basic pantry ingredients, add oats, and bake. That’s it! But don’t let their simplicity fool you—these cookies pack a punch of flavor and nostalgia. They’re the kind of cookie that’s equally at home with a glass of cold milk, a midday coffee break, or even packed in lunchboxes. Think of it as the perfect balance between a cookie and a little slice of old-fashioned comfort food.
Why you’ll love this recipe?
What I love most about these oatmeal cookies is that they’re so unlike overly sweet, cloying store-bought treats. Instead, they have a natural, wholesome flavor that’s balanced with just enough sweetness. The oats bring a wonderful chewy bite that makes each mouthful interesting, and the aroma—that warm, spicy scent—will make your kitchen feel like a cozy bakery. These cookies are surprisingly easy to throw together, even when I’m short on time. No fancy equipment required—just a mixing bowl, a spoon, and an oven. Plus, they’re budget-friendly since most of the ingredients are pantry staples. You can also switch things up easily: add in some dried fruit, swap chocolate chips for nuts, or even throw in a sprinkle of sea salt on top before baking for an extra zing.
What truly makes this recipe a winner in my book is how versatile and forgiving it is. I’ve made them with whole wheat flour, used coconut sugar instead of white, and added a dash of vanilla that turns out even more delicious. Honestly, once I perfected my go-to recipe, I found myself turning to these cookies whenever I needed a comforting pick-me-up or an easy dessert. They’re perfect for breakfast on the go, a cozy afternoon snack, or a quick, satisfying treat after dinner. And because they’re made with wholesome oats and just a touch of sugar, I never feel guilty reaching for a second—or third!
How do I make Oatmeal Cookies?
Quick Overview
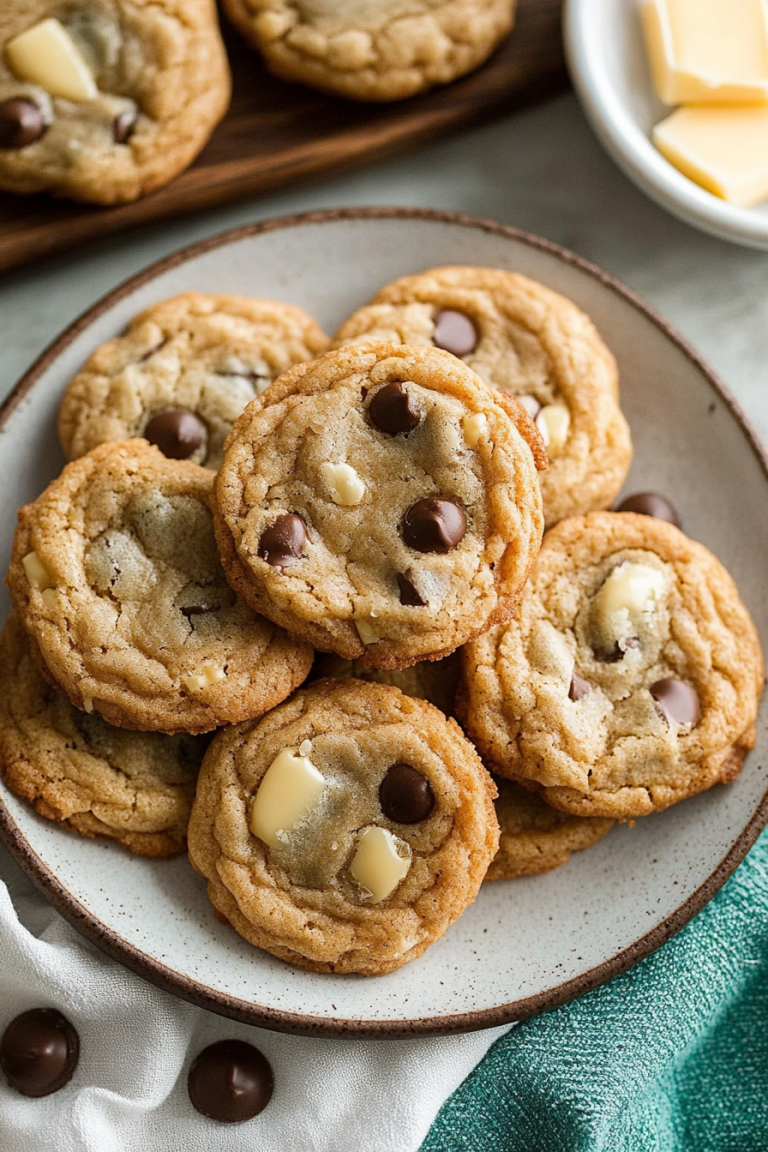
This oatmeal cookie recipe is as simple as mixing wet ingredients, adding in dry, folding in your favorite mix-ins, and baking. I love the fact that it comes together quickly, without any fancy steps. The dough is soft and slightly sticky, but that’s what gives the cookies their irresistibly chewy texture. Once baked, you get cookies that are golden around the edges, a little chewy in the middle, and just sweet enough to hit the spot. And if you want to jazz them up, a drizzle of honey glaze while they’re still warm is the way to go. My whole family devours these in minutes, and I always keep a batch in the kitchen to satisfy those late-night sweet cravings or to pack in lunchboxes. Everything comes together with minimal fuss—trust me on this one, it’s an easy win!
The best part? You can customize these cookies endlessly—add chocolate, nuts, dried fruit, or even a dash of spices to make them your own.
Ingredients
For the Main Batter:
- 1 cup rolled oats (old-fashioned oats are best for chewy texture)
- 1 cup all-purpose flour (or whole wheat for extra heartiness)
- 1/2 teaspoon baking soda
- 1/4 teaspoon salt
- 1 teaspoon ground cinnamon (optional but adds warmth)
- 1/2 cup unsalted butter, softened (or coconut oil for dairy-free)
- 1/2 cup brown sugar (light or dark, depending on your preference)
- 1/4 cup granulated sugar
- 1 large egg
- 1 teaspoon vanilla extract
For the Filling:
- 1/2 cup chocolate chips, raisins, or chopped nuts (or a combo!)
For the Glaze:
- Optional: 1/4 cup honey or maple syrup, warmed
- Powdered sugar for dusting (if you want an icing effect)
Step-by-Step Instructions
Step 1: Preheat & Prep Pan
Kick things off by heating your oven to 350°F (180°C). Line a baking sheet with parchment paper or a silicone baking mat—this keeps things from sticking and makes cleanup a breeze. I always do this first so I’m ready to go when the dough is mixed. Optional: I like to lightly spray the paper with a little cooking spray if I want extra assurance that my cookies will slide right off later.
Step 2: Mix Dry Ingredients
In a small bowl, whisk together the oats, flour, baking soda, salt, and cinnamon if you’re using it. This step ensures everything is evenly distributed, so each cookie bakes perfectly. I’ve learned from experience that skipping this step can lead to uneven baking—trust me, it’s worth the extra minute.
Step 3: Mix Wet Ingredients
In a larger bowl, beat the softened butter with the sugars until fluffy—that’s about 2 minutes with a hand mixer or a good old-fashioned whisk if you’re feeling vigorous. Add the egg and vanilla, and beat until smooth. The mixture will look a bit creamy and start smelling like heaven. I’ve tested this with almond butter and it’s actually made the cookies even richer—try it sometime!
Step 4: Combine
Gradually add the dry ingredients to the wet mixture, mixing just until combined. Be careful not to overmix—this can make the cookies dense. If you’re using a spatula, fold gently. A light touch keeps the cookies tender and chewy.
Step 5: Prepare Filling
Stir your choice of chocolate chips, raisins, or chopped nuts into the batter. I like to sprinkle extra chocolate on top before baking for that melty look and irresistible aroma. For a more sophisticated flavor, I sometimes add a pinch of sea salt on top before popping them in the oven—trust me, it balances the sweetness beautifully.
Step 6: Layer & Swirl
Drop spoonfuls onto your prepared baking sheet, leaving about 2 inches between each. If you want to be playful, swirl a little extra honey or jam on top before baking. I love to press a few extra chocolate chips on the surface for that picture-perfect look and extra flavor.
Step 7: Bake
Bake in the preheated oven for about 10-12 minutes. Keep an eye on them—once the edges turn golden and the centers look set but slightly soft, they’re done. They’ll firm up as they cool, so don’t overbake. Ovens vary, so if you’re using a hot spot, rotate the baking sheet halfway through or set a timer as a reminder to check around 10 minutes.
Step 8: Cool & Glaze
Once baked, transfer the cookies to a wire rack and let them cool for about 5 minutes. This helps everything set. Want to add a little extra shine? Drizzle warm honey or maple syrup over the still-warm cookies then let them cool completely. I also like to dust them with a bit of powdered sugar for a delicate, sweet finish. Letting them cool fully before glazing ensures the glaze stays put—trust me, it’s all about the timing.
Step 9: Slice & Serve
These cookies are best enjoyed slightly warm or at room temperature. I like to serve them on a pretty platter with a glass of cold milk or a steaming cup of coffee. If you’re feeling fancy, stack them with a dollop of whipped cream or a dusting of cocoa powder—just for that extra special touch. My kids love when I cut them into smaller squares, making them easier to grab with their little hands, and the gooey chocolate melt makes everyone smile.
What to Serve It With
This oatmeal cookie recipe is so versatile that it can fit pretty much any occasion. For breakfast, serve them alongside a steaming mug of coffee or tea—they’re a quick, hearty way to start your day. They’re also fantastic as a brunch treat, perhaps with some fresh fruit on the side and a splash of cream or yogurt. As a dessert, I love warming them slightly and serving with a scoop of vanilla ice cream or a drizzle of caramel sauce—talk about an indulgence!
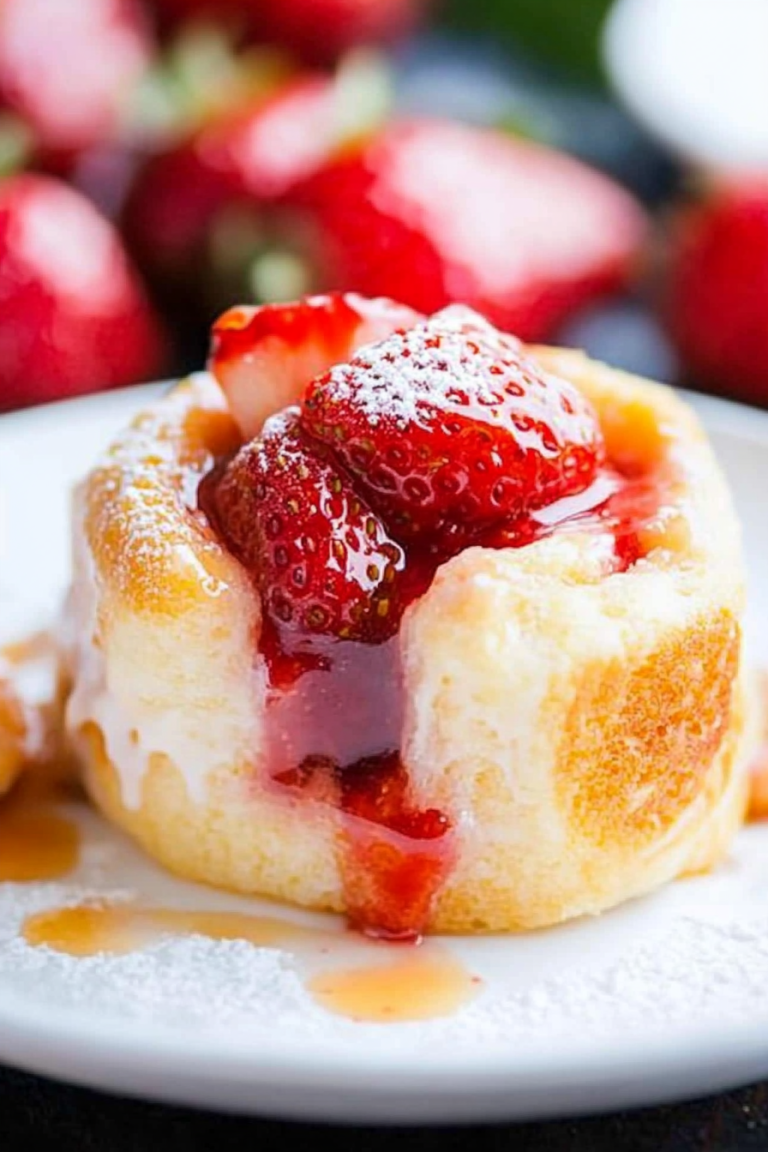
On casual days, they’re just the perfect snack to stash in the pantry for whenever the mood strikes. The chewy texture and rich aroma make them a hit whether I’m baking for friends or just craving a little piece of happiness myself. My family has a tradition of having these cookies with a glass of milk and some fresh strawberries—nothing fancy, just simple, wholesome comfort. And because they keep well in an airtight container, I often bake a big batch and enjoy them all week long. Bonus: they’re great for sharing, bringing a little homemade love to neighbors or school bake sales.
Top Tips for Perfecting Your Oatmeal Cookies
These cookies are forgiving, but a few tips can help you get them just right every time. First off, make sure your butter is softened—if it’s too cold, it won’t cream properly and your cookies might end up flat. I’ve tested with melted butter, and while still tasty, they’re a bit flatter and crisper—so stick with softened for chewy goodness.
When mixing dry ingredients, whisk thoroughly to avoid clumps. Overmixing the batter after adding the dry makes the cookies dense, so stir just until everything is combined. A gentle fold is best.
If you want them extra chewy, try soaking the oats in a little milk or yogurt for 10 minutes before adding them in—this trick makes them super moist. For the swirl pattern or sprinkle on top, use a fork or small spatula to create pretty swirls or designs—this adds visual interest and texture.
Looking for substitutions? I’ve made these with coconut sugar instead of regular sugar, and it added a subtle caramel flavor. Whole wheat flour works beautifully too, giving a denser, more wholesome cookie. Just remember, substitutions might slightly alter the texture or sweetness, so adapt gradually.
Baking tip: rotate your sheet halfway through baking for even coloring. If your oven runs hot or cool, adjust the temperature by 5-10 degrees and check a minute or two earlier. Don’t forget, cookies cool but stay soft for a few minutes—they firm up as they sit, so don’t overbake!
The glaze? You can skip it or swap out honey for maple syrup, or even dust with cocoa powder or cinnamon for a different flair. These small tweaks let you make the recipe uniquely yours.
Honestly, the biggest lesson I’ve learned is that patience and gentle handling produce the best results. These cookies, once mastered, are a sure crowd-pleaser and a true testament to the magic of simple ingredients.
Storing and Reheating Tips
To keep these oatmeal cookies fresh and delicious, store them in an airtight container at room temperature. They’ll stay soft and chewy for about 3-4 days—perfect for nibbling throughout the week. If you want to extend their life, pop them into a resealable bag and refrigerate for up to a week. Just make sure they’re well wrapped so they don’t dry out.
If you’re craving that just-baked goodness later, a quick 10-second zap in the microwave or a few minutes in a low oven will warm them up nicely. I’ve found that the flavors deepen slightly after a day or two, so don’t be surprised if they taste even better the next day.
Freezing is also an option—layer cookies with parchment paper in an airtight container, and they’ll keep for up to 3 months. To enjoy, thaw at room temperature or warm for a few seconds in the microwave.
Regarding the glaze, if you plan to store the cookies, it’s best to add it just before serving or right after they come out of the oven. That way, it stays glossy and fresh. If you’ve added glaze earlier, it might soften or become sticky over time, so consider glazing just before serving for a perfect finish.
Frequently Asked Questions
Final Thoughts
There’s a reason these oatmeal cookies have been a staple in my kitchen for years—they’re just too good not to keep around. Their perfect balance of chewiness, sweetness, and wholesome oats makes them a comfort food that everyone loves. They’re forgiving enough for bakers of all levels—you’ll get a batch that’s golden, chewy, and bursting with flavor every time. Plus, they make the house smell incredible, like a warm hug from the oven.
If you’re feeling adventurous, don’t hesitate to personalize the recipe—add your favorite mix-ins or tweak the sweetness. Baking is about creating memories in the kitchen, and these cookies? They’re a recipe for smiles and shared moments. I’d love to hear how yours turn out, so don’t forget to leave a comment or share your tweaks! Happy baking, and enjoy every chewy, crispy, delicious bite of these oatmeal cookies—trust me, they’re worth every minute in the kitchen.
Classic Oatmeal Cookies
Ingredients
Method
- In a bowl, whisk together the flour, baking soda, and salt.
- Cream the butter and sugars until light and fluffy, about 3-4 minutes.
- Add eggs one at a time, mixing well after each addition, then stir in vanilla.
- Gradually mix in dry ingredients until just combined. Stir in oats and chocolate chips.
- Drop tablespoons of dough onto baking sheets lined with parchment paper.
- Bake at 350°F for 10-12 minutes or until edges are golden.
- Cool for 5 minutes on baking sheet, then transfer to a wire rack.