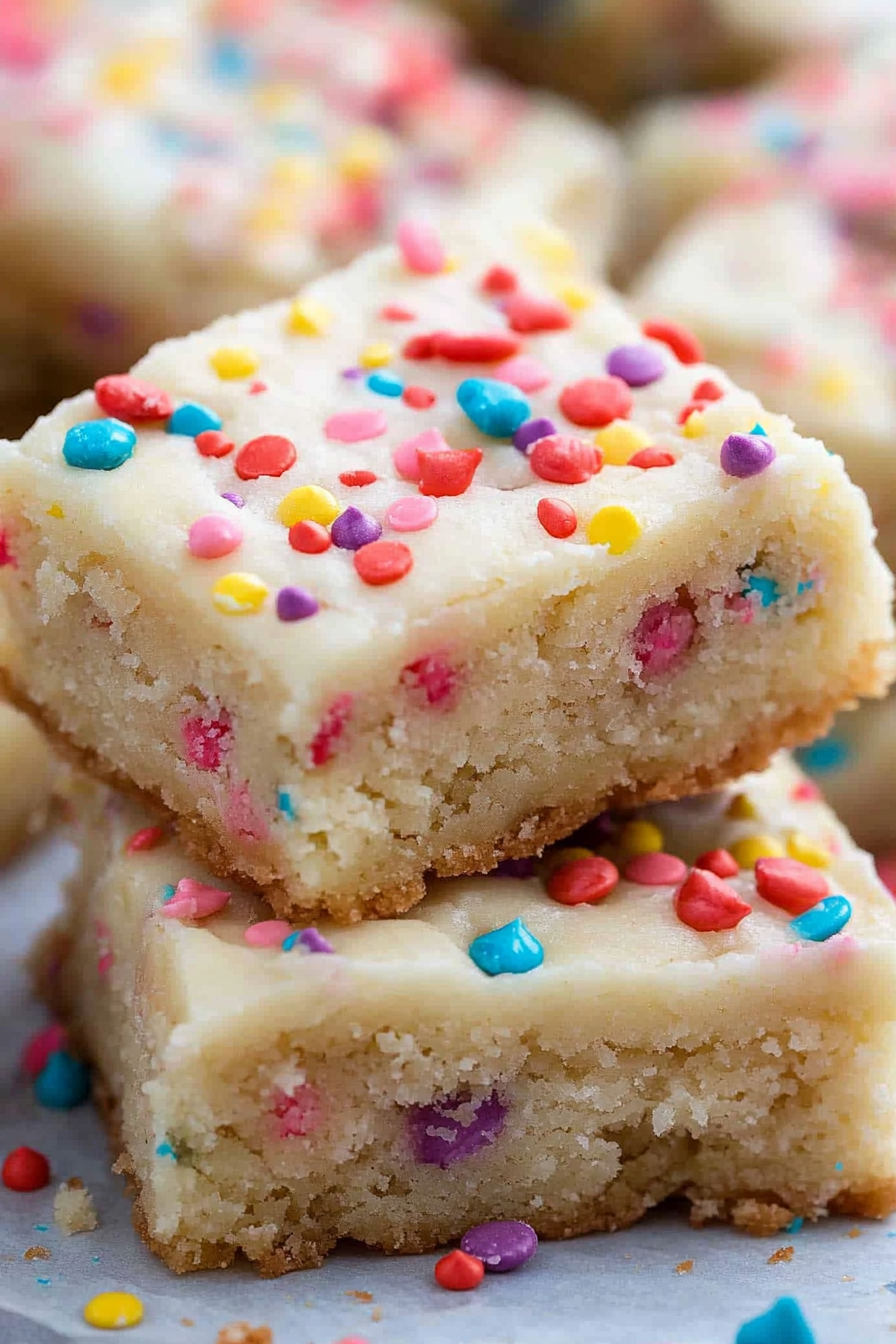
Sweet Cookie Bars How Easy They Are
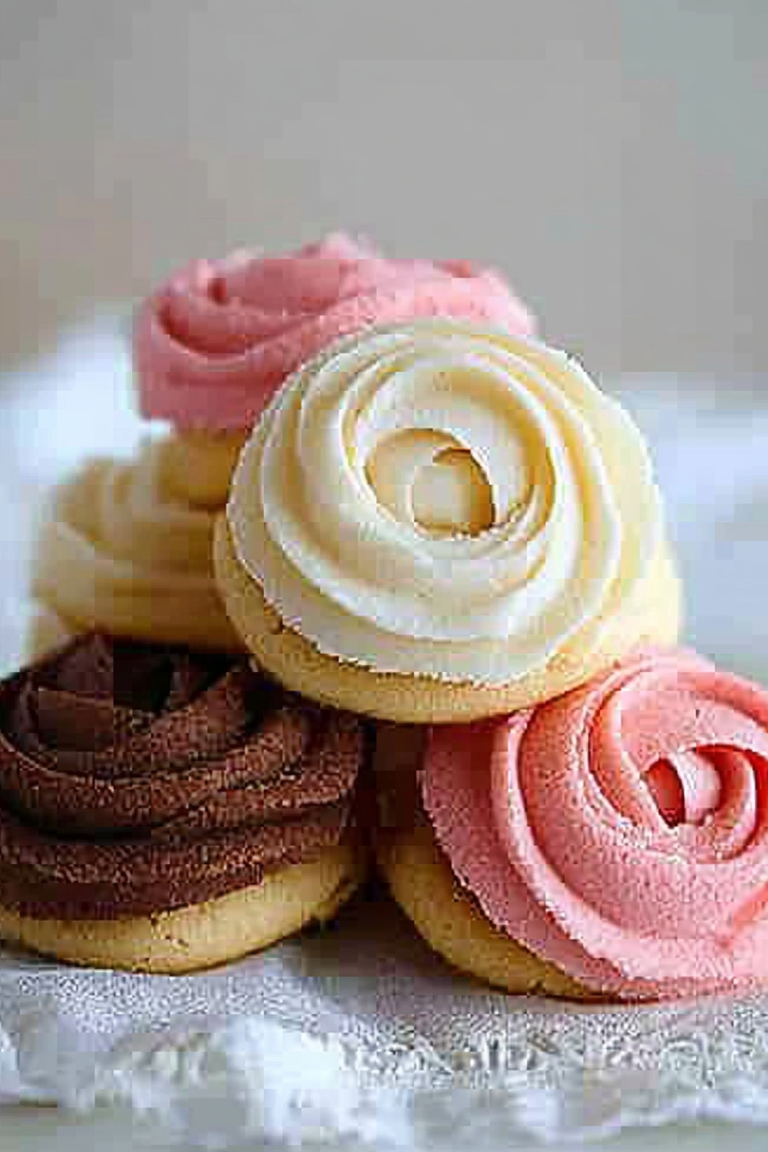
There’s something about the smell of sugar cookies baking that takes me back instantly—ready for holiday mornings and lazy afternoons alike. I always do this when I want a treat that’s equally fun to make and even more delightful to eat: sugar cookie bars. Think of them as the lovechild between your classic sugar cookies and a chewy, buttery bar—easy to cut into perfect squares and perfect for sharing (or keeping all to yourself, no judgment here). I’ll admit, I used to spend ages rolling out cookies and trying to get that perfect edge, but these bars? They come together faster than you can say “baked with love,” and trust me, they disappear in minutes at my house. Whether it’s a special occasion or just a random Tuesday craving, these sugar cookie bars are comfort in every bite. Once I tested this with different glazes and even a swirl of sprinkles, and honestly, I never look back. They’re simple, nostalgic, and honestly, kinda addictive—like a big, chewy sugar cookie in bar form. Ready to dive into my favorite way to satisfy that sweet tooth? Let’s go!
What is sugar cookie bar?
Think of sugar cookie bars as a laid-back, family-friendly twist on those classic sugar cookies you’ve probably had during holidays. They’re essentially a soft, chewy cookie batter baked straight in a pan—no need for rolling out dough or cutting perfect shapes. The name says it all: these are bars that bring the sweet, buttery flavor of sugar cookies into an easy-to-serve, sliceable form. They’re great for parties, potlucks, or just because you deserve a treat after a long day. The magic? You pour the dough into a baking pan, swirl in a simple glaze or frosting on top, and voila—your sweet, homemade snack is ready in no time. I love how versatile they are, too. You can add sprinkles, swirl in jam, or even toss some chopped nuts in for an extra crunch. Think of it as the childhood favorite sugar cookie, but with all the convenience of a bar—perfect for busy weekends or when friends drop by unexpectedly. It’s comfort food that’s surprisingly easy to make.
Why you’ll love this recipe?
What I love most about these sugar cookie bars is how insanely easy they are—no fussing with cookie cutters or decorating perfection. It’s honestly all about that buttery, sweet flavor that hits just right. The smell alone when they’re baking is enough to make everyone stop in their tracks—warm, vanilla, and just a hint of caramelized sugar that’s irresistible. Plus, these bars are super budget-friendly since they mainly rely on common pantry ingredients — flour, sugar, butter, and eggs. They’re a total lifesaver on busy nights when I want something homemade but don’t want to spend hours in the kitchen. And the best part? They’re endlessly adaptable. You can customize the glaze with lemon zest for a zesty punch, or sprinkle some colored sugar or sprinkles for a fun, festive look. My kids actually ask for these all the time, especially when we’re craving something sweet without overindulging. It’s a real crowd-pleaser, whether it’s for a quick treat or a special celebration. Whether you’re baking for a family gathering or just sneaking a piece with coffee on a Sunday morning, these sugar cookie bars never disappoint.
How do I make sugar cookie bars?
Quick Overview
If I had to sum up how easy these sugar cookie bars are, I’d say: blend your ingredients, pour into a pan, swirl on your glaze, and bake. That’s it! There’s no chilling, no rolling, no complicated piping — just a simple batter that comes together in minutes. What’s special about this method is how forgiving it is; even if you overmix a little, they still turn out wonderfully chewy. Once out of the oven, I love letting them cool just slightly before adding a glossy glaze or drizzle of icing. Trust me, the smell alone will have everyone waiting anxiously for that first slice. You can make these up to a day ahead (more on storage later), and they still taste just as fresh the next day. Perfect for when you want to enjoy that nostalgic sugar cookie flavor without all the hassle of traditional baking.
Ingredients
For the Main Batter:
- 2 ½ cups all-purpose flour (trust me, a high-quality brand makes a difference)
- 1 teaspoon baking powder (for just a touch of lift)
- ½ teaspoon salt (brings out the sweetness)
- ¾ cup unsalted butter, softened (I always use real butter for flavor)
- 1 cup granulated sugar (the classic sweet base)
- 2 large eggs (room temperature helps the batter come together smoothly)
- 1 tablespoon vanilla extract (pure vanilla, if possible)
For the Filling:
- Optional: jam or fruit preserves for swirling on top
For the Glaze:
- 1 cup powdered sugar (sifted for smoothness)
- 2-3 tablespoons milk or cream (a splash at a time for that perfect drizzle)
- ½ teaspoon vanilla extract
- Optional: food coloring or sprinkles for fun visuals
Step-by-Step Instructions
Step 1: Preheat & Prep Pan
I always start by preheating my oven to 350°F (175°C). Grab your 9×13-inch baking pan and line it with parchment paper—this makes removal super easy and keeps things tidy. I lightly butter the paper or spray with non-stick spray, just to make sure nothing sticks. Setting everything up before mixing means less chaos once you’re ready to go.
Step 2: Mix Dry Ingredients
In a medium bowl, whisk together the flour, baking powder, and salt. This step ensures the ingredients are evenly distributed and your cookies bake uniformly. I’ve learned that sifting the flour makes a big difference—no dense patches here. Set this aside while you beat the butter and sugar.
Step 3: Mix Wet Ingredients
In a large bowl, beat your softened butter and sugar until it’s light, fluffy, and just slightly pale—about 2-3 minutes. I usually use my hand mixer for this, but a stand mixer works too. Then, add the eggs one at a time, making sure each is fully incorporated before adding the next. Finish off with vanilla. The mixture should look creamy and smooth, like a rich custard. The smell of vanilla in that step is such a comfort!
Step 4: Combine
Gradually add the dry ingredients to the wet mixture, mixing on low until just combined. Overmixing can make these bars tough, so I always stop as soon as the flour disappears into the batter. It should be thick but spreadable, almost like a thick cake batter. If it feels too stiff, I add a splash of milk—just enough to loosen it up without thinning it out too much.
Step 5: Prepare Filling
If you’re using jam or preserves, I like to gently swirl it into the batter. Drop spoonfuls over the surface and use a toothpick or butter knife to create a marbled effect. This step is optional, but I love the surprise of fruity swirls in every bite. You can also skip it and go straight to baking if you prefer a pure vanilla flavor.
Step 6: Layer & Swirl
Pour the batter into your prepared pan, spreading it evenly with a spatula. If you added jam or fruit, swirl again gently on the surface before baking. This creates a lovely marbled look when sliced. Keep in mind: don’t over-swirl—just enough to see some streaks of color and flavor. Kids love the visual appeal of these, especially when sprinkles are involved!
Step 7: Bake
Pop your pan into the oven and bake for about 20–25 minutes. You’ll know they’re done when the edges look golden, and a toothpick inserted into the center comes out clean or with just a few moist crumbs. Every oven is different, so I recommend checking around the 20-minute mark to prevent over-baking. These are soft, so don’t expect a hard crust—just a chewy, buttery goodness.
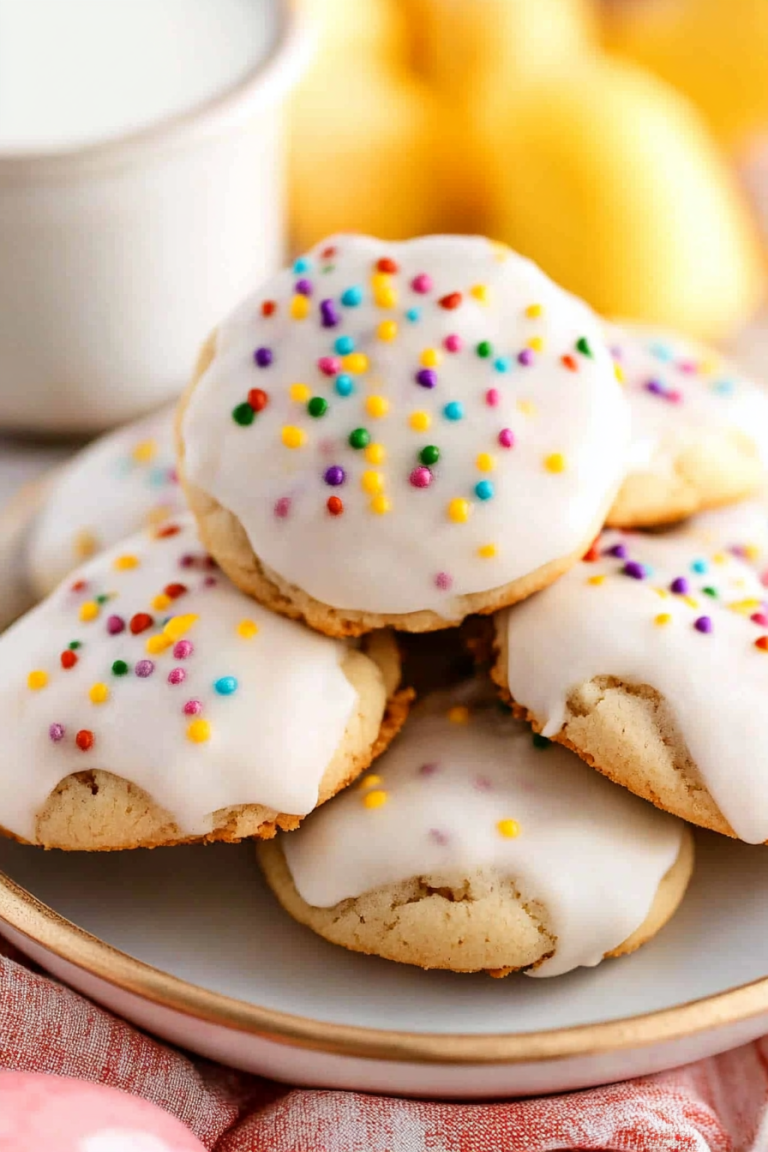
Step 8: Cool & Glaze
Allow the bars to cool in the pan for about 15 minutes—this helps set everything up so it’s easy to cut. While they’re cooling, mix your glaze ingredients until smooth. I like mine a little runny so it drizzles beautifully but still coats the tops nicely. Pour or spread over the slightly warm bars, adding sprinkles or colored sugar for fun. The glaze will set in a few minutes, giving that picture-perfect shine.
Step 9: Slice & Serve
Once the glaze is firm, slice into squares—my favorite part! I use a sharp chef’s knife, wiping it clean between cuts for perfect edges. Serve these warm or at room temperature; honestly, they’re just as good both ways. They look beautiful on a platter with some fresh fruit or a dollop of whipped cream if you’re feeling fancy. Everyone always asks for the recipe—trust me on this one, these sugar cookie bars are a keeper.
What to Serve It With
These bars are so versatile that they shine in all sorts of settings. For breakfast, pair a square with a bold coffee or a cold glass of milk—you know, to keep it cozy and nostalgic. When hosting brunch, I love piling them on a pretty plate, maybe with some fresh berries or a sprig of mint, elevating that simple pleasure. As an after-dinner dessert, I’ve topped them with a dollop of whipped cream and a drizzle of caramel sauce for extra indulgence. My kids ironically love them as a casual snack—perfect for those afternoons when they want something sweet but I don’t want to turn on the oven again. They’re also fantastic for bake sales, school treats, or picnics—just cut, store, and go. Trust me, these sugar cookie bars are now a staple in my baking repertoire, and I think you’ll love them just as much!
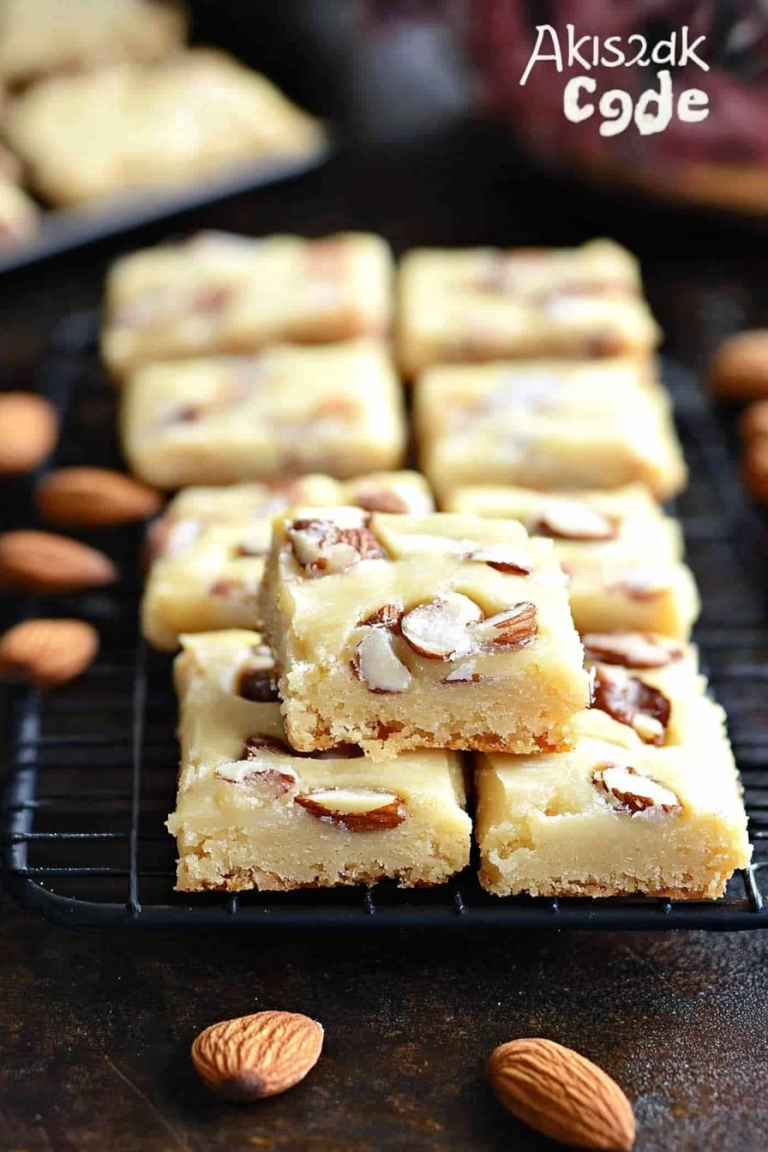
Top Tips for Perfecting Your Sugar Cookie Bars
Over the years, I’ve picked up a few tricks that make all the difference when making these bars. For starters, when I soften my butter, I do it at room temperature—I’ve learned that cold butter doesn’t mix as smoothly, and it can make the batter come out denser than I want. A great tip I swear by is measuring the flour properly—fluff it up first, then spoon and level; it’s the best way to avoid dense, heavy bars. When I swirl in jam or preserves, I recommend doing it gently—don’t overmix, or you’ll lose that beautiful marbled look. I also tested a few ingredient swaps: almond extract instead of vanilla, which added a subtle nutty flavor, or coconut sugar for a darker, richer taste. The key is to keep the glaze consistent—if it’s too thick, it won’t flow nicely; if it’s too thin, it’ll run everywhere. Trust me, I’ve made every mistake in the book, but each one taught me something new! Take your time during baking—every oven has its quirks, so start checking a few minutes early. And lastly, don’t forget to have fun with decorations—adding sprinkles, edible glitter, or even a drizzle of chocolate makes these darling treats even more irresistible!
Storing and Reheating Tips
To keep these sugar cookie bars tasting fresh, I usually store them in an airtight container. If I’m not planning to eat them all within a day or two, I pop them into the fridge—they stay soft and delicious for about 4 days. Just make sure to cover them well so they don’t dry out. If I want to keep them longer, I freeze individual slices wrapped tightly in plastic wrap and then a layer of foil; they thaw fairly quickly at room temperature. For best texture, I recommend adding the glaze or icing just before serving, especially if you’re stacking or refrigerating. When rewarming, I usually heat a slice for about 10 seconds in the microwave—just enough to soften smoothly—so they’re almost like freshly baked. The glaze might get slightly sticky but still tastes fantastic. If the bars are stored properly and glazed fresh, you’ll get that gooey, mouthwatering experience every time.
Frequently Asked Questions
Final Thoughts
If you’ve ever wanted a cookie that’s just as cozy as a hug from your grandma, these sugar cookie bars are it. They’re easy, forgiving, and wildly customizable, making them perfect for every occasion—from a casual afternoon snack to your holiday cookie tray. Honestly, once you try making these, I bet they’ll become a regular go-to in your kitchen, especially when those sweet cravings hit late at night or when friends swing by unexpectedly. They remind me that baking doesn’t have to be complicated to be loved—and sometimes, the simplest recipes turn into the most cherished traditions. So, go ahead, give these a shot. I’d love to hear how yours turn out or any fun twists you come up with! Happy baking, my friend, and don’t forget to enjoy the sweet moments along the way.
Delicious Lemon Bars
Ingredients
Method
- Preheat oven to 350°F. Line a 9x13 inch baking dish with parchment paper.
- In a bowl, combine 1.5 cups of flour, 0.5 cups of powdered sugar, and 0.25 cups of diced cold butter. Mix until crumbly and press into the prepared dish. Bake for 15 minutes.
- In a separate bowl, whisk together eggs, lemon juice, lemon zest, and 0.5 cups of granulated sugar. Pour over the baked crust.
- Bake for an additional 20 minutes or until the filling is set. Allow to cool and dust with additional powdered sugar before serving.