Easy Eggplant Sandwiches with Pesto
There’s something about eggplant that makes me think of lazy Sunday afternoons at my grandma’s house, where the oven was always warm and the aroma of roasted vegetables wafted through the kitchen. I remember biting into that crispy, cheesy stuffed eggplant and feeling totally comforted—like a warm hug in food form. Now, I’ll admit, eggplant can be tricky sometimes—it’s got a slightly bitter edge if not prepared right, but when you get it just right, it’s one of the most satisfying vegetables out there. This recipe for stuffed eggplant Parmesan cups is a total game-changer for me. It’s incredibly flavorful, surprisingly easy to make, and perfect for family dinners or even meal prep. Plus, they look adorable on the plate—kind of like tiny, edible bowls of goodness. Trust me, once you try this, you’ll be sneaking bites straight from the pan, just like I do when no one’s looking. It’s one of those dishes that tastes like you fussed over it all day but really, it’s a breeze. Let’s get started! Have some fun in the kitchen—because that’s where the magic happens.
What is stuffed eggplant parmesan cup?
Think of these stuffed eggplant Parmesan cups as a fun, bite-sized twist on the classic eggplant Parmesan. Instead of layering slices of eggplant with marinara and cheese, we hollow out mini eggplants into little cups—like tiny edible bowls—and fill them with a savory, cheesy breadcrumb mixture. It’s essentially a handheld, portable version of the traditional Italian favorite, but with a playful presentation that makes it perfect for family dinners, parties, or meal prep. The name is pretty self-explanatory: “stuffed eggplant,” meaning it’s eggplant filled with a delicious mixture, and “Parmesan,” because we’re packing in that cheesy, nutty flavor that we all love. The cups are soft inside but topped with a golden crust that’s just irresistible—crispy, cheesy, and bursting with umami. And let me tell you, the best part? They’re pretty forgiving to make, so even if you’re not the biggest eggplant fan, the flavors will win you over. It’s comfort food with a little fancy flair, perfect for when you want something cozy but impressive.
Why you’ll love this recipe?
What I love most about these stuffed eggplant Parmesan cups is how versatile and forgiving they are. First off, the flavor—oh my goodness, the combination of tender eggplant, savory cheese, and crispy breadcrumbs is heavenly. The aroma alone makes my kitchen smell like I’ve been cooking all afternoon, but in reality, these only take about 30 minutes to whip up. They’re a huge hit with my kids, who usually run from eggplant, but in this form, they ask for seconds—score! Plus, they’re super budget-friendly because eggplants are inexpensive and you probably already have most of the ingredients in your pantry. I’ve made these with different cheeses—mozzarella, Parmesan, even a little feta—and each variation turns out equally delicious. What’s even better? They’re perfect for a cozy weeknight dinner or a make-ahead meal. I love preparing these in advance, storing them in the fridge, then baking them fresh when everyone’s ready to eat. They’re also flexible—you can add spinach, chopped olives, or even some cooked sausage if you want to switch things up. Honestly, this recipe has become one of my go-to’s because it never fails to bring smiles around the table—and they disappear in minutes at my house! It’s simple, satisfying, and just the right amount of fancy to impress your guests or enjoy solo with a glass of wine.
How do I make stuffed eggplant parmesan cups?
Quick Overview
This recipe is all about creating tiny, flavorful eggplant “cups” that are filled with a cheesy breadcrumb mixture, topped with a sprinkle of more cheese, and baked until golden and bubbly. The secret is in pre-cooking the eggplants just enough so they’re tender but still hold their shape—then filling and baking until that cheesy crust develops. It’s an easy assembly line process that makes you feel like a pro chef, but honestly, it’s straightforward enough for weeknights. What makes this method special is how you can customize the filling flavors and toppings. Plus, it’s very forgiving if you need to swap ingredients or adjust spice levels. Once you’ve got everything prepared, popping these into the oven is the only step that takes some attention—about 20-25 minutes—and then you’re good to go. Simple, impressive, and oh-so tasty!
Ingredients
For the Eggplant Cups:
– 2 large eggplants (choose plump, firm ones with shiny skins)
– Olive oil (for roasting and brushing)
– Salt and black pepper (to taste)
– 1 teaspoon dried oregano or Italian seasoning (optional but recommended)
For the Filling:
– 1 cup breadcrumbs (use panko for extra crunch; whole wheat works too)
– 1 cup shredded mozzarella cheese (trust me, full-fat tastes better!)
– Optional add-ins: chopped fresh basil, cooked spinach, chopped olives, cooked sausage—get creative!
For the Topping & Glaze:
– 1/2 cup grated Parmesan cheese
– Extra shredded mozzarella (for topping)
– 1 tablespoon olive oil (to brush on top)
– Red pepper flakes or chopped fresh herbs (for finishing touches)
Step-by-Step Instructions
Step 1: Preheat & Prep Pan
Set your oven to 400°F (200°C). Line a baking sheet with parchment paper or a silicone mat. Cut the eggplants in half lengthwise, then scoop out the insides carefully with a spoon, leaving about a 1/4-inch border so the cups hold their shape. Brush the eggplant shells lightly with olive oil, season with salt, pepper, and oregano, then place face-up on your prepared baking sheet. Roast for about 20 minutes until slightly softened—this makes them tender but still sturdy enough to hold the filling. Trust me, pre-roasting is key—trying to do everything raw results in soggy eggplant by the time it’s baked. While that’s happening, you can prepare your filling—chop, grate, or mix whatever ingredients you like.
Step 2: Mix Dry Ingredients
In a bowl, combine the breadcrumbs with Parmesan—these will give your filling that satisfying crunch and cheesy depth. If you’re adding herbs or spices, throw them in now. Stir well so everything’s evenly coated—the breadcrumbs should look slightly moist but not soggy. This dry mixture is the backbone of your stuffing, so season generously!
Step 3: Mix Wet Ingredients
Meanwhile, in another bowl, mix the shredded mozzarella with a beaten egg (if you want it extra cheesy and binding), and a splash of olive oil. If you’re feeling adventurous, add a little minced garlic or chopped fresh herbs here. The goal is a gooey, cheesy mixture that will meld beautifully with the breadcrumbs. I’ve tested this with almond milk instead of egg once, and it made the stuffing even more tender—so don’t be shy about experimenting!
Step 4: Combine
Slowly add the dry breadcrumb mixture into the wet cheese mixture, folding carefully until just combined. You want a moist but not overly wet filling—think crumble that sticks together when pressed. If it feels too dry, splash in a little more olive oil or a teaspoon of water. If it’s too wet, sprinkle in a little more breadcrumbs. The texture should be moist but crumbly enough to hold its shape when scooped into the eggplant cups.
Step 5: Prepare Filling
Once your eggplant shells are out and cooled slightly, spoon the filling into each cup, pressing gently to pack it in. Don’t overstuff—leave a little room on top for a sprinkle of extra cheese. For a fancy touch, layer in some chopped fresh herbs or bits of cooked sausage—whatever makes your heart happy. I always do this when I want to impress, but honestly, the filling is delicious on its own too.
Step 6: Layer & Swirl
Top each stuffed eggplant with a sprinkle of Parmesan and an extra handful of shredded mozzarella. For that beautiful swirl on top, swirl a little more mozzarella around the edges and sprinkle with herbs or chili flakes for a pop of color and flavor. Trust me, this part is almost like decorating a tiny food masterpiece—just do your thing!
Step 7: Bake
Bake in your preheated oven for about 20-25 minutes, until the cheese is melted and golden, and the breadcrumbs are crispy. Keep an eye on them toward the end— ovens vary, and I’ve had these turn perfect in as little as 18 minutes or need an extra 5. When the top is bubbling and browned, they’re ready. Let them sit for a few minutes before serving—they’ll be super hot right out of the oven.
Step 8: Cool & Glaze
Transfer to a wire rack for a couple of minutes. If you want a glossy finish, brush quickly with a tiny bit of olive oil or honey (yes, honey!), then sprinkle with fresh herbs or chili flakes. This step adds flavor and that irresistible shine.
Step 9: Slice & Serve
Use a sharp knife and a gentle sawing motion—these can be a bit delicate. Serve warm, maybe with a side salad or some crusty bread. I like to garnish with a little more fresh basil or a drizzle of balsamic vinegar for that finishing touch. The little eggplant cups are perfect for picking up with your fingers—so fun and satisfying. I promise, you’ll want to make these again and again.
What to Serve It With
This dish already feels special, but pairing it with a simple green salad dressed with lemon and olive oil keeps things light and fresh. If I’m feeling fancy, I serve it alongside roasted garlic potatoes or a bowl of creamy risotto. For brunch, I love to do a brunch-style spread with some baked eggs or a fresh fruit salad. At dinner, a glass of red wine or sparkling water with a slice of lemon makes everything taste even better. My family usually asks for mashed potatoes and steamed green beans on the side—they love having that extra veggie crunch or creamy bite next to the cheesy, crispy goodness of these eggplant cups. Honestly, I’ve served these at every gathering from casual weeknights to holiday dinners—they’re just that adaptable. And don’t forget the leftovers! They reheat beautifully in the oven or even a quick zap in the microwave, though I do recommend a quick broil to crisp up the top again. These little cups are the reigning champions in my house—they disappear fast, so I always make a double batch.
Top Tips for Perfecting Your Stuffed Eggplant Parmesan Cups
Over the years, I’ve learned a few tricks to make these even better. First, always choose firm, shiny eggplants—they’re less bitter and hold their shape better. After slicing and hollowing, sprinkle the insides with salt and let them sit for 10 minutes. This pulls out excess moisture and reduces bitterness—trust me, it makes a world of difference. Pat them dry before roasting. When mixing your filling, don’t overmix; a light hand keeps the texture fluffy. If you want a crispier topping, try broiling the last few minutes of baking—just keep a close eye so they don’t burn. Want to add a little heat? Sprinkle red pepper flakes on top before baking or stir chili powder into your breadcrumb mixture. For a more crunchy texture, substitute panko breadcrumbs in the filling—just watch the baking time, as they crisp up faster. I’ve experimented with different cheeses, and I’ve found that mixing mozzarella with a little ricotta creates the most luscious, gooey filling. An important tip: let your stuffed eggplants rest for 5 minutes before serving—they’ll hold their shape better and allow the flavors to meld.
Storing and Reheating Tips
Leftovers? No problem. Store any cooled eggplant cups in an airtight container in the fridge for up to 3 days. I recommend placing them in a single layer—stacking can squish the tops. To reheat, bake them at 350°F (175°C) for about 10-15 minutes until heated through and cheese is still melty. If you want to keep the crispy topping, broil for a minute or two. If you’re prepping them ahead of time, assemble and refrigerate unbaked, then bake directly from the fridge—just add a few extra minutes. Freezing works too! Wrap airtight and freeze for up to a month. Thaw in the fridge overnight and reheat in the oven. Remember, the texture might change slightly—eggplant can soften when frozen—but the flavor stays incredible. If you’re going to freeze, skip the final cheese topping until baking—this helps keep the top from getting soggy. And just a quick note: I like to add a fresh drizzle of olive oil or a splash of balsamic when serving, especially if they’ve been refrigerated. It gives a burst of freshness and enhances the flavors.
Frequently Asked Questions
Final Thoughts
Honestly, this stuffed eggplant Parmesan recipe has become a staple in my kitchen because it checks all my boxes: flavorful, easy to make, versatile, and downright comforting. There’s just something magical about transforming a humble vegetable into a crispy, cheesy, savory cup that disappears in minutes. I love that I can customize the fillings to suit whatever I have on hand—spinach, sausage, fresh herbs—the possibilities are endless. Plus, it’s a great way to sneak more veggies into your family’s diet without them even noticing. Every time I serve these, everyone raves about how fancy they look, but I know how simple they are to prepare. The smell alone makes the whole house smell like a cozy Italian trattoria, and I find myself sneaking a few bites before everyone else gets a chance. If you give this a try, I’d love to hear how it turns out! Drop a comment below or share your own tweaks—happy baking, and enjoy every delicious bite of these little eggplant treasures!

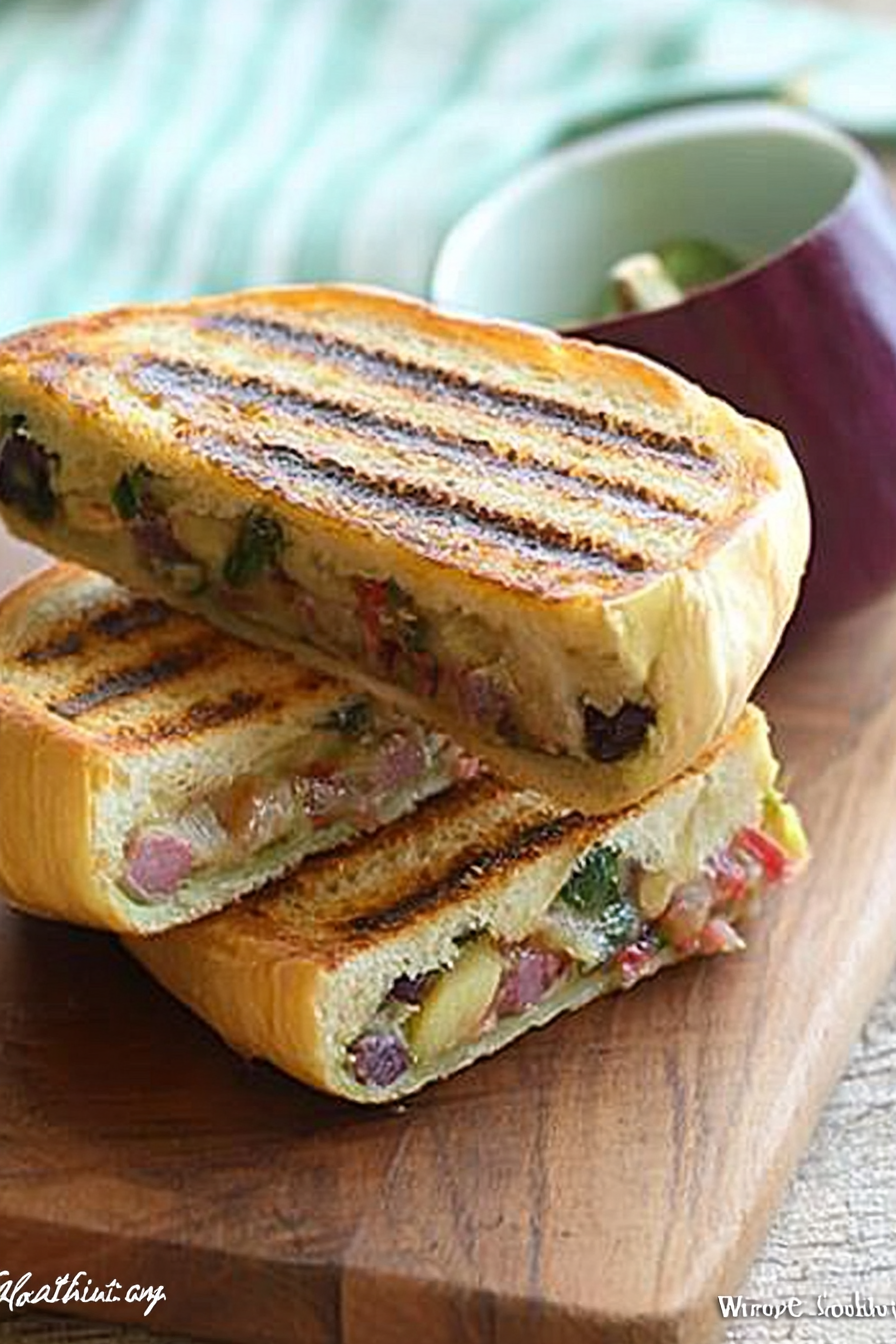
Grilled Eggplant and Tomato Sandwich
Ingredients
Method
- Slice the eggplant into 1/4-inch thick slices. Season with salt and pepper, then brush both sides with olive oil.
- Preheat the grill to medium-high heat. Grill the eggplant slices about 4 minutes per side until golden brown.
- While the eggplant is grilling, slice the sandwich buns and spread 1 tablespoon of basil pesto on each side.
- Assemble the sandwiches by placing grilled eggplant slices, mozzarella, and tomato slices on the bottom bun. Top with the other half of the bun.
- Optionally, grill the assembled sandwiches for 2 minutes until cheese melts and bread is toasted.
- Serve warm with a side salad or chips.