Blooming Sweet Treats How to Make Flower Cookies
There’s something about those delicate, colorful flower cookies that instantly take me back to my grandma’s kitchen. I remember the aroma of vanilla and butter wafting through the air, and how she’d carefully pipe tiny blooms onto trays, each one more adorable than the last. These flower cookies are a little bit nostalgic, a little bit fancy, and totally addictive. Trust me—you’ll find yourself reaching for a second (or third) before you even know it. They’re incredibly simple to make, but with that charming, dainty look that makes them perfect for pretty much any occasion. I always do this when I want to surprise family or friends without spending hours in the kitchen—these are my go-to ‘wow’ treat that’s just as fun to decorate as it is to eat.
What is a flower cookie?
Think of flower cookies as elegant little treats that look just like tiny, edible bouquets. They’re essentially sugar cookies or shortbread cut into shapes and decorated with colorful icing to resemble blooming flowers. The name “flower cookies” pretty much describes what they are—cookies that bloom with vibrant colors and intricate details, capturing the charm of a spring garden or a sunny afternoon in full bloom. These cookies are all about making something that looks as beautiful as it tastes—pretty enough for a celebration, yet simple enough to whip up on a lazy weekend. It’s a creative way to indulge and impress at the same time, especially when you let your kids or friends join in the decorating fun.
Why you’ll love this recipe?
What I love most about flower cookies is how they turn out so wow-factor with minimal fuss. The flavor? Oh, they’re just sweet enough, buttery, with a hint of vanilla—think of them as a cookie version of a delicate pastry but much more laid-back to make. Plus, the ingredients are budget-friendly and common—you probably already have everything in your pantry, which is such a lifesaver on busy nights or last-minute gatherings. They’re super versatile too; you can customize the colors, the flower shapes, or even add a little sparkle with edible glitter. My kids ask for these all the time because they’re fun to decorate and taste just as charming as they look. And if you’re like me, you’ll probably end up sneaking a few bites before they even make it to the tray! What really sets these apart is how forgiving they are—you can totally get creative without ruining the overall picture. I’ve tested them with different icing consistencies and flavor swaps, and trust me: these cookies always save the day. They’re perfect for Easter, Mother’s Day, birthdays, or just because you’re craving something pretty and sweet.
How do I make a flower cookie?
Quick Overview
This recipe is all about simplicity and fun. You start by making a buttery cookie dough, then roll it out and cut your favorite flower shapes. While the cookies bake, you prepare colorful icing and get ready to decorate. The magic happens when you pipe tiny petals, leaves, or centers onto each cookie, adding personality and color. Once decorated, you let the icing set a bit and then enjoy the fruity, buttery aroma filling your kitchen. The best part? This process is flexible—you can make everything ahead and just do the decorating on the day you want that extra special touch. It’s a straightforward process that feels almost therapeutic, especially if you love playing with colors and patterns.
Ingredients
For the Main Cookie Dough: For the Main Cookie Dough: For the Main Cookie Dough: For the Main Cookie Dough: For the Main
• 2 1/2 cups all-purpose flour (I like to use unbleached for richer flavor)
• 1/2 teaspoon baking powder
• 1/4 teaspoon salt
• 1 cup unsalted butter, softened (trust me, the butterier, the better)
• 3/4 cup granulated sugar
• 1 large egg
• 1 teaspoon vanilla extract
For the Icing & Decoration:
• 2 cups powdered sugar
• 2-3 tablespoons milk or water (add gradually to get the right consistency)
• Food gel coloring (get a range of pretty pastels or bold shades)
• Edible glitter or sparkles (optional but so pretty!)
• Piping bags and fine tips for details
• Small flower and leaf cookie cutters (or you can cut shapes with a knife)
Step-by-Step Instructions
Step 1: Preheat & Prep Pan
Set your oven to 350°F (175°C) and line baking sheets with parchment paper—this makes cleanup so much easier! Make sure your rolling pin is nearby, plus any cookie cutters or stencils you want to use. I always keep my dough cold before cutting—chilling it for about 30 minutes helps keep the shapes sharp and prevents spreading.
Step 2: Mix Dry Ingredients
In a small bowl, whisk together the flour, baking powder, and salt. This ensures your dry ingredients are evenly combined, so your cookies bake uniformly. I’ve made the mistake of skipping this step and ending up with uneven textures—trust me, a quick whisk makes a difference.
Step 3: Mix Wet Ingredients
In a larger bowl, beat together the softened butter and sugar until creamy and light—about 2 minutes. I do this with a hand mixer or a sturdy whisk. Add the egg and vanilla and continue to mix until smooth. This is where your kitchen will smell like vanilla bliss, promise!
Step 4: Combine
Gradually add the dry mixture into the wet ingredients, mixing slowly until a dough forms. Don’t overmix—just until it comes together. Wrap the dough in plastic wrap and chill for at least 30 minutes. I always do this because a cold dough is way easier to roll out and cut neatly.
Step 5: Prepare Filling
This recipe doesn’t necessarily need a filling, but I love adding a tiny dab of jam or lemon curd in the center of each flower for an extra zing. If you’re decorating with icing, just make sure your icing is smooth and not too runny. You can tint parts of the icing different colors for petals and centers.
Step 6: Layer & Swirl
Once chilled, roll out the dough on a lightly floured surface to about 1/4 inch thickness. Use your flower cutters to cut out shapes, then transfer them to your prepared baking sheets. For a bit more visual interest, you can layer different colored dough, then lightly swirl with a toothpick for marbled effects—so pretty! I love doing this with contrasting colors like pink and yellow or deep purple and white.
Step 7: Bake
Bake for 8-10 minutes, or until the edges just start to turn golden. Keep an eye on them—I’ve made the mistake of overbaking and ended up with dry cookies. Cool on a wire rack for at least 10 minutes before decorating—that’s when they’re firm enough to handle delicate piping.
Step 8: Cool & Glaze
This is the fun part—decorate! Prepare your icing colors, then pipe tiny petals, leaves, or centers onto each cookie. I like to work with thin piping tips for detail work. Once decorated, give it a few minutes for the icing to set, especially if you’re adding glitter or sparkles. Trust me, patience pays off here; a rushed job makes icing run and smudge.
Step 9: Slice & Serve
Yes, I know—these cookies aren’t sliced like bread. But I do love to arrange them on a pretty plate or cake stand, maybe with some fresh flowers or a sprig of mint for extra charm. They’re perfect at room temperature—just how I like to serve them for a charming afternoon tea or a breezy picnic.
What to Serve It With
Flower cookies are so versatile, they pair beautifully with a bunch of different things. In the morning, I love serving them alongside a strong cup of coffee or a petite herbal tea—something that lets the cookie’s sweetness shine through. For brunch, I’ll set out a little platter of these with fresh berries, whipped cream, or even lemon curd on the side for extra zing. They make a gorgeous dessert, too—stacked in a glass dome with a few edible flowers for that extra wow factor. And honestly, these cookies are my kids’ favorite snack if they’re craving something sweet but not overly rich. We often do a mini ‘flower cookie decorating party’ on lazy weekend afternoons—it’s a hit with everyone. Plus, since they keep well in an airtight container, I can make a batch on Sunday and have sweet treats ready all week long.
Top Tips for Perfecting Your Flower Cookies
Over the years, I’ve picked up a few tricks that make these cookies turn out even better every time. First, when you’re rolling out the dough, keep a steady hand and turn the dough often to prevent it from sticking—flour your surface but don’t overdo it, or the cookies will get dense. I learned that chilling the dough really helps with sharp edges and clean shapes. For icing, start with a thicker consistency for outlines and fill in with thinner icing—this gives your cookies that professional-looking detail. When decorating, work from the center outwards or vice versa, and try to pipe slow and steady—blurry lines aren’t cute. For colored icing, I recommend using gel food colors—you need just a tiny amount for vibrant shades without thinning your icing too much. If you want your flowers to pop, layer different shades or add a tiny drop of royal blue or pink to create depth. Oh, and don’t forget—if your icing starts to smudge, pop it in the fridge for a quick refresh. Once you get the hang of it, decorating can be super relaxing and downright addictive. I’ve also experimented with swapping out some of the flour for almond flour, which gives a nuttier, richer flavor—that’s a little upgrade I adore!
Storing and Reheating Tips
These cookies stay fresh surprisingly well. If you’re not serving them right away, keep them in an airtight container at room temperature for up to three days—just make sure the icing is fully set first, or it might smudge. For longer storage, I pop them into the fridge—cover gently with plastic wrap or store in a box; they’ll stay good for about a week. If you want to make them ahead for a special occasion, freeze the baked cookies once cooled—wrap each in plastic wrap, then a layer of foil, and they’ll keep up to a month. When you’re ready, let them thaw at room temperature for a few minutes before decorating or serving. If the icing gets a little frosty from the chill, just leave it at room temp for 10-15 minutes and it’ll soften right up. As for the glaze, I prefer to add it just before serving or when I want to impress, but you can also add a quick dab of glaze before storing; just know it might soften a little. I’ve done both, and honestly, they always taste just as good whether fresh or a few days old—eventually, they disappear in minutes anyway!
Frequently Asked Questions
Final Thoughts
Flower cookies have become one of my absolute favorite treats—there’s just something so satisfying about creating something that’s not only delicious but also beautiful enough to steal the show. The process of piping tiny flowers feels almost meditative, and seeing the cookies come out of the oven all golden and delicate makes me smile every time. These cookies have a charm that’s hard to beat; they remind me of springtime, of long afternoons spent in the garden, and of shared moments with loved ones. Whether you’re baking for a special occasion or just want to brighten a regular afternoon, I promise these will not disappoint. They’re little bites of joy, sprinkled with a dash of creativity and love. So, gather your ingredients, put on some good music, and have fun decorating—because in the end, it’s all about creating sweet memories with each adorable flower. Happy baking, and do let me know how yours turn out—I’d love to see your beautiful blooms!
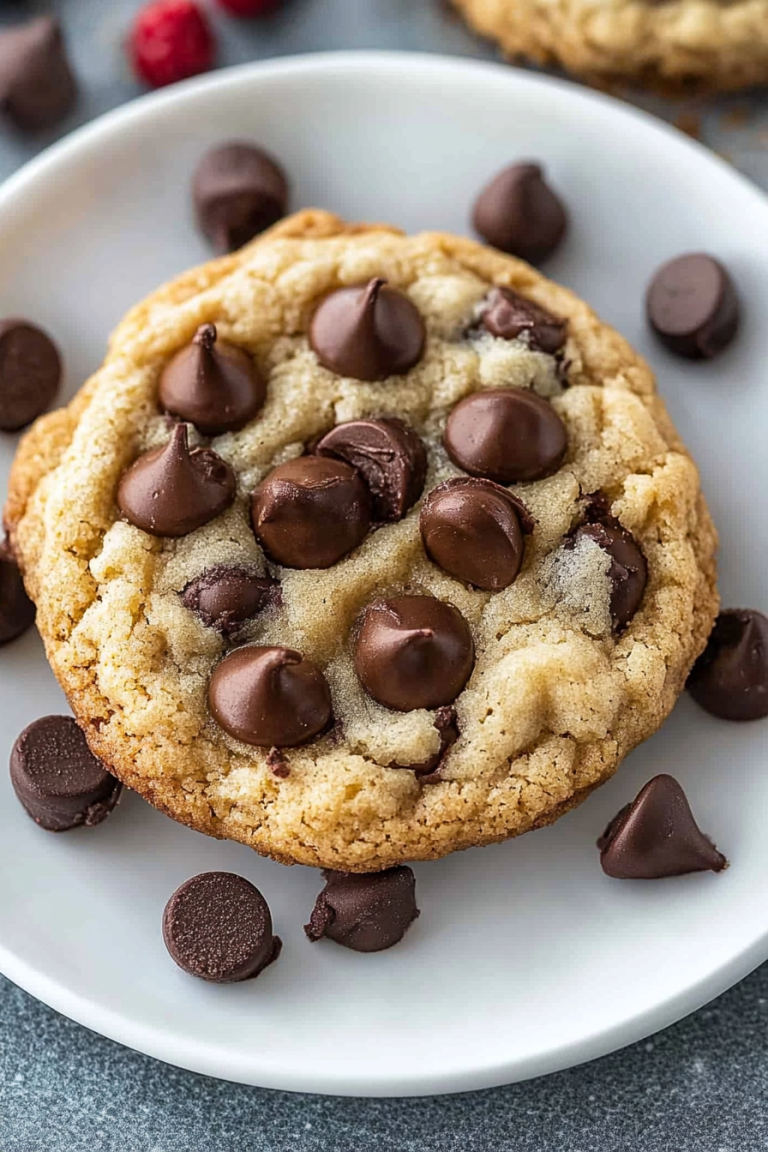
Chocolate Chip M&M Cookies
Ingredients
Method
- Preheat oven to 350°F and line baking sheets with parchment paper.
- Add softened butter, white sugar, and brown sugar to a mixing bowl and cream until smooth.
- Beat in eggs one at a time, then add vanilla extract and mix well.
- In a separate bowl, whisk together flour, salt, and baking soda. Gradually add dry ingredients to wet ingredients and mix until combined.
- Fold in chocolate chunks and 1.5 cups of M&Ms.
- Scoop 1-inch balls of dough and place on prepared baking sheets, spacing them 2-3 inches apart. Top each with a few M&Ms.
- Bake for 8-10 minutes or until the edges are golden and centers are set.
- Remove from oven and immediately press extra M&Ms on top if desired. Let cookies cool on baking sheets for 5 minutes, then transfer to wire racks to cool completely.
- Enjoy your cookies!